
Oversized Windows: Weight, Structure and Site Access

Planning an oversized window
Views and daylight usually shape the first discussion about a large window. An order needs a wider brief, because the glazing has to travel to the opening, the frame must be kept stable while it is set, and the surrounding construction must accept the loads without straining finished junctions. Structural-opening dimensions alone do not settle whether a full-height fixed pane, wide slider or bespoke shape is practical. Consider the glass specification, panel layout, support conditions and complete delivery route together while changes are still possible. This approach also improves quotation comparisons. Describe the required dimensions, operation, glazing, host construction and site access rather than asking suppliers to price an undefined “large window”.
01 / Define the specification
Compare more than overall size
Identical overall measurements do not mean identical installation demands. Pane count and composition, individual glass sizes, frame profiles, mullions, hardware and opening-sash mass can all alter handling. Request information for the chosen configuration instead of an approximate figure for the complete glazed elevation. The installer needs the mass and packed dimensions of every delivery piece, especially the largest, together with its balance point and intended carrying orientation. Confirm too whether the frame and glass arrive as separate items or as an assembled unit. Those particulars allow the contractor to select lifting equipment, crew numbers and a holding area before the lorry arrives.
Removing opening hardware from a pane does not make a large unit inherently easy to lift. A window with fixed glazing is well suited where a clear outlook and daylight take priority over ventilation, but the access survey must still test its actual size. For a wide elevation, draw the opening, frame sightlines and proposed divisions. The drawing may show that a single pane is essential to the design, or that two easier-to-handle sections give a comparable spatial effect. Any split remains visible for the life of the window, so review it as architecture as well as logistics. Ask for dimensioned views of each proposal and relate mullion lines to the façade, internal partitions and permanent furniture. Consider future glass replacement access too. This comparison cannot certify the design, but it exposes practical limits and likely downstream cost.
Make weight part of installation planning
Glazing mass depends on the glass specification and the dimensions of each pane; it is not a fixed allowance. With oversized units, a modest area change can affect the ability to raise, rotate and seat the piece accurately. Have the quotation identify the heaviest separate item rather than giving only a combined figure. The installation team also needs to know which faces can accept vacuum lifting equipment, what lifting or restraint points the manufacturer permits, and when packaging or protective trims must come off. Supplier, installer and site manager should settle these matters before the work is put into the programme.
Map what happens on both sides of the actual lift. The journey from lorry to elevation may be straightforward, yet a step, a tight passage or scaffolding can make the final approach difficult. Indoors, screed, stairs, newly finished floors and completed walls may narrow the choices. Depending on the property, the answer could be a revised lifting path, fitting earlier in the build, or changing the panel arrangement. Do not base an order on the hope that the crew can simply carry it. Put responsibility for arrival, off-loading, movement through the site and final positioning in writing. Decide whether a secure holding place is required, for what period, and who protects it. That location must be reachable without obstructing other trades or forcing repeated moves. Give the installer packed delivery dimensions, not only the bare frame size.
02 / Verify the weight
Resolve structural loads early
A true, adequately strong support plane is needed to set the unit accurately and hold it for its service life. For a large opening, the side fixings are only one part of the assessment. Conditions beneath the frame, the lintel or construction overhead, and the make-up of the wall or frame must also be understood. The window supplier can issue technical information for the unit, while a suitably qualified designer assesses the load path through the particular building. That division of responsibility is especially important in renovation work, across very wide spans or wherever the existing structure is poorly recorded.
Do not assume that a sill board, insulation product or waterproofing zone can act as a bearing. Leaving support, levelling and fixings to improvised decisions during fitting may twist the unit and make weatherproof junctions harder to form. Seek coordinated approval of the opening, bearing points, fixing locations, perimeter gaps and any strengthening. The designer should receive the selected manufacturer’s final technical pack rather than an outline architectural drawing; the supplier, in turn, needs the agreed site conditions. This keeps the glazing load and host construction within one coordinated design. List unresolved items openly on the approval documents. Assignable questions, such as who signs off the construction below the frame, are more useful than a vague note telling someone to check it later.
Treat sliding assemblies as one system
Broad openings onto a terrace can connect the house and garden beautifully, but they demand close coordination and a credible access plan. For Patio Life lift-and-slide doors , confirm which panel remains stationary, which side travels and the route by which every part will reach the opening before ordering. The assembled width does not reveal the delivered piece sizes or fitting method. Obtain the mass of the most demanding piece, the clearance needed to manoeuvre it and the work zones required on both faces of the wall. Sequence matters as well: scaffold, tanking, terrace construction or completed landscaping could close off a route that was available earlier.
Develop the threshold alongside the finished-floor junction, rather than adding it late. The correct detail comes from the project’s structure, floor layers, drainage approach and selected door system; there is no single fitting level for every job. Record levels on a section as well as the plan. Reserve operating space so radiators, furniture and curtains do not obstruct the door. If lifting machinery can use one side only during a limited phase, place that window in the construction programme. Design, junction details and access timing must be based on the same assumptions. The section should identify work required before the unit is inserted and work that must wait. That sequence keeps completed finishes out of the transport path and prevents later trades from covering a junction before it has been completed and checked.
03 / Coordinate structural support
Weigh up divided and uninterrupted glazing
One broad sheet of glass can produce a quiet elevation and an uninterrupted outlook. It also becomes harder to transport, manoeuvre and bring through the available route as its dimensions grow. Dividing the opening may reduce the largest package and permit a different installation sequence, but adds frame lines, junctions and perhaps opening parts. Neither approach is automatically right. Put two or three dimensioned schemes through an identical review: record the largest item’s mass, trace its path to the wall, study the view from inside and identify the panels that genuinely need to operate.
With a side-moving sliding door , panel proportions determine everyday use as well as appearance. Altering the rhythm can change the clear passage even when the overall frame width stays constant. Compare options in a table covering visual composition, opening action, largest delivery item, site route and junction design. Add the future furniture plan and preferred line of movement to the terrace. This shifts the decision from a visualisation to a buildable, usable arrangement. Specify whether bars are decorative or genuinely divide the glazing, because their effect and construction differ. Then inspect each grid from normal positions within the room. A pattern that is composed on the exterior may interrupt the principal outlook from a chair or dining table; a mullion aligned with an internal partition may almost disappear.
Survey the route from the road
Start at the proposed lorry position and follow the whole journey to the opening, recording it with measurements, notes and photographs. Capture drive widths, turns, clear heights, slopes, steps, gates, passages and possible equipment standing areas. A short route over soft ground or through a narrow entrance may be more difficult than a longer firm one. Inside, verify the surfaces that can take transport loads, every turning space and the protection needed for completed finishes. Images facing both the vehicle approach and the building help the installer understand the setting. Mark routes that other trades must leave open. Measure the tightest real constraint: eaves, gates and bends can govern a long frame even when one doorway is wide enough. Note which obstructions are permanent and which can be removed for the operation.
Do not use crane, compact crane, vacuum lifter and hand carrying as if they described the same operation. Each has its own footprint, working radius and safety constraints. The specialist contractor chooses the method from the confirmed item weight, actual site and planned procedure. Give that contractor a complete early picture, including overhead cables, projecting roofs, adjoining property, trees, temporary barriers, slopes and scaffolding. Ask for a plain-language outline of delivery, off-loading and placement. Where access is possible only before landscaping or other external work, the site manager must reserve the period in the programme. Nominate someone to inspect the route immediately before arrival. Old photographs cannot confirm present conditions after containers, scaffold changes or excavation have altered the site.
04 / Organise site access
Judge opening sashes by everyday use
At this scale, appearance is only the first test for an opening sash; practical daily control matters just as much. Sash mass and leverage affect the fittings, direction of travel and usable room around it. An inward-opening single-sash window may provide the simple opening sought, provided its measured arc clears the sill, furnishings and curtains. As the sash grows, test its operation physically where possible or plot the swept area accurately on the room plan. Review intermediate positions as well as the fully open one. The handle should be easy to reach without stretching across a fixed cabinet or a deep counter. In a room used often, comfortable routine operation is a more useful test than an extreme position reached only occasionally.
Splitting the opening across two sashes changes the available width, adds a centre line and introduces another operating sequence. A two-sash inward-opening window is a separate arrangement, not just a reduced version of a single wide sash. Confirm the operating order, how each leaf can be retained safely when open, and whether the intended ventilation setting is convenient. Plot the movement against the kitchen, bed, desk and any escape path relevant to the particular room, without assuming one layout suits every project. Coordination is clearer when elevations, furniture and operational requirements appear on a single plan owned by one person. Add curtains, internal blinds and light fittings, even if their final selection comes later. Reserving a clear operating zone now protects handle access and swing space, and indicates when another opening arrangement deserves consideration.
Define unusual shapes before ordering
Triangular, raking and tall gable glazing can define a room, but they need more precise information than a conventional window. Templates, reference dimensions and structural edges must be stated explicitly. For fixed triangular or sloping windows , use a dimensioned drawing to agree the completed geometry, identify the edges that provide support and set the fitting order. Determine whether the piece has to enter before roofing or internal finishing closes the route. Production should follow only when the survey basis, perimeter details and site path have been approved together. Give sloping work fixed datum points, including the bottom edge, side edge and controlling corners. A note saying “fit the gable” is too ambiguous for quotation or manufacture. Mark the viewing direction so that left and right remain consistent from design through fabrication to fitting.
Asymmetrical glazing also needs a deliberate decision about visible divisions. A bar that physically separates panes changes both the glass layout and the view, while applied decorative bars create a different result. In the enquiry, state which construction is intended and label the viewing sides. Reach for cleaning and shading belongs in the same review: successful fitting does not make a high sloping pane easy to maintain. Consider how the room is used through the day and how glare or solar gain might be managed. External shading, internal blinds and cleaning may each demand a separate access method for a remote pane. Ask every relevant contractor to compare the proposed equipment, components and working positions with the window drawings before choices are fixed.
05 / Complete the installation brief
Link surveying, manufacture and programme
Measuring an oversized unit before the opening has stabilised creates avoidable risk: later work to the reveal, floor construction or lintel may change critical dimensions. Identify the design stage that authorises manufacture and name the person checking width, height, diagonals, verticality and level. An early sketch is not an ordering basis where the structure lacks reliable datums. The final order should record viewing side, handing, panel layout, dimensions, glass, options and agreed fitting conditions. Comparing that schedule with the completed opening before production exposes discrepancies while they can still be resolved.
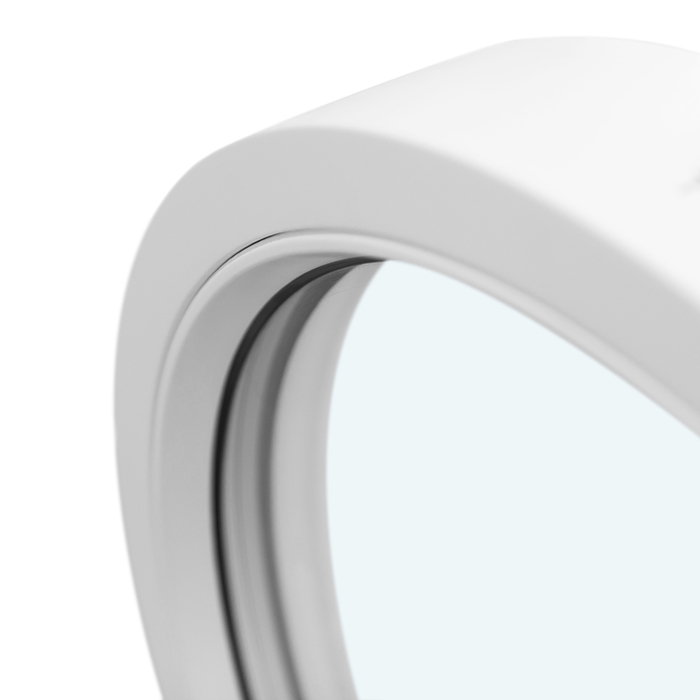
A circular fixed unit may appear modest in a design yet still need a special template and careful transport because of its shape. A round window with fixed glazing should enter the production schedule only after the survey is unequivocal and the fitting order has been accepted. Ask what drawings and approvals the supplier requires for release to manufacture, and establish the last point at which a proposed change can be reviewed. Bloomcabin provides a five-year guarantee for its windows and doors. Normal delivery is four to six weeks, with the order confirmation governing each case. Those periods are not a site programme. Build backwards from the required fitting date and include survey sign-off, structural review, detail approval and an available access route. Only when those dependencies align does the requested date become credible.
Build a precise installer handover
Replace a vague location note with an organised project pack. Include approved plans and sections, the window schedule, verified opening sizes, route photographs, named contacts and the requested fitting date. Cross-reference every unit to its wall opening on the drawings. Agree the required site condition on arrival—dry, reachable and without clashing work—and identify who can decide if a measurement differs. This gives both supplier and fitting contractor time to raise missing information. It also prevents essential decisions for the client from surviving only as conversations scattered among several trades.
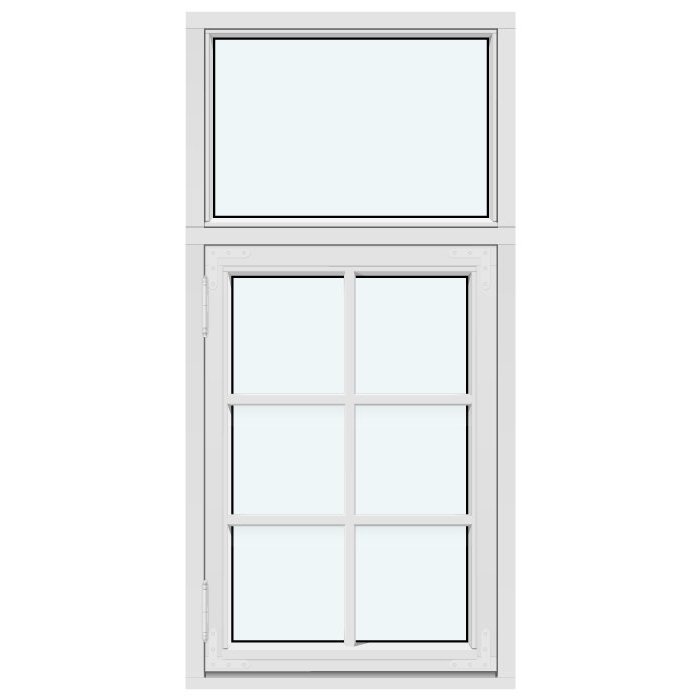
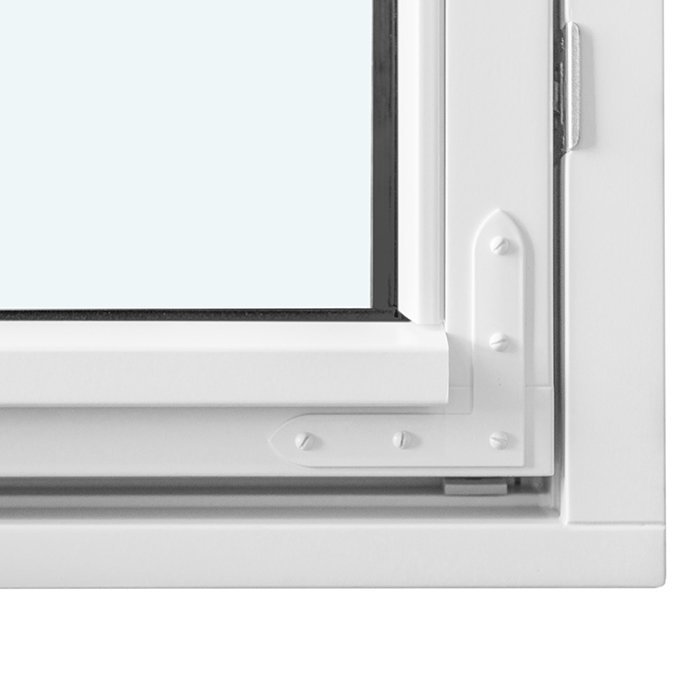
For an outward-opening Kombi casement window , include sash positions, the exterior view and outside operating clearance as well as dimensions. A leaf that swings out can strike a guard, rainwater pipe, blind or circulation area despite a correct opening size. Review a drawing of the open position against actual site conditions. When fitting is complete, inspect alignment, movement, visible finishes and unfinished perimeter work together. Agree what can proceed next and what needs protection until the adjoining construction is complete. Log each outstanding item with an owner and target date. Separate faults or adjustments to the installed window from incomplete wall junctions and tasks assigned to other contractors, so the snag list does not blur responsibility.
Questions customers often ask
How can I confirm the weight of an oversized window?
Obtain the figures for the final, approved specification. Record the complete unit mass, but pay particular attention to the size, mass and handling instructions for the largest delivered piece. Altering the glass build-up, panel arrangement or opening action may change those details. Calculating from overall width and height is not a substitute for confirmed product information and a fitting plan.
Can dividing a glazed frontage simplify fitting?
Yes. A split may create more manageable delivery pieces, although it also changes the permanent frame pattern, appearance, operation and perimeter detailing. Compare dimensioned proposals by their largest component, route, visual effect and required ventilation. Choose the arrangement that answers the architectural, practical and installation needs of the actual property.
Who should confirm that the wall can carry the window?
The supplier provides information about the selected window. A qualified designer or the professional responsible for the building should assess the structure, bearings and fixing strategy for the actual opening. Supply that person with final unit data and construction drawings. In renovation work, investigate uncertain wall build-ups instead of relying on assumptions.
At what stage should the access route be inspected?
Inspect it while the findings can still alter the panel arrangement, survey approval and build programme. Review the delivery position, outside approach, lifting possibilities, scaffold and internal path. Check everything again shortly before fitting because landscaping, access equipment and other trades may have changed the available route.
What information does the fitting contractor need?
Provide the approved window schedule, elevations, sections and verified opening dimensions, plus measured route photographs, floor-construction details and named site contacts. Identify tight entrances, slopes and fixed obstructions. A clear reference linking each unit to its opening avoids last-minute uncertainty when the delivery arrives.
What to do next
Selecting the window alone will not deliver a successful oversized installation. Freeze the specification, then test four matters: the mass of the largest delivery piece, its structural support, the full path to the opening and its place in the build sequence. Assess panel layouts and opening actions through those tests as well as their effect on the elevation. Before manufacture is released, ensure the supplier, installer and responsible designer are working from the same approved information. The design can then be transported, fitted and coordinated with the rest of the project rather than solved at the last moment.
