
Planning a Front Door with a Sidelight and Overlight
Planning your home entrance
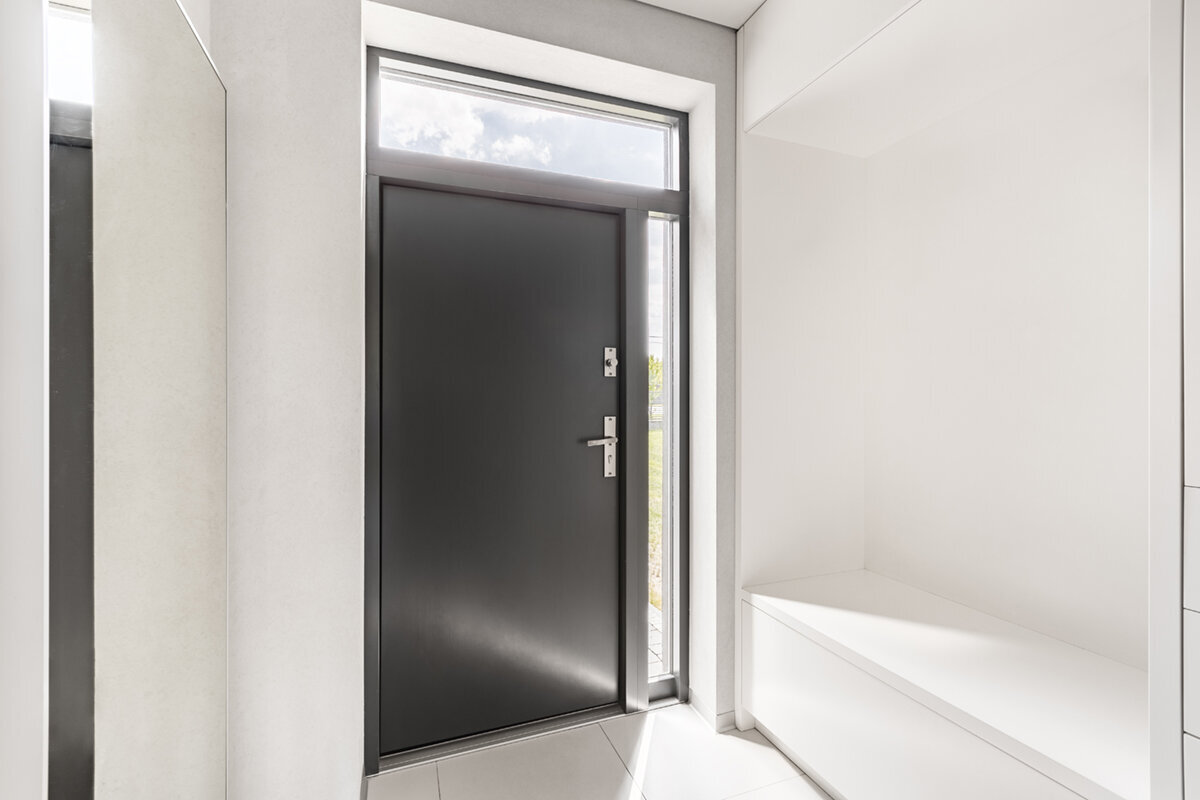
Choosing a replacement front door, or laying out an entirely new entrance, involves far more than selecting the moving leaf. Sidelights and an overlight govern daylight in the hall, the legibility of the approach for callers, and exposure to views from the road. In a tight, gloomy hallway, an added glazed section may do more than extra door width. Where the doorway is overlooked, a smaller pane placed with care may work better. Develop the opening, door, glass, solar control and indoor arrangement as a single composition. The guidance below follows the process from site measurements to an order-ready scheme and highlights decisions to settle before configuration.
See the doorway as a unified assembly
Begin by treating the door and its upper and side glazing as one purpose-made unit fitted into a single wall aperture, rather than pieces to be appended later. Survey the threshold levels on each face and take the opening’s full width and height at several positions. Mark anything nearby—a rainwater pipe, wall light, bell, letterbox or porch canopy—and note the wall construction and face of the façade. On new work, those records allow early coordination with the shell. On an alteration, they show whether the preferred elevation can fit what already exists. Annotated photographs looking both ways through the opening give the supplier and competent fitting contractor a much clearer basis for discussion.
Ask what each zone is meant to achieve instead of simply maximising glass. The leaf is the operable route through the wall; side glazing can brighten the hall and broaden the visual composition; an overlight occupies otherwise unused space above without narrowing passage. Full glazing is not obligatory in a lofty aperture. An area of solid material may steady a visually busy frontage, whereas a modest strip of glass beside a plain door can help a long hall feel easier to navigate. Prepare a scaled drawing of the full aperture, adding the number plate, wall lamp and any interior partitions seen beyond it. Judge the arrangement there before finishes and small details begin to influence the choice.
Bringing width, height and divisions into balance
Set the usable door width before apportioning any remaining width to side glazing. Allow for movement inside the hall as well as carrying shopping, manoeuvring a buggy and bringing furniture through. A slender pane may supply worthwhile daylight without squeezing the doorway; a broad one changes the frontage more decisively and can intentionally offset the leaf. Test the proposal on a drawing of the house itself. Look for alignments with window centres, the eaves, a recess or the base course. Symmetry within the entrance is only one consideration: when the rest of the elevation is unevenly composed, an exactly balanced door assembly may be the less convincing answer.
How the unit is split horizontally affects its apparent height. Glazing above can break up a lofty aperture, reduce a heavy-looking proportion and throw daylight deeper into the entrance hall. Select its depth in relation to the leaf, side panel and nearby windows rather than in isolation. A cross-rail that misses every established line on the frontage may become more conspicuous than choosing less glass. If vertical room is scarce, side glazing may read more cleanly; if the aperture is narrow, an overlight provides another route for daylight. Put any required joint level into the enquiry. Review the interior elevation as well: a rail at eye height may interact awkwardly with a mirror or coat unit even when the street view appears well resolved.
Plan the whole opening
Direct daylight into the hall purposefully
Daylight quality cannot be predicted from total glass area alone. Trace where sun and diffuse sky light arrive at different times, and which walls or floors receive it. Side glazing may wash an adjacent wall, whereas an overlight sends brightness from a higher point. The result in a hall facing a closed wardrobe differs from one that opens visually towards living space. Revisit the doorway under cloud and again when the sun is low. Map dim corners, switches, and the place used for post or keys. That small study helps avoid an attractive luminous entrance whose room side still feels poorly lit.
Opening hardware is unnecessary on some glazed sections. For daylight beside or above the door, a fixed-glazed window can be considered when ventilation or access is not wanted. Omitting a sash and handle can simplify both the appearance and the clear space around it. If a small independent window beside or over the doorway belongs to a wider elevation scheme, resolve its frame widths and rail positions alongside the entrance. Think about the night-time view too. Clear glass may reveal a lit hall to anyone outside. The design should therefore be tested in both directions, balancing daytime illumination with what becomes visible after dark.
Choose privacy by sightlines, not instinct
Decide on screening from observed viewpoints, not a general sense of exposure. A doorway on the pavement is seen differently from one set back beyond steps and a front garden. Stand at likely positions on the road, the adjoining property and the route to the threshold. Repeat the exercise from the hall, noting whether the side pane reveals only circulation space, coats, or a longer view into the home. Plotting approximate eye levels and distances on a rough section is often enough to compare options. You can then choose full clarity, light admitted only at a higher level, or another subdivision that blocks the critical views.
Seclusion and daylight need not be traded as all-or-nothing choices. The lower portion can be made visually quieter while brightness enters above it. Likewise, a mostly solid leaf with a carefully sized glazed area may be preferable to an expansive pane that ends up screened all the time. Where the proposal calls for one non-opening glass section alongside the leaf, consider a one-piece glazed door sidelight as the initial configuration. Its name identifies the single-piece format; agree the glass, size, visible frame and door junction for the actual order. Review screening with room lighting, furnishings, curtains or other privacy measures.
Check opening direction and everyday routes before ordering
Door handing shapes the entire approach, not merely the location of the hinges. Walk through an arrival while carrying groceries, accepting a delivery or pushing a buggy. Note the bell position, where a caller waits and the arc required by the leaf. Indoors, keep that arc clear of radiators, seating, coat units and other doors. Outdoors, account for steps, the landing, supports to a canopy, pots and the standing area at the threshold. Rehearse the movement by outlining the leaf on the floor with removable tape, or cut a simple card pattern. This reveals plan-view clashes that a front drawing misses and that changing the glazing cannot remedy.
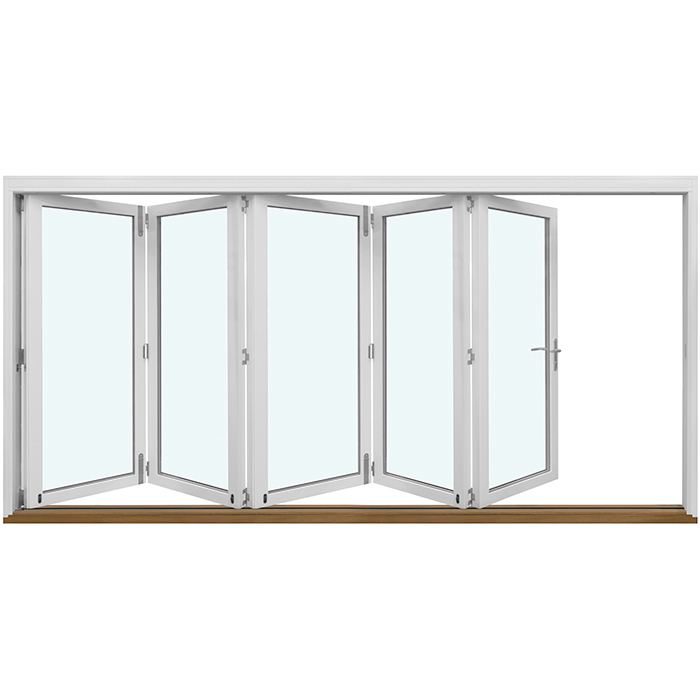
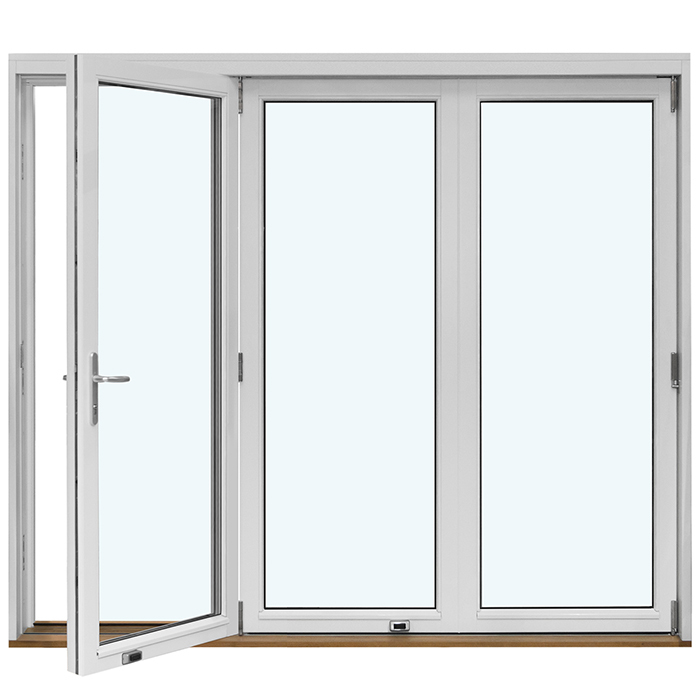
A panelled outward-opening front door provides one option where the planned swing is to the exterior. If the leaf style remains undecided, an outward-opening exterior door offers a wider category to explore. Check the scheme in plan with the leaf at its maximum opening, including space for somebody waiting outside, rather than judging the closed elevation alone. Suitability depends on the precise threshold, landing and approach. Because the side and upper panes are stationary, none of their area substitutes for clearance through the swing. This is especially important on a tight landing: draw the full arc and trace how occupants and callers pass it. The order should record which elevation is viewed, where the hinges sit and whether the leaf opens inward or outward. “Left” and “right” can reverse with viewpoint, so use a labelled sketch to remove doubt.
Design the frame lines, joints and glazing bars together
Every extra pane adds frame edges and joints to the composition. With side and upper glazing, those lines may bring order to the frontage or fragment it. Assess their alignment with the door and surrounding windows, not just the dimensions of the glass. A sparse grid can support a quiet, straightforward treatment; a house whose windows already have a strong rhythm may instead benefit from bars aligned to that rhythm. Establish whether each proposed bar is applied decoratively or physically separates panes. The two constructions produce different visual depth and proportions, so the chosen type needs an unambiguous label on both the scaled sketch and the supplier’s quotation.
For example, specify an uninterrupted overlight, one upright in the sidelight aligned with the nearby window, and a simple solid leaf. This is more testable than broad style labels such as “traditional” or “modern”. For historic-looking proportions and bar patterns, you might study an outward-opening “Kombi” casement window in historic style as a visual comparator, while keeping it technically distinct from the entrance unit. Its value here is compositional only; it does not set the door specification. Ask for a dimensioned drawing that identifies pane divisions, visible frame faces, the handle and the lock zone.
Plan the whole opening
Coordinate façade, canopy and interior
The door is handled at arm’s length but also contributes to the house when seen from the road. Review its colour with the wall finish, base, eaves or roof projection, canopy and outside lamp. Dark material beside a generous pane may anchor the arrangement; paler material can reduce the apparent weight of a broad unit. Neither is a rule—the relevant test is how the chosen tone sits against frames, masonry and shaded recesses. Assemble photographs or physical samples and inspect them outdoors. Repeat the check as conditions change, because foliage, rain-darkened paving and a low sun can alter the character of the approach.
The hall elevation deserves its own layout; it need not mirror the outside treatment. Locate coat and shoe storage, switches, lamps and mirrors before choosing the glass. An overlight may increase the sense of headroom, while a sidelight draws attention to floor space next to the leaf. If tall cupboards occupy that wall, illumination arriving above may be more useful; in a confined hall, a narrow side pane can soften the enclosure. Also follow the visitor’s first line of approach from the road. Place the number, bell and pull where they become evident in that sequence, so callers can read the entrance without hunting for its controls.
Derive special shapes from the architecture
A tall or irregular aperture need not be forced into a rectangular grid. Gables, pitched roof edges and curved openings in older fabric may justify glazing shaped to the existing geometry. Let the building supply the reason for the form rather than introducing novelty for its own sake. With a slope, take readings at multiple heights and record the relevant angles; then ask a competent specialist what can be connected reliably to the structure. Small errors in a datum or transferred angle are highly visible once framed in glass. For that reason, a professional site survey is particularly important before committing to manufacture of any non-standard piece.
An angled or three-sided part of the façade could use fixed glazed triangular and raked windows . Such units provide fixed glazed infill and do not automatically belong to every entrance assembly. For a rounded head above a straight door zone, a fixed glazed semicircular window can offer a useful form study. In either case, request a full elevation showing its relationship with the door and side pane. The geometry looks intentional when it continues a line already present; otherwise it may read as applied decoration. Ask which site dimensions are required, how junctions will be drawn, and how the piece will be coordinated with fitting.
Support the order with a full measurement schedule
An effective enquiry records far more than two overall dimensions. List the complete unit size and the separate door, sidelight and overlight sizes; internal and external elevations; swing direction; hinge and handle locations; joint levels; proposed finished floors; and the wall or cladding reference plane. Supply a photograph taken from each side plus a sketch of neighbouring construction. Identify every figure as a structural aperture, measured opening or finished size. Label provisional information honestly instead of allowing it to look approved for manufacture. Alteration projects particularly need a detailed survey, because out-of-square reveals, retained floor layers and hidden junctions may only become apparent on close inspection.
Finish, glass appearance, bar layout, ironmongery and accessories must be resolved alongside the measurements. Mark each item as agreed or awaiting a decision. A practical question for the supplier is: “What will the door-to-sidelight junction look like on the outside elevation, and which measurements do you need to draw it?” Also establish the sequence for survey, drawing approval and fitting. Bloomcabin gives windows and doors a five-year commercial warranty, while the quoted delivery period is four to six weeks and remains subject to confirmation of the order. Do not programme floors, plaster, façade finishes or fitting until that confirmation is in hand; coordinate the relevant interfaces among all contractors.
Moving from design to a sound decision
Use a repeatable checklist to judge each proposal rather than choosing from a closed front view. Include clear passage and swing, the route of daylight through the hall, inward views from outdoors, frame lines, architectural alignment, wardrobe space and construction junctions. The comparison may show that added side-glass width improves use—or merely changes appearance. Shortlist contrasting approaches, perhaps one restrained design with a defined light panel and another with greater glazing plus an overlight. Place both onto photographs and the hall plan before choosing. Leave colour and secondary detailing until the basic geometry, circulation and light performance of one arrangement have earned preference.
If the project also changes other openings on the same elevation, coordinate them with the entrance. A fixed glazed round window could sit elsewhere as a separate architectural motif, but it should not compete accidentally with the rectangular doorway. An architect or competent specialist can draw the entire elevation and evaluate the junctions for the particular building. Before proceeding, run a practical review: can a caller recognise the entrance by day; is the hall sufficiently screened; can people use the swing comfortably; and has every elevation and dimension been recorded without ambiguity? A design is ready for ordering only after each answer is satisfactory.
Frequently asked questions
Which brings more light to a dark hall: sidelight or overlight?
The answer follows the aperture and the hall layout. Side glazing sends brightness across the entrance zone; glazing overhead makes use of available height rather than wall width. Locate the room’s dim areas and identify which outward views require screening. Comparing scaled interior sketches of the two arrangements makes their different light paths much easier to judge.
Can the front door have a sidelight on each side?
Putting glass on both sides changes the overall span, balance and visual prominence of the leaf. A measured survey must establish whether that arrangement fits the existing aperture. On a scaled elevation, show both panels, the door and every joint location; then assess its street appearance and the way each pane distributes daylight indoors.
How do I specify the door swing clearly?
Name the viewing side used to define handing and swing, then add an arrowed plan sketch. Show nearby steps, doors and coat furniture that could obstruct movement. Words such as “left” or “right” are unsafe by themselves, because the interpretation reverses when the observer changes sides.
Do sidelights and overlights benefit from glazing bars?
Bars may continue the rhythm of existing windows or bring order to a large pane, but they also add visual busyness. Identify whether they are decorative or pane-dividing, and request internal and external drawings. Base the pattern on the building’s established lines rather than adding it as an isolated flourish.
At what stage should the entrance dimensions become final?
Approve manufacturing sizes only when the aperture, completed floor levels, façade reference and junction details have all been resolved. Renovation work may reveal meaningful irregularities in the existing fabric. Agree the measurement visit with the competent fitting contractor, then verify elevations, subdivisions and swing information in writing before sign-off.
Next steps
A door with side and upper glazing succeeds when it improves wayfinding and daily movement as well as brightness. First document the entire aperture and rehearse routes approaching and leaving the threshold. Then assign a purpose—illumination, screening or added vertical emphasis—to each glazed zone. Scaled sketches, clear façade photographs and a comprehensive schedule of sizes give the surveyor and supplier a dependable basis for pricing and checking. Bring unusual shapes, structural junctions and fitting arrangements to the appropriate specialists early. With those matters resolved, the finished entrance can belong naturally to the building while remaining straightforward to use every day.
