
Planning the Interior of a 10–15 m² Garden Shed
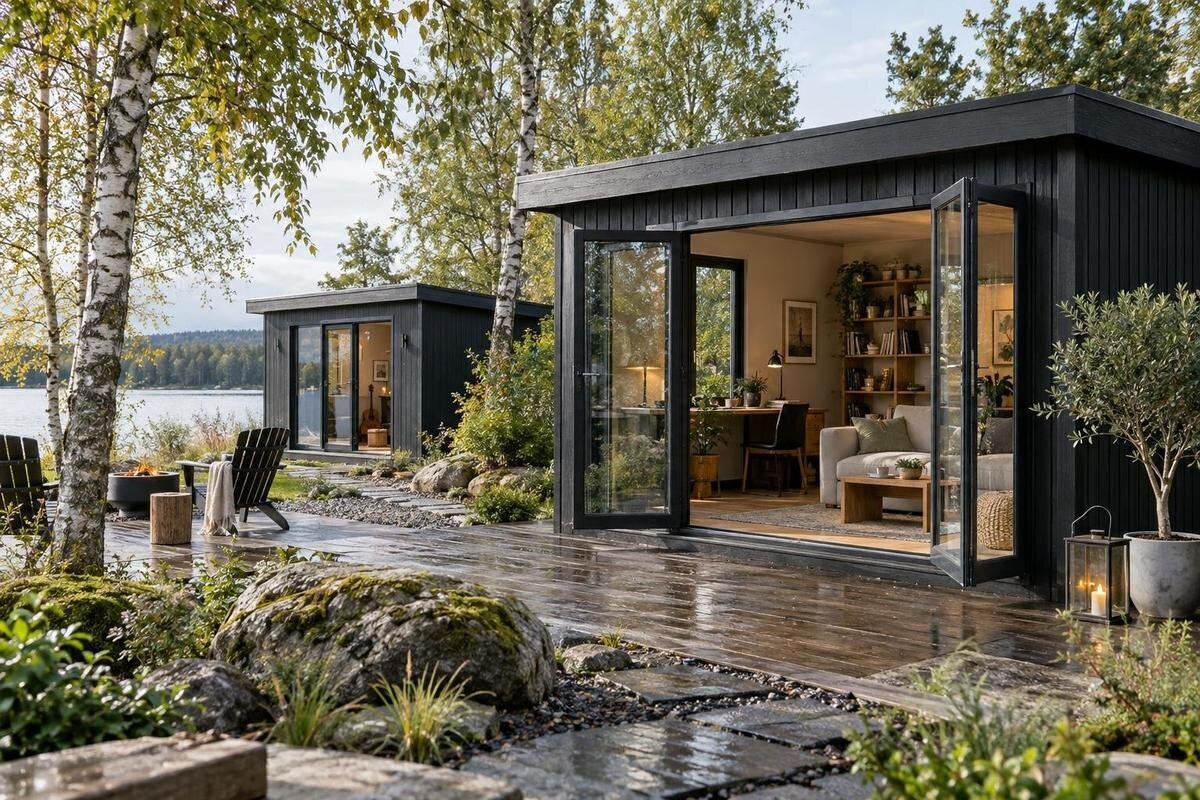
Garden shed planning
Planning a 10–15 m² garden shed interior starts with the jobs the room must handle, not with a list of furniture to buy. A clear sketch can reveal whether the entrance, work surface, storage and everyday route will compete for the same floor space. The headline area alone cannot settle that question: the plan depends on usable internal dimensions, openings and the size of what you intend to keep inside. Decide what needs to remain within easy reach, measure the room and its contents, then test the arrangement before ordering. This guide focuses on those decisions rather than decorative finishing.
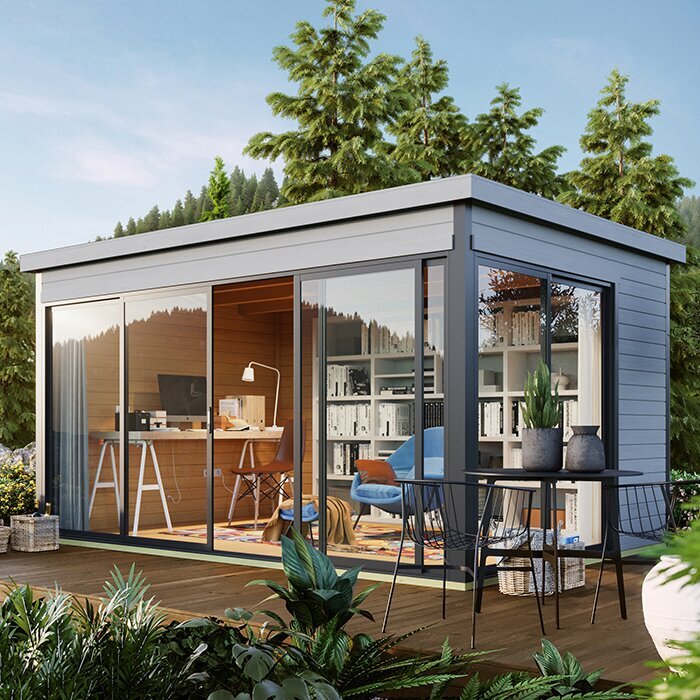
Before you order 1
Choose the shed’s main purpose first
Begin by naming the shed’s main job in practical terms. “Storage” can mean keeping gardening tools accessible, sorting pots and compost, putting away seasonal furniture or holding boxes that are rarely used; each calls for a different arrangement. A hobby or repair space needs a clear work surface and room to stand at it, while a room used mainly for storage needs a convenient route to the things you reach most often. Write down what you expect to do inside, not simply the label you would give the room. If you expect to sit or work at a desk, include that task in the brief and check separately that the building’s stated features suit your plan.
Rank the activities if the shed will have more than one use. Decide which must work every week and which can share a surface or move aside. Note tasks that take up floor space temporarily, such as bringing in a bulky item, sorting a box or filling pots, and make sure that space will not be occupied by permanent furniture. List the objects you expect to keep, with rough lengths and widths, and mark those that need quick access. Include occasional items too: they can still affect the layout if they are awkward to carry or store. This brief gives you a useful test for each decision: does it support the main task without making another essential one difficult?
Check the usable dimensions behind the 10–15 m² figure
Treat 10–15 m² as a starting description, not a guarantee of clear floor space. Product information may give external measurements, internal measurements or both; walls and any built-in features also affect the space available inside. Before drawing furniture, locate the actual internal dimensions on the plan and note the doorway, windows and any fixed elements shown. When reviewing the Verdana 1 garden house page, use only the dimensions and drawings actually supplied; the product name is not evidence of its internal measurements. If the information you need is not shown, ask for clarification rather than sizing the room from a photograph.
Compare like with like across models: record the outside footprint for site planning separately from the clear internal dimensions for your layout. Area is not the same as shape; two plans with similar stated areas can have different proportions, which may affect whether a long bench or deep cabinet fits. Check which model and configuration the measurements refer to, then compare your furniture with that plan. Avoid comparing one shed’s external area with another’s internal area, or assuming a product described as 10–15 m² will accommodate a particular furnishing. A sketch drawn to a consistent scale helps reveal mismatches before you commit.
Before you order 2
Keep the entrance and main route clear
Mark the entrance on your plan before positioning anything else. Show how the door operates, including its swing if it opens inwards, and the space needed for moving parts if it works another way. Avoid putting a cupboard or worktable in the area required to open it fully. Then draw a clear route from the doorway to the place you will use most. In a 10–15 m² interior, a route that looks minor on paper can take up useful space once furniture and stored items are in place. If the product drawing does not explain the opening clearly, verify it instead of guessing from a photograph.
Think about what you carry through the entrance, not only the person walking through it. Measure an awkward item, such as a long-handled tool, folded chair or box, at its widest point and consider how it will turn once inside. The route should reach everyday storage without crossing a standing work position or trapping a chair behind stored items. Use a paper outline for the largest object and test the turn on your sketch. For the Verdana 2 garden house page, check any model-specific opening information that is provided; do not infer the doorway or usable route from the product name.
Place furniture with windows and openings in mind
Plot windows and other openings on the same plan as the door. A window wall may look like a convenient place for a bench, but a tall cabinet or worktop in front could restrict access or obscure the view you want. Decide where daylight would be useful for your main activity, then compare that position with the actual window locations rather than assuming they will be on the side you prefer. If you need to reach an opening, mark the space in front of it as unavailable for fixed storage. Also note any vents, controls or other built-in features shown in the product information.
Allow space to use and maintain each opening: handles must be reachable, and an operable window needs room to open as indicated by the product information. Keep frequently used items away from places where they would have to be moved first. When comparing the Durano garden shed page, read the stated plan and configuration rather than assuming photographs show every opening in its exact position. Apply the same approach to any shortlisted model: the arrangement should follow the information for that product, not a generic sketch. If daylight, a view or privacy matters to you, include it among your priorities before settling on the furniture positions.
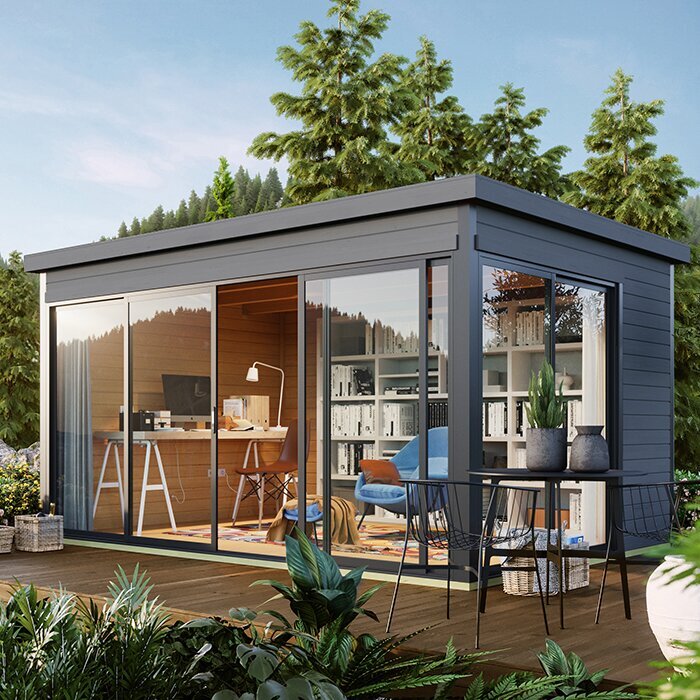
Before you order 3
Use wall storage without blocking access
Mark the usable wall runs after you have drawn the openings and entrance route. Shelves or tall storage can free floor space, but only if their depth leaves room to pass and reach what is stored. Put frequently used items where they are easy to see and take out; keep longer objects where they will not obstruct the entrance or work surface. Avoid putting heavy or awkward items high simply to save floor space. If your plan involves attaching shelves or cabinets, check the product and fitting instructions, and get competent advice if the wall or fixing capacity is uncertain.
Draw storage units at their actual width and depth, including the room needed to open doors, drawers or lids. A shallow rail, a freestanding cupboard and a deep cabinet use the wall differently, so compare them with the items you own rather than the number of shelves. Leave access to windows and any features shown on the plan; a wall is not fully usable just because it appears blank in a photograph. When checking the Veltor 1 garden house page, use only the interior dimensions or plans actually provided, then test your own storage against them. Do not assume fittings are included unless the product information says so.
Measure furniture in its working position
A table or bench takes up more than its closed footprint. On your plan, include the chair or stool pulled out, a drawer fully open, the standing position at the work surface and room to handle the item being worked on. Measure a desk, bench or cabinet in the configuration you expect to use; photographs can make nearby furniture look smaller than it is. If you work with long items, draw their length and the space needed to turn them. The aim is not to fill every square metre, but to leave enough room for the activity you have chosen.
Try the layout with essential furniture first, then add extras one at a time. A fixed bench may suit a task that happens often; a smaller movable table may leave room for other uses, but it still needs a place to go when not in use. Include that parked position in the sketch. Note whether storage underneath remains accessible, whether you can clean around the furniture and whether the entrance route stays open in the working arrangement. Use the Orello 1 garden house page as a model-specific reference only by checking the details actually supplied for that version; neither its name nor an image establishes the room available inside.
Before you order 4
Make shared uses fit one room
A multi-purpose shed works best when the activities are planned together, not treated as separate rooms. Decide which task has the fixed position and which can be done at a shared surface. For example, a bench might serve for small repairs as well as potting if the tools can be cleared and the materials have somewhere else to go. Do not count the same patch of floor as free space for two simultaneous tasks. If an activity requires you to kneel, stand or turn with a long object, represent that use on the plan as well as the furniture. This helps keep a 10–15 m² interior practical without dividing it into unnecessary partitions.
Give temporary items a defined parking place: a tray of pots, box of supplies or folded chair should not have to sit in the entrance while another job is under way. Flexible furniture helps only if it can be moved, folded or stored without blocking the route, so draw both its working and stowed positions. Consider which activity can pause during busy gardening periods and which needs to remain set up; let that priority guide how much space is permanently occupied. When reviewing the Modano 1 garden house page, use any verified model details to make the same comparison with your own activities. Do not treat a product name or image as a promise about the interior.
Size storage around the items you own
Plan storage from an inventory, not an imagined maximum. Group what you own by shape and frequency: small hand tools, long-handled equipment, pots, boxes and supplies each need different access. Keep everyday items near the task that uses them; less frequently needed seasonal items can go somewhere less convenient if you can still retrieve them. Note especially long, wide or awkward objects, as they often determine where a unit can sit. If an item needs particular storage conditions, check those separately rather than assuming the shed provides them. Record what will actually move in and out regularly instead of relying on memory when the room is empty.
Size boxes, shelves and cupboards using the actual items, including handles or lids that project. Estimate how many containers you will use and mark their footprints on the floor or wall plan; a row of small boxes can still take up a whole side. Keep frequently used tools reachable without shifting seasonal contents, and leave space to bring items in for sorting. When looking at the Wooden Garden Tool Shed M page, treat the name as an identifier, not proof that your tools will fit or that particular fittings are included. Match the product information with your own list before making a decision.
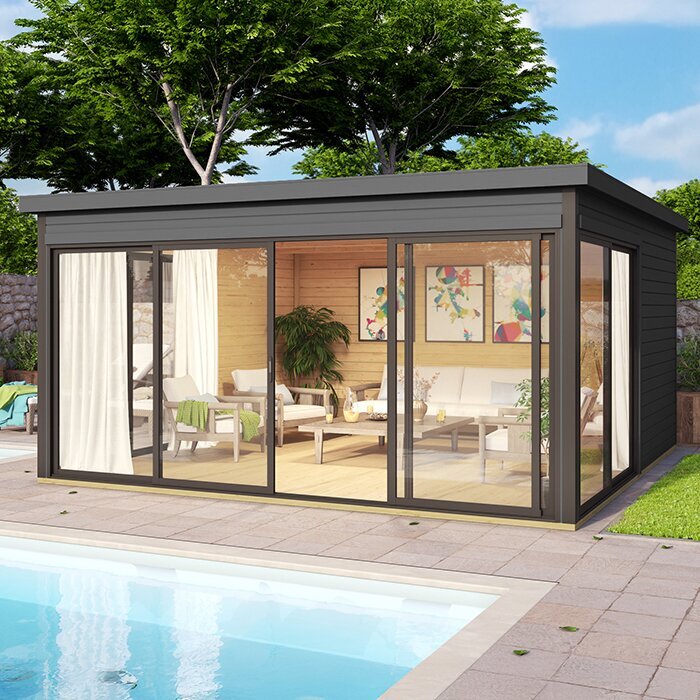
Before you order 5
Leave room for seasonal changes
The contents of a garden shed change over the year, so test the layout for more than one point in the calendar. List what needs to come out during planting or maintenance periods, what is used only occasionally and what can be moved elsewhere temporarily. Keep frequent-use items reachable when seasonal equipment is added. Leave a patch of clear floor for jobs that do not happen every day; otherwise, an arrangement that works in a quiet month may become cluttered when extra tools and supplies arrive. The aim is planned flexibility, not finding room for everything you might conceivably store.
Sketch a second version of the interior for the busiest period and compare it with your everyday arrangement. Mark where extra containers or equipment will go, which surfaces must stay clear and whether the entrance route remains open. If you are comparing the Wooden Garden Shed S page, use the exact dimensions and configuration shown for that product; do not infer a 10–15 m² interior from its name. Apply the same check to any candidate, and reconsider an item if there is no sensible place for it. An empty corner can be useful if it keeps the room workable when seasonal tasks overlap.
Check the plan against product details before ordering
Before placing an order, make a final model-specific check against your drawing. Confirm the listed internal and external dimensions, the position and operation of openings, and which version or configuration those details describe. Check what is included and what is optional, including any floor, shelving or other interior fittings, rather than assuming an illustrated arrangement comes with the shed. Read the assembly information for requirements that affect the space you have planned, and ask the retailer to clarify anything that remains uncertain. Keep the information for the exact model to hand so you do not compare your layout with details for a different product.
Measure the route from the unloading point to the chosen location, including gates, turns and narrow passages; a shed that fits its final position still has to reach it. Check the proposed location and any preparation against the manufacturer’s information. Do not guess at a base or structural requirement: if the ground, support or assembly conditions are unclear, ask a qualified installer or other suitable professional before buying. Finally, check the retailer’s stated delivery, assembly and return terms for the order you are making, without assuming that another model or configuration has the same arrangements. Your plan should cover both the interior layout and the practical route to ownership.
Garden shed FAQs
Is 10–15 m² enough for a garden shed?
It depends on the shed’s usable internal dimensions and what you plan to do in it. Storage for a few boxes takes up space differently from a workbench, seating or bulky gardening equipment. Check whether the stated area is internal or external, then draw the items and the space needed to use them.
What should a garden shed interior layout include?
Mark the inside dimensions, door and other openings, then add storage and furniture at their actual sizes. Show the door’s operating space, open drawers or cupboards, pulled-out seating and a clear route to the items you use most. A consistent scale makes it easier to spot overlaps before ordering.
Where should I put storage in a garden shed?
Place frequently used items where they are easy to reach from the entrance or the task that needs them. Keep long or awkward objects from blocking the route, and make sure storage does not obstruct openings. Check each unit’s real depth and access requirements against the usable wall space.
Can one garden shed serve as both storage and a workspace?
Yes, if the two uses do not depend on the same space at the same time. Choose a fixed position for the main activity, then plan where movable furniture and temporary items go when they are not in use. Check the building’s stated features against your intended use rather than assuming its name establishes suitability.
What should I check before ordering a garden shed?
Confirm the exact model and configuration, internal and external dimensions, opening positions, and what is included or optional. Compare the product information with your layout and check the route to the proposed site, plus the retailer’s stated delivery and assembly terms. Ask for clarification if a detail affects your plan.
An effective 10–15 m² garden shed interior is one where the main task works without moving everything else out of the way. Define that task, check the usable internal dimensions, draw openings and furniture in use, then test both everyday and busy-season arrangements. Before ordering, compare the same sketch with the precise product version and the details actually stated for it. A layout that preserves a clear entrance and reachable storage can be more useful than filling every spare corner with another unit.
