
Window glazing bars: types, patterns and key buying considerations
Window planning and design
Style is only one part of planning windows and doors with glazing bars. The chosen system changes their appearance from indoors and outside, determines how the glass is divided, affects cleaning and, with separate panes, forms part of the construction. Selecting every element in isolation can produce a disjointed result: a balanced living-room grid may feel misplaced beside an expansive patio door or slim entrance sidelight. Begin by comparing the available systems, then consider all openings across each elevation. The sections below distinguish decorative bars from genuine pane divisions, explain how to organise a readable grid and identify decisions that should be settled before an order is approved.
Buyer check 1
Two bar systems with different planning consequences
Appearance alone does not reveal the essential distinction. Decorative bars sit on the surface or within the visual zone of one insulated glazed unit, so the grid is created without separating the glass. True bars form several individual glazed fields and contribute to the element’s physical build. Although the finished layouts may resemble one another, specifying and maintaining them involves different considerations. A quotation should therefore name the exact bar construction instead of using “glazing bars” as a catch-all description. Supply a marked elevation too, identifying the viewed face, pane count and every horizontal and vertical position, so the intended composition cannot be read in several ways.
Define the result you want before choosing a system. Decorative bars may give a generous opening enough structure without making every glazed field a separate unit. Where the panes themselves should read as architectural components, genuine divisions offer that effect. The decision concerns priorities rather than quality: openness, period character, rhythm across the frontage, cleaning habits and visual relief all matter. Obtain inside and outside drawings for both proposals, using an identical scale. These reveal whether the grid relates convincingly to mullions, transoms, handles, sash boundaries and nearby doors, rather than appearing disconnected from the surrounding joinery.
Plan the grid before the individual window
Successful grids tend to rely on a limited set of lines that recur with purpose. Begin with the principal vertical references, such as corners of the building, window centres, sash junctions and perhaps the middle of a door. Position the horizontal divisions next. Repeating panes of equal height can feel orderly, although every opening need not copy them. Where window heights vary, carrying one prominent cross-line through the elevation and adjusting the other fields may look more composed. Judge the arrangement from realistic sightlines and distances. Tiny divisions across broad areas of glass can introduce visual clutter and obstruct the outlook far more than they appear to on a small drawing.
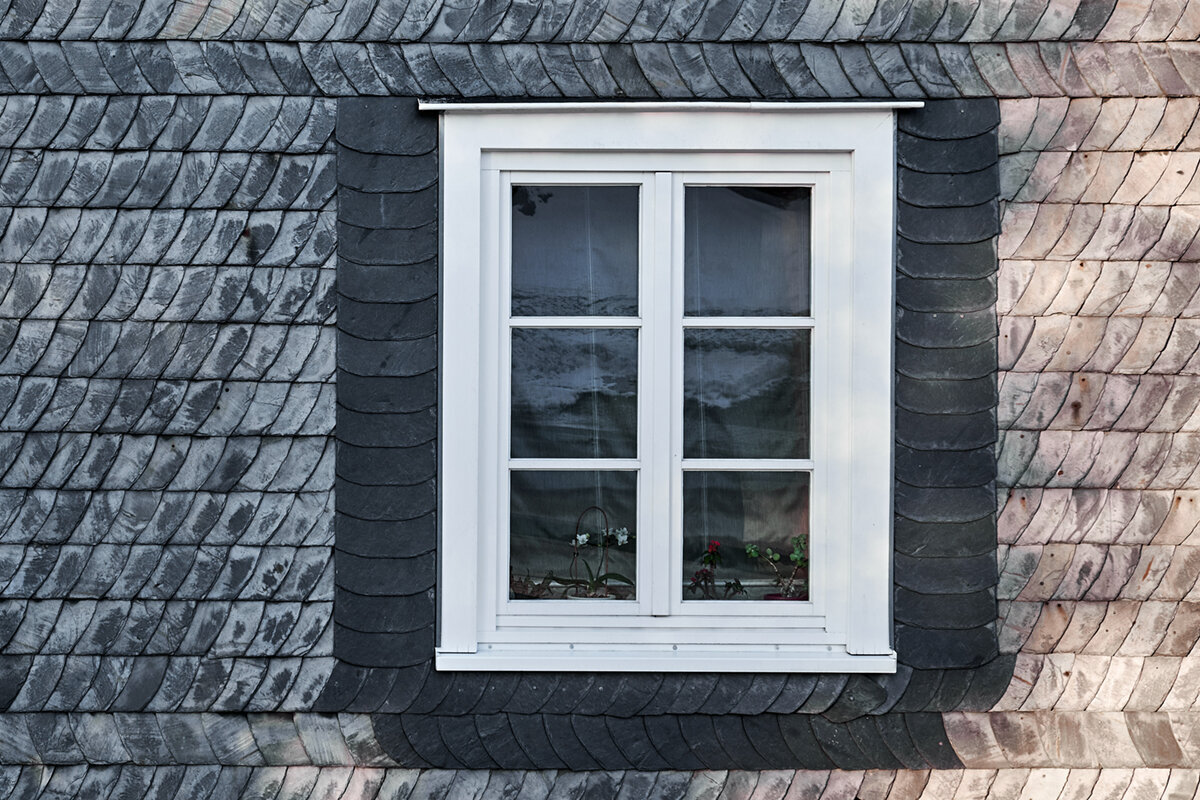
Start with the views that shape the house rather than its smallest opening. The street side, garden elevation and entrance are seen from different distances. For each side, note opening width and height, sash division and intended bar axes. One example is a Kombi heritage-style casement that opens outwards can establish a traditional rhythm. It does not oblige every expansive opening to use an identical pane count. Consistent proportions usually create stronger continuity than literal repetition. Compare neighbouring elevations as well: a divided arrangement that suits one frontage may work deliberately beside an uninterrupted fixed light on another.
Buyer check 2
Specify decorative glazing bars precisely
“Applied bars” does not describe a decorative system fully enough for ordering. State which faces will carry visible bars, whether the room-side and outside layouts will correspond, and whether a matching division is intended within the insulated unit. Those choices determine how much relief the grid appears to have. Details also matter where each bar terminates against glass or frame and where it approaches a sash line. Alongside the full drawing, request enlarged views of an outer pane, a corner and a crossing. They will expose awkward leftover fields and show whether the divisions give the glazed area a deliberate, balanced edge.
Continuous glazing simplifies one aspect of cleaning because genuine pane boundaries do not break the surface into numerous small areas. Even so, externally applied bars introduce raised edges that require attention and may collect dirt. Maintenance depends on the particular location, not a blanket description of either system as easy to clean. An extra edge has different implications above a terrace, high on an inaccessible gable or behind planted containers. For fixed-pane windows reviewing the proposed grid is especially useful because its broad, immovable glazed area displays every division clearly. Note which surface can be reached from the room and decide how access to the exterior will be managed.
True glazing bars as visible construction
With true bars, each pane is physically bounded, producing more pronounced relief. That quality may support period architecture or a deliberately detailed frontage. The arrangement must nevertheless be resolved as part of the complete element: pane proportions and quantity must suit its overall dimensions, framing and method of opening. Many divisions or slender fields at the edges affect more than appearance. Have the proposed configuration checked by the supplier against the actual size being ordered. A reference photograph can communicate an idea, but it cannot serve as the finished specification; neither catalogue imagery nor a product title removes the need for a drawing prepared for the project.
A two-sash window introduces another decision. Its central line may follow the meeting stile, while an alternative grid can offset it. Compare both arrangements with the window shut and open. A two-sash heritage-style casement opening outwards already supplies a strong central vertical through the division between its sashes. Arrange the bars to reinforce that structure instead of cutting across it without purpose. Request a drawing of the complete pair and establish whether the fields mirror one another around the centre. Across adjacent windows, keeping important cross-lines level will often create more order than repeating an identical pane total.
Buyer check 3
Balance daylight, outlook and room feel
A bar grid places a frame around the outlook and influences the atmosphere indoors. Regular divisions can lend definition to a broad dining-room window, yet feel intrusive from a chair facing an extensive view. Test the proposal from real positions around the room, including the table, seating, stairs and doorway. Orientation contributes to the effect: verticals draw the eye upwards, while horizontals extend it across the opening. Equal pane counts can still appear very different when one design uses squares and another uses upright rectangles. Instead of asking whether bars reduce light, decide how strongly the view should be articulated for the character you want.
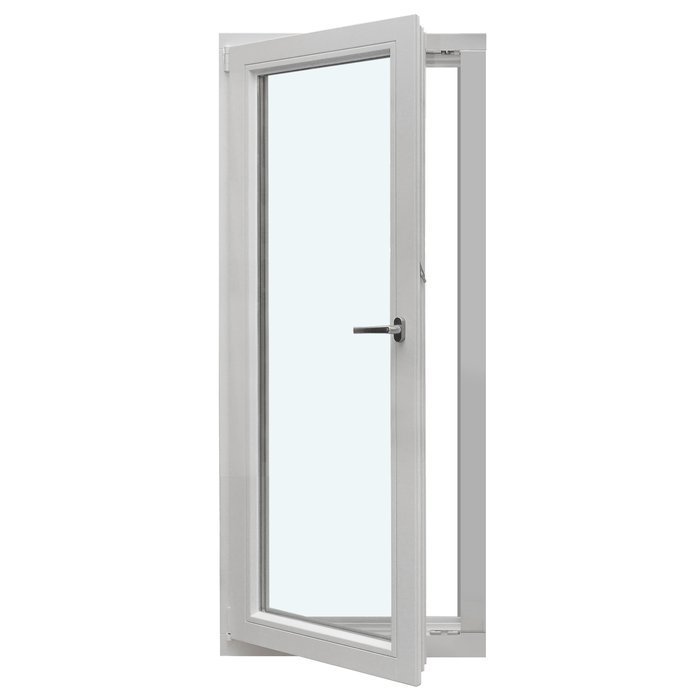
Interior arrangements require equal consideration. Curtains, pleated shades, radiators, sills and furnishings may interrupt some lines and accentuate others. An inward-swinging patio door must also work within the circulation space, where its handle, frame and bars are viewed closely every day. A single patio door opening inwards must therefore be assessed from the room as well as the exterior. Examine it in both operating positions and alongside adjoining windows. Draw the swing, curtain location and normal walking routes onto the plan. You can then see whether the open, divided leaf blocks an important view or sits behind furniture. Check seated and standing eye levels too, since a cross-bar that feels balanced outdoors may cut through the main outlook indoors. Where the door is intentionally left clear, continuity may instead come from a repeated frame colour or aligned upper edge.
Give wide door openings a separate grid strategy
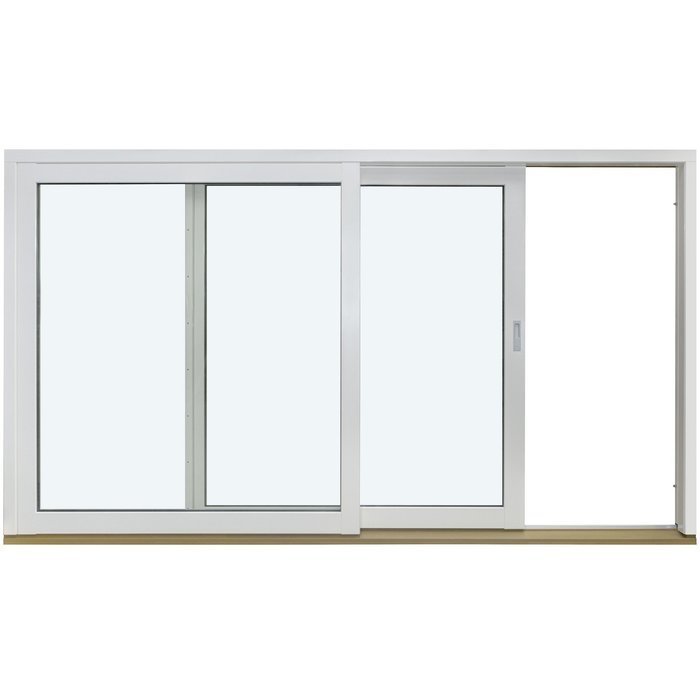
Sliding and folding systems combine expansive glazing with multiple frames and moving leaves, so a detailed window layout should not be copied across unchanged. Identify first which divisions arise from the door construction and which would be optional bars. Prepare a closed elevation, then examine what happens as the leaves slide or fold. The relationship between surfaces changes in operation, and brochure views may not represent that position. Larger uninterrupted fields can preserve a generous garden outlook when this is the main purpose of the opening. Alternatively, selected divisions may help the garden frontage relate to nearby windows, provided the door’s own proportions remain coherent.
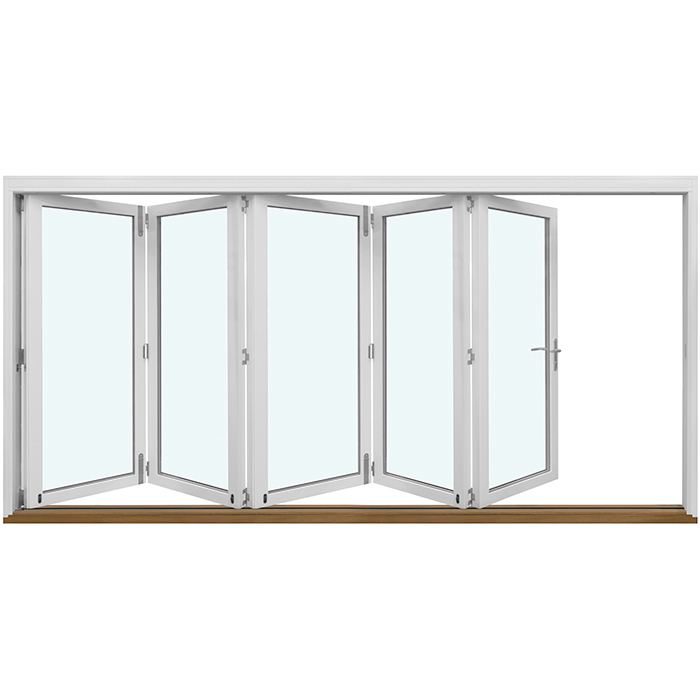
For Patio Life doors with lift-and-slide operation bring the requested bars, sash arrangement and neighbouring fixed sections together on a single drawing. Establish precisely which fixed or travelling panels receive the grid and how its lines relate to adjacent windows. Do not prolong every elevation line where doing so would leave narrow, awkward fields. For folding systems, consider each leaf as well: folding door sets that open outwards already make a bold composition when their leaves stack together. Limiting the additional bars may therefore produce a clearer result than repeating every nearby division.
Buyer check 4
Coordinate the whole entrance composition
People usually encounter the front door nearby, and it often gives the entrance its strongest identity. Consequently, bars across its glass may read as heavier or more delicate than the same width on a comparable window. Consider the door leaf, fanlight and sidelight as one arrangement. A grid confined to the sidelight should still belong to the entrance rather than resembling an unrelated window. It might follow a joint in the door panel, the handle level or a reference from adjacent glazing, as long as the effect remains restrained. Prepare the proposal on an elevation that includes some surrounding wall instead of relying only on dimensions for the glass.
A one-piece glazed door sidelight can use bars to organise the tall glazed area without implying anything about that product’s construction or performance. Decide whether its divisions should refer to the door height, a high-level band of windows or another axis across the frontage. Before selecting the layout, consider privacy, the amount of light wanted and sightlines from the hallway. If the sidelight and door belong to separate ranges, ask for directly comparable finish and elevation samples. Nominally matching colours or bar widths can appear noticeably different when installed next to one another, so the pair should be reviewed together.
Let unusual window shapes set the geometry
Curved, circular, triangular and raking panes already possess a strong outline. Overlaying a conventional rectangular grid might emphasise that outline, or it may compete with it. Begin by locating the shape’s natural reference: perhaps its centre, curve, roof angle or the rectangular section beneath it. A restrained arrangement can then respond to that feature, using, for example, one upright division through a circle or a handful of fields beneath an arch. Leaving the glazing undivided is often the clearer solution, particularly when the unusual outline is intended to provide the architectural emphasis.
For a fixed half-round window study the radiating geometry and proposed divisions on a scale drawing before approval. Establish where each bar terminates, whether any line continues from rectangular glazing nearby and how the design appears from the room. Exterior symmetry may not read symmetrically indoors when stairs or a ceiling edge enter the view. Ask for two comparable drawings: one with a simple arrangement following the curve and another with uninterrupted glass. Add identical datum lines to both so the effect of the grid can be judged without changing the reference points. This comparison will show whether the divisions clarify the outline or compete for attention. Do not reduce and reuse the lower-window pattern automatically for triangular glazing. Record the axis you intend to emphasise and its connection with surrounding elements instead. A clear, unbroken pane may make complicated roof geometry appear calmer and more intelligible.
Buyer check 5
Approve the design only after checking samples and elevations
A small display window or an image on screen rarely provides enough information for final approval. Examine a larger drawing in natural light and at several viewing ranges, ideally against a sample of the planned exterior finish. Dark bars may read as assertive graphic lines, whereas pale finishes can merge more readily with bright glass. Viewing angle matters as well: spacing and apparent width change when seen obliquely from ground level rather than square-on. Approve the arrangement only after system, location, finish and bar width have all been resolved. A colour reference by itself cannot define the completed pattern.
Use a structured check before releasing the elements for production. Confirm overall width and height, and label the room-side and exterior drawings. Verify that every intended glazed area shows its bars, including sidelights and fanlights, and that cross-lines meet only where planned. Any opening deliberately left clear should be marked. Review sash division separately from opening direction because both alter the elevation. Number each drawing revision and cancel every superseded version. Similar-looking windows still need individual references connecting them to a room, elevation and opening, otherwise an approved grid may be assigned to the wrong unit. Follow verbal amendments with an updated drawing for confirmation. This converts the visual concept into an order that the designer, supplier and fitting coordinator can all check against the same information.
Compare quotations properly and coordinate the process
Assess each quotation against the agreed visual scheme, position by position, rather than relying on one general description. Every entry should identify the element, its measurements, operating direction, sash count, bar construction, grid, finish and corresponding elevation. State whether each glazed area opens or remains fixed, and label the exterior face of the drawing. Query any omission directly instead of inferring details from a similar product name. Whether a project has eight or ten windows, intentional variations are acceptable when they are recorded. Keeping this schedule also makes later additions easier to match with the established proportions and views.
Resolve the glazing-bar layout early alongside the site survey, wall construction, sills, shading and fitting plan. Revised measurements may upset equal fields, while a late door alteration can change the complete garden elevation. Keep technical approval and visual approval distinct, but coordinate them. Assign responsibility for updating drawings after measurement changes and for signing off each revision. Once the order is confirmed, provide the approved position schedule to whoever coordinates delivery and fitting. Identification should cover the room, outside view, opening direction and neighbouring units. Bloomcabin gives windows and doors a five-year commercial guarantee. Their stated delivery period is four to six weeks, subject to order confirmation. Build that period into the programme only after the construction and appearance are agreed; a provisional sketch alone is not a sound basis for fixing the installation date. Thorough approval helps avoid unnecessary clarification later.
Common questions
Can decorative and true glazing bars be identified equally from outside?
At a distance, the two systems may appear alike. Viewed nearby, differences emerge in relief, pane construction, crossings and perimeter details. Do not assess the exterior alone: obtain drawings from both sides and an enlarged view of a bar junction. That evidence allows the specified construction to be assessed, not merely the outline of its grid.
Does every window need an identical glazing-bar design?
No. Coherence can come from aligned axes, related proportions, consistent bar widths or one recurring upper datum; it does not require an equal pane count. Broad doors, shaped glazing and compact secondary openings can use different arrangements. Those variations should be deliberately resolved on the elevation instead of arising by accident.
Should a patio door repeat the window grid?
It may, although direct repetition is not always suitable. Door frames, handles and operation introduce their own visible structure. Review the entire door elevation and see how the scheme behaves when the leaf is open. Across extensive glazing, fewer divisions—or none—may be more successful than copying a small window layout exactly.
What documents are needed for a binding glazing-bar enquiry?
Provide the measurements and element type for each opening, its operating direction and sash layout, drawings from indoors and outside, the selected bar system, a pane-division sketch and information about adjacent units. Façade photographs should be included, with the exterior face clearly labelled. Together, these records expose errors involving axes, leftover fields or door junctions before ordering.
When should glazing bars be finally confirmed?
Develop the initial grid when the element types and principal elevations have been established. Do not issue final approval until the survey is checked, the drawing is complete and adjoining doors, sills and shading have been coordinated. Later alterations to measurements or sash divisions may visibly disrupt the pattern’s proportions and alignments.
Next steps
Glazing bars establish visual order across windows and doors rather than serving as a last-minute embellishment. A dependable choice starts by distinguishing decorative systems from genuine pane divisions, designing the grid across the full elevation and treating broad doors or shaped glazing on their own terms. Approved drawings carry more authority than catalogue names or reference photographs. Consider the impression from indoors and outside, alignment between lines, cleaning access and the contribution made by each opening. Release the order only when the system, dimensions, divisions, viewed face and opening direction have all been recorded together.
