
Window replacement: remove the frame or retain it?
Window replacement planning in Ireland
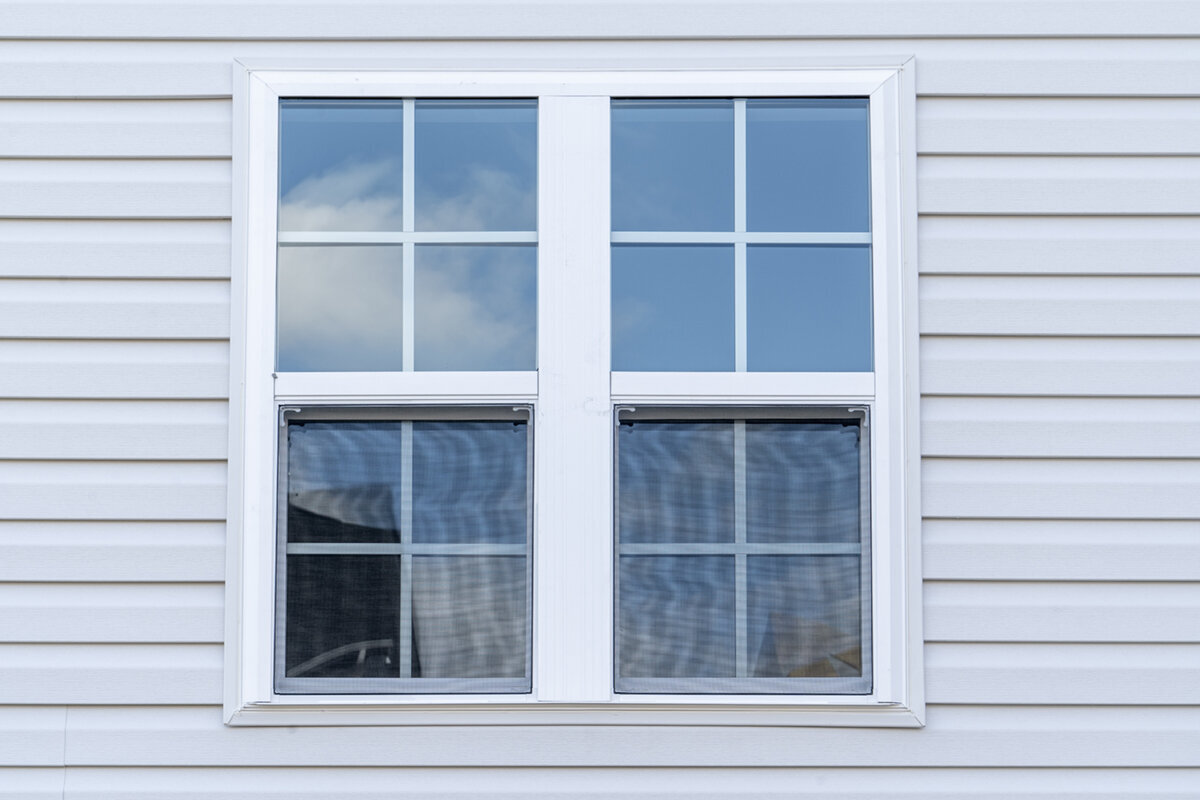
A replacement unit is only one part of a successful window project. Begin by establishing whether the fixed frame is sound, dry, true to shape and securely joined to the wall. Where those conditions are met, placing the replacement inside it may reduce disturbance. Complete removal is usually a firmer starting point if the frame, reveal or surrounding junction is damaged, poorly understood, or due for a visible redesign. Each method changes the glazed opening, internal finishes, façade work, schedule and cost. Surveying the existing construction before selecting products also prevents roller shutters, cills or plasterwork from becoming late obstacles.
Two methods, two different levels of intervention
Complete replacement takes out the entire old unit, fixed frame included. This exposes enough of the masonry, reveal and former perimeter detail to inspect and prepare them for the replacement. The work therefore concerns the interface between the window and the building envelope, rather than the unit alone. Installer and designer can agree the opening dimensions, placement within the wall, and finishes on both sides as one detail. This approach is particularly valuable when damp traces, deformation, visible damage or questionable earlier alterations make the existing construction uncertain. It also allows planned façade works and the window junction to be resolved together.
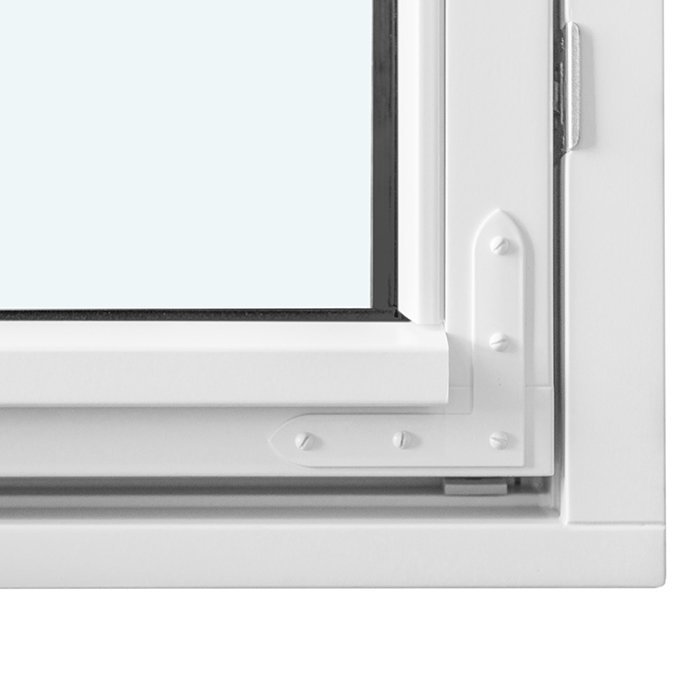
An insert installation leaves the fixed frame where it is and places the replacement inside that boundary. As a result, the usable opening generally narrows compared with removing everything. The retained frame also stays visible and has to suit the replacement system, fittings and junctions on both faces. Although this route may limit repairs to surrounding finishes, proper inspection remains essential. It is suitable only where the frame has been shown to be dry, secure and in good condition; age alone is no reason to choose it. The completed arrangement must remain understandable and dependable for the long term.
Assess the existing fabric before measuring
Work through the building one room at a time. The inspection needs to include the glazing and sashes, frame corners, lower rails, fixings, reveals, cills and adjoining render or cladding. Flaking finishes, staining, softened material, cracking, distortion and persistent draughts do not identify a cause by themselves, but each warrants closer investigation. Alterations made after the original installation may provide further clues: note external insulation, added internal linings and modified roller-shutter boxes. Take photographs and record the condition in advance so that important construction details are not first encountered during the work.
A useful survey records considerably more than overall dimensions. Measure in several locations and note reveal depth, existing cill positions, opening direction and nearby obstructions. Consider a one-leaf window opening inwards , and check beforehand whether its sash would strike a radiator, furniture, taps, fittings or proposed internal blinds. The depth available within the opening also affects the choice: a frame may appear presentable yet lack room for another construction inside it. Record every variation and unanswered point in the survey notes.
Compare light, appearance and proportions honestly
Loss of glazing is often the clearest visual consequence of retaining the original frame. Two frame systems must occupy a wall aperture designed for one, so a narrow window may acquire noticeably heavier borders. Daylight, outward views and the external composition can all change even though the structural aperture stays untouched. Quotations should therefore provide a dimensioned drawing of the visible frame sections, not just overall sizes. A physical sample or scaled elevation is particularly helpful for a row of small windows or for rooms where natural light is already limited.
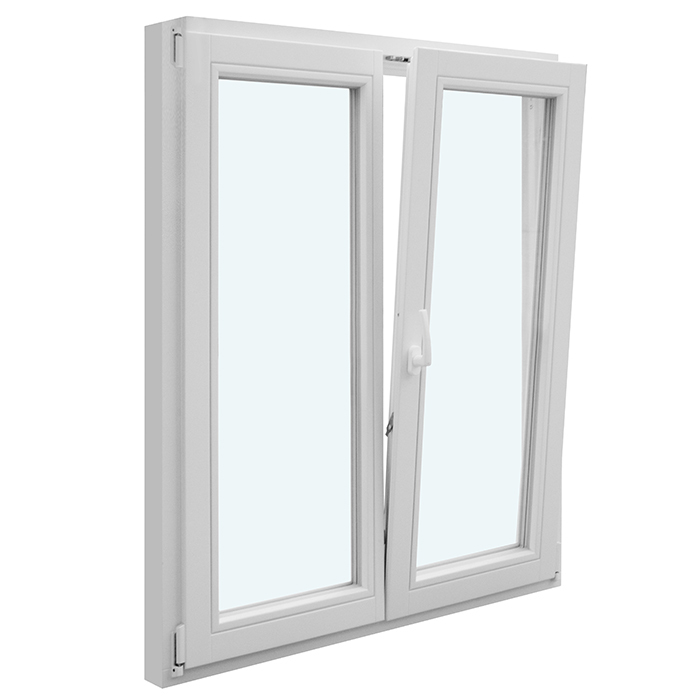
In openings with two leaves, the chosen division influences visual balance as well. An inward-opening window with two leaves may follow the rhythm of the present façade, yet an insert method alters the border widths and central meeting line simultaneously. If established proportions, repeated axes or glazing bars matter, approve the interior and exterior elevations independently. Bars that divide individual panes affect construction differently from decorative bars applied to the glass. Removing the fixed frame can reveal more of the original aperture; keeping it means consciously accepting another visible outline around the replacement.
The junction involves more than the seal
Windows form part of a layered perimeter detail rather than working in isolation. Room-side airtightness, frame-level insulation, external weather resistance and allowance for movement must all be reconciled. The right arrangement depends on the wall, the position chosen for the unit and the surrounding components. Removing everything gives better access but also creates exposed surfaces that need careful reinstatement. An insert leaves part of the earlier construction hidden, so the specification should state how the frame edges and reveal are to be cleaned, prepared, sealed and inspected. Where the same window type recurs, complete one trial opening first. This lets the parties review visible margins, junction widths and work order before continuing. Agree in advance which discoveries require another technical decision. For example, an uneven background should be assessed for fixing, weathering and appearance instead of merely concealed beneath a wider trim. Such coordination matters especially when separate contractors handle the inside and outside finishes.
A specification that mentions only foam or sealant is too vague. Establish which backgrounds will be inspected, the fixing method, proposed perimeter materials, and responsibility for restoring plaster, render, cills and cover pieces. A fixed-glazed window still requires a properly designed wall junction even though it has no opening sash. Along its base, drainage, the cill and both end details need to function together. The appointed designer or specialist contractor should set out and record how the proposed arrangement suits the actual wall.
Do not hide defects behind a new unit
Where the existing frame is questionable, taking it out often provides the safer technical basis. Dampness may originate at failed exterior joints, from condensation on cold surfaces or through leaks in neighbouring construction. Covering the area before finding the source could trap an unresolved problem. Once exposed, the background, anchor locations and adjoining materials can be examined, with repairs undertaken in a sensible order. A minor blemish does not automatically justify complete removal. The relevant issue is whether professional inspection confirms that the old frame remains strong, dry and geometrically stable enough to support another installation.
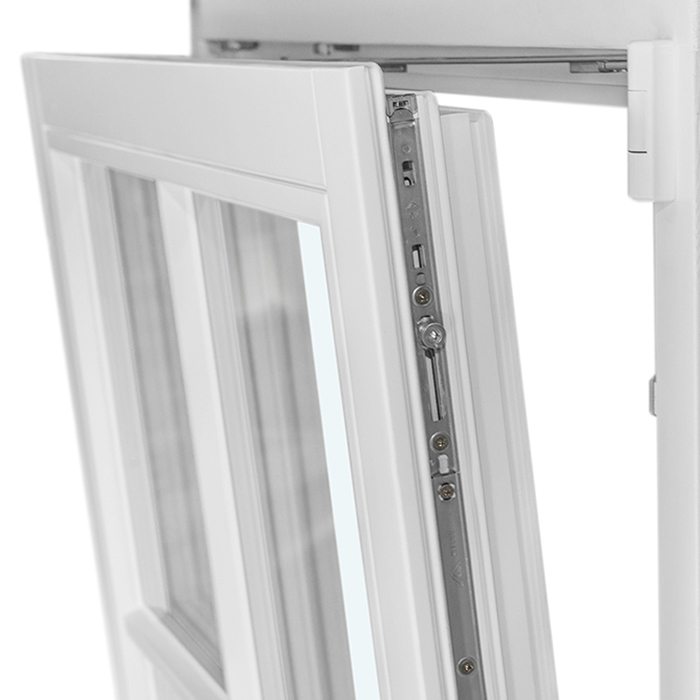
Frames that look serviceable still deserve checks for movement and operation. A sash needing force to close, irregular gap widths or cracking around the reveal may indicate a problem beyond the moving part. On a historical-style “Kombi” casement opening outwards , also ask whether its traditional appearance fits the available building opening. A product name identifies the arrangement offered; it does not establish compatibility with a particular property. Clearance, anchoring, exposure to weather and perimeter construction must all be reviewed before deciding to retain the fixed frame or rebuild the complete aperture.
Coordinate room finishes, façade work and other trades
Keeping the fixed frame may be attractive when valuable interior decoration should suffer as little disturbance as possible. Nevertheless, some alteration to reveal linings, wallpaper, cills, curtains or other dressings is often necessary. Complete removal generally creates broader making-good work, but it also permits the reveals, perimeter levels and exposed margins to be rearranged. Externally, consider render, brickwork interfaces, cladding, cills, blind tracks and existing insulation. Comparable quotations must identify all these associated tasks instead of listing only the window unit and a nominal fitting position.
Roof-window work has a separate set of interfaces. Coverings, internal linings, drainage paths and insulation around the aperture need coordinated design. A pivot roof window needs assessment as a roof component, not as though it were an upright façade unit. Low-level and unusually wide openings likewise require early decisions about floor build-up, waterproof layers and final surfaces. Before ordering, allocate responsibility for protecting, removing and restoring each finish, as well as managing dust and access. List exclusions too. This reveals whether later repair work would erase the apparent saving offered by the less disruptive method.
Review ventilation, handling and each room’s purpose
A different window can alter everyday use of the room. Sash dimensions, hinges, handle height and surrounding furniture determine whether opening, airing and cleaning remain convenient. Existing habits are not always the best guide: limited circulation space, a nearby desk or a worktop below the opening may favour another operating direction. Fixed glazing gives an uncluttered view, but the room still needs a suitable means of ventilation. That question remains separate from whether the old frame is kept. Priorities also vary by room. Bedrooms may call for convenient controlled airing; stairwell windows need safe reach and cleaning access; kitchens and bathrooms must account for taps, counters and fitted units. Sketch the sash in its open position to expose clashes with handles, curtains or furnishings that a plan might miss. If several units are changing, identify which remaining openings can genuinely provide routine ventilation.
Where a wide element connects the room and garden, circulation must remain practical on each side. The Patio Life lift-and-slide door serves a different purpose from a casement and needs to be planned with its threshold, floor detail, blinds and furniture. Elsewhere in the room, fixed glazing may suit an opening intended only for light, whereas regular airing calls for an operable unit. Prepare a simple room schedule recording use, preferred opening action, cleaning access and exterior obstacles. It keeps the design focused on daily needs as well as frame construction.
Read quotations by scope, not final total
Price both approaches against an identical schedule of work. For every aperture, request details of removal, waste disposal, background preparation, unit supply, anchors, seals, perimeter finishes, cill work, repairs, protection and handover. An insert quotation should expressly record any assumption that the retained frame can carry the new work. A complete-removal quotation should explain the response to concealed defects and who authorises extra repairs. Labels such as “complete fitting” reveal little unless the included tasks are itemised.
Discuss the working sequence as well: whether several openings will be exposed together, how each will be made weatherproof before fitting, and which inspections precede closing the perimeter. A single-leaf patio door opening inwards also affects the adjoining outdoor surface and the route used every day. Merely pricing the door unit leaves those interfaces unresolved; dimensions and responsibilities must be coordinated with neighbouring trades. Bloomcabin states a five-year commercial guarantee for windows and doors, while the stated delivery period is 4–6 weeks subject to order confirmation. Neither term replaces project-specific detailing or an agreed scope for the contractor. Compare quotations line by line, recording exclusions as carefully as inclusions. Different totals may reflect omitted making-good, contrasting assumptions about the existing construction or unequal protection. Where hidden conditions remain uncertain, establish a procedure rather than an arbitrary allowance: identify who reports and assesses a discovery, which activity pauses for approval and how extra work is recorded. The installation decision then remains traceable throughout the job.
Make unusual forms and conservation aims visible early
Standard assumptions become less reliable as the opening grows more unusual. Curves, angled units, raised cills and uneven reveals call for careful measurements and a drawing that shows the wall edge, frame and glazing together. A fixed-glazed triangular and sloping window illustrates why geometry determines the order of decisions. Confirm the aperture shape, bearing points and feasible junctions before settling the appearance. Retaining an earlier frame around an unusual form can add another visible border, changing its character more noticeably than it would on an ordinary rectangle.
For an Irish building whose façade has heritage value, include exterior photographs, detailed dimensions and the intended elevations in the enquiry. Record the proposed divisions, frame widths, opening actions, glazing-bar layout and relationship with adjacent windows, rather than concentrating on colour alone. Ask appropriately qualified advisers and the relevant local authority whether planning, conservation or building-control requirements affect the particular project; no universal conclusion follows without that assessment. Complete removal may offer greater freedom to recover the aperture’s proportions, while a sound retained frame can help preserve established character. On a larger project, select a representative, prominent window for approval. Review its room-side and exterior appearance, bar locations, junction edge and remaining glazing from dimensioned drawings instead of relying on a product photograph. Openings with different shapes, conditions or reveal depths still require separate consideration, because one successful trial detail cannot automatically govern them all. That keeps the overall design coherent while respecting technical differences.
How to reach a reliable decision before ordering
Begin with a project file for each group of windows rather than choosing products immediately. Assemble interior and exterior photographs, measurements from several points, details of the wall and cill, damage observations, the preferred appearance and the room’s purpose. Record whether the fixed frame may remain on view and the likely reduction in glazing. A specialist can then compare retention and removal against actual evidence. Request reasons tied to the perimeter construction and finishes, not merely a named recommendation. Two competent proposals may differ because they give different weight to appearance, disruption or technical risk.
Complete one final coordination check before ordering. Confirm opening actions, divisions, elevations, perimeter details, blinds, cills and responsibilities for subsequent work. Approve unusual dimensions and every exposed feature, record the starting condition and agree the handover process. Keeping the frame is defensible when its condition has been verified, the smaller aperture accepted and the new junction designed properly. Removing it is preferable when the perimeter needs renewal, proportions are changing or uncertain construction should be exposed. The choice then rests on documented building evidence instead of a vague distinction between two fitting labels.
Frequently asked questions
Can every old window be replaced within its existing frame?
No. A competent inspection must confirm that the fixed frame is secure, dry, stable in shape and capable of receiving the replacement. The reduced opening, wider visible borders and proposed connections to the reveal and cill must also be acceptable. Dimensions alone cannot establish the frame’s condition.
Is full-frame removal always the better option?
No. Removal exposes the perimeter and offers more control over frame position and proportions, but it usually increases repairs to the façade and room finishes. Retention can be sensible when inspection confirms a suitable frame. Choose according to its condition, the intended detail and the project’s full scope.
Why is the glass area smaller with an existing-frame installation?
The replacement has to fit inside the fixed frame that is being kept, so both frame systems occupy part of the aperture. The visual effect varies with their geometry and the opening’s size. Dimensioned elevations from both sides provide a clearer preview before the order is placed.
Which documents help a specialist make a recommendation?
Provide exterior and interior photographs, dimensions taken at several positions, and details of the wall, cills, blinds and intended opening actions. Mark cracks, damp indications, stiff operation and earlier alterations. For a group of windows, identify which elevations and divisions need to read as one composition.
When should windows, external work and internal finishes be planned together?
Plan them together whenever the work touches cills, render, cladding, floors, roller shutters or blinds. Complete removal generally demands closer coordination, although an insert can also disturb adjoining finishes. Assigning each task and responsible trade in advance avoids gaps later.
Next step
Keeping the fixed frame and removing the complete assembly are two distinct ways of rebuilding the window perimeter, not merely smaller and larger jobs. Retention works when inspection supports the frame and its effect on appearance and aperture size is acceptable. Removal is appropriate where the opening, façade composition or surrounding junction needs reworking, or where the existing construction remains doubtful. Compare drawings, interfaces and included tasks alongside products and totals. A recorded survey and named responsibility for every junction and finish allow the method to be settled before site work starts.
