
Winter Window Replacement: How to Plan the Work
Planning winter window replacement
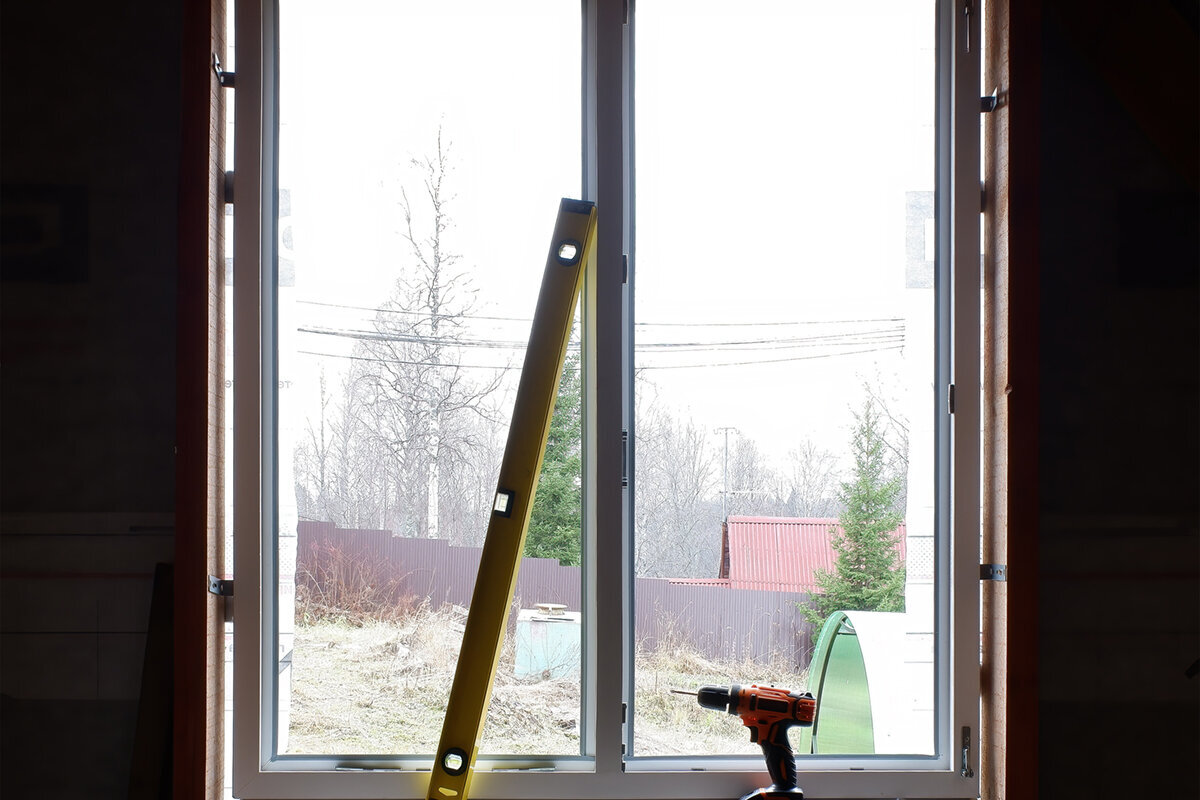
Replacing windows in winter is not automatically ruled out. The date matters less than the sequence on site: the old unit should only come out once the replacement window is ready, the opening has been prepared and the fitting team can protect the junctions from the weather. For homeowners, a winter appointment is chiefly a coordination task. Confirm dimensions, opening direction, junction details, access and room use beforehand to avoid openings being left exposed and rooms cooling unnecessarily. It can be particularly worthwhile where a draughty window needs prompt replacement or work is planned in stages. This guide explains when winter fitting can be practical, which product and detailing decisions matter before ordering, and how to prepare installation day so the house is closed up again quickly.

01 / Check measurements
Assess the winter date as a site process first
What matters most is the time for which the wall opening will be exposed, rather than cold weather by itself. In a controlled changeover, the installer uncovers one window, takes out the existing unit, examines and prepares the reveal, then positions and secures its replacement before completing the planned junction work. Taking out several units together needlessly increases exposure inside and around the fabric. Working in stages is usually easier to manage: finish one room or elevation, then continue. This also leaves scope to deal with unexpected masonry damage without exposing more openings. When booking the work, settle the order of installation and identify the person authorised to respond if the survey and actual conditions do not agree.
Weather affects working techniques, products and temporary protection. Ireland's Atlantic conditions can change quickly, while wind and exposure vary by location. Driving rain, ice underfoot or strong gusts may prevent the opening and junction zone from being kept dry and worked safely. The specified system's guidance determines whether its tapes, sealants, foams or coatings are usable in the conditions; a single general temperature threshold is not enough. The installer should judge whether the intended build-up can proceed. Set out the postponement procedure as well: identify who monitors the forecast, the deadline for making the call and how the units will be stored securely. A workable reserve date is preferable to insisting on the original winter booking.
Match the replacement window to the opening and daily use
Settle the specification before fixing a winter date. Measure beyond the existing frame: establish its breadth and height, the usable opening, reveal depth, present sill connection and preferred operation. An attractive unit can still be wrong for the room if the sash collides with heating equipment, furnishings or something outside. Where convenient, reachable operation is the priority, a one-leaf window that opens inwards could be an appropriate arrangement. The name tells you how it opens, rather than describing every construction detail. For the particular opening, confirm sizes, fittings, glazing choices and junction requirements.
During a whole-house replacement, survey each opening in its own right. Windows that appear identical may have unlike reveals following previous alterations or where an extension joins the original house. Record the room, elevation, structural opening, handing, sill level, internal board and any roller-shutter boxes, heating units or services for every window. Use that schedule when comparing both the supplied items and fitting quotations. Decide handles, ventilation preferences, privacy and cleaning access before work starts. A late change to the opening method may disrupt both sequencing and junction details. Allow for Bloomcabin's stated lead time of 4 to 6 weeks for windows and doors, which remains subject to the individual order confirmation.
02 / Define the installation
Inspect reveals and junctions before removal
Conditions around the frame have a direct bearing on how smoothly the changeover runs. Loose finishes, soft patches, ageing seals, irregular surfaces and signs of damp may remain hidden until removal begins, so they cannot be dismissed as minor details. Take photographs inside and outside, and present anything unusual when the opening is surveyed. This allows the contractor to plan repairs, surface preparation or additional time. A reliable preliminary picture is particularly helpful in winter, when delays should not occur after the wall has been opened. Establish who examines the substrate, the method for dealing with small areas of damage, and the circumstances in which the team would stop and reassess the work.
A perimeter joint is more than unused space between the wall and frame. Plan it within the installation method, with the room-side layer, joint zone and outside layer each responding to the construction and degree of exposure. Instead of prescribing one universal answer, request a drawing or explanation of the intended detail for your wall. Include connections at the sill, outer reveal and any existing shading system. Establish the temporary weather precautions used during removal and insertion, together with the programme for finishing outside. Questions about moisture, building performance or a broader renovation should be referred to a suitably qualified contractor or designer. Seen this way, working in winter is not a separate technique; it simply calls for disciplined planning and coordination.
Prepare one room at a time and limit heat loss
Unobstructed routes are more valuable on fitting day than coverings improvised at the last moment. Remove curtains, plants, movable furnishings and vulnerable belongings from around the window. Clear the route between the entrance and room, and arrange floor protection unless the installers provide it. Leave radiators reachable and free of stored items. Shut doors leading to adjoining rooms to contain dust and cold draughts. In an occupied home, make suitable arrangements for pets, children and anyone especially sensitive to low temperatures while a unit is being removed. Agree which spaces may be aired during the job and which internal doors need to stay shut.
Choose the sequence according to room use rather than the elevation alone. A bedroom or study might remain vacant for several hours, whereas a bathroom or kitchen commonly requires closer coordination. If only selected windows are changing, other windows and doors may help isolate the working area. Keep ventilation grilles and escape routes clear of stored materials. A heavily used, wide opening presents additional handling demands; one example is a Patio Life sliding door with lift action which requires sufficient room for unloading, opening the packaging and controlled movement. Decide the route into the house, the temporary location for wrapping and whether outside paths will remain safe under winter conditions. The configuration does not establish the unit's dimensions, weight or installation needs, so obtain confirmation for the actual project.
03 / Agree the appointment
Organise external work, access and site protection
Practical planning for a winter visit starts at the edge of the property. Examine parking, vehicle access, the carrying route and the working space outside every affected window. Leaves, ice, snow, bicycles or garden furniture may slow or obstruct the team. Outdoor power points, lighting and a clear tool area can assist if requested by the contractor. For an upper storey, settle the proposed outside access early. The installation company must select an appropriate ladder, scaffold or other method; it should not rely on an improvised arrangement from the homeowner. Where sills, cladding or external render need alteration, programme those trades alongside the window work instead of leaving them as minor follow-up items.
Site protection also requires suitable materials to be ready and within reach. Ask whether temporary boards, covers or sheeting will be available if the weather turns, and establish who authorises their use. These precautions cover the brief interval between taking out a unit and sealing its replacement; they do not justify proceeding when conditions are unsafe. Check whether installers need details for neighbours, a property manager or anyone controlling access. In an apartment block, courtyard arrangements, lifts and quiet hours can affect the programme more than the temperature outdoors. A short pre-order inspection may expose such constraints. Put the practical arrangements on record, including the daily number of units, sequence, care of vulnerable finishes, old-material disposal and the named contact for decisions.
Choose opening types for daily and winter use
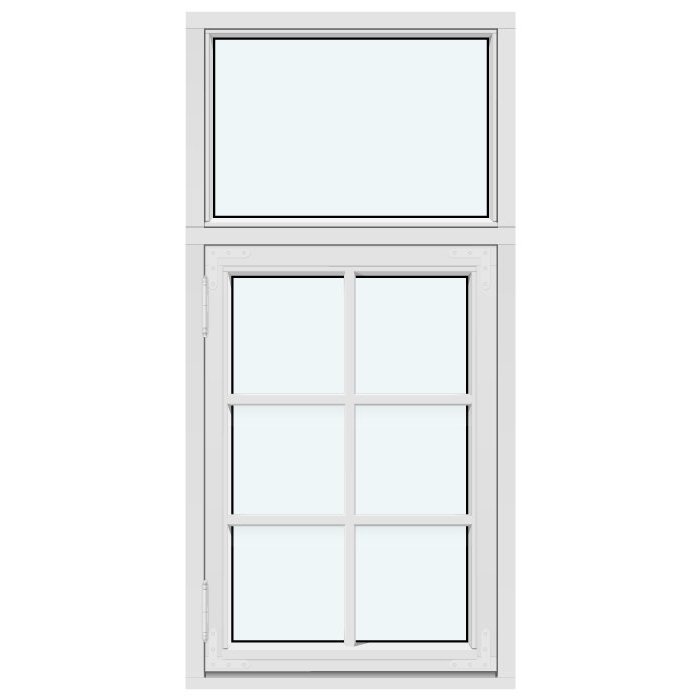
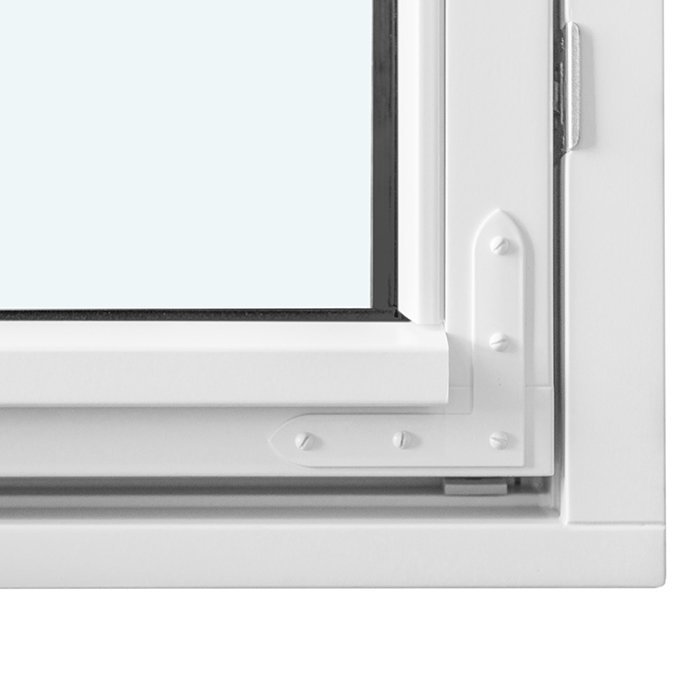
A replacement project is an opportunity to improve awkward operation. For every unit, consider its frequency of use and the people who must operate it. A sash opening outwards needs a clear arc beyond the wall; a railing, close planting or winter snow on the sill may reveal conflicts that are less obvious in summer. Inward operation instead occupies space within the room. Over a worktop, or wherever interior clearance is restricted, an outward-opening window with a top hinge may offer a useful alternative for comparison. Base the decision on a plan showing furniture, handle location and the full sash arc, not merely the outside appearance.
Consider cleaning and maintenance when selecting the arrangement. Identify the surfaces that are safely accessible inside, the way the sash will operate in that position and the clearance available around it. Matching divisions can give adjacent windows a balanced appearance, but each opening part must remain practical to use. Reversing the opening direction may alter details at the sill, reveal or shading system, so resolve it before the final measurement visit rather than on fitting day. For winter work, thorough preparation offers more value than choosing an opening method marketed as especially suited to the season. Whatever the arrangement, it must function throughout the year with the room, existing structure and planned junction detail.
04 / Prepare for fitting
Balance fixed glazing, divisions and daylight
Opening is not necessary for every window. If a particular position primarily provides a view and daylight, while ventilation is available elsewhere, non-opening glazing may be appropriate. Fixed-glazed windows form a category worth comparing with operable units. Suitability depends on the room's ventilation plan, intended purpose, location and safe cleaning access. A fixed pane has no sash to adjust and may therefore streamline part of a winter installation, but this alone does not make it preferable. First establish where occupants require direct, everyday ventilation and where they do not. That assessment can then guide how many operable units are needed and where they belong.
Glazing bars influence the façade and can reflect divisions already present on the building. During specification, separate decorative or applied bars from genuine glass-dividing bars, as the constructions differ. Request an unbroken pane where a calm expanse of light is preferred. If divisions are wanted, review their width, alignment and symmetry on a drawing. Pairing a fixed light with an operable sash can organise a broad opening without losing ventilation. Judge the arrangement from both the room and the exterior elevation. Before placing the order, approve a final view of every relevant unit, particularly where the openings or sash patterns are not all alike.
Clarify special shapes and historic elevations early
Circular, sloping and segmented openings need closer preparation than ordinary rectangles. Measurements of the old frame or exposed pane are insufficient; arrange a professional survey of the complete opening geometry. With a circular window with non-opening glazing the important detail is the junction between the curve, surrounding wall, inner reveal and outside finish. Scaled photographs are useful records, although a survey is still required. Establish the proposed treatment beside render, cladding and retained decorative features. Avoid deciding these bespoke details under the pressure of a winter installation date. Where the extent of work remains uncertain, complete the investigation and design before selecting a purposeful fitting date.
For buildings with historically defined façades, proportions and visual details also need attention. A traditional outward-opening combination casement refers to one combination of style and operation; it is not evidence that the unit suits every older property. Compare the elevation, sash proportions, glazing-bar pattern and mode of opening against both the existing fabric and nearby windows. For a historic building or managed apartment, ask the local planning authority, owners' management company and a suitably qualified adviser what project-specific approvals or consents should be addressed before ordering. Do not assume either that the proposal is permitted or that it is prohibited without that assessment. Checking early reduces the risk of altering the specification after delivery.
05 / Record handover
Coordinate roof windows and doors separately
Roof windows present their own winter site situation because internal finishes, the roof covering and weather protection meet. For a pivoting roof window review the complete site arrangement rather than size alone. Discuss safe access to the roof, measures for shielding the room, the junction with the roof covering and any disturbance to internal linings. Dust and changes to adjoining finishes may arise even when the replacement has dimensions close to those of the old unit. Protect flooring and furnishings below with particular care. The fitting team should identify weather suitable for the intended operation and decide whether combining the roof work and window change on one day is sensible.
External and patio doors should not be casually included in a window replacement project. They are often main access points and need a continuously usable route. A one-leaf patio door that opens inwards offers a defined counterpart to the outward-opening version. Check its indoor swing area as carefully as clearance on the patio. Agree details for drainage, the threshold, adjacent flooring and later use with the contractor. During winter, preserve a usable entrance outside the active work zone. The plan should also explain how the property will be closed and secured overnight if unexpected circumstances prevent the team from finishing that day.
Plan handover, records and aftercare
Set aside time to inspect the finished work with the installer instead of judging it at a glance. Operate each moving sash, test the handle positions and examine all visible junctions on the room and weather sides. Establish what was adjusted during fitting and whether further tasks remain after materials cure or after sill and render work. Photograph the completed work room by room, paying particular attention to transitions into retained finishes. Add any visible item requiring attention to the handover document or a written snag list. If weather delays some outside finishing, record its scope, the temporary protection in place, the responsible party and the agreed follow-up.
Store the invoice, order confirmation, care guidance, handover records and product literature together. Bloomcabin provides a 5-year commercial guarantee for its windows and doors; consult the documents and conditions issued for your particular order to understand the records required. Once the windows have been used for a while, recheck their operation and visible joints, especially where the replacement has changed room use or indoor conditions. Report anything unusual to the agreed contact rather than attempting adjustments to fittings or junctions yourself. Aftercare is not an expectation of failure. Its purpose is to keep evidence, responsibilities and contact details orderly, allowing future queries to be handled promptly and transparently.
Common questions about winter window fitting
When should window replacement be postponed because of weather?
Only the installer can decide this from the proposed installation system, site conditions and actual weather. Heavy rain, ice or wind can make work and protection of the opening more difficult. Ask in advance about the decision point, an alternative date and the measures to take if the weather changes during installation.
For how long is a room exposed while a window is changed?
The answer varies with unit size, reveal condition, the quantity being fitted and the required junction details. Ask the contractor to estimate the duration from the proposed programme. Where practical, complete one room before opening another and make sure the access is ready. This limits how long any individual space experiences a cold draught.
Should I turn off the heating in winter?
Agree the approach with the installers for every affected room. Keep radiators, controls and pipework accessible while protecting them against damage. Do not apply one heating setting throughout without discussing the work programme. When the wall opening is exposed, belongings must stay clear of both the installation area and any heating equipment that needs to operate safely.
Can I replace just one draughty window in winter?
It is generally possible to plan the change of one window. Precise measurements and junction details compatible with the wall, reveal and neighbouring units remain important. Consider any broader renovation intended for a later date. Where one is planned, coordinate dimensions, external appearance and technical interfaces at the beginning rather than treating the isolated unit separately.
Which details belong in the written pre-order plan?
For every opening, document dimensions, operation, divisions, inside and outside appearance, supplied items, junction tasks, sequence and responsibility. Include access, furniture protection, disposal and the response to unsuitable weather. Bloomcabin states a 4 to 6-week lead time, subject to confirmation of the individual order.
Preparing your project
A successful winter window change depends chiefly on preparation rather than the calendar. Correct specification, an accurate professional survey and an orderly sequence for every opening outweigh the attraction of the earliest appointment. Before ordering, review access, reveals, room order and the preferred operation. Settle with the contractor the acceptable working conditions, temporary safeguards for exposed openings and arrangements for postponement. Give bespoke shapes, doors and roof windows their own planned stages, then create a clear handover record. Together, those steps support a controlled replacement project through Ireland's colder, changeable season.
