
How Much Clear Space Should You Leave Around a Garden Shed?
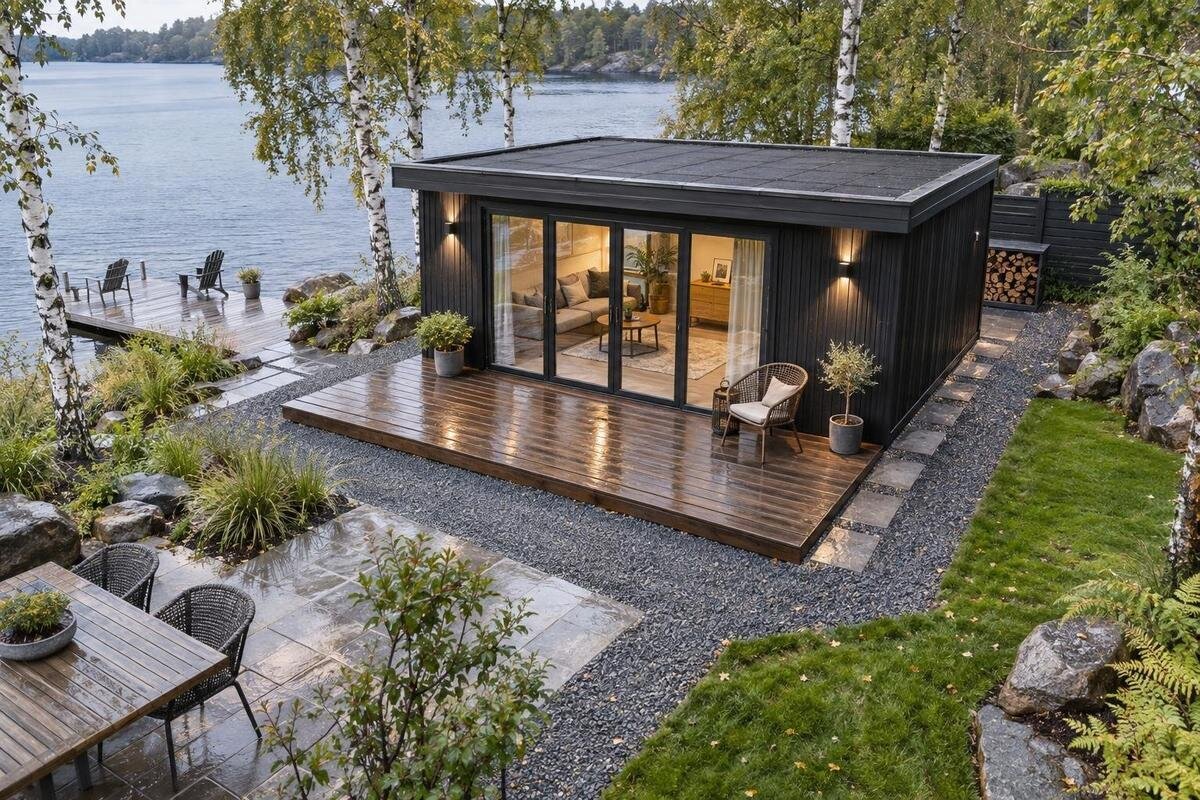
Garden shed planning
Clear space around a garden shed is not simply the strip left over after choosing a spot. It is the area that lets you reach the entrance, move stored items in and out, inspect the outside and carry out the upkeep the building needs. A shed can fit neatly on a plan yet be awkward to use if a gate, wall or path leaves no practical way to get to it. The useful allowance depends on the shed’s confirmed dimensions and openings, your intended use, the access route and the tasks you may need to do outside. This guide explains how to work that out before ordering, without treating one measurement as suitable for every garden.
01
The shed footprint is only one part of the space
Think of the plan as three related areas: the shed’s outside footprint, the space needed to open and use it, and the route that connects it to the rest of the garden. The footprint is the area occupied by the building; it does not include someone standing at the entrance or room to move a long item through. A workable layout accounts for all three, rather than checking only that the building fits between two fixed points. Keep them separate on your sketch so a proposed path or planting area is not accidentally counted as both clear access and usable storage.
The space around a shed should answer practical questions. Can you reach the entrance without squeezing past a wall or garden feature? Can you take out the largest item you expect to store without awkwardly turning it? Can you reach the outside when it needs attention? A broad patch of open ground behind the building may be of little use if the approach to it is blocked. Consider the whole route and the job you need to do, not just the gap between the shed and the nearest obstruction. Also note features that change with the season, such as pots, outdoor furniture or drying racks, because they can reduce a route that appears clear when you first measure it.
Choose clearance according to how you will use the shed
List the activities the shed must support before deciding how much space to reserve. Occasional access to a box calls for a different movement pattern from regularly wheeling out equipment or carrying bulky items. Include the people who will use it, what they will carry and where those items need to go next. If an item has projecting handles or needs turning to clear the doorway, include that in your trial rather than measuring only its main body. These details help you identify the sides and parts of the route that need to remain clear during everyday use. It can help to rank the items by frequency of use and size, so the daily route is not compromised by a storage arrangement planned around something rarely moved.
Give regular tasks priority, then consider less frequent access such as cleaning or repairs. This does not mean every side needs an identical empty strip; it means the space you reserve should match a real task. If you are considering the Verdana 1 garden shed, verify its actual outside measurements and opening arrangement before mapping it onto your task list. Its model name alone cannot tell you how much working space your particular layout will need.
02
Measure the building and working area separately
Use confirmed external dimensions for the exact model, not an estimate based on a photograph or the amount of floor space shown in a description. The building’s outside measurements and its usable interior area answer different questions. On your sketch, use the full outline indicated by the maker’s dimensional information, including any projections shown there. If you are unsure which measurements apply to the finished building, ask the seller or manufacturer to clarify them before setting out the site.
Once the outside outline is marked, add the separate areas needed for the entrance, access and any planned work. Measure from the building’s outer edge to the closest obstruction and note the narrowest point; an average gap can hide a pinch point. Keep the base or foundation dimensions separate too, because these may not match the building outline. For a candidate such as the Verdana 2 garden shed, build your plan from confirmed measurements and instructions, not from the proportions of an image. Record where each measurement begins and ends on the sketch, particularly where a wall, edging or path has an irregular line, so that the plan can be checked again before the site is prepared.
Allow space in front of the entrance
Confirm where the entrance is and how it opens for the model you are considering. A hinged door needs room for its full movement; another opening arrangement will have different space needs. Leave room not only for the door to operate but also for someone to stand, reach the handle and manage an item at the threshold. A door may open without striking an obstacle and still leave too little room to transfer a box or turn a piece of equipment comfortably.
Test the complete route into and out of the shed. Mark the opening, then try moving an object similar in size to the largest item you plan to store. Check whether you can approach straight on, whether you need to turn, and where you can stand while doing so. When assessing the Durano garden shed, confirm its entrance arrangement for the exact model rather than inferring it from the name or a product image. The same check applies to any candidate. Consider where the item will go immediately after it leaves the shed too: a route that ends against a planting bed, step or narrow path may still make unloading inconvenient.
03
Decide how much access the sides and rear need
Do not assume that an equal gap around the entire building is necessary, or that a very narrow gap is automatically useful. Decide which outside faces you will need to reach, and why. A side you need to inspect or maintain calls for a practical route, while a side with no planned access may not need the same working area. A space that only allows you to squeeze through can be difficult to use if you also need to carry tools, turn around or work on the outside surface.
If you need to reach the rear, make sure there is a continuous way to get there from an accessible part of the garden. Think about that route when placing fixed features, not after the shed is in position. Check the maker’s assembly and maintenance guidance before deciding that a particular face can remain hard to reach. For a model such as Veltor 1, confirm the relevant dimensions and instructions for that exact option before deciding how to allocate side and rear space. Avoid making a route depend on stepping over low planting or repeatedly moving stored garden items, as this can turn occasional access into an unnecessary difficulty.
Include room for upkeep and repairs
Plan for the work needed to keep the building in good condition, following the maker’s instructions for the chosen model. Depending on those instructions, tasks could include cleaning the outside or attending to its finish. Consider what you need to reach, where you will stand, and where tools or materials can be put down without blocking the entrance. A gap that is adequate for walking past may not leave enough practical room for the task itself, so picture the work rather than simply measuring a passage. Think about whether access must be possible from ground level only or whether the planned task requires extra room around a particular wall, and seek qualified help where appropriate.
Less frequent work can need more room than routine use. Repairs, replacing a part or carrying materials around the shed may require a temporary working area, even if that area does not need to stay empty every day. If a task calls for access equipment or specialist work, account for its safe use and follow its instructions; do not assume a tight gap will be suitable. For Orello 1, as with any option, check the assembly and upkeep guidance for the exact model rather than judging the work area from its name.
04
Measure the route from the garden entrance
A clear area beside the shed will not solve a blocked approach. Trace the route from the gate or other point of entry to the shed, and check its narrowest parts, corners and changes in level. The required route depends on what you will carry or wheel through it: the widest item, including any handles, is a useful object to test. Make sure the route brings you to the entrance in a way that leaves room to pause and manage the item, rather than forcing a difficult turn at the doorway. Include any point where a gate opens into the route, because its open position can take up space that is not obvious from a closed-gate measurement.
Consider delivery and assembly access before ordering as well as access during use. Ask the seller, manufacturer or installer what is needed to bring the chosen shed to the site and assemble it; do not assume the route will work just because the finished building fits. If you are comparing Modano 1, include the approach and any confirmed delivery or assembly requirements in the same plan as the surrounding clearance. Keep requirements for the exact model and your site distinct from assumptions based on its name.
Keep access clear of fixed obstacles and unsuitable ground
Map fixed features around the proposed site, not just the shed and garden boundaries. Taps, inspection covers, drain grates and other equipment may need to remain reachable, so do not make your shed access depend on covering or moving something without first checking what it is and who is responsible for it. Also look at whether a gate, stored bin or permanent garden feature could narrow the route. Keep the route usable for its intended task instead of treating every remaining gap on the sketch as available space. Leave enough separation to use those existing features normally, rather than assuming that they can become part of the shed’s working area whenever access is needed.
Consider the surface and how water moves across the proposed access area. A route that is difficult to walk or work on may not be practical, and the roof and surrounding ground can affect where water goes. Do not change levels or add drainage on an assumption about the shed; check the maker’s base requirements and seek advice from a qualified installer if the site conditions are unclear. For the wooden garden shed M, use the confirmed dimensions and base guidance for the exact model when planning the working area.
05
Test the layout on paper and on the ground
Draw a simple plan showing the confirmed outside outline, entrance, fixed obstructions, approach route and the working areas you have identified. Then mark the proposed outline on the ground with a suitable removable marker, string or similar method. This makes tight points easier to spot than a drawing alone. If you have not yet confirmed a model’s dimensions, treat the outline as provisional. Once you have them, a candidate such as the wooden garden storage shed S can be tested on the same basis as any other option.
Walk through the tasks you listed: approach the entrance, open it, take a bulky item out, turn and carry it along the route, and imagine the upkeep you will need to do. Check that the door area, route and working space do not compete for the same patch of ground. If the layout only works when a movable item is shifted, decide whether that is realistic every time you use the shed. If it leaves no useful space for a task you expect to perform, adjust the layout before you order. Repeat the check from both directions, since bringing equipment back into storage can involve a different turn or stopping point from taking it out.
Verify the details before placing an order
Before committing, confirm the exact model’s external dimensions and entrance arrangement, along with any base, assembly and maintenance requirements that affect the area around it. Ask for clarification if a measurement is ambiguous or if the instructions do not address a site condition you have identified. Do not use a product name, photograph or interior floor measurement as a substitute for the information needed to plan the outside footprint and working clearance.
Compare options by the space they will occupy in practice, not only by whether their footprint appears to fit. Include the route to the site, the area in front of the entrance and the access needed for the tasks you expect. If there is not enough room for those uses, consider changing the position, revising what you intend to store or assessing a different size or arrangement. A plan that works before ordering is easier to live with than one that leaves access to be solved afterwards. Keep a final version of the plan with the confirmed dimensions and clear areas marked, so it remains a useful reference when preparing the site and arranging the garden around the shed.
Frequently asked questions
Is there a standard clearance to leave on every side?
There is no single amount that suits every shed and garden. The space you need depends on the shed’s confirmed dimensions and openings, how you will use it, the route to the entrance and the work needed to keep it in good condition. Check the maker’s requirements as well.
Do I need the same amount of space on all four sides?
Not necessarily. You may need more room at the entrance or on a side you must reach for upkeep, while another side may need less. Decide what access each face requires, then check the maker’s assembly and maintenance guidance before treating any side as inaccessible.
How should I allow for the shed door?
Confirm the door’s position and how it opens for the exact model. Include the space taken by its movement, plus room to stand and handle the items you plan to bring in or take out. Test the route with a full-size outline before ordering.
Is working clearance the same as a boundary setback?
No. Space for your own access and upkeep is a practical planning question; any applicable property-boundary or planning requirements are separate. Check the relevant local requirements before fixing the position, particularly if the proposed site is close to a boundary.
What should I confirm before placing an order?
Check the exact model’s external dimensions, entrance arrangement, base requirements and assembly or upkeep guidance. Also consider whether the route to the site works for the shed and its installation. Do not rely on a product name, photograph or internal floor dimensions alone.
There is no universal perimeter measurement that works for every garden shed. Work from the exact outside dimensions and entrance arrangement, then allow for your regular use, the route to the shed and the upkeep it will need. Keep the building footprint, base requirements and working clearance distinct on your plan, and test the layout at full size if possible. Confirm the relevant details for the model and site before ordering; that is how you judge whether the space will work after the shed is in place.
