
Designing an Accessible Path to a Garden Shed
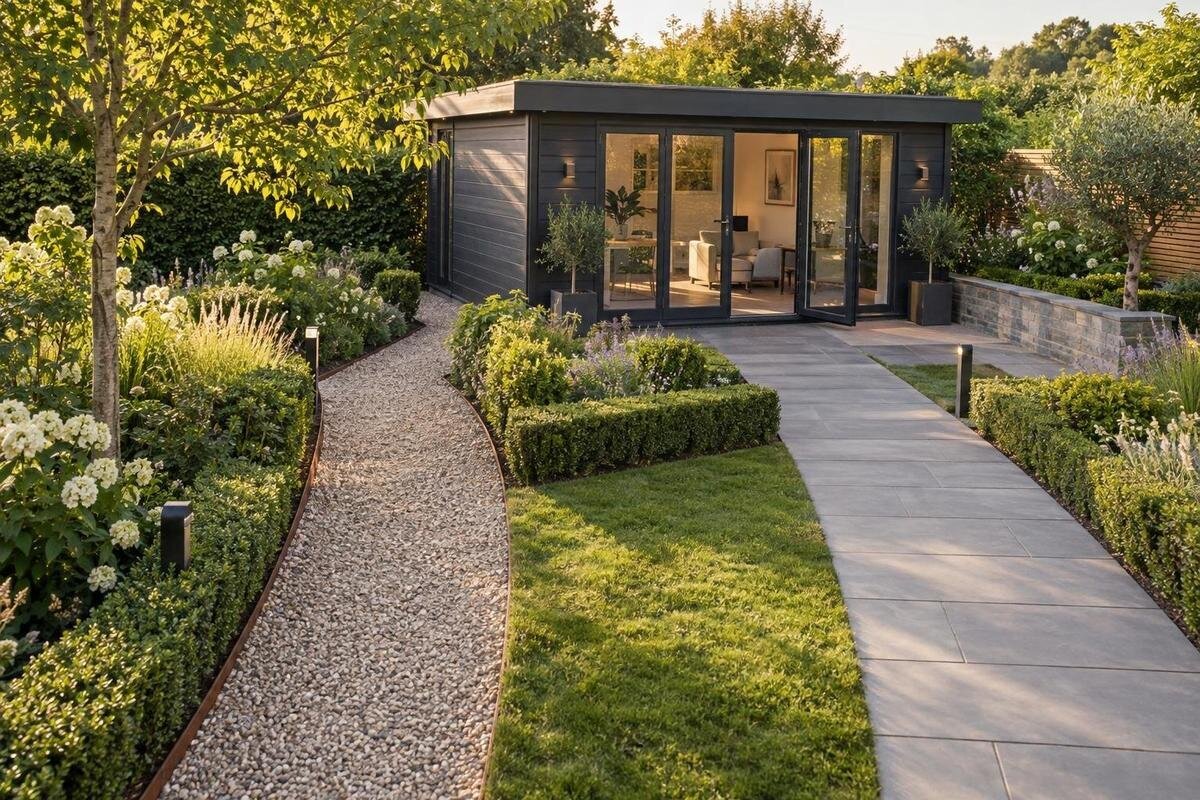
Garden shed planning
An accessible path to a garden shed is more than a strip of paving from the gate. It should give people room to approach and open the entrance, remain reasonably firm and even for the way they move, and fit the garden’s levels and drainage. Plan it alongside the shed purchase: the building’s position, doorway and base all affect where the route can go. Consider the complete journey, including the gate, any corners, the point where a person pauses to unlock the door and the transition at the entrance. These checks help you compare options without assuming that one width, surface or gradient suits every site.
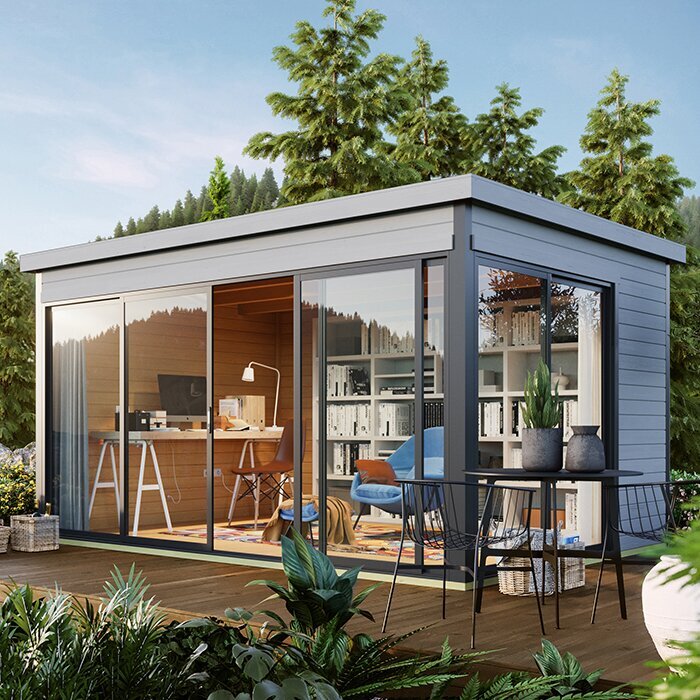
Plan around the jobs the shed must support
Begin with the tasks the shed will actually support. A shed used for occasional hand tools has different access demands from one used regularly for a mower, wheelbarrow, recycling containers or bulky supplies. List what must travel along the path, whether it is carried, pushed or wheeled, and who will use it. If someone uses a mobility aid, measure it as it is used, including the space needed for hands, feet and turning. Note where heavy items are kept and how often they must be retrieved. Record the largest and most awkward regular item, rather than planning only for an empty-handed walk. Plan around real routines rather than an idealised visit.
Make a full-size trial before settling on the route. Use rope, a hose or temporary markers to show both edges, and mark where the shed door will open. Try walking or moving the widest item you regularly take to the shed, including the turns on the way. Check whether there is room to pause, unlock the door, set down a load and open the entrance without stepping into a planting bed or blocking a gate. If several people will use the shed, invite them to try the layout too. A short trial can reveal awkward movements while the route is still easy to change.
Map the shed position and route together
Draw a simple site plan showing the gate, house, boundaries, proposed shed footprint, existing steps, changes in level, drains and fixed garden features. Mark where the route starts and where it meets the entrance. When shortlisting a building such as the Verdana 1 garden shed, use the exact product information to check its published footprint and entrance position before committing to a line; a product image alone is not a reliable plan. If the listing does not provide a detail you need, request a drawing or written information.
The shortest route is not automatically the easiest one. A slightly longer line may avoid a tight bend, an awkward level change or a point where the path would meet the entrance at an inconvenient angle. Consider the direction the shed door faces as part of the layout: a position that looks neat on a plan may leave little room to approach or open the door. Mark the approach and stopping area as well as the path itself, then check that the route still works when the gate and shed door are open. Include features that may not appear on a simple plan, such as hinges, latches, taps and the space occupied by a parked bin.
Measure clear width at the tightest points
Measure the space that will actually remain clear, not just the nominal width of the paving. A fence post, gate latch, downpipe, planter or projecting branch can reduce the usable passage. Check the full route, including its narrowest point, and consider objects that may move into it, such as a bin or garden chair. Allow for the way people and equipment travel rather than assuming that a straight, empty section tells the whole story. Consider whether planting will spread into the route or whether removable items are habitually stored beside it. There is no universal measurement that suits every user and site, so base the plan on the intended use.
Check the measurements at turns and near the entrance as well as along straight sections. When considering the Verdana 2 garden shed, use the confirmed dimensions and entrance information for the exact product, then measure the route against them; do not estimate clearances from a photograph. If a gate or door opens into the path, include the space it occupies when open. A route that appears wide enough on paper can still be awkward where someone has to turn, pause or manage a load.
Leave room to approach and open the door
The path should meet the entrance in a way that lets a person approach, reach the handle and move through without having to sidestep into a wall, fence or bed. Check how the door opens and how much room its movement takes up. A hinged door may occupy part of the approach when open; a sliding or other arrangement has different clearance needs. Do not assume a particular opening style from a product name or picture. Check which side the handle is on and whether a person carrying an item can operate it comfortably. Include the area outside the doorway in the layout, not only the clear opening itself.
Before choosing a model, confirm its clear entrance dimensions, threshold or raised edge, opening arrangement and any track or door movement that affects the path. For example, when reviewing the Durano Spacious Garden Shed, check the details for the exact version rather than assuming the listing name establishes its entrance measurements. Where information is missing, ask for it before ordering. A smooth transition matters, too: a change in level at the doorway can undermine an otherwise useful route, so check how the path and shed base are meant to meet.
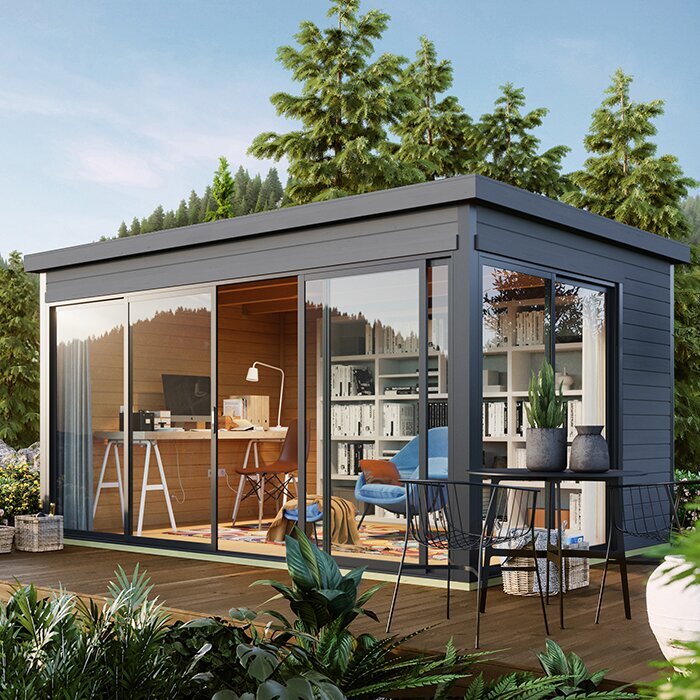
Choose a firm, even path surface
Choose a surface that remains stable under the expected use and does not become difficult to cross because it shifts, sinks or develops ruts. Well-laid paving, a suitably prepared compacted surface or another durable finish may work, depending on the ground and how the path will be used. A grass route can become uneven with repeated traffic or wet conditions, while loose material may move under wheels or feet. Think about how separate sections of the surface will be contained at their edges and where they join existing paving. These are planning considerations, not guarantees about any particular finish: suitability depends on the site and the quality of preparation and installation.
Look closely at joins, gaps, edges and transitions between materials. Raised edges or irregular joints can interrupt a smooth route, while a very smooth finish may be less practical when damp. Ask to see a sample where possible and discuss how it will behave in the conditions at your home. When reviewing the Veltor 1 garden shed, check the stated base or installation requirements before deciding how the path surface will meet the building. The path and shed base are separate choices, but their finished levels need to work together.
Consider slope and water flow
Look at the route’s slope in both directions. A gradual change in level is often easier to negotiate than an abrupt rise, but a longer route may take up more garden space. Side-to-side tilt matters as well as the slope along the path; it can affect how a person or wheeled item travels and where water flows. Note where a person would have to stop, turn or reverse direction on a slope, as those movements can be more difficult than travelling straight ahead. Judge the actual rise and length on site rather than relying on how steep the ground looks from a distance. If the route involves a substantial slope or a difficult transition, do not rely on a general rule of thumb to settle the design.
Plan where rainwater will go so that it does not collect on the path or flow towards the shed. The route, surrounding ground and shed base should be considered together, especially where the garden has existing drainage or a marked level change. For a shortlisted model such as the Orello 1 garden shed, check the supplier’s stated base requirements for that exact product before setting the final path level. If the work involves grading, retaining features or uncertain drainage, ask a suitably qualified professional to assess the site rather than attempting engineering calculations from a guide.
Allow for gates, corners and turning points
Include the garden gate in the access plan. Measure the clear space with the gate open, and check whether its leaf, latch or nearby post interferes with the approach. A person may need room to pause while opening it, especially when carrying or wheeling something, so consider the space outside as well as inside the gate. If the path begins at a house entrance or another threshold, note that transition too. The route is only as usable as its most restrictive point, and a well-planned stretch beyond a cramped gateway will not remove that obstacle.
At each bend, test how the largest regular item can turn. A wheelbarrow or garden equipment may need a different line from someone walking, and a sharp corner beside a wall or dense planting can make manoeuvring uncomfortable. Mark the corner on the ground and try the movement rather than judging it from a drawing. Test the turn in both directions, because a gate, door or change in level can make the outward and return journeys different. Where a person needs to stop or turn around, provide a practical space to do so. This is especially useful when a straight approach is not possible and the path has to change direction just before reaching the shed.
Plan for visibility and routine maintenance
If the shed is used in the evening or in areas that receive little daylight, think about how the path and its edges will be seen. Lighting can help people identify changes in level, turns and obstacles, while a clear visual distinction between the path and its surroundings can make the route easier to follow. Avoid placing a light where it shines directly into someone’s eyes or hides surface changes in shadow. If you plan fixed outdoor lighting, ask a qualified electrician about the installation rather than attempting electrical work based on general path-planning advice.
Keep the route easy to inspect and maintain: leaves, weeds, dirt and surface movement can change how it feels underfoot or under wheels over time. Check the path after planting or other garden work, and keep hoses, tools and temporary storage out of the clear passage. Include the route in ordinary garden maintenance so that small obstructions, loose edging or settled areas are noticed before they become routine hazards. When considering the Modano 1 garden shed, use the product information to establish where its entrance sits on the plan before deciding how the approach and any lighting should be arranged. If the entrance position is unclear, ask rather than infer it from the image.
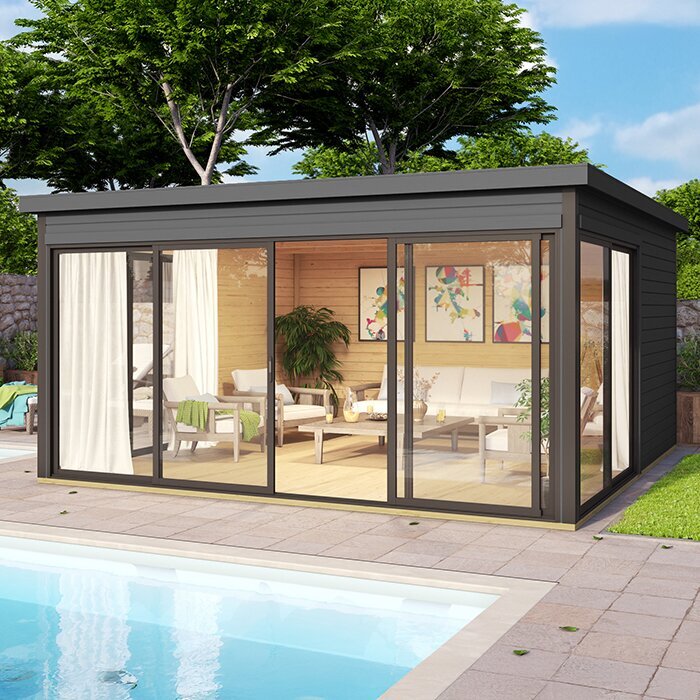
Keep planting and garden fixtures clear of the route
Allow space for the path to remain clear as the garden is used. Shrubs can spread, branches can overhang, and pots, furniture or stored items can gradually narrow a route that began with enough room. Locate taps, hoses and other frequently used fixtures so they do not create a regular obstruction. Before finalising the shed position, compare the route with the actual footprint and entrance details for the model you are considering, such as the Wooden Garden Shed M. Use published dimensions where available and request missing information; the product label or image is not a substitute for a measured plan.
Think about future access for ordinary garden care, too. A path should not cut through a space that needs to remain available for pruning, reaching a tap or maintaining the shed, and planting should not make the entrance difficult to approach later. Where tree roots, existing services or established beds influence the line, take them into account before fixing the route. Check the likely mature spread of retained plants rather than their size on the day the path is installed. Leave a practical margin for routine upkeep rather than relying on regular trimming to preserve a passage that is already too tight. This helps the garden shed access path remain useful as the surrounding space changes.
Check the details before placing an order
Before ordering, compare the drawn route with the exact product listing and any available dimensional drawing. Confirm the external footprint, entrance position, clear opening, door movement, threshold and base requirements. For instance, when comparing the Wooden Garden Storage Shed S, check the information for the exact product rather than assuming details from a name or photograph. If a measurement or installation detail is not published, ask the supplier for it. Also ask what access is needed to bring the shed and any installation materials to the site; daily access and installation access may not be the same.
Mark the final route and doorway on the ground, then make one last trial with the people and equipment that will use the shed. Check the gate, narrow points, turns, door operation, surface transitions and likely water flow together. Keep a dated note of the confirmed model details and site measurements so that the installer, landscaper and shed supplier can work from the same information. If the path depends on significant changes in level, drainage work or a base detail you cannot confirm, speak with a qualified installer or other relevant professional before committing to permanent work. If the design must meet formal accessibility criteria, have the applicable requirements checked by someone qualified to advise on them. This final review can prevent a shed order and path layout from working against each other.
Frequently asked questions
How wide should a path to a garden shed be?
There is no single width that works for every garden or user. Measure the clear space at the narrowest points, then consider the people, mobility aids and equipment that need to pass, as well as turns and open gates. If the path must meet formal accessibility criteria, get advice on the applicable requirements.
What is a suitable surface for a garden shed access path?
Choose a surface that stays firm and even for the way the path will be used, with a texture that remains practical in the conditions at your site. Paving, a prepared compacted surface or another durable finish may be considered, but the ground, drainage and installation matter. Check samples and seek advice if you are unsure.
How steep can an accessible garden path be?
A flatter route is generally easier to use, but a suitable gradient depends on the site, the people using it and any formal criteria that apply. Consider the length of the slope, abrupt changes in level and side-to-side tilt. Ask a qualified professional to assess a significant slope or any work involving level changes.
Should I build the path before or after installing the shed?
Plan both together, because the entrance, base and route need to meet properly. The best work sequence depends on the site and installation approach. Ask the supplier or installer what access is needed for delivery and assembly, and agree how the finished path will meet the shed before permanent work begins.
What should I check before ordering a garden shed?
Check the exact model’s published footprint, entrance position, clear opening, door movement, threshold and base requirements. If a detail you need is not shown, request a drawing or written information rather than relying on a product image. Also ask what access is needed to bring the shed and installation materials to the site.
A useful garden shed path works as part of the whole approach: from the gate, along a clear and manageable route, to a doorway that can be reached and opened. Base the plan on actual users and equipment, then check the shed’s published details before ordering. A temporary layout test can reveal problems early, while qualified advice is worthwhile where levels, drainage or formal access criteria make the design more complex.
