
Planning a Garden Shed Gym Layout: Floor Loads, Headroom and Ventilation
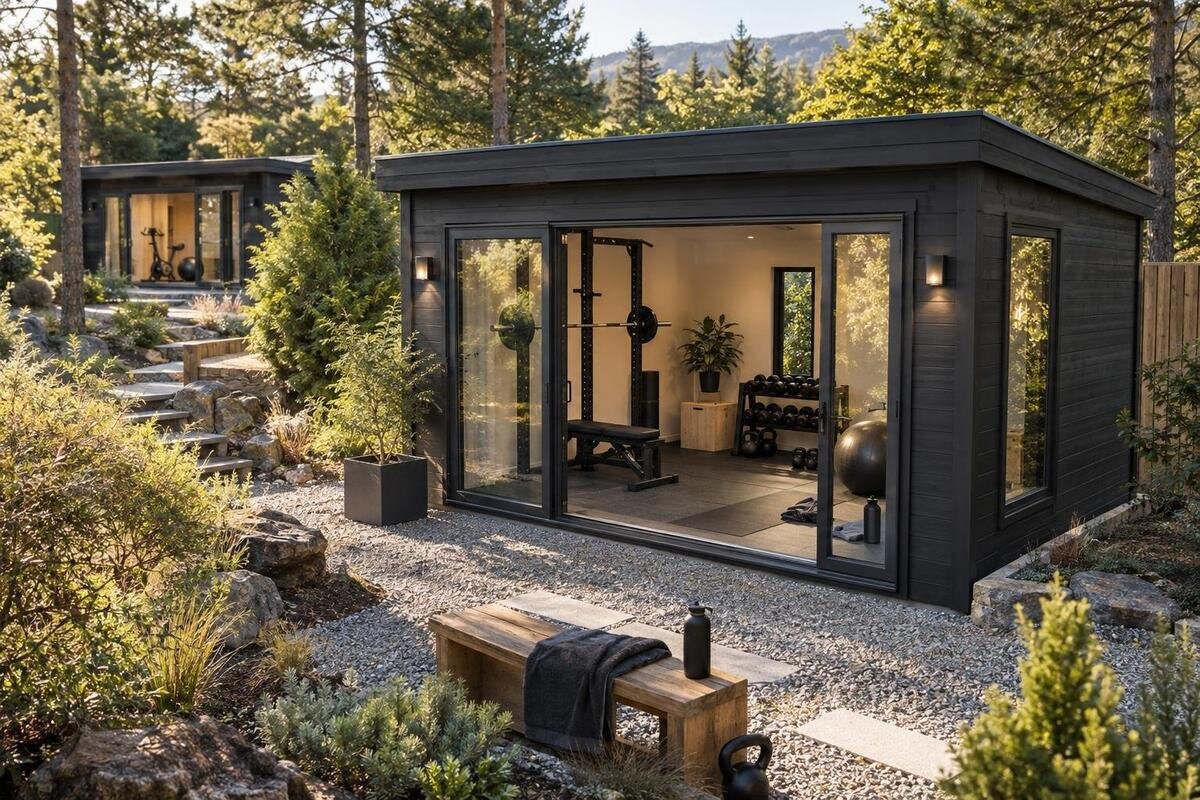
Garden shed gym planning
A garden shed gym layout needs to work as both a building plan and a workout plan. The key checks are not just whether equipment fits through the door: establish usable floor area, obtain reliable information about the floor and structure, allow headroom for actual movements and plan how warm, moist air will leave. Set those requirements before placing an order, since product images and outside dimensions cannot show whether an interior suits the equipment. This guide helps you compare garden sheds methodically and identify details to confirm with the seller and, where loads are involved, a qualified building professional.
01
Plan around the workouts you will actually do
Start with a written list of the sessions you expect to do, rather than a preferred shed size. A mat routine, an exercise bike, free weights and a rack occupy space in different ways; each needs more than its footprint. Note where the user stands, how the body and equipment move, and the room needed to get on, get off or adjust a machine. Record which items will stay assembled, which will be moved after use, and whether one or more people may exercise at the same time. Include future equipment only if it is a realistic plan, so you do not count the same clear patch for two uses at once.
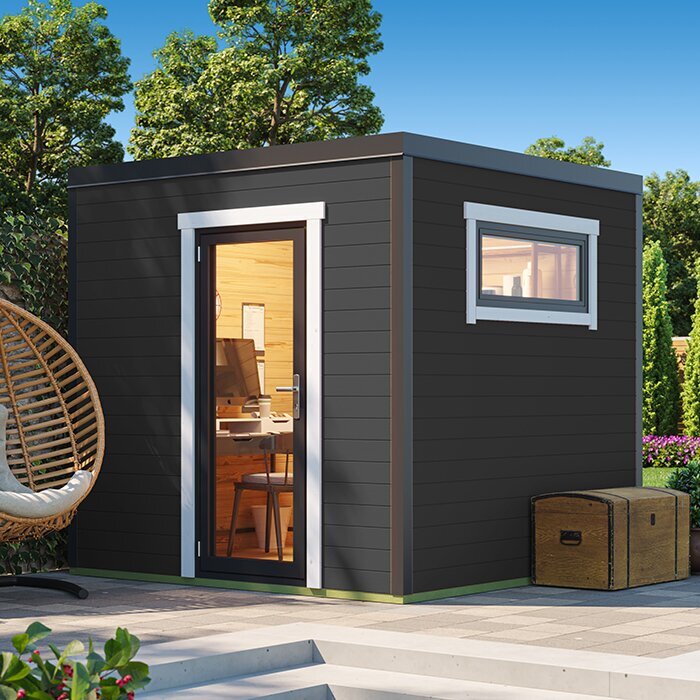
Measure the usable interior floor area, then mark the equipment footprints and any operating clearances specified by their makers. Include walls, posts, door openings and fixed fittings; outside base dimensions are not the same as clear floor space inside. Keep a route between the entrance and exercise stations, and reserve room for movements that need space beyond the equipment itself. Mark the direction in which benches, pedals, handles or adjustable parts move, as these can affect the clearance needed beside a station. When comparing options, the Verdana 1 garden shed listing can help you identify the product details to check. Confirm its actual internal measurements and drawings; a listing is not evidence that a building will fit your plan or support a gym.
Check floor loads before choosing the building
Floor load capacity matters because the floor must support the equipment, the people using it and any weights placed on it. Equipment can concentrate weight at a few feet or supports, while repeated movement adds forces that a static photograph cannot show. A rack and a machine may therefore affect the floor differently even if their overall weights seem similar. Consider the heaviest realistic arrangement, including stored plates or accessories that will remain on the equipment rather than only the item’s empty weight. The shed’s outside dimensions do not establish what the floor can carry, and any stated capacity may come with conditions that matter for the equipment you have in mind.
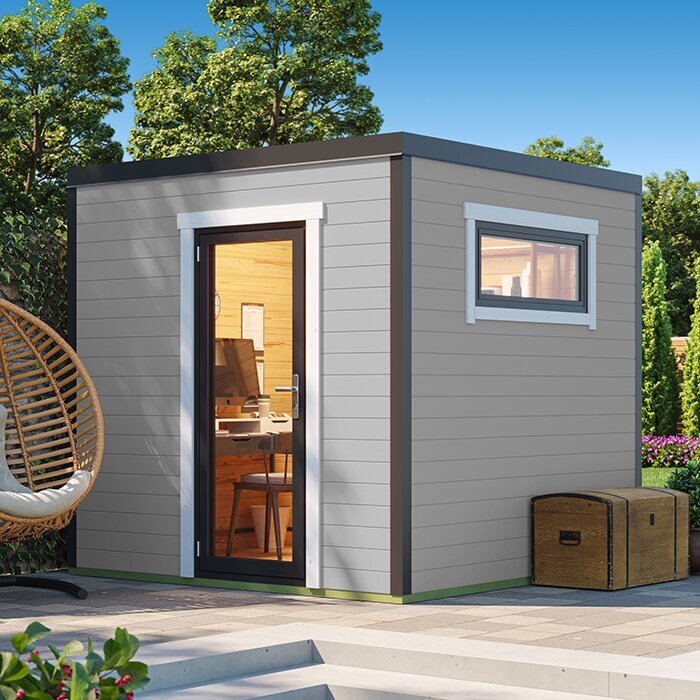
Make an equipment list that includes each item’s weight when loaded and how it is supported. Request documented information about the floor and clarify whether stated limits cover evenly spread loads, concentrated loads or movement and impact. A qualified building or structural professional can assess the proposed equipment and the actual base. Do not try to establish a safe limit by dividing weight by floor area, and do not treat a mat as a structural upgrade. For the Verdana 2 garden shed listing, check what load information is provided and request any missing details before treating it as a candidate.
02
Match the floor and base to the equipment
Confirm what floor arrangement comes with the exact building configuration: some garden sheds may be supplied without an integrated floor or may require a prepared base. Ask what the manufacturer specifies for the base and whether the floor information relates to the building as supplied. An unsuitable or uneven base can affect assembly and the stability of equipment, but the right solution depends on the particular product and site. It is useful to settle the building location and base arrangement early, because moving a heavy item after delivery may not solve a floor-support issue. Follow the supplier’s written requirements rather than assuming that a base suitable for general storage will meet the needs of a gym.
Once the floor and base have been assessed, place equipment only in locations that suit the written load advice. Do not choose a spot for a heavy rack by intuition or assume that positioning it near a wall makes it safe; ask the relevant professional where it can go. A mat may protect a floor finish, but it does not increase the floor’s load capacity. If your routine involves free weights, do not plan to drop them unless the building has been specifically assessed for that use. When reviewing the Veltor 1 listing, verify what its product information says about the floor and base rather than relying on the model name or images.
Measure clear headroom at every exercise position
Measure from the finished floor to the lowest obstruction above each planned station. That might be a beam, roof member, fitting or another item that reduces the usable height. Repeat the measurement where the roof slopes, since the clearance may differ from one side of the room to the other. Include any flooring or platform that will raise the standing surface, and check the assembled height of machines. External ridge height does not tell you the clear height inside, so request internal dimensions if they are not stated.
Compare the available height with the movements you plan to do. Seated equipment needs a different space from standing exercises, overhead arm movements, skipping or jumping; allow for the movement itself as well as the user’s standing height. Check any clearance requirements provided by the equipment maker, and keep moving parts away from roof members and fittings. Consider footwear, raised exercise surfaces and the full reach of any equipment handles, as each can reduce the margin above the user. If only one area has adequate height, place the relevant equipment there and check whether the rest of the routine still works. For the Orello 1 listing, use stated internal dimensions and ask for missing headroom details rather than inferring them from a photograph.
03
Allow space for movement, doors and access
A machine’s footprint is only the space it occupies while idle. Add the area needed to use it, adjust it, step on or off and move between exercises. These clearances should not overlap in a way that forces one activity into another’s working space. Keep the route to the entrance open and consider whether equipment will obstruct a door or a route you need during a session. Allow for a person carrying a water bottle, towel or small accessory through the room, not merely an empty passage on a drawing. If equipment requires access for routine adjustment or maintenance, include that space too; a plan that fits only when everything is pushed tightly together will be hard to use.
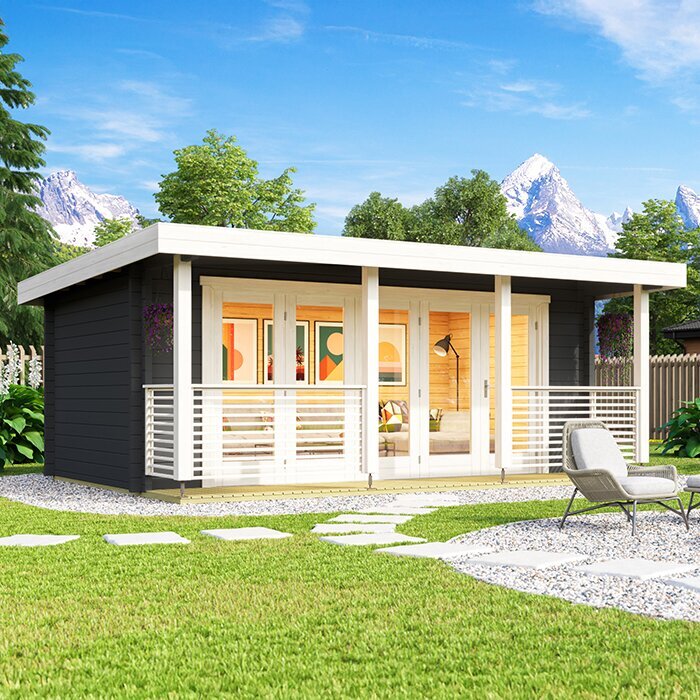
Mark the door opening on your plan and check how it affects the room when open. Make sure the largest item can pass through the clear opening and turn into position, rather than measuring only its final position on the floor. Include any wall projection or fixed fitting that could narrow the route. Compare the dimensions shown for the Durano garden shed listing only where they answer the measurements your plan needs; its name alone does not establish usable circulation space. A little extra room at the entrance can make moving equipment in and using the gym less awkward.
Plan ventilation for heat and moisture
Exercise warms a room and adds moisture to the air, so ventilation belongs in the layout plan rather than being left until after installation. Consider how air will move when the shed is being used in its normal arrangement: if the door is usually closed during a session, do not base the plan solely on opening it between sessions. Note where any openable windows or vents are positioned in relation to the planned equipment. Also consider whether an item placed directly in front of an opening would make it difficult to operate or reduce the path for air through the room. A product image may show an opening, but it does not tell you how well the room will be ventilated in practice.
Think about how many people will use the space, how long it will be occupied and whether equipment or storage could block an opening. Check the product information for the actual opening arrangement, and ask the supplier what ventilation details are confirmed if they are unclear. If you think natural ventilation may not meet your needs, consult a suitably qualified building or ventilation professional about the options; fixed electrical work should be handled by a qualified electrician. For the Modano 1 listing, verify the stated opening details rather than assuming a particular ventilation performance.
04
Consider daylight, glare and fixed fittings
Daylight can make a workout space easier to use, but assess the openings from the position where you will exercise. Reflections on a screen or mirror, or a view that compromises privacy, may affect where equipment can go. Check the room at the time you usually expect to train, since the direction and strength of daylight can change during the day. Consider whether direct light could make a display difficult to read or leave a training area uncomfortably bright at that time. Decide whether a window or other opening would conflict with a machine, a mirror or the clear movement area. Do not count an opening as useful daylight if your planned layout would have to cover it.
Plan any fixed lighting, outlets or mirrors as separate requirements and confirm what is included with the building. Avoid assuming that a product can be altered to add openings or fixings; ask the supplier whether a proposed change is permitted and what it could mean for the structure or product terms. Have fixed electrical work handled by a qualified electrician, and make sure any mirror or wall-mounted equipment is attached only where the wall is suitable. The garden shed M listing is a product page to check for stated opening details or options; images alone cannot confirm them.
Keep gym equipment accessible without losing floor space
Small items such as bands, mats and accessories need a place that does not turn the exercise area into an obstacle course. Decide what must remain within reach during a session and what can be stored elsewhere. If you want shelves or a rack for weights, include their footprint and loaded weight in the floor assessment; do not assume a wall or floor can take extra fixings or storage loads. Group frequently used light items where they can be returned safely after use, while keeping the main circulation route free. Keep openings and the entrance clear, and leave enough space to set equipment down and retrieve it without crossing another station’s working area.
Make the storage plan specific to the equipment you own. A dedicated space for folded mats or small accessories is different from a place for a loaded weight rack, and neither should be counted as free exercise space. If considering the garden storage shed S listing, assess it against the same gym-specific requirements; a storage description does not confirm suitable floor capacity, headroom or ventilation. Check actual internal dimensions and the position of openings, then decide whether the remaining clear area still works for your routine.
05
Confirm specifications and installation before ordering
Before choosing a garden shed, collect the details that answer your layout questions for the exact model and configuration. These may include internal and external dimensions, clear height, the floor arrangement, load information, base requirements and the position of doors, windows or vents. Check whether the stated measurements refer to the building’s outside or usable interior, and ask for a drawing if a measurement is missing. Record the version, options and date of any information received, because comparing figures from different configurations can lead to an inaccurate layout. Keep written answers with your plan so that a later change in product configuration does not invalidate the measurements you relied on.
Confirm what the order includes and what needs separate planning, such as a floor, base preparation, assembly or any agreed options. Ask who is responsible for each part of installation, and measure the route from the property entrance to the proposed site for bulky equipment and building components. If you intend to add openings, lighting or other fittings, discuss the changes before ordering rather than assuming they can be made later. Where local requirements may apply to the installation, check with the relevant authority or a qualified professional instead of relying on a product listing.
Test the full layout before making the final choice
Turn your measurements into a full-size layout before you commit to a building. Mark equipment footprints on the ground or on a scaled plan, then add the working clearances, door opening, access route and storage positions. Walk through the order of a normal session and check whether you can move between stations without shifting equipment each time. Test practical details too, such as setting down accessories, opening the door from inside and reaching any controls without stepping into another activity area. If a movement needs clear space above or around you, include that area in the plan too. A mock-up is useful for testing fit and circulation, but it cannot establish floor capacity or prove that the room will be ventilated adequately.
Treat floor suitability, headroom, ventilation and access as separate checks. If a key detail is undocumented, pause the decision until you have reliable information or a qualified assessment; do not compensate for an unknown load limit by changing equipment placement alone. If a layout fails, consider a different building, a different equipment arrangement or a revised kit list, then test the revised plan. Choosing from confirmed internal dimensions and use requirements is more reliable than choosing by exterior appearance and trying to solve the constraints after the shed is ordered.
Frequently asked questions
Can any garden shed be used as a gym?
No. A garden shed’s appearance or outside dimensions do not show whether its floor, structure, clear headroom and ventilation suit your equipment and routine. Check those requirements for the specific building and planned use.
How can I check whether the floor will support gym equipment?
List the equipment, its maximum loaded weight and where its supports touch the floor. Request documented load information, then ask a qualified building or structural professional to assess the equipment and the actual building base. Do not estimate capacity from floor area alone.
How much headroom does a shed gym need?
There is no single figure for every gym. It depends on the exercises, equipment, user movement and the lowest internal obstruction. Measure at each exercise position and check any clearance requirements given by the equipment maker.
Is opening the shed door enough for ventilation?
Not necessarily. Ventilation depends on the room’s openings, layout and how it will be used. Consider airflow while exercising in the normal configuration, and seek professional advice if you are unsure whether the planned ventilation is sufficient.
Can I put a weights rack in a garden shed?
Only after checking that the floor and supporting structure are suitable for the rack, its full load and its intended position. Do not assume a mat makes the floor stronger or that the shed can withstand dropped weights.
A workable gym in a garden shed depends on more than fitting equipment inside. Match the routine to the usable floor area, verify the floor and base for the intended loads, and check headroom and ventilation at the positions where you will exercise. Once those points and the installation details are clear, you can compare buildings against a layout based on your actual equipment rather than guesswork.
