
Garden Shed Hobby Rooms: Storage Without Losing Workspace
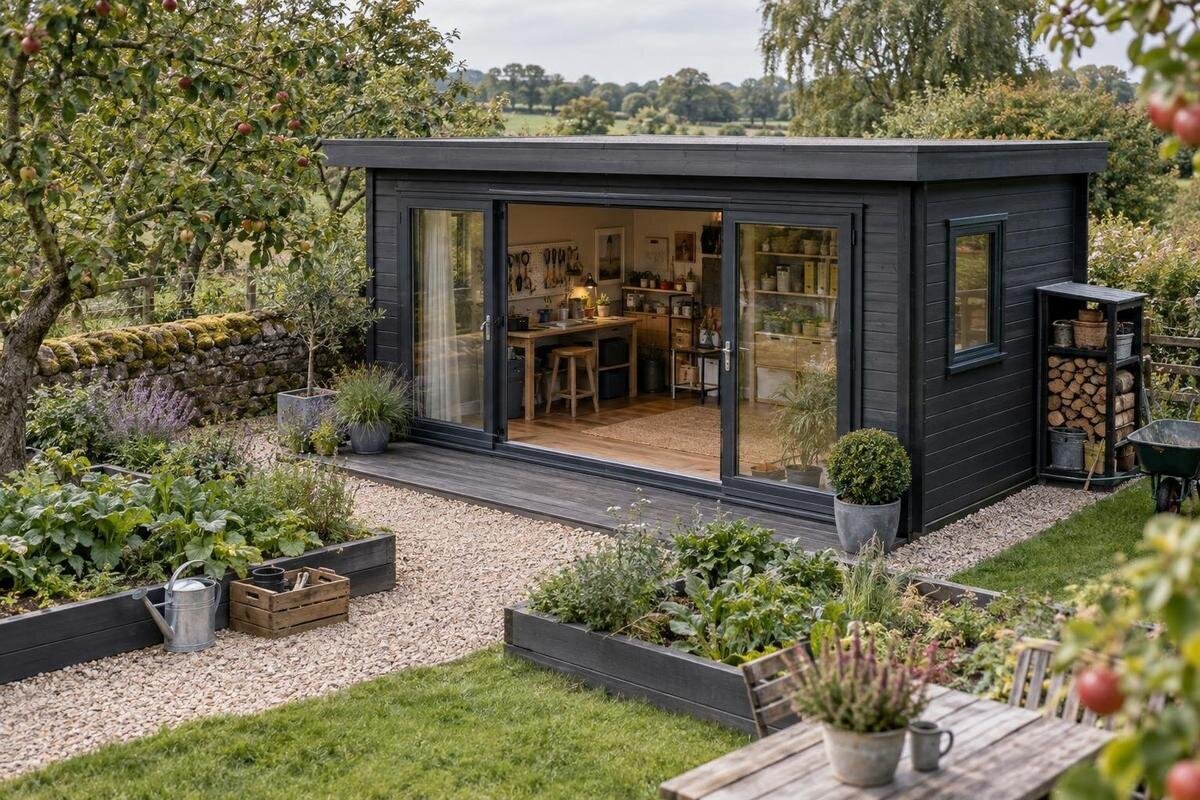
Garden shed planning
Planning a garden shed hobby room means making storage and working space fit together, not simply finding room for every tool. Shelves, boxes and spare materials can take over the floor if they are considered only after the work area. Begin with the tasks you expect to do, the equipment they require and the clear space needed to handle a project. A measured layout gives you a reliable basis for comparing garden sheds and helps reveal whether a candidate leaves enough room to work once storage is in place.
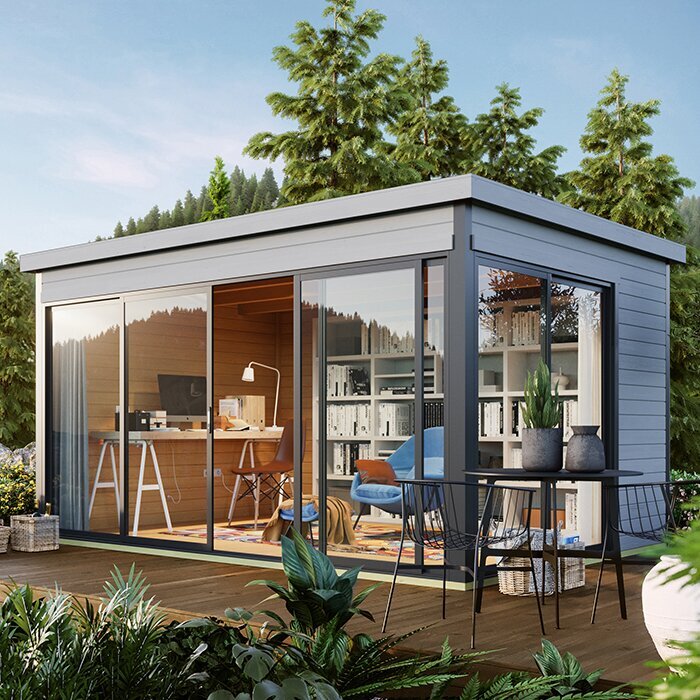
Plan around the work you do
List the jobs you actually want to do in the shed, then describe a typical session for each. Note what comes out first, where the work happens, which supplies need to stay nearby and what must be put away afterwards. A repair task may need clear space for a larger object; a small handcraft may use less floor area but many small tools. Those differences affect both the work surface and the kind of storage that will be useful. Include the project’s widest footprint and whether it might stay out for more than one session: a half-finished job can take space after its tools have been packed away. Record the dimensions of the things you handle, not just their names; a chair, tray or wheelbarrow can affect the layout in different ways.
Sort items into everyday tools and supplies, occasional equipment, and belongings that can remain elsewhere. This prevents rarely used things from claiming the easiest-to-reach positions while regular tools end up piled on the bench. Decide whether you work standing, seated or by moving around a project; reflect that in the layout rather than assuming one arrangement fits every hobby. Separate items needed at the same time from those that simply need a home. Treat a product page such as the Verdana 1 garden shed listing as a candidate to compare with your written needs, not as proof of capacity from its name.
Measure the usable space inside
Separate the shed’s outside footprint from the floor area available inside. Published measurements can describe different parts of a building, so check exactly what each figure refers to; do not assume an outside width is the clear distance between the inside walls. Include anything that reduces usable floor area, such as wall thickness, a fixed feature or space taken by an opening, where the information is provided. A simple outline with measured sides is enough for an early plan, but the final layout should use stated product dimensions rather than a visual estimate from a photograph. If a listing gives only external measurements, ask for the usable internal figures before deciding whether your plan fits.
Mark the bench, shelving, tool storage and largest object you expect to work on, then examine what space remains between them. Leave a route from the entrance to the work area and enough room to retrieve an item without shifting everything else. Outline a proposed bench and shelves on the ground with tape or empty boxes; a mock-up makes a cramped route easier to notice before ordering. If you use a stool or carry materials from one side to another, include that movement instead of drawing only the furniture edges. When checking the Verdana 2 product page, note whether any dimensions shown are internal or external.
Arrange storage and work in task order
Arrange the room in the order of the work: bring in the object or materials, retrieve tools, complete the task, then return equipment to storage. Group related items so a project does not require repeated trips across the shed. A bench beside the supplies it serves may suit small tasks; a larger job may need a clear central area that can be used temporarily. Keep these as alternatives until you know the project’s actual size. Aim for a straightforward route from storage to the working surface and back. A central aisle that must be cleared for every job is only practical if you will genuinely reset the room each time.
A bench along one wall can preserve open floor space, but it works only if the workpiece and tools fit there. A freestanding table gives access from more than one side yet occupies floor space even when no project is under way. An L-shaped arrangement can bring two work stages close, though a corner may be hard to reach if shelving crowds it. Compare these sketches with details on the Durano garden shed page; rely on documented measurements and opening information, not a model name or image, to judge how the room will work. Avoid putting rarely used storage in the natural path to the bench simply because a wall is empty.
Choose storage for the items you use
Store items by size, weight and how often they are used. Put daily-use hand tools and supplies near the work surface, while keeping occasional equipment in labelled containers farther away. Long or awkward items need a home that does not cut across the main route; small parts are easier to find when each group has its own tray or box. Keep heavier items at a reachable low level rather than balancing them above a bench, and make sure containers can be removed without dismantling a stack. Count the actual bins and shelf sections you need; storage that fits on paper may take more depth once boxes are in place. Test whether you can reach regular-use items from your normal working position.
Choose shelves, drawers, hooks or freestanding units to suit the equipment, but first check the shed’s actual interior and what the product information says about fixing or supporting storage. Do not assume a wall can take a particular fitting simply because the surface looks suitable; ask the supplier or an appropriate installer if instructions are unclear. Include the full unit footprint in your drawing, together with room for drawers or doors to open. For the Veltor 1 listing, use the page to check published details, rather than assume storage features that are not stated.
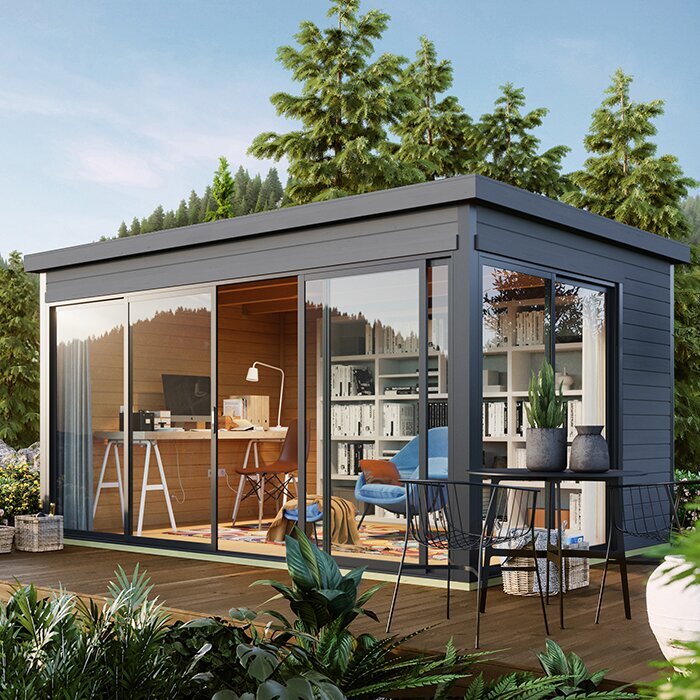
Keep the route to the work area clear
An easy route into the shed matters when you bring in materials, a project or larger tools. Keep the entrance clear of boxes and avoid placing a bench where it narrows access to everyday storage. Think about both the path from the door to the work area and the space needed to reach stored items; an aisle that looks clear on a drawing can feel obstructed if you have to turn while carrying something. Include the door’s documented position and opening arrangement in your sketch, allowing for its full movement rather than only the doorway width. If large equipment must enter, also trace the outdoor route from the delivery or access point.
Check the entry details of any candidate before ordering. Confirm which measurements describe the opening, whether its arrangement is shown, and whether furniture or a tall shelf would block access. If a detail is missing or unclear, ask the retailer or manufacturer rather than planning around an assumption. A plan for the Orello 1 product page should be based on its own published information, as it would for any shed; a photograph is not a substitute for an interior plan. Try the route with a box held about as large as the equipment you expect to carry; this can reveal an awkward turn or approach.
Protect the work surface from storage
Treat the work surface as a protected part of the layout, not extra shelf space. Decide what may stay on it between sessions and give everything else a separate home. A fixed bench may suit work that needs a stable setup; a movable table or clearable surface may be more useful if the project changes in size. Whichever you choose, mark its full working footprint, including space to stand or sit, set down tools and handle the piece. If there is no boundary between bench and storage, spare materials are likely to spread into the space reserved for work. Decide whether an unfinished project can remain in place without blocking the next task.
Keep small supplies close in trays or drawers, but avoid letting every container sit on the bench. A labelled box that can move to a shelf after use may be easier to manage than a permanent row of supplies across the worktop. Think through the reset after an ordinary session: where do tools go, where can an unfinished project stay, and can the bench be made ready without moving bulky storage? Reserve a clear place for tools taken out of a box, or the bench may fill before the task begins. Use the Modano 1 listing only as a candidate for a measured plan; its actual stated details, rather than the model name, need to match the bench and storage arrangement.
Match storage to the supplies
Different hobby supplies may need different storage conditions, so make an inventory before assigning every box to the shed. Keep items that must stay clean or dry separate from soil, sawdust or other working debris, and group supplies so labels remain visible. For paints, adhesives, cleaning products or anything else with handling instructions, follow the manufacturer’s label and storage guidance; a closed container does not make unsuitable conditions acceptable. If a material needs conditions the shed cannot reliably provide, plan another storage location rather than letting it take up the best working area. Note those exceptions on the inventory so they are not forgotten.
Consider what needs frequent access and what can be stored less conveniently, while keeping those choices compatible with the product information and the supplies’ own requirements. Do not assume a product name or image proves a particular level of protection or environmental control. When reading the Garden Shed M page, check the claims and specifications actually provided, and ask for clarification if an essential storage condition is not addressed. Keep a note of any supplies that need to be taken out after a session. This helps prevent a well-organised interior from still being unsuitable for the materials you intend to keep there.
Check product and ordering details
Before placing an order, compare measurements and included items that affect your layout. Check the stated internal and external dimensions, doorway details, any floor or storage components described as included, and assembly information. Do not infer from a product title that shelving, a floor or a work surface is part of the supply. Record any missing detail that would change your plan and ask the retailer or manufacturer to confirm it before you commit. This matters particularly when the shed has to fit a precise garden area or when your bench depends on a particular length of clear wall.
Measure the intended garden location and route to it as well as the inside plan: a shed that fits the plot may be difficult to position if access is restricted. Check the order information for delivery, assembly and any preparation you are expected to arrange instead of assuming the process is identical for every product. If your own bench or storage unit must be brought into the shed during assembly, check that the sequence is practical. For the Garden Storage Shed S page, rely on details stated for that listing, not its category wording. If questions about the supporting surface or ground preparation involve structural suitability, consult a qualified professional.
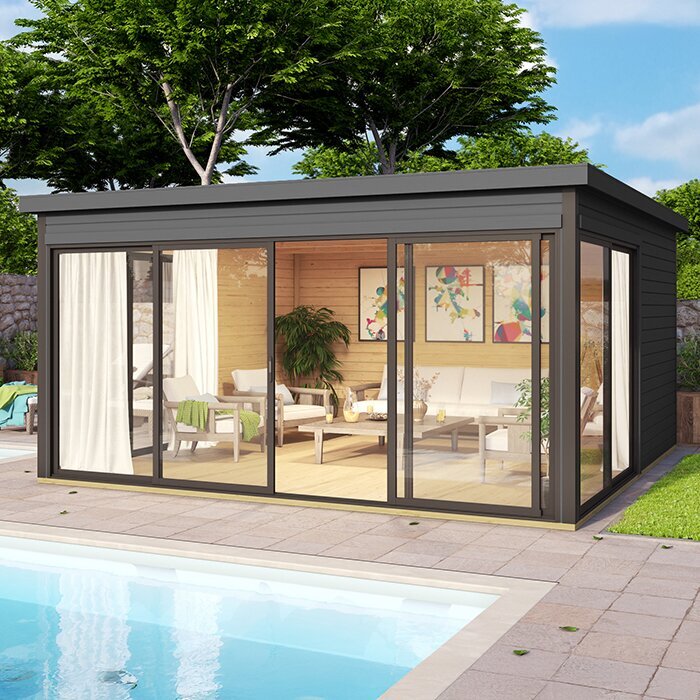
Adapt the layout to your hobby
Each hobby asks something different of the room. Potting or garden-tool maintenance may bring in soil and bulky equipment, while model making or sewing calls for small parts that are easy to sort and reach. A repair project may need room for the object itself, not just a bench. These examples are prompts to measure the tools and materials for the activity you have in mind, not fixed layouts. If the shed will serve more than one hobby, identify which tasks can share the same work surface and which need separate storage or a clear-down between them. Decide which activity takes priority if both cannot happen at once.
Plan for the largest regular project rather than the smallest item in the collection. Check how it enters, where it rests during work and where it can sit while you retrieve another tool. A rehearsal with empty boxes for shelves and a taped outline for the work surface can show whether you can turn, reach and pass through without shifting equipment. Leave flexible floor area if projects vary, but decide what it is for; otherwise it can become unplanned storage. For hobbies with occasional large jobs, mark a temporary project zone and note which items must be moved to clear it. Write down which activity will be in use most often, so a rare large project does not dictate all the permanent storage.
Test the plan before ordering
Compare each candidate using the same short list: usable internal floor area, door access, storage locations, clear work area and product details that matter to your hobby. A larger outside measurement does not by itself show how much usable room remains, and a photograph cannot show every clearance. Put the information beside your plan and mark what still needs confirmation. If a key dimension or component is missing, get an answer before ordering rather than building the arrangement around a guess. Keeping the comparison in one table also makes omissions easier to spot. Hold options with missing essential details aside until you can compare them fairly.
Finally, test an ordinary work session from start to finish. Pretend to enter with materials, retrieve tools, use the bench, move around the project and put everything away. If the route works only when a shelf is empty or a box is moved, adjust the plan or compare another shed. Decide what can be stored elsewhere if you would otherwise fill every surface. The strongest plan is one where storage has clear limits and the working area is still ready for its intended use after ordinary equipment has been put away.
Frequently asked questions
How much space do I need for a garden shed hobby room?
There is no single size that suits every hobby. Measure the workpiece, work surface and storage you need, then include space for opening storage and moving around the project. Base your choice on usable internal dimensions rather than the outside footprint alone, and mock up the layout at full size if possible.
How can I keep tool storage from taking over the floor?
Group items by size and frequency of use, use labelled containers, and keep regular-use tools near the bench. Shelves or wall storage can free floor space only if the product’s construction and fixing guidance allow that arrangement, so check the information rather than assuming. Keep bulky items easy to retrieve without blocking the route.
Can I use one garden shed for hobby work and garden tools?
Yes, if the plan gives each a separate, reachable place and retains a clear work area. Keep clean hobby materials away from soil, dust or damp tools, and consider whether one activity’s equipment must be moved before another can begin. Follow storage and handling instructions on supplies; some may need a different location.
Should I choose a shed by its outside dimensions?
Use the outside dimensions to check the garden footprint, but not to judge the available working space. Compare published internal dimensions, doorway details and the area left after placing shelves and a bench. If listings describe measurements differently or omit a figure you need, ask for clarification before choosing.
What should I confirm before ordering a shed for hobby use?
Check internal and external dimensions, door access, what is included, assembly information and whether the planned location and delivery route are suitable. Ask about missing product details, and seek qualified advice if site preparation or the supporting surface is uncertain. Then test your layout against the information provided.
A hobby room stays useful when storage has a planned place and the work area is not treated as overflow. Measure the tasks, tools and largest regular project; then compare a candidate’s stated dimensions and ordering details with a layout that includes routes and access. If the plan only works after shifting boxes or clearing the bench every time, revise the storage or consider a different candidate. The aim is a garden shed that supports the hobby in ordinary use, not just on paper.
