
How Much Space Do You Need Around a Hot Tub?
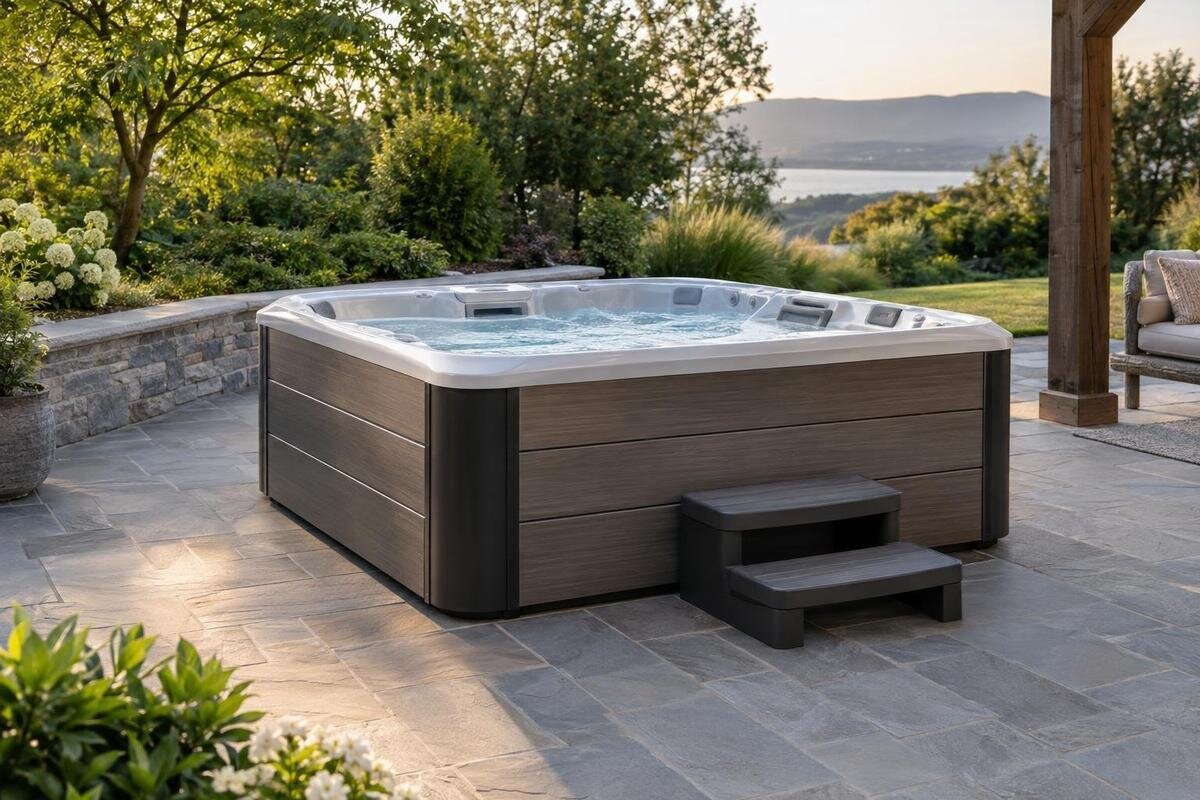
Hot tub space planning
If you have measured a patio or garden area in Malta, the tub’s footprint is only the first part of the answer. You also need room to approach the entry side, get in and out, move the cover through its full opening path, and preserve any service access specified for that model. Those needs do not necessarily form an equal strip around every side, so a single clearance number can mislead. The dependable way to decide is to use the chosen model’s verified dimensions and instructions, then map its operating area against the space you can actually keep clear.
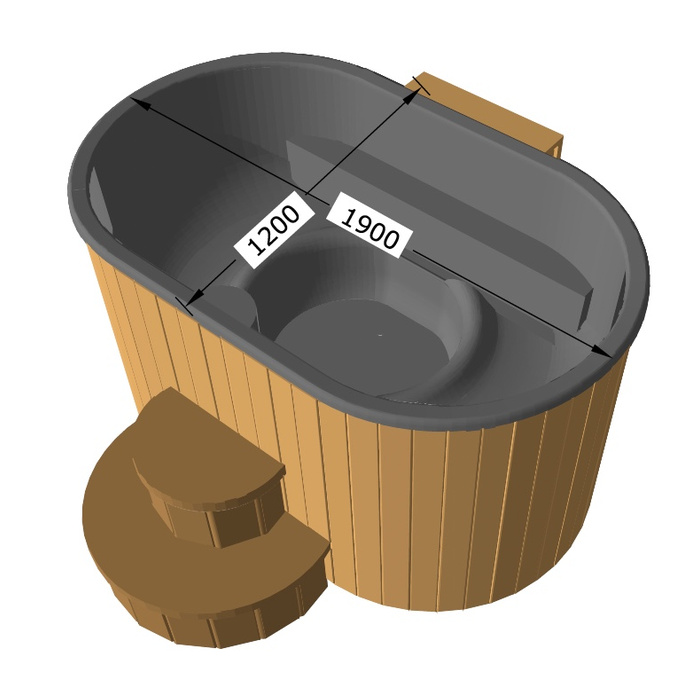
The footprint is only part of the operating area
An outside measurement tells you how much space the shell occupies, but not whether the tub can be used and maintained in the position you are considering. Separate the footprint from the operating area: the footprint is the tub itself; the operating area is the room needed for access, cover handling, any manufacturer-specified maintenance access and the movements involved in those tasks. These areas do not have to fall equally on every side. One side may need room for getting in, while another may matter because of the cover or a service panel. Even if the shell outline clears the patio edges, the arrangement can still fail when one of these tasks has no usable space.
On a simple sketch, mark fixed boundaries first: walls, posts, railings, built-in units and the edges of doors or gates. Note projections such as a ledge or fitting rather than drawing only the main wall line, then add chairs, storage and other items normally left in place. The remaining space is not automatically usable just because the tub outline fits there. A narrow passage may allow someone to walk through but leave no room to handle the cover or stand at the entry. Equally, do not reserve access on every side without checking the instructions. Plan around actual movements, not an arbitrary border.
Leave room at the entry and exit side
Identify the intended entry point from the manufacturer’s layout, rather than assuming that the side which looks most convenient in a photograph is the right one. The usable area needs to let someone approach, turn to face the opening and step in or out in the way the design calls for. If your arrangement uses a separate step, include its position and the room needed to stand on it; do not count a narrow gap as entry space if a wall return, post or fixed item blocks the approach. If the instructions allow different orientations, check the access requirements for the one you plan to use. Any stated clearance must come from the chosen model’s documents.
Test the space as a sequence rather than as a measurement alone: arrive along the usual route, pause beside the tub, use any specified step or handhold, and turn away after getting out. Consider whether another person could wait or pass without occupying the same spot. An entry point may be reachable yet impractical if someone has to squeeze sideways between the shell and a rigid edge. If you are considering Bloomcabin Hot Tub Cove 2, use its current dimensioned drawing to locate the entry point on your plan. Then check the approach and exit movements at that position, rather than leaving an unspecified gap beside the outline.
Map the cover’s full opening path
Plan for the cover while it is being opened and set aside, not only while it lies closed over the tub. Cover designs and any lifting mechanisms can differ: depending on the exact configuration, a cover might fold or pivot, and an accessory could move into space beside or behind the unit. These are possible arrangements to verify, not claims about any model in this guide. Obtain instructions for the chosen cover and any lifter, then mark its movement from closed to fully open and its resting position. If the instructions specify a clearance, record which side it applies to and whether it refers to the cover alone or an accessory as well.
Check vertical space as well as the ground plan. A beam, projecting ledge, screen or other fixed feature may limit how far a cover or mechanism can move, even when the floor outline looks clear. Allow room for the person operating it, too, so that this task does not block the entry path or another access area. If Bloomcabin hot tub Haven 6 is on your shortlist, ask which cover configuration you would be buying and how it opens. Record both the movement path and the space occupied when it is fully open; checking only the final position can leave an obstruction along the way.
Keep any specified service access clear
Maintenance access is separate from the space needed for everyday use. Installation or service instructions may identify a panel, connection or other component that needs to be reached from a particular side, but the location and working room are model-specific. A tub can have a clear entry and an unobstructed cover yet still leave a service panel boxed in by a wall, fitted bench or storage. Check the manual for service access and ask the supplier to identify any stated clearance. Do not assume every part is reachable from above or that leaving one side open automatically provides enough room to work.
Clarify whether a service area must stay unobstructed during normal use or whether an item can be moved for a service visit. Ask what needs to be reached or removed, and whether the working area extends beyond the panel itself. A removable object is only a practical solution if it can be relocated without blocking the route, entry or cover. The information provided for Bloomcabin Hot Tub Fjord 8 confirms the catalogue identity only; it does not show a panel position or service allowance. Until current instructions provide that detail, mark the service side as unconfirmed rather than treating the space as spare.
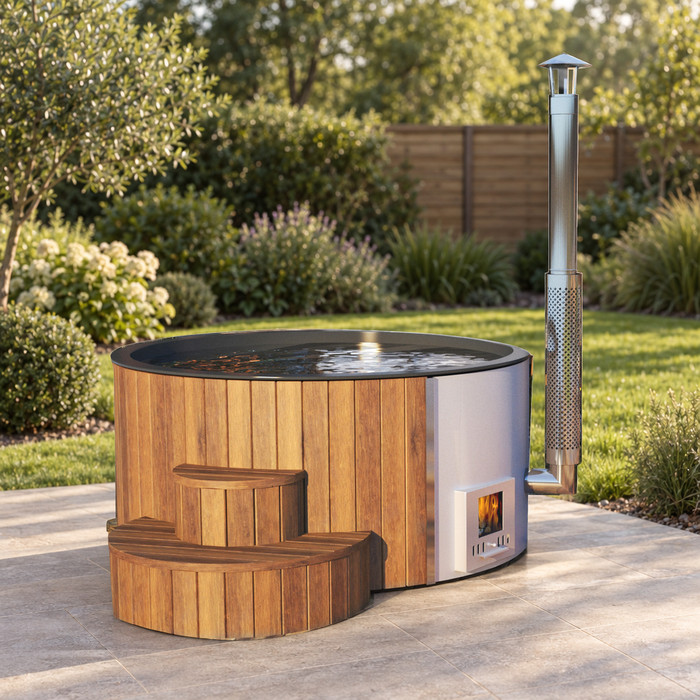
Include steps and nearby obstructions
Steps, stools and handrails belong in the working layout if they are part of the way you plan to enter. Check whether the model instructions identify a suitable step or accessory, and measure the specific item you intend to use; do not assume a step is included or that one size suits every tub. Show its position, the approach to it and the space a person needs to stand and move away. If the step is removable, decide where it will go between uses. Otherwise it may end up in the only path to the cover or service access, leaving the plan dependent on moving it each time.
Mark nearby obstructions at their actual projecting edge: a wall corner, fence post, gate, patio door, fixed cabinet or wall-mounted fitting can intrude beyond the main wall line. Include the area taken up when a door or gate is open, since its swing may cross space needed for a step or route. Movable chairs or planters count as clear space only if they can genuinely be kept elsewhere. When planning around Bloomcabin hot tub Aurora 10, compare the model’s current dimensions and access instructions with those marked edges. Check the space with doors and gates open as well as closed, rather than judging the arrangement from a photograph.
Keep the everyday route usable
Draw the normal route to the entry point as a continuous path, including turns and pinch points between fixed objects. Check the narrowest part and account for a door or gate that may cross it when opened. This is the route people will use during ordinary visits, so it should still work after furniture, storage and equipment are back in their usual places. A path that exists only when the patio has been cleared is easy to overestimate. Check that the approach does not force someone to stand in the cover’s travel area or occupy a space that the manufacturer reserves for service.
Consider who will use the route and how often they may carry towels or other items, rather than assuming a generic width suits every household. The practical question is whether people can approach, wait, enter and leave as intended without moving objects or navigating around a fixed obstruction. If you are considering the Cove 2 listing, establish the entry position before aligning the route on your sketch. Follow the path all the way to that point: a clear passage beside the tub does not resolve a cramped turn at the step. Keep the waiting space visible too, so it is not inadvertently occupied by furniture.
Combine each clearance on one plan
Once the footprint and individual clearances are known, combine them on a single plan. Mark the tub outline first, then show the entry and exit area, the full cover path, any service area required by the instructions and the everyday route. Different lines or colours make it easier to see whether one zone overlaps another. An overlap is not always a problem, but it needs checking: a route may cross the cover’s movement area, or a step may obstruct a panel. Distinguish tasks that happen in everyday use from occasional service work, and check whether the same space would need to serve both at once.
Label each measurement with the side and purpose it belongs to; a service clearance cannot simply be transferred to the entry side. Use the exact product version and cover configuration you intend to buy, because an accessory can change the layout. When comparing the Haven 6 option with your available space, keep the measurements beside the relevant zones rather than recording one overall clearance. If two zones overlap, note which activities use them and whether those activities need to happen together. Keep any unknown area labelled as unconfirmed: an incomplete plan can identify a question to resolve, but it cannot yet establish that the model fits.
Compare models using verified dimensions and instructions
Compare models one at a time, using a separate plan for each rather than assuming a single outline applies across a range. Record the external width, length and height from current product documents, then add the entry point, cover-opening method, service side and any stated clearances. Check what the listed measurements include, such as protruding controls or accessories, and whether a chosen cover lifter or step changes the space required. Where an instruction does not state a clearance, write that it needs confirmation. Do not turn an unlabelled gap in a diagram into a manufacturer requirement.
That distinction matters for the Fjord 8 listing: the information available for this guide confirms its catalogue identity, not its dimensions, cover operation or service access. The same evidence limitation applies to Cove 2, Haven 6 and Aurora 10. A model name or product image is not a reliable basis for ranking which option needs the least room. Ask for the current installation drawing and clearance guidance for each exact model and configuration, then compare them on the same patio sketch. This lets you compare the options without substituting an assumed figure.
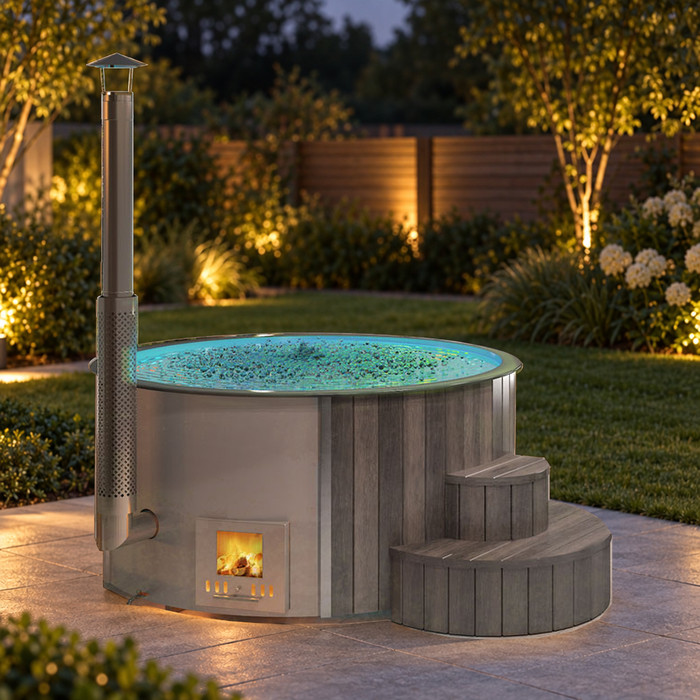
Change the layout or shortlist if space is tight
If your plan shows a conflict, identify which task is affected before changing anything. The cover may not have room to open, the entry area may be blocked, a door swing may cross the route, or service access may be missing. If a movable item causes the conflict, redraw the layout only after deciding where that item can go in everyday use. If a fixed boundary is involved, check whether a different orientation is permitted and whether it leaves every required side usable. Rotating the tub without checking the access panel can simply move the problem from one edge to another.
If the available area still cannot meet the verified requirements, compare another model with documented dimensions and access instructions, or reconsider the layout rather than forcing a fit. When considering Aurora 10 as an alternative, do not interpret the number in its name as a measure of its footprint or clearance needs. An option with a smaller verified shell could still need more room for its cover or service access, so compare the whole operating area. Keep the same fixed boundaries on each model’s plan to make the comparison useful. A revised shortlist should reflect which layout accommodates the required tasks, not merely which outline fits.
Verify the operating details before choosing
Before settling on a model, request the exact product version’s dimensioned drawing and installation instructions. Ask the retailer or manufacturer to identify the entry side, cover-opening path, required service access and any clearance that must be preserved. Confirm whether the drawings include accessories you plan to use, such as a lifter or separate step, and whether those change the operating area. If a document gives no number for a particular side, ask what must remain unobstructed instead of borrowing a gap from another model. Keep the answer with your layout plan so each allowance can be traced to the information it came from.
Do a final check with fixed edges and everyday objects still shown: doors open, chairs in their usual place, the step positioned as intended and the walking route clear. The drawing should show where someone gets in and out, where the cover goes, and any service access stated by the manufacturer. The information available for this guide does not confirm model-specific clearance figures for Cove 2, Haven 6, Fjord 8 or Aurora 10. A measured patio alone therefore cannot settle which model suits it; compare the actual layout with the details for the exact option before deciding.
Frequently asked questions
Is there a standard clearance around every hot tub?
No single figure can be applied reliably to every model and layout. Entry, cover movement and service access can call for space on different sides. Use the chosen model’s current instructions rather than an assumed all-round gap.
Do I need the same space on all four sides?
Not automatically. Reserve the space required for any specified service access, then plan for entry, cover operation and the everyday route where they are needed. Avoid adding an arbitrary equal strip around the whole tub.
How can I check whether the cover will open?
Ask for instructions for the exact cover and any lifter in your intended configuration. Mark the full movement path and resting position on your plan, and check for nearby walls, projections or overhead features that could obstruct it.
What if the service clearance is not listed?
Ask the retailer or manufacturer which side needs access and what must remain unobstructed. Keep that area marked as unconfirmed until you receive an answer; do not substitute a clearance taken from another model.
If the tub fits on the patio, will it fit in use?
Not necessarily. The footprint does not account for getting in and out, opening the cover, any stated maintenance access or a clear everyday route. Plot those needs with the tub outline before deciding.
The space you need around a hot tub depends on how that model is entered, opened and maintained, as well as the route you use to reach it. Plot those areas alongside the footprint and nearby obstructions instead of adding an assumed equal gap on every side. A workable layout leaves room for each task without relying on furniture being moved somewhere it cannot normally go. If a required dimension remains unknown, leave that part of the decision open until you can compare it with your measured space.
