
How to Combine a Sauna and Hot Tub in One Garden
Garden planning guide
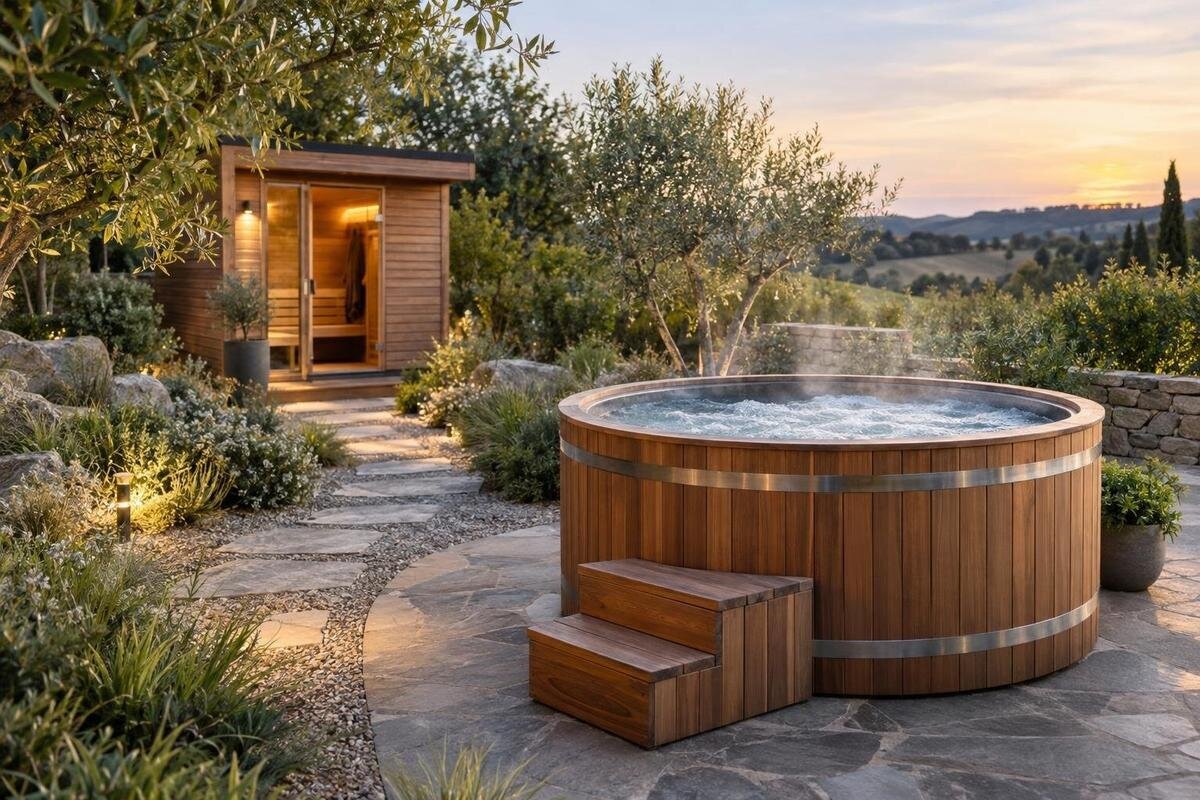
Combining an outdoor sauna and hot tub is a small site-planning project, not simply a choice of two products. Their positions affect the route between them, privacy, changing and resting space, delivery and future servicing. Plan the pair as one working area, then compare current product drawings and local requirements before deciding whether to install both at once or in stages.
01
Plan the sauna and hot tub as one outdoor area
Treat the sauna and hot tub as one outdoor bathing area rather than two separate products competing for whatever space is left. Their relationship affects how people move between entrances, where changing happens, whether towels stay dry, and whether an installer or technician can reach each unit. Draw the sequence from arriving in the garden to changing, using either unit, resting and returning indoors. This reveals where wet and dry activities meet and whether the route passes through a doorway or working area. A catalogue photograph cannot show those movement patterns in your garden.
Before choosing positions, list the routines the area needs to support: using one unit at a time or both in one visit, who will move through the space, and whether the garden still needs an everyday route. Include household members and occasional guests in that discussion; people may use the area differently. Outline the planned bathing area on the sketch, then place the sauna, tub, changing point and resting space within it. This helps avoid reserving two product footprints but leaving no useful room for people, doors to open, belongings or access to the rest of the garden.
Measure the space each unit needs in use
Start with a measured plan of the garden section, including walls, gates, level changes, fixed structures and the route used to reach the area. Mark the external dimensions of the sauna and tub from current technical drawings, then add the clearances and access space stated by each manufacturer. Include the movement of doors or lids, any specified entry equipment and the designated service zones. The outline of a product is only the starting footprint: the operating area also needs to accommodate entry, use and maintenance. Do not replace a manufacturer’s requirements with a generic margin.
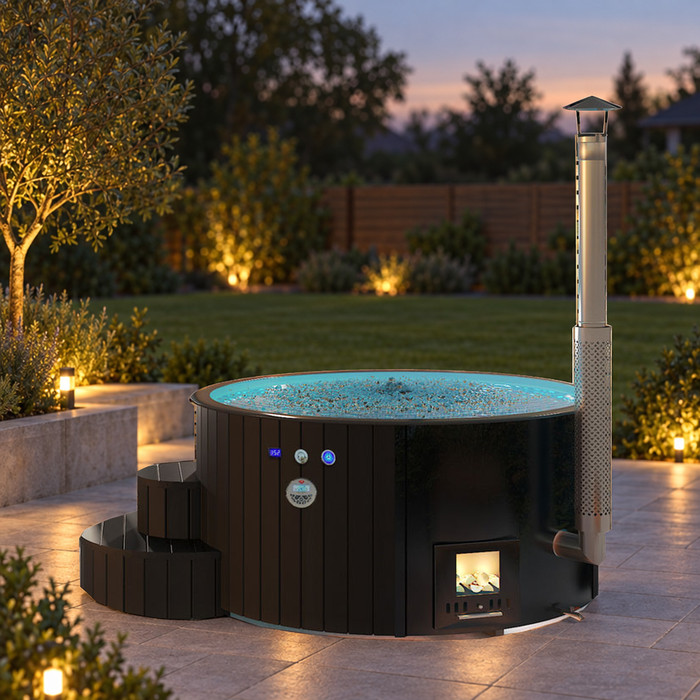
Consider the model on the Cove 2 product page against the plan, without assuming it will fit: the catalogue name alone confirms neither dimensions nor clearance requirements. Request a current dimensioned drawing and installation information, then put them beside the equivalent documents for the sauna. Check how much usable space remains after both operating footprints are marked, not simply whether two rectangles fit inside the boundary. If a dimension or access requirement is missing, ask the supplier or manufacturer rather than estimating from a photograph. Repeat the comparison for every alternative before settling on a pair.
02
Keep the route between the sauna and hot tub practical
Plan a route connecting the garden entrance, changing point, both unit entrances and the place to pause. It need not be straight, but it should be easy to follow when someone is carrying a towel or moving between wet and dry areas. Avoid making the only way to one unit pass through the other entrance, across a service zone or around furniture that must be moved each time. Mark the route on the plan alongside the relevant clearances and the people who will use it; a narrow gap is not automatically a usable passage. Consider whether its turns will be easy to see after dark if the area will be used then.
Test the arrangement by marking its edges on the ground with removable tape or string and walking the whole route. Try approaching both units, turning at each entrance and reaching the changing and resting space while carrying a towel. Compare alternatives with one unit offset or turned so the entrances do not face directly into each other, while retaining the required clearances. If you are considering the model on the Haven 6 product page, use its current dimensions and entry information to mark its position accurately. Record which arrangement leaves the route clear with the planned furniture or screen in place.
Position entrances with privacy and visibility in mind
Privacy is a shared-layout issue because people may be visible while entering, changing or crossing between units, not only while using the hot tub. On the sketch, trace sightlines from both entrances and the changing point towards neighbouring windows, balconies and garden boundaries. Check from seated and standing positions, and after dark if the area will be lit then. An entrance facing the other unit can expose the transition space; turning or offsetting entrances, or using an existing boundary to screen the changing point, may improve privacy without isolating either unit. Assess the actual garden rather than assuming it has a particular degree of overlooking.
Any screen or planting used to shield the shared area must not block a route, entrance or manufacturer-specified access zone. Keep a way to reach both units without having to move a screen or pass through a private changing area. When assessing the model on the Fjord 8 product page, use its written footprint and access details to check where its edges would sit relative to the sauna entrance and any screen. Pay particular attention to where the route passes the end of the screen: shielding the changing point should not leave an awkward turn at either entrance. Compare this junction in each proposed arrangement.
03
Allow for changing, towels and time to rest
Give changing and resting a defined place instead of trying to fit them into leftover gaps. Plan a dry spot for clothing, towels and personal items, positioned away from the main wet route and clear of both entrances. Decide whether people will change indoors or in the garden area; that choice affects the most useful route and how much privacy the outdoor space needs. Consider where footwear and used towels will go as well, so they do not narrow a passage or conceal a doorway. These needs belong on the first layout, not as furniture decisions made after both units are installed.
A seat or resting spot may be shared, but it should not occupy a required clearance or become a bottleneck between the sauna and tub. Think about whether it needs to be close to towels, screened from neighbouring views or reachable without crossing the wettest part of the route. Use temporary furniture or boxes to test the available area before fixing a bench or storage unit in place. If you are considering Aurora 10, compare its verified footprint and access zones with the space reserved for changing and resting. Check that someone seated there would leave room for another person to pass between the units. Do not make the arrangement depend on moving the seat whenever both units are used.
Coordinate connections and service zones
The sauna and hot tub may have different connection and servicing needs, so plan for each unit separately before deciding whether their service routes can be coordinated. Ask the suppliers for current installation documents covering the connections each product requires, its specified clearances, service access and any relevant drainage or heating arrangements. Give those documents to the appropriate qualified installers; do not assume that one prepared connection, route or service area will suit both units. Keep proposed utility routes out of the main walking path where the professionals confirm that the arrangement is suitable. Do not plan or size technical work by guesswork.
Check the Bloomcabin Hot Tub Cove 2 listing for current written installation information and request any missing details before fixing paving, boundaries or storage around that option. Apply the same process to the chosen sauna, particularly if its heater type has model-specific clearance or ventilation requirements. A shared corner may look tidy but still be unsuitable if one installer needs a clear working area or continuing access. Have the relevant professionals review the proposed positions and connections together, so a route or working area allocated to one unit does not conflict with the other. Keep their agreed access needs visible on the shared plan.
04
Check the delivery route and future access
Delivery access is different from the space needed for day-to-day use and servicing. Measure the complete route from the expected delivery point to each final position, including the narrowest gate, turns, overhead obstructions, steps, thresholds and changes in surface. Ask the supplier or installer what dimensions and handling arrangements the packaged or assembled unit requires. Do not assume a product can be dismantled or carried through a tight turn. If access might involve temporarily removing part of a gate or boundary, establish who would arrange that and what needs to be restored before delivery. Check the route for the sauna and tub separately; they may need different approaches.
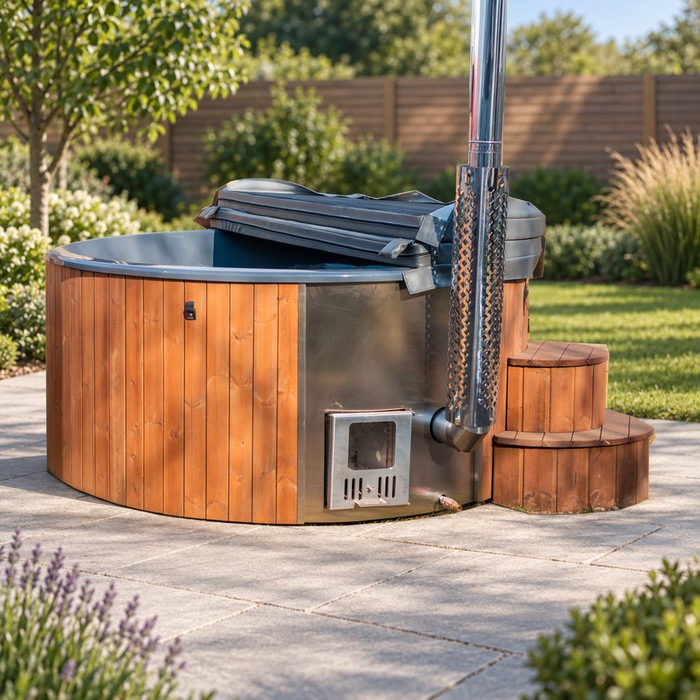
Draw the technician’s future approach as well. A tub might fit in the available space yet be difficult to maintain if its designated service area faces a fence, sauna, fixed screen or immovable bench. When assessing Bloomcabin hot tub Haven 6, request its current transport, placement and maintenance-access requirements and mark each separately on the plan. This distinguishes the space needed to bring it into the garden from the access that must remain available afterwards. Check the sauna’s service area too, and retain a way to reach both units without dismantling garden features. Keep these areas clear when adding storage or seating later.
Choose a hot tub for the shared layout
Choose the hot tub only after the combined plan shows how much space and access remain. Compare candidates using current overall dimensions, shape, stated clearances, entry arrangement, service zones, connection needs and handling requirements. Then assess how the footprint affects the route to the sauna and the room left for changing and rest. Separately decide how many people are likely to use the tub at one time and what seating arrangement suits them, using verified product information. A numeral in a model name does not establish capacity, seat count, dimensions or performance. If information needed for a fair comparison is missing, ask for it before ranking the options.
For example, assess Bloomcabin Hot Tub Fjord 8 alongside the chosen sauna on the same measured site plan. Make a comparison sheet for each tub candidate: verified dimensions, manufacturer-specified clearances, entry and maintenance access, connections, and the space left for the shared route, privacy and rest. Mark unknown details as unknown rather than filling gaps with estimates. Record the practical compromises too: does an option move the changing point farther from the house, require a different screen position or reduce the resting space? Comparing the complete arrangements makes those differences clearer than comparing product outlines alone, and helps you decide which compromises suit your household.
05
Decide whether to install both units together or in stages
Installing both units as one coordinated project makes it easier to consider their positions, routes, boundaries and work sequence together, but it also means settling the final choices earlier. A staged installation may spread decisions and expenditure over time; however, the first phase needs to leave a workable place and access route for the second. Before deciding, draw the eventual complete layout and identify any paving, structures, utility routes or service zones that later work could affect. Ask installers what must be decided now and what can wait. Do not assume a future addition can be made without changing completed work.
If you stage the work, choose the intended pair on paper before buying the first unit. Protect the future footprint and route from storage, fixed seating or other features that would make a later installation awkward. Coordinate the sequence with the relevant installers, including what they need to inspect or prepare at each stage. If Bloomcabin hot tub Aurora 10 is your intended later addition, compare its current specifications with the final sauna plan and check them again before purchasing. Do not assume a later purchase will match today’s information. If useful, ask for separate phase quotations with their assumptions stated.
Confirm site requirements in Malta before ordering
Before ordering or building, check the current requirements for your specific property and proposal in Malta. Ask the relevant local authority whether your planned units, any supporting base, boundary alteration or overhead feature require permission or another process; do not assume approval is either necessary or unnecessary from general advice. Have appropriate local professionals review installation and safety matters for the actual equipment, including manufacturer-specific clearances and any heating, electrical or drainage requirements that apply. Use current local guidance and the chosen products’ technical documents rather than relying on a neighbour’s arrangement or a generic online diagram.
Keep a final plan showing both complete operating footprints, entrance and service areas, privacy treatment, the wet and dry route, changing and resting space, and the delivery approach. Attach current dimensioned drawings and installation information for the chosen sauna and tub, together with notes from the professionals consulted. Review the plan with the people who will use the area: can they reach both entrances, change, put belongings away and leave without blocking service access or another route? If an answer depends on a specification that is not confirmed, pause the order until it is resolved.
Frequently asked questions
How much space should I leave between the sauna and hot tub?
There is no reliable universal gap to apply to every pair. Use the current drawings for the chosen units, including manufacturer-specified clearances, door openings and service areas. Then check that the route, changing space and any planned screen still fit without reducing those requirements.
Should the sauna entrance and hot tub entry point face each other?
They can, if the route remains comfortable and the arrangement does not expose the changing area to unwanted views. Compare facing entrances with an offset arrangement on a site plan, checking privacy, door movement and the manufacturer’s access requirements before choosing.
Is it better to install both units at the same time?
A coordinated installation can make it easier to plan the complete layout and work sequence. Staging may suit your project better, but draw the eventual pair first and protect the future route, footprint and service access. Ask installers what must be decided or prepared in each phase.
Can I estimate a hot tub’s capacity from the number in its name?
No. A model number does not confirm capacity, seat count, dimensions or performance. Check current written product information for those details, and compare the verified footprint and access requirements with your sauna plan.
What should I check locally in Malta before ordering?
Ask the relevant local authority whether your specific proposal needs any permission or other process. Have appropriate local professionals review the installation and safety requirements for the actual products and site. Do not assume the answer from another property or from general online advice.
The best pairing leaves room for the whole routine: entering, changing, moving between the units and resting, while keeping the required clearances and service access clear. A measured shared plan helps you compare tubs fairly, preserve privacy without blocking access and decide whether a staged installation is workable. Choose the arrangement that supports how your household will use both units, rather than the pair that simply appears to take up the least space.
