
How to measure sliding, patio and bi-fold doors correctly

Planning guide for patio access
A large glazed opening onto a patio can look simple on a plan: choose the width, height and preferred door. On site, however, the interaction of the structural opening, finished floor, wall build-up, travel direction and adjoining patio determines whether the door can be planned sensibly. One measurement is particularly insufficient for sliding and bi-fold doors. Ordering a desired size too early can create conflicts with flooring, shading, furniture or drainage connections. This guide therefore clearly separates the existing survey, planning dimensions and final order dimensions. It helps you document the opening consistently and ask the right questions of the design team, installer and supplier.
Check before making an enquiry 1
First assess the door type at the opening
Your measuring approach starts with the movement required from the opening. A single-leaf patio door needs a swing area; a sliding door moves one element parallel to the wall; a bi-fold system folds several leaves into a stack. This affects more than width: it also influences usable passage width, furniture layout and the operating side. Do not compare overall dimensions alone. Draw a floor plan with the patio, seating, kitchen island or radiators, and mark where people will actually walk. Broad glazing can bring in plenty of light, while a narrower moving leaf may be enough for the everyday route outside. Conversely, a frequently used route for carrying items outdoors may suggest a different layout from occasional access to a balcony.
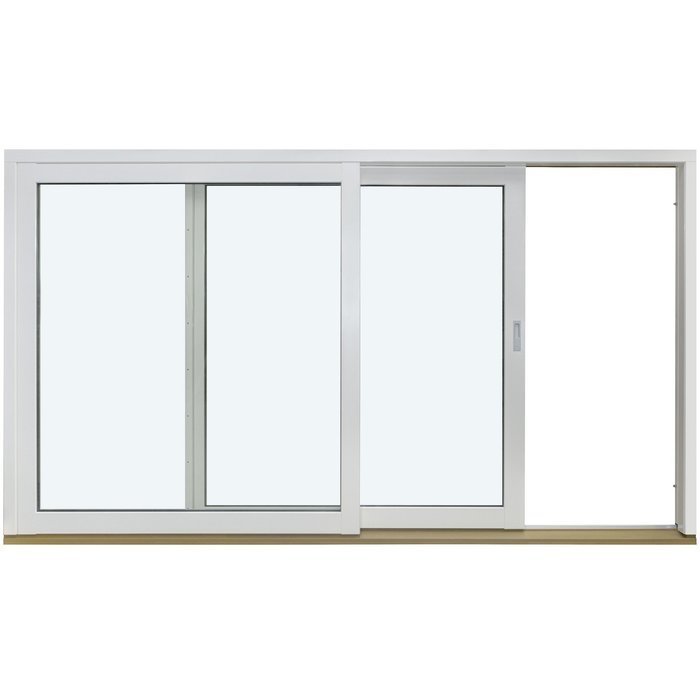
For an initial comparison, you can consider a Patio Life lift-and-slide door as an example of a large-format sliding solution alongside a conventional hinged door. Its name alone does not confirm dimensions, performance values or fittings; ask for these separately. The sketch is what matters: which panel should remain fixed, which should move, and where should it sit when open? Also note whether floor-to-ceiling glazing should visually continue an adjacent window element. For alterations, establish whether the existing wall opening will remain unchanged or be redesigned. Measured figures become reliable only once use, views and movement sequence are defined.
Record structural and clear openings separately
The structural opening is the building aperture before installation; the clear opening is the unobstructed passage or visible opening within an existing construction. Both figures are useful, but they are not interchangeable. In a new build, measure width at the bottom, centre and top between the reveals, and height at the left, centre and right from the intended datum. In an existing property, linings, old frames, plaster edges and thresholds may conceal the actual building opening. Always state which surfaces the measurement runs between. A photograph with marked measuring points helps prevent later misunderstandings.
Use a rigid tape measure or suitable laser distance meter, and manually check any noticeable differences. Record every individual value in millimetres, not only the largest one. The smallest measurement can govern the planning, but the cause of variation is equally important: an uneven reveal, sloping floor or uncertain plaster build-up requires a different solution from an even opening. Measure the diagonals too. Unequal diagonals indicate that the opening is not square. This survey does not replace a site measurement by a qualified installer, but it provides a precise basis for discussion and comparing options.
Check before making an enquiry 2
Set the datum at the finished floor level
For patio doors, a height without a clear datum is of limited value. Set the top of the finished floor as the reference and mark it on the wall and sketch. In a new build, this includes all layers still to be installed, such as build-up, screed and floor covering. In an existing property, clarify whether the internal finish will remain, be renewed or be replaced by a covering of different thickness. Measure from this planned level to the underside of the lintel. Add the current height to the structural slab if the floor build-up remains undecided. This shows whether a figure describes an interim stage or the final usable height.
Outside, take a second height sequence: from the same datum across the threshold zone to the top of the future patio finish. Fall, finish thickness and the connection to the façade belong on the drawing, even if they are not yet decided. A door may work inside while the external junction remains unresolved. A sliding door should therefore be compared with the planned floor and patio arrangement, not solely with today’s visible structural edge. Ask the designer or installer which information is needed for the intended installation and who will coordinate levels definitively. For renovations, that person should also know whether adjoining rooms are intended to finish at the same level.
Record width, depth and position within the wall
Alongside opening width, wall depth affects how the frame, reveals and internal junctions come together. Measure wall depth in several places and record its build-up where known: structural layer, insulation, lining, plaster or service lining. Photographing only the visible reveal is not enough. With a multi-layer external wall, the installation position must be coordinated with the full wall build-up. Draw the intended door position within the wall depth if it has already been decided. Without this information, it is difficult to coordinate an external view with internal reveals, shutters or window boards. Clearly mark any unknown layers as unverified. Also check whether the visible wall depth matches at the top, bottom and both sides. Differences may indicate changing finishes or concealed junctions. A small section sketch showing inside and outside is often more informative than several unlabelled detail photographs.
Measure the available wall sections on the left and right up to corners, downpipes, columns, sockets, radiators or other openings. In a side-sliding system, a fixed panel may shape the view while the moving section needs no swing space when opened. A side-sliding Siegenia door cannot therefore be assessed simply from its overall width: record in particular which side the moving leaf is intended for and which view is being considered inside and outside. If curtains, shading or a run of fitted furniture are planned, mark their space too. This helps identify early whether the controls, handle and cleaning access will remain reachable.
Check before making an enquiry 3
Always mark opening direction from the correct view
The terms left and right can quickly cause mistakes if the viewing direction is not recorded. Document every door with two simple views: an internal view and an external view. For hinged doors, draw the hinge on the relevant side and the swing arc. State explicitly whether the door opens inwards or outwards. For sliding elements, draw arrows for the travel path and identify fixed and moving sections. For bi-fold systems, include the fold points and parking side in the sketch. A photograph of the existing situation is helpful, but it cannot replace arrows because the preferred new movement direction cannot be reliably derived from a photo.
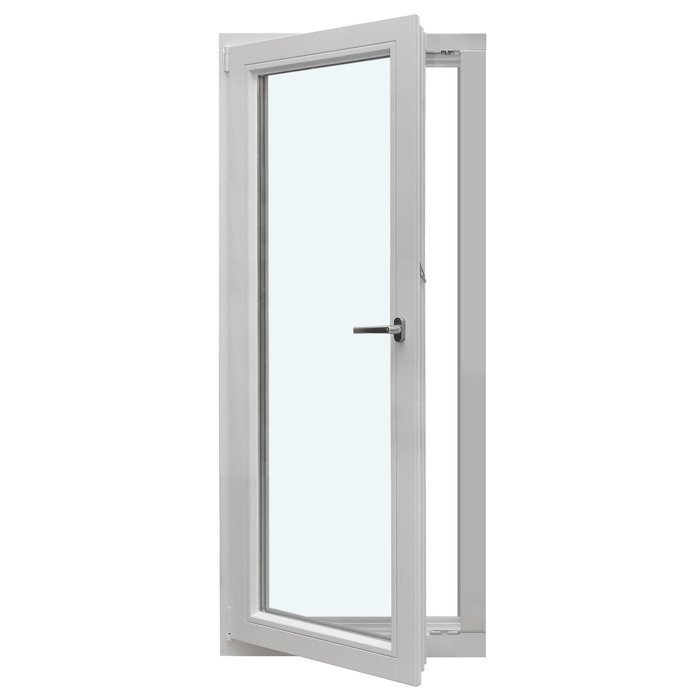
An outward-opening leaf can save indoor space, but it needs an unobstructed area outside. A single-leaf outward-opening patio door should therefore be checked especially against planting, railings, steps and furniture. An inward-opening leaf instead uses space in the room, for example in front of a dining table or bench. Do not ask only, “Which side is left?” Ask: from which viewpoint is the side named, where does the leaf move, and can the door open fully? These three details make an order much clearer. For future use with a pram, tray or garden furniture, it is also important to know whether the planned route works without having to step aside.
Measure a bi-fold system as a movement sequence
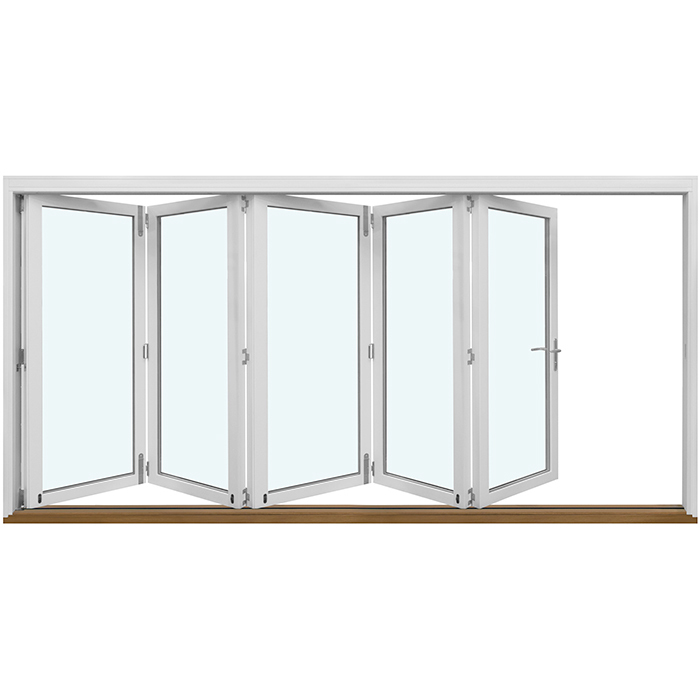
With a bi-fold door, the number and arrangement of leaves determine how wide the opening is in everyday use. First measure the full opening, then allow space for the folded leaf stack. Where will it park: inside or outside, left or right? Can it stand there without blocking a corner, light fitting, privacy screen or access to the patio? Also mark which leaf is intended as the daily access door, if applicable. This avoids having to open the entire system for a short trip outside. For wide openings, a scale paper sketch is worthwhile to check the movement space clearly.
An outward-opening bi-fold door is an example of a configuration where external space and parking direction deserve particularly careful planning. Before making the final selection, clarify the exact leaf arrangement, operation and required clearances using product documents and the proposed installation. If there is an existing patio, also measure distances to parapets, level changes and canopy supports. A leaf stack that fits on a floor plan may still narrow the main route in real use. During renovation, also note whether old fittings, linings or an existing canopy affect the preferred opening. Check movement before making an aesthetic decision about equally sized panels or glazing bars.
Check before making an enquiry 4
Assess the passage, not just overall width
The overall width of a system does not automatically describe the clear route outside. With hinged doors, the frame and open leaf affect the space differently from sliding or bi-fold systems. In multi-part systems, one panel may remain fixed, or part of the width may be affected by the parked leaf stack. Set an everyday-use test for your planning: should someone pass comfortably carrying a tray, will garden furniture be moved regularly, does the route lead to a dining area, or is the door mainly for ventilation and views? This description of use is more helpful than the general request for “as large as possible”. It guides the choice towards an appropriate opening type and sensible leaf arrangement.
A single-leaf inward-opening patio door can be the straightforward option where wall width is limited, provided the swing area in the room remains clear. A larger system may extend the view and access, but requires more coordination with the structure, wall junction and external space. Draw furniture at its actual depth rather than idealising it; allow for curtains and the space needed to open a leaf. Test the route with two people travelling in opposite directions where the patio and kitchen are often linked. Record the resulting passage requirement as a use objective, not as a self-determined order dimension. The clear dimensions eventually achievable depend on the selected construction and confirmed site measurement.
Document lintels, reveals and the existing structure carefully
The top of the opening deserves the same attention as the floor. Measure the height to the lintel at both sides and in the centre, photograph visible cracks, services, shutter boxes or unusual junctions, and note their position. When replacing a door, the old frame may conceal parts of the reveal. Do not remove anything solely to measure up if this could damage the building fabric or waterproofing. Instead, record visible dimensions and uncertainties. If the new opening is to become wider or taller, this is not simply a door matter: suitably qualified professionals must assess the wall alteration and its effect on adjacent components.
Also check the flatness of side surfaces with a long straightedge and record bulges or recessed areas. This matters because a neat measurement alone says nothing about the junction surface. Note whether a window board, radiator, lining or electrical installation adjoins directly inside. Outside, brickwork, render, cladding or existing waterproofing can affect detail design. Dividing the survey into structural opening, internal junction and external junction gives the installer a better basis for decisions. The final solution should not be based on the chance that an old door leaf happens to fit today’s opening.
Check before making an enquiry 5
Draw the patio, drainage route and outside space
A door does not end at its frame. Draw the first metres outside the façade: patio finish, fall, steps, drainage elements, canopy, railings, planters and paths. Include the planned design rather than only the existing layout if the patio is being renewed anyway. In wet weather, external-space planning must not be treated as an afterthought; junction details need to suit the door project. This guide does not replace technical waterproofing or drainage design. It does help make essential questions visible early: where will the future finished surface be, which way will the area fall, and who will coordinate the door, façade and patio?
For a double-leaf outward-opening patio door both swing areas should be shown on the external view. Check whether open leaves obstruct paths, seating areas or a step. The answer does not necessarily have to be another door model: sometimes furniture, the parking position of a barbecue or route layout can be changed. What matters is making the decision consciously. Also note whether an awning, external shading or insect screen is planned, so that their installation space and operation can be discussed early. In a terraced-house garden, even a narrow side passage can be decisive; on a generous patio, furniture in front of the glazed area may matter more.
Create a process from survey sheet to enquiry and order
A useful survey sheet includes the project address, room name, date, contact person and a clear position number for every opening. Add internal and external photos, a floor plan, an elevation and every individual measurement in millimetres. State what is existing and what is planned: new finish, altered patio, internal fit-out, shading or lining. Do not place dimensions from different building stages in one column. A field marked “open” is better than an assumption. When making an enquiry, send more than width by height: include the preferred opening type, viewing side, leaf movement and whether the dimension describes the structural opening or finished construction. This enables the supplier to ask targeted follow-up questions. Give each revision a clear version and visibly cross out superseded sheets. Before approval, establish which drawing applies, who entered changes, and whether the interior, façade and patio designs use the same height datum. This prevents correct individual figures from different design stages being combined by mistake.
A double-leaf inward-opening patio door is only clearly specified when the hinge sides, active leaf, internal situation and height datum are known as well as the overall opening. Before ordering, ask for positions to be checked against your drawing and clarify who is responsible for the final site measurement and junction coordination. Bloomcabin provides a five-year manufacturer guarantee for windows and doors; delivery takes four to six weeks, subject to order confirmation. These details replace neither technical approval nor review of all project-specific requirements. Keep confirmed drawings, dimensions and revision records together. Particularly with several façade openings, a clear position list prevents a correctly measured door from being planned in the wrong location.
Frequently asked questions
Should I provide the smallest or largest opening measurement?
Record every measured value with its measuring point, rather than selecting only one. The smallest available space is often relevant for further planning, but differences must be understood. An irregular reveal, a fall or a floor build-up still to be installed will prompt different questions. The binding order dimension should be professionally confirmed.
From where do I determine left and right for a patio door?
Always state the viewing direction explicitly, for example “viewed from inside”. For hinged doors, add the hinge side and a swing arc. For sliding doors, mark moving and fixed panels as well as the travel path. Labelled internal and external views are far more reliable than saying only “left” without a drawing.
Can I use the measurements of an existing door as its replacement size?
They are a good starting point, but not a safe order dimension. The old frame may conceal the actual structural opening, while new floor finishes, wall junctions or another opening type can change the planning. Record the visible situation, possible removal limits and planned surfaces. A qualified installer should assess the final installation situation.
Must the patio already be fully planned?
Not completely, but levels and key elements should be known or marked as open. Important points are the planned top of the finish, falls, steps, paths and nearby obstructions. This information allows junction details to be coordinated. If external planning is still missing, the door decision should not rely on an assumed finish level.
What should an enquiry include in addition to width and height?
State the opening type, internal and external view, leaf movement, structural or finished dimension, wall depth and the datum at the finished floor. Add photographs, a sketch and details of the patio, shading and adjoining furniture or building elements. In existing properties, information about uneven reveals, linings and planned alterations is helpful.
Next steps
Measuring patio, sliding and bi-fold doors well means considering later use: who will pass through and when, where will the leaf move, at which level will floor and patio meet, and which components adjoin? Treat the opening, wall, interior and exterior as one connected situation. Record every measurement with its datum instead of turning a single figure into an order dimension. A clear sketch, photographs and a list of open questions allow the preferred door type to be compared on a sound basis. The final configuration and installation should then form part of coordinated planning with the responsible qualified professionals.
