
Order windows and doors for renovation in good time
Plan your renovation
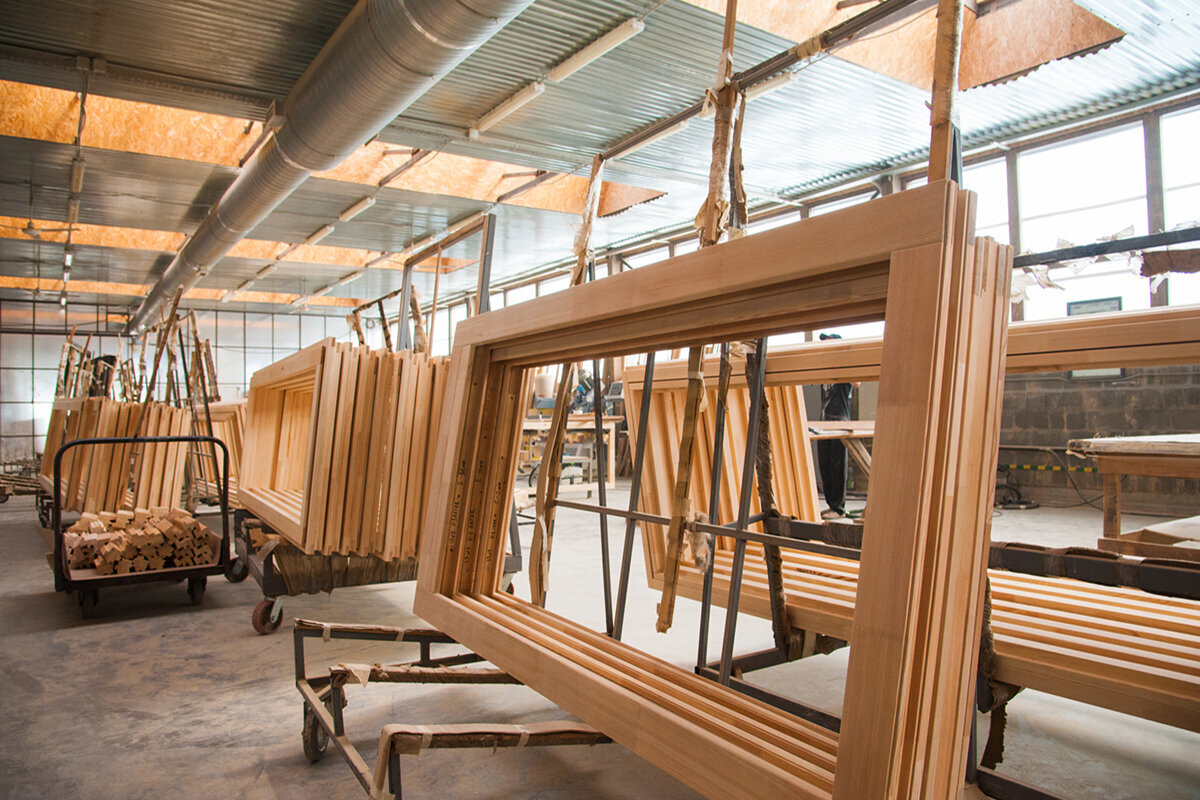
Windows and doors are often ordered only once renovation work is visibly under way. That is usually too late: façade insulation, new floor build-ups, waterproofing, electrical planning or planned terrace use may already dictate key decisions. The right order date is not a fixed calendar date; it comes after interface planning is complete and before work dependent on frame position and opening sizes begins. Confirm existing openings, future wall and floor levels, opening directions and installation details first. Allow 4 to 6 weeks from order confirmation for delivery, plus time for measuring, queries, coordination and a possible installation date.
Set the ordering date from the construction programme
Do not start with “How many weeks in advance?” Start with a programme working backwards from installation. Before fitting, openings must be accessible, structural or damaged areas resolved, and connections to walls, waterproofing and, where relevant, insulation planned. Internal reveals, sills, plastering, façade work and floor junctions often follow installation. Each can affect the required frame position. For every element, note which work must be completed beforehand and what relies on it afterwards. This turns a general delivery period into a project-specific ordering window.
A full renovation often follows a different rhythm from replacing individual windows. Where roof, façade and interiors are tackled in sequence, one combined order may simplify coordination but can mean longer site storage. Staged renovation may justify separate orders if dimensions, appearance and connection details remain consistent across all phases. Check whether the home will remain occupied, which rooms need closing first and whether temporary weather protection is planned. The right moment has arrived when later decisions can no longer affect the frames already ordered.
Approve final measurements after the key structural work
An order size is more than the width and height of an old opening. Unevenness, existing rebates, lintels, parapets, reveal depths and any masonry removal or addition also matter. Exposed damage, new levelling work or altered façade layers can change the situation during renovation. Define who measures, which completed or firmly defined surfaces are used, and who approves dimensions. Photos with a tape measure, room and façade views, and a clear element number help link later questions to a specific item. Measure critical openings at several points and record deviations rather than noting only an average. For non-square openings, diagonals and visible misalignment may also matter. The responsible person should derive the order size from the survey data and planned installation concept, making clear whether a figure was measured, designed or confirmed for manufacture.
Do not wait for every cosmetic finishing task. What matters is that the structural opening, intended wall build-up and reference levels are fixed. If a new internal floor build-up is planned, the finished floor level must be known for terrace and external doors. With external insulation, the team needs a shared view of the frame’s position relative to the insulation plane and the reveal treatment. An uncontrolled survey before these decisions moves risk onto the building site, not the manufacturer. Ask clearly: which dimensions are existing, which are planned, and which must no longer change?
Consider the whole opening
Decide frame position and wall build-up together
Frame position determines how a window or door sits between the interior, structural wall and external surface. It is not merely an installation detail: it affects reveal depths, sills, shading, waterproofing and façade connections. With new external insulation, looking only at today’s outer edge is insufficient. Draw the complete build-up in a simple section: existing wall, possible levelling layers, insulation, internal plaster, outer finish and the intended frame and sash positions. The sketch need not be a construction drawing, but it makes unresolved decisions visible early. Include internal and external sills, existing shutter boxes or planned shading where they meet the element. Mark layers that remain and those being added. One typical section is enough only where all openings truly share the same build-up. Plinths, bays, extensions or later-added wall sections may need different details, so record exceptions before applying one sizing system throughout the building.
Coordination at trade interfaces is especially important. The window installer needs information on the opening and installation plane; façade and waterproofing work needs frame geometry and the connection concept; interior work must know how reveals and sills finish. A deep reveal can affect operation, cleaning and shading differently from a flush position. Have the final connection details planned by the professionals responsible for the project. Before ordering, you should be able to answer: where are the finished internal and external edges, which layer meets the frame, and who is responsible for each transition?
Test opening types in the actual room before ordering
A window can fit dimensionally yet still obstruct daily use. Check opening direction and sash movement against the real room layout: will there be furniture, kitchen units, a radiator, basin or curtains? Can handles and fittings be reached easily? For inward-opening elements, the free swing area inside matters; for outward-opening versions, the space in front matters. An inward-opening single-sash window can be a suitable option if the planned interior has enough clear movement space. The product name describes its opening direction, not an automatic solution for every installation. Also record clearly from which viewing direction left and right are defined. A small cardboard model or a sash arc marked on the floor reveals conflicts more clearly than an isolated dimension. Check whether an open sash hits a deep reveal, the handle of an adjacent element or planned internal lining. Where several windows share a room, their operation should be consistent and understandable from future use.
For living spaces, consider ventilation habits. Will the window be opened only briefly for airing, or regularly opened wide for cleaning or access? In a bathroom or utility room, privacy, service positions and operating height may influence the choice. For a small high-level opening, an outward-opening top-hung window may suit the design if its operation is appropriate. Draw sash arcs on the plan and mark conflicts with furnishings. Do this simple check before approving a quotation, not during installation.
Coordinate doors with floor levels, use and furnishings
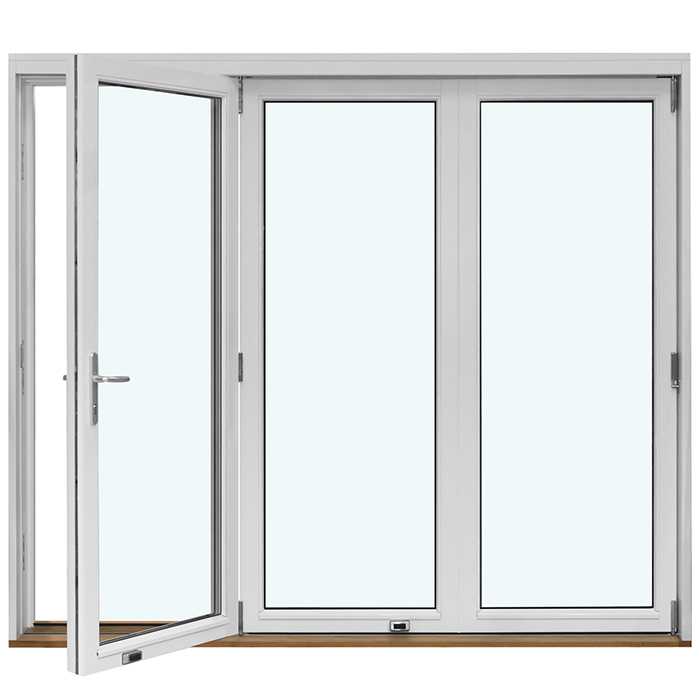
External and terrace doors connect several levels: internal floor, threshold, external finish, drainage and the daily route through the space. If a new screed, floor finish or terrace build-up is planned, do not order the door solely from today’s levels. Compare every height in one drawing and identify the future finished floor level. Also establish the opening direction and whether an open sash restricts routes, furniture, planters or terrace access. A later change to the external finish is not a minor alteration if it affects the door connection.
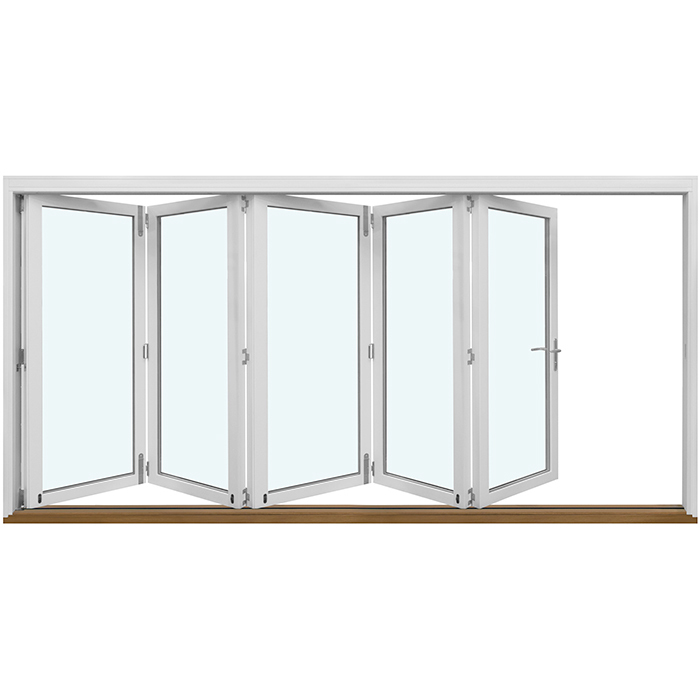
For a connection between living space and terrace, an inward-opening single-sash terrace door can be an alternative where the internal swing area remains clear. If the outdoor area needs to stay more usable when the door is open, another opening direction or a sliding solution may better suit the plan. Do not decide from a façade elevation alone. Test the route in everyday situations: carrying a tray, moving garden furniture, parking a pushchair or entering in rain. When ordering, ask which dimensions refer to the frame, opening and clear passage so the plan does not mix different measurements.
Treat large glazed openings as a separate planning package
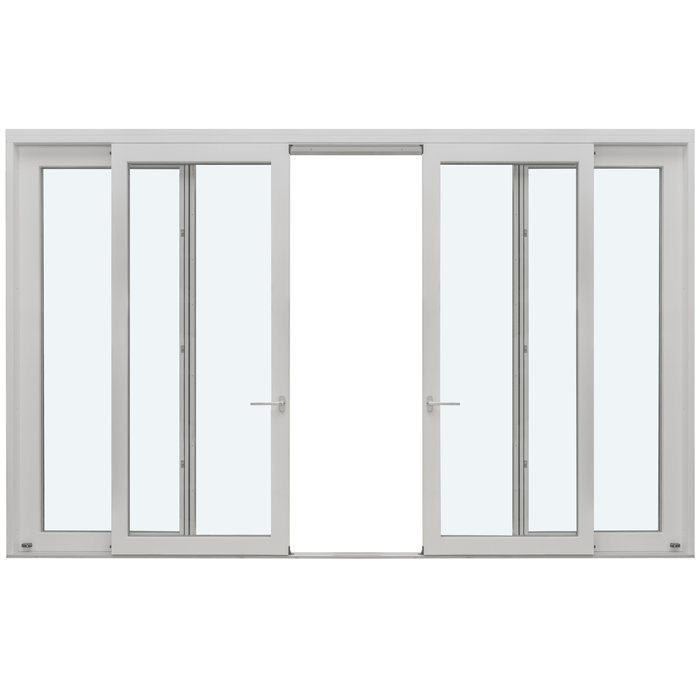
Wide openings to a garden or balcony require earlier decisions than a standard window because they more often affect structure, façade grid, shading and floor connections. First check what opening width is actually available and whether construction above or beside it will change. Then consider use: is the priority daylight, a passage, or opening up a wide area? A Patio Life lift-and-slide door describes a lift-and-slide configuration; whether it suits your wall build-up and intended use can only be decided through dimensions, connections and planning. Do not choose large glazed areas only after structural decisions are complete.
The installation route also deserves its own programme check. Large elements must be able to reach their intended location for fitting. Site access, routes through the building, working space and the sequence of other trades can therefore affect the installation date. Clarify with the installation team when the opening must be ready, how the area will be protected and which work should pause. Shading is another important issue: its fixings and guides should be coordinated with the façade rather than considered after ordering windows. Confirm larger elements only when structure, opening size, frame position, floor levels and operating concept have been reviewed together.
Consider the whole opening
Decide special shapes and historic appearances early
For round, triangular or angled openings, precise surveying is particularly important because shapes, radii, angles and reference points must be unambiguous. A fixed triangular and angled window is intended for corresponding non-rectangular openings, but its name does not replace checking the real geometry. Record not just overall width and height, but every relevant corner point and the orientation in elevation. Supply drawings with an element number, internal and external sides, and a clear top edge. This helps prevent two parties from interpreting the same shape as a mirror image.
Glazing bars, sash divisions and profile views also affect when approval can be given. Distinguish between applied glazing bars and bars dividing the glass: the appearance may be similar, but the construction is described differently. In existing buildings, discuss the desired façade effect using photos, elevations and comparison elements. An outward-opening historic-style “Kombi” casement window can be included in a design brief where that opening direction and historic character are wanted. Record design requirements in writing before manufacturing documents are approved; later changes to divisions or special shapes can substantially affect the programme.
Choose fixed, opening and combined sections deliberately
Not every glazed area needs to open. Fixed glazing can work well where views and daylight are the priority and ventilation is provided through other openings. A fixed-glazed window is therefore an alternative to an opening window, not an equivalent replacement. Check separately for each room how it will be ventilated, cleaned and accessed when needed. With a combination of fixed and opening sections, decide early which section performs which role. This affects sash division, handle position, façade appearance and daily operation. Consider internal and external views separately: a balanced division outside may place a mullion exactly where a clear internal sightline is wanted. Conversely, a division developed only from inside may look unsettled on the façade. On an elevation, mark not only structural openings but fixed fields, sash edges and opening directions. Then check from which safe, practical location external faces can be cleaned. If there is no workable approach, reconsider the field layout before ordering.
Make this decision before releasing the order because it rarely leaves dimensions and elevations unchanged. A broad fixed field can create a calmer glazed view; an opening sash offers operation but needs swing space and changes the division. Consider a daily routine rather than an abstract question: where will you ventilate in the morning, where do you want to go outside, where must cleaning take place, and which area remains permanently blocked? Coordinate the choice with planned shading. Selecting an opening element only for appearance, without a useful purpose, often creates complexity without a clear benefit.
Prepare the order as a complete approval document
A reliable order is more than a list of widths and heights. Create an element schedule showing identification, room, elevation, opening direction, number of sashes, intended division and special connection notes. Add photos of the existing opening and a façade view where external appearance matters. For doors, include hinge side, movement direction and planned finished floor height in the same document. For the main entrance, an outward-opening front door with infill panel may be considered if the stated opening direction suits the entrance and approach. Do not confirm details that are only assumptions.
Before approval, arrange a short review involving everyone responsible for an interface. The designer can compare dimensions and wall build-up, the installation team can assess fitting conditions, and you can check use and appearance. Ask for terms that are unclear in the quotation to be explained: are dimensions frame or opening sizes? Which side is inside? Which position is called the hinge side? Which fittings, handles or divisions are included? Keep the final approved version with the survey documents. This record makes later questions easier, especially if further building work occurs between ordering and installation.
Build a buffer for decisions and installation, not uncertainty
The stated delivery period of 4 to 6 weeks starts after order confirmation and does not replace a project contingency. Between the first discussion and confirmation there may be surveying, quotation review, technical questions and coordination with other trades. Afterwards, a date is needed when openings are ready, the site is accessible and connection work is organised. Allow a buffer before the desired installation day. It should protect genuine dependencies, not provide a way to absorb unresolved dimensions later. A well-resolved decision is more valuable than a very early order followed by changes. Set separate milestones for survey readiness, technical approval, order confirmation, expected delivery window and installation readiness. This shows whether a missing façade section blocks the order or only affects later work. Agree firm fitting-out and installation dates only from the confirmed order status. Working back only from a hoped-for move-in date can overlook the time needed for decisions before delivery and confirmation by several parties.
A final site check shortly before installation is practical: are openings clear of scaffolding components and stored materials? Have floor levels, façade build-up or reveals changed since the survey? Is it clear who can make decisions during installation? Follow-on work such as internal finishes and external connections should follow promptly so transitions do not remain unprotected or unresolved. Bloomcabin provides a 5-year manufacturer guarantee for windows and doors. This guarantee does not remove the need to coordinate selection, surveying and project-specific connections carefully in advance. If anything is unclear, a brief professional discussion before ordering is usually more sensible than premature approval.
Frequently asked questions
How early should I order windows for a renovation?
Order once openings have been surveyed, wall and floor build-ups fixed, and opening directions and connections agreed. Delivery takes 4 to 6 weeks after order confirmation. Also allow time for surveying, quotation review, questions and coordinating the installation date.
Can I request a quotation before the final survey?
Yes, an early enquiry can clarify options and the process. For a binding order, however, distinguish clearly between provisional design dimensions and confirmed survey data. Finalise only when the structural opening, future façade plane, internal finishes and floor levels are no longer expected to change.
Why must new floor finishes be known before ordering a door?
For external and terrace doors, finished internal and external levels affect the transition at the door frame. Screed, finishes, terrace and drainage must therefore be considered together. If these heights are decided only after ordering, they can conflict with the intended installation arrangement.
Should I order windows and doors in one or several deliveries?
That depends on the construction sequence. One combined order can simplify design consistency and coordination. In phased renovation, separate deliveries may make sense where openings are completed later. Secure dimensions, protected storage and a firm plan for each installation date are decisive.
What should I check immediately before releasing an order?
Check the element number, dimensions, internal and external sides, opening direction, number of sashes, division, room allocation and relation to finished wall and floor levels. Also confirm that shading, sills, façade work and internal reveals account for the selected frame position. Clarify unclear terms before approval.
Next step
For renovation work, windows and doors should not be ordered as early as possible, but at the right planning stage: after a binding survey and once wall build-up, floor levels, frame position, opening types and connections have been coordinated. Allow 4 to 6 weeks from order confirmation for delivery, plus a realistic coordination buffer. Treat large openings, terrace doors and special shapes as separate planning subjects. A clear element schedule, checked drawings and a shared review of interfaces by the professionals involved make the order traceable and help avoid unnecessary changes during construction.
