
How to plan a pergola for a small or narrow terrace
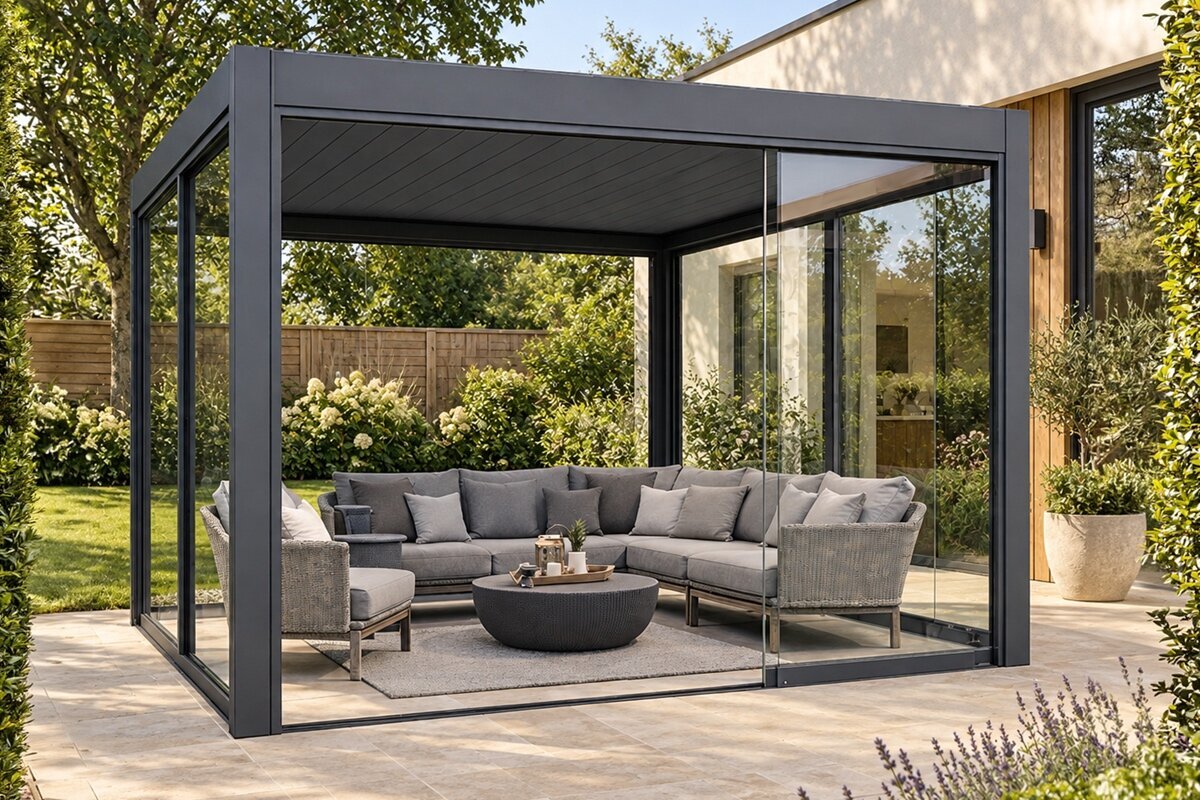
On a narrow terrace, the available area is only part of the decision. Doors, windows, steps, railings, downpipes and the direction from which you enter the space each day matter just as much. An aluminium pergola should support these routines rather than create a new bottleneck. Start by drawing the space you actually use, not simply the empty floor area.
Small terraces often benefit from calm and order: a few well-proportioned pieces of furniture, clear sightlines and enough open edges make them feel noticeably more relaxed. An oversized frame, by contrast, can fragment the view and make furniture look squeezed in. The right solution comes from the relationship between the cover, house façade, garden edge and your daily routine.
This guide takes you from surveying the site and selecting a suitable design to planning furniture in detail. You will learn how to check post positions, protect circulation space and request comparable quotations. For project-specific guidance on planning requirements, foundations or property boundaries in Malta, consult the Planning Authority and, where appropriate, a perit or another qualified professional.
Stage 1
Read the terrace like a floor plan
Start with a scale plan, even if it is simply drawn on graph paper. Include the house wall, doors, opening windows, steps, railings, planters and fixed features. Measure in several places, as narrow terraces are not always perfectly square. Also note where doors swing and which areas must remain clear when windows are open.
Observe the terrace at the times when you genuinely want to use it. The route to the garden, the view from inside and your preferred seating direction often show more quickly than a catalogue image where a cover should end. Even a narrow strip along the façade can be valuable when you tend plants, carry cushions or pass through a door.
Mark the possible outer edge with masking tape. This quickly shows whether the proposed depth frames the space comfortably or makes it feel confined.
Photograph the area from indoors, the garden and seated height. These viewpoints help you assess later sightlines and the effect of the frame more realistically.
If adjustable shade matters in a compact layout, compare bioclimatic aluminium pergolas with operation and space requirements in mind.
Stage 2
Derive width and depth from use
The required area comes from the furniture arrangement plus room to move. For a dining table, allow not only for the tabletop and chairs but also for pulling chairs back when standing up. A lounge also needs legroom and passage space. If no natural route remains beside the furniture, the pergola will feel too tight in daily use despite suitable outside dimensions.
On a long, narrow terrace, a shallower structure is often more comfortable than one extending far into the garden. The remaining strip can become a clear walkway or a relaxed planting area. Conversely, a deliberately chosen width can structure the façade. Decide from the spatial effect, not from a wish to cover every available corner.
Set out tables, chairs and loungers at full size with cardboard or blankets. Test sitting down, standing up and walking past.
Keep transitions to the terrace door, garden gate and steps clear. These zones often determine the sensible dimensions more than the furniture choice does.
For a clear, firmly defined terrace frame, explore classic aluminium pergolas in suitable layout variations.
Stage 3
Plan posts as part of the furniture layout
On a small terrace, posts are not a minor detail: they shape placement options and movement. Draw their positions directly into the furniture plan. Outer chair edges, access to the house and a narrow route towards the garden are particularly critical. A post moved only a few centimetres on paper can make the difference between convenient and awkward in practice.
Consider the visual side too. Posts can frame a seating area attractively when they follow existing lines such as façade edges, railing axes or planting zones. If they stand without a relationship in the middle of the view, the terrace can soon look broken up. Check the view from indoors, as you may experience the structure there more often than from the garden.
Avoid placing posts immediately behind pull-out chair positions. This is where the most frequent conflicts arise when eating and getting up.
Mark proposed locations with stools. Walk through door openings and simulate everyday actions with a tray or watering can.
Where space is tight and light preferences change, bioclimatic pergolas for terraces can be a useful planning direction.
Stage 4
Protect access and circulation areas
A narrow terrace works well when its routes remain easy to use without thought. The path from the terrace door to the garden should not run through chair legs, planters or a post. It is better to plan one clear circulation side than several narrow leftover areas. This also makes carrying dishes, cleaning and reaching adjoining beds easier.
Allow for every opening zone at the house. An open door, opening window or sunshade can change the usable space. Maintenance access to the façade, drainage or external connections should not be blocked inadvertently either. For rented homes, shared ownership or sites near boundaries, clarify the relevant requirements with the appropriate parties early.
Define one main route and keep it free of furniture. It should not appear only after chairs have been moved or decoration cleared away.
Use planters as edge design rather than obstacles. Movable pots remain flexible, but they also need a safe, stable position.
For a linear design alongside clear routes, traditional aluminium pergolas offer an easy-to-follow starting point.
Stage 5
Coordinate light, views and roof character
In a limited area, a cover changes the perception of the living space particularly strongly. Observe which windows look onto the terrace and where daylight enters the interior. A frame can organise the outlook, but it should not unnecessarily cut off important sightlines. Coordinate height and position with the façade, window lines and the degree of openness you want.
How you use the terrace throughout the day also influences the right choice. Someone who breakfasts early, sits in shade at midday or wants a sheltered atmosphere in the evening will have different priorities. Create a short ranking instead of collecting many equally important wishes. This makes it easier to assess which roof design and accessories truly suit your terrace during a consultation.
Sketch the sun at your usual times of use. Add where glare, overlooking or a particularly attractive garden view plays a part.
Choose colours and the framing effect to suit window profiles, flooring and furniture. Too many contrasts can make a small space feel restless.
If you want to consider changing daylight in more detail, discover bioclimatic pergolas with louvred roofs for the next stage of planning.
Stage 6
Reduce furniture, retain comfort
Compact need not mean sparse. The key is that every item of furniture has a clear purpose and enough room around it. An extending table, stackable chairs or a slim bench along the wall can work well when they suit your use. Plan storage, serving surfaces and planters at the same time, so they do not later migrate into the walkway.
Choose one principal use first: dining, relaxing, or both with a clear priority. A small dining area does not automatically improve because a large lounge is squeezed in as well. One coherent furniture group is often more comfortable and visually calmer. Test with the real dimensions of furniture you already own before choosing new pieces or a pergola size.
Choose furniture with slim proportions and suitable mobility. Large armrests or broad bases occupy more space than their seating surface suggests.
Reserve a fixed place for cushions, trays and care equipment. A tidy terrace feels more spacious and remains easier to use.
For a restrained frame above a clear furniture arrangement, consider standard aluminium pergolas for your outdoor area.
Stage 7
Check the foundation and surroundings early
Before dimensions are finalised, give the base proper attention. Terrace surfacing, build-up height, slope and existing services can influence how a pergola is planned and installed. A loose-looking slab or uncertain sub-base should not become apparent only during installation. When in doubt, have a qualified professional assess what preparation the selected location and structure require.
Look beyond the terrace: roof overhangs, downpipes, boundary planting, awnings and exterior lights can limit the usable area. Consider later care of the façade and garden too. Malta has no universal answer on planning permission or boundary requirements; the outcome depends on the site, proposal, land designation, existing permit conditions and applicable Planning Authority classification. Review the project with a perit.
Document surfacing, level changes and visible connections with photographs. This makes technical pre-checking and a quotation request much more precise.
Clarify in advance who can provide service plans or information about the terrace construction. Assumptions about concealed areas are not a reliable basis.
If the structure is to stand on a carefully assessed site, view bioclimatic aluminium pergolas for small terraces as part of the whole setting.
Stage 8
Prepare an enquiry with a clear brief
A good enquiry describes more than the desired pergola size. Add dimensions, photographs, a sketch showing door routes, preferred furniture and information about the base. Also state which use has priority and which elements must not be obstructed. This helps you receive advice based on your real terrace routine rather than a general standard example.
Compare solutions by how convincingly they solve your plan. Consider support positions, the effect at the house and whether operation remains practical in a tight space. Ask about the intended installation process, site preparations and written product documentation. A current quotation should clearly show the chosen configuration.
Send at least one view straight towards the façade and one from the garden corner. Add dimensions directly to a simple sketch.
Set out three priorities and three exclusions. This prevents attractive extras from obscuring the decisive spatial issues.
As a starting point for a detailed specification enquiry, you can include classic aluminium pergolas in your shortlist.
Comparison
Which planning direction suits a narrow terrace?
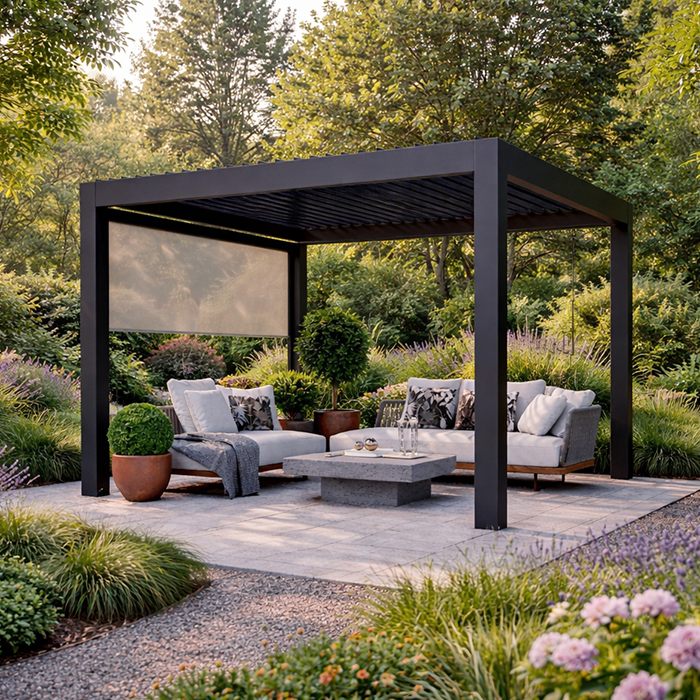
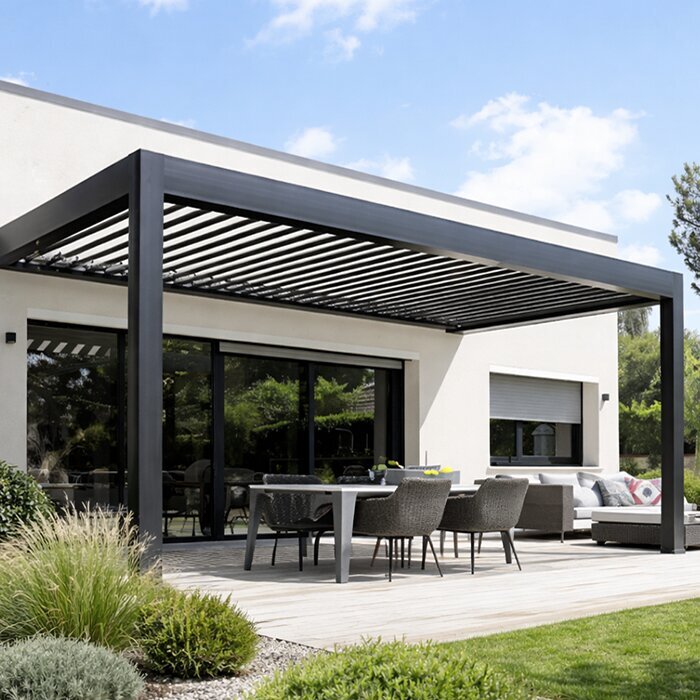
The comparison below does not replace a review of the individual site. It helps organise the questions that matter especially on a small terrace: the desired atmosphere, light control, furniture and the space that must remain free at edges and along routes.
| Planning aspect | Bioclimatic design | Classic design |
|---|---|---|
| Spatial effect | Technical, adjustable roof character | Calm, clearly defined frame |
| Light planning | Coordinate carefully for changing light preferences | Assess roof effect early in the overall picture |
| Furniture | Allow for the operating area in the layout | Align seating with fixed spatial edges |
| Narrow routes | Draw posts and access points precisely | Keep a linear walking zone particularly clear |
| Consultation | State use times and operating preferences | Show the desired framing effect and furniture |
Five steps to the right size
Follow this order. Each decision builds on the previous one and prevents a preferred size from determining the real usability of a small terrace.
01
Survey the site
Measure width and depth several times. Draw in doors, windows, steps, downpipes, railings, services and fixed planters.
02
Define the use
Decide whether dining, lounging or a flexible multi-purpose area takes priority. Note the number of people and typical routines.
03
Set out furniture
Mark tables, chairs or the lounge with cardboard. Test pulling chairs back, opening doors and walking to the garden in practice.
04
Simulate the posts
Place stools at the intended support positions. Assess from seated height, indoors and the garden side whether routes and sightlines remain harmonious.
05
Refine the enquiry
Bring together the plan, photos, base information and priorities. Have open questions about preparation, installation and local requirements clarified specifically.
Checklist before deciding
Use this list to check whether your plan is robust enough for a consultation or quotation request.
01. Terrace dimensions measured at several points and notable angles or slopes recorded.
02. Door and window leaves, including their opening areas, drawn into the plan.
03. Main route between house, seating area and garden defined as a clear circulation zone.
04. Real furniture dimensions and required chair and passage space considered.
05. Possible post positions tested in relation to seating and access.
06. Base, surfacing build-up and visible connections documented for pre-assessment.
07. Sightlines from inside and the garden assessed with photographs or sketches.
08. Local questions on requirements, boundaries and permissions clarified in good time where necessary.
Frequently asked questions about pergolas on small terraces
How large should a pergola be for a small terrace?
There is no useful standard size for every small terrace. The right size follows from the furniture arrangement, necessary circulation space and fixed elements at the house. Mark the proposed outline on site and test doors, chairs and the main route in particular. Only when these routines work is the size plausible.
Where should posts stand on a narrow terrace?
Ideally, place them where they follow existing spatial edges and do not interrupt everyday movement. Door areas, steps, chair routes and narrow garden passages are critical. Draw supports into a furniture plan and mark them on site. Also check the result from indoors, not only from outside.
Can a pergola make a small terrace look larger?
Yes, if it frames a clear seating area while preserving open edges and sightlines. A structure that is too deep or placed restlessly can create the opposite impression. A few suitable furnishings, calm colours and one obvious walking route support the effect. The overall composition matters, not the cover alone.
What must be considered around terrace doors?
The full opening area and a comfortable passage must remain clear. Think about carrying dishes, opening the door in wind and possible thresholds too. A pergola plan should not force either posts or furniture into this zone. Do not measure only the door width; test the real movement sequence.
Do I need permission for a pergola on my terrace?
This cannot be answered generally, because the location, design, dimensions, land situation and applicable requirements can all matter. In Malta, ask the Planning Authority and consult a perit before placing a binding order. Rental arrangements, shared ownership, protected sites or planning conditions may also require separate consent or review.
Which documents help with a quotation request?
A dimensioned plan, photos from the house and garden sides, details of the surfacing and base, and the position of doors, windows and services are helpful. Add your furniture arrangement and priorities, such as clear routes or particular views. The more specific this information is, the more precisely a suitable design can be discussed.
Prepare your plan
Small terrace, clear plan
An aluminium pergola can structure a narrow terrace very effectively when it is planned around everyday life. Start with routes, doors and furniture, then derive dimensions and post positions from them. This keeps the outdoor area attractive as well as naturally usable for dining, relaxing and passing through.
Take time for a near-to-scale sketch and test critical points on site. With well-documented dimensions, photos and clear priorities, the Bloomcabin team can help you select a pergola solution that suits your outdoor space and intended use.
Gather your dimensions, photos and priorities, then begin a considered pergola selection.
