
How to Plan a 10–15 m² Garden Shed Interior
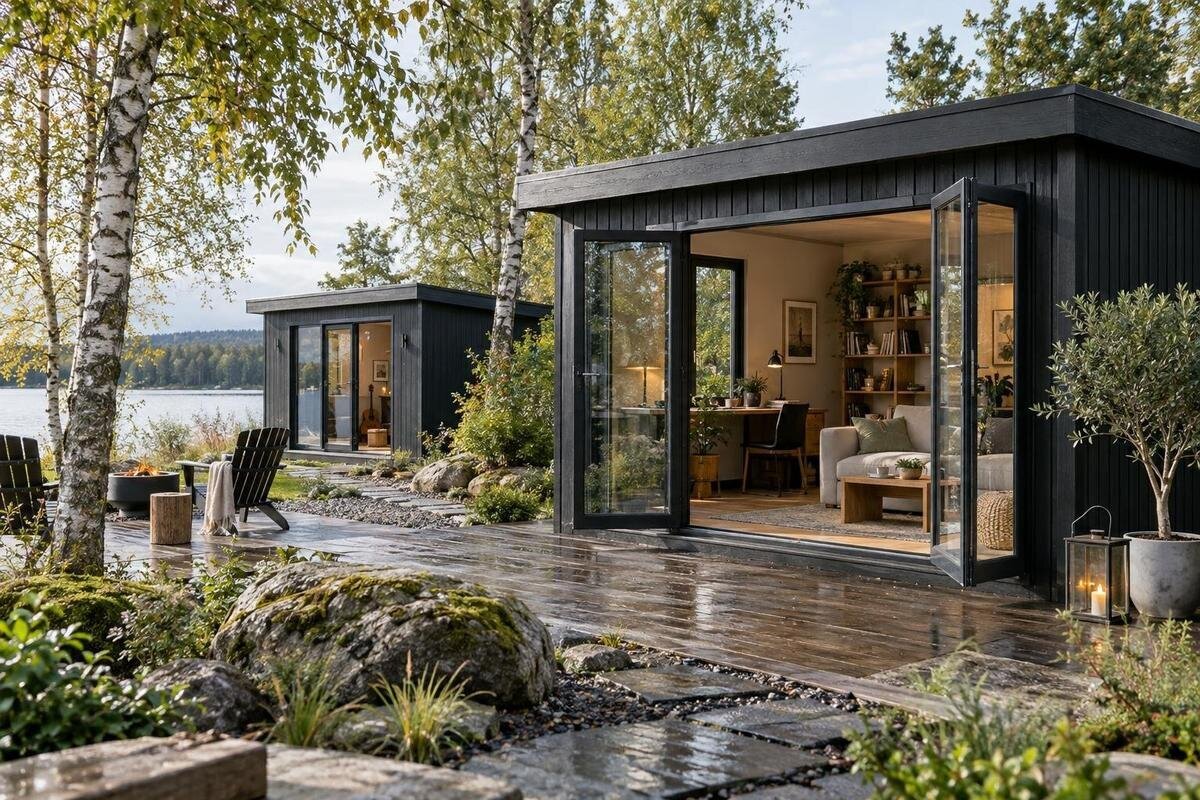
Garden shed interior planning
A garden shed in the 10–15 m² range can accommodate useful work, storage or leisure, but the number on a product page cannot tell you how the interior will function. The door, true internal dimensions, furniture and the items you need to reach all affect the layout. Start with the main purpose, then draw the fixed features and test the route through the space before ordering. The aim is a plan that works in everyday use, not simply a floor filled with furniture.
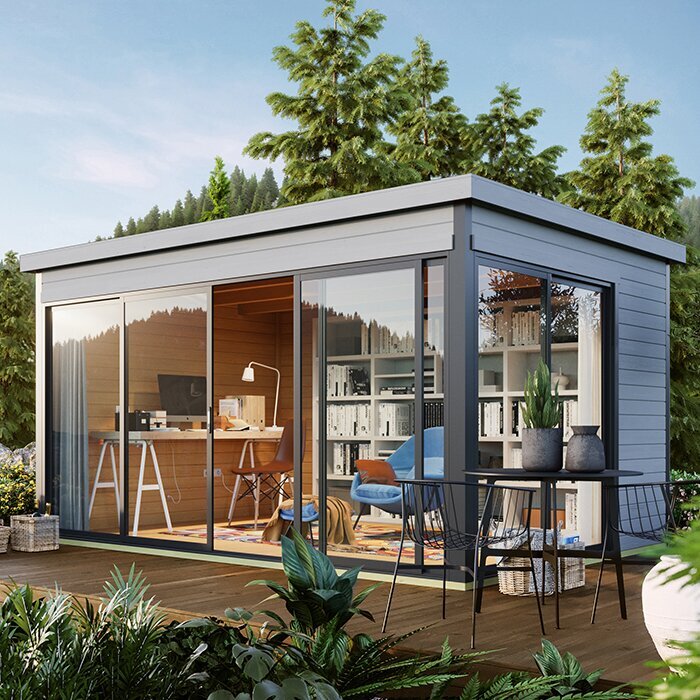
Before you order 1
Confirm the usable floor area before drawing a layout
Treat 10–15 m² as a planning range, not proof of the clear area available inside. The figure on a listing may refer to the building footprint; wall thickness, room shape and fixed features affect what can actually be furnished. Check whether each published measurement is internal or external, and use information for the exact model on your shortlist. If the distinction or an internal drawing is not clear, ask before ordering rather than estimating from a photograph. Note projections, posts, recesses or changes in headroom only where they are documented; these can affect shelving even when the floor area looks generous.
For a shed you already own, measure the usable floor boundaries and the openings. For a purchase, draw from confirmed internal dimensions and mark any unknowns separately. A notional 3 × 4 m rectangle has 12 m², yet a door on a short wall can leave a different arrangement from one on a long wall. This is an example only, not a size for any model. Put the door, windows, documented fixed features and furniture footprints on one plan. Use confirmed information for each candidate, including the Verdana 1 garden shed page, rather than scaling a product photo or borrowing figures from another model.
Choose one main purpose for the room
At this size, it can be tempting to fit a desk, workbench, chair, storage boxes and garden equipment all at once. First list what you will do in the shed regularly, what needs a fixed work surface and what only needs to be stored. Choose a primary use, such as potting, a hobby, occasional desk work or equipment storage. Then note the footprint of its essentials, including stools, bins, tools and anything that will stay set up. Allow room to use the furniture, not just enough floor for its outline: a bench may fit on paper but be awkward if there is nowhere to stand or open its drawers.
A secondary activity is easier to accommodate when it shares equipment or can be packed away. For example, a hobby surface that also holds labelled containers may serve two related tasks; paperwork and soil work may need separate protection and storage. Decide which activity can pause or move before assigning floor space to both. For a candidate such as the Verdana 2 listing, make a fresh plan from that model’s confirmed measurements rather than assuming an existing sketch will fit. The purpose should guide your layout; the name of a model cannot tell you how much usable space it has.
Before you order 2
Keep the entrance and route through the shed clear
Draw the entrance on your plan and show the space needed to open the door, using its documented opening arrangement. Keep a practical route from the entrance to the items you use most, without having to move a chair, box or tool each time you pass. A route that works when the room is empty may disappear once drawers are open or a chair is pulled out, so include those positions in the sketch. If you expect to bring in long or bulky objects, check that you can turn with them inside rather than planning only for an empty-handed walk.
Place frequently used items where they are easy to reach without blocking the way out. Furniture along a wall can help preserve a central route, but it should not cover an opening or make a window difficult to reach. When reviewing the Durano garden shed page, use door position and opening details only if they are explicitly documented; do not infer clearance from the model name or a photograph. If an opening detail you need is missing, seek clarification before finalising the layout. A simple plan with the door travel and main route marked is more useful than a furniture sketch that leaves access until last.
Size furniture to the work it must do
Measure furniture before choosing where it belongs. Record its width, depth and height, and include the space needed for a stool, chair, drawer or cupboard door to move. A work surface should be long enough for the task and the items used at the same time; a smaller table may be preferable if a large one would narrow the route. Consider whether you need to sit, stand or alternate between the two, and whether the tools or materials can be reached without shifting other furniture. These practical details matter more than choosing pieces by appearance alone.
Use paper cut-outs or full-size outlines made with removable tape to test the arrangement. Sit or stand in the marked working position, and try the movements involved in opening storage and reaching for equipment. Folding or movable furniture can help when it genuinely clears space after use, but account for where it will be kept and how it will be set up. Compare your measurements with the confirmed interior dimensions for the chosen model; the Veltor 1 listing is a product identity, not a furniture plan. Do not buy large pieces on the assumption that an unverified floor area will accommodate them.
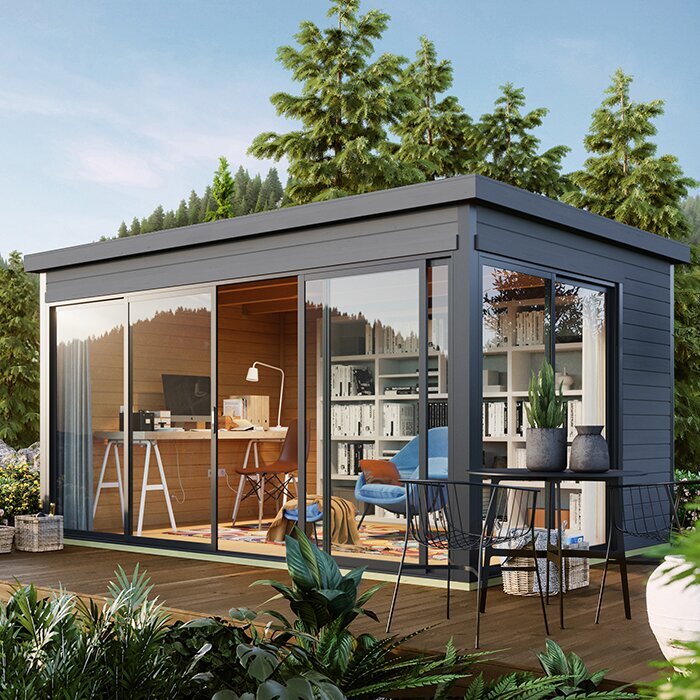
Before you order 3
Plan shelves and cupboards around the walls
Use the wall edges for storage where appropriate, leaving the most useful floor area for working and moving around. A cupboard can hide small items, while open shelves or hooks make frequently used tools easier to see. Decide what each shelf will hold before choosing its depth: deep storage can swallow small items, while shallow storage may not suit bulky containers. Keep frequently reached objects at a comfortable height and arrange related items together. Include the space needed to open cupboard doors, reach a shelf or take down a tool without shifting other belongings.
Wall-mounted storage depends on suitable wall details and fixings, so do not assume that every panel can carry a loaded shelf. Follow the manufacturer’s instructions and get qualified help if the construction or fixing method is unclear. Keep heavy or awkward items low, where you can reach them without lifting them over other objects. For the Orello 1 page, base a wall-storage plan on documented information and appropriate fixing guidance, not on the model name or the appearance of an image. A freestanding unit may be an alternative where wall details are uncertain, but include its full footprint in the floor plan.
Give tools and seasonal items a defined place
Make a list of what will actually be stored: everyday tools, pots, containers, spare supplies and items used only at certain times of year. Note which objects need to be reached often and which can be put away for longer periods. Keep sharp tools secured and avoid storing bulky items where they obstruct the route or hide smaller belongings. Group similar items in containers that are easy to lift and label, rather than creating several layers of boxes that must be unpacked to find one tool. Leave some capacity for items you may acquire later, instead of filling every shelf at the outset.
Place regular-use equipment near the relevant work area, while keeping seasonal belongings out of the way but accessible without dismantling the whole room. If wet or dirty items come inside, give them a defined, easy-to-clean place and keep them apart from anything that needs to stay dry or clean. Check the product information for the Modano 1 listing for any fittings or accessories that are explicitly included; do not count items shown in a photograph unless they are stated as part of the order. A simple inventory also helps you see whether the plan requires more storage than the available space can provide.
Before you order 4
Plan daylight, ventilation and electrical needs
Think about the conditions needed for the main activity. Daylight can be useful at a work surface, while glare on a screen or a poorly placed fixture may make a position less practical. If a product drawing shows windows, mark them before arranging desks, shelves or tall cupboards. Consider how the room will be ventilated for its intended use and check what the product information actually states. Do not assume that a particular opening, lighting feature or ventilation arrangement is included unless it is documented. The plan should account for comfort without blocking access to doors or windows.
If you expect to use lights, sockets or other electrical equipment, list those needs before ordering and discuss the work with a qualified electrician. A furniture sketch is not an electrical installation plan, and extension leads should not be left crossing the main route as a substitute for considered provision. For the wooden garden shed M page, use only documented details about openings or fittings, and ask about anything essential that is not specified. Check the intended use and any stated requirements for the building rather than inferring performance from its name or images.
Choose furnishings that are easy to maintain
Choose furniture and containers that suit the tasks and are straightforward to clean. A work surface used for potting may need a removable tray or cover; an area for paperwork may be better kept clear of soil and damp items. Select materials and finishes with care instructions that match how you expect to use the room, and check their compatibility with the shed’s documented interior details. A washable mat can define a work area, but it should not curl into the route or cover anything that needs to remain accessible. Keep everyday cleaning simple enough that it will not become a reason to leave clutter in place.
Think about where dust, soil or moisture could collect and arrange belongings so the relevant surfaces can be reached for cleaning. Store items that should remain dry away from wet or dirty tools, and follow care guidance for both the building and its contents. Before buying furniture or adding coverings, review the care and included-interior details for the garden storage shed S page where they are stated; the product title or image does not confirm surface compatibility. Removable, replaceable items can also make it easier to adjust the room later without committing to a permanent change.
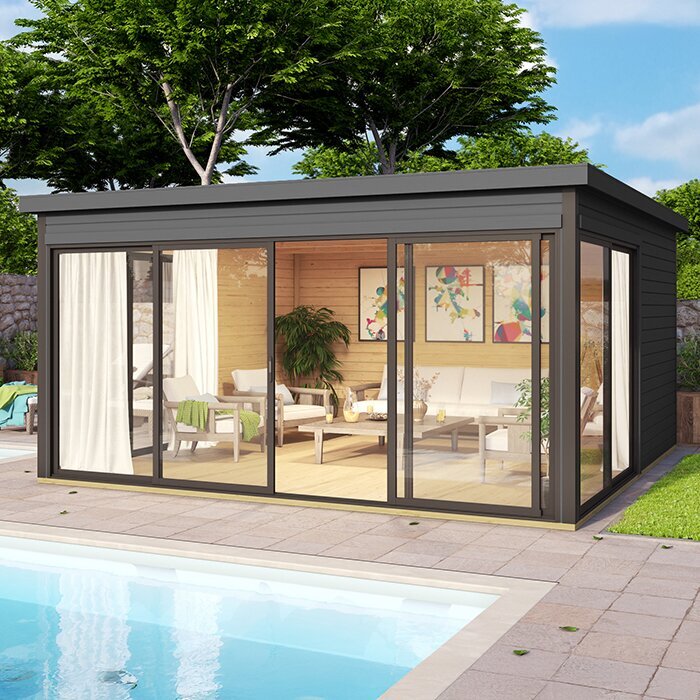
Before you order 5
Check the product details against the plan
Before placing an order, compare the plan with the information for the exact model, not just the area quoted in a headline. Confirm internal and external dimensions, door and window positions, and any opening details that affect furniture placement. Check what the order includes, such as any floor, fittings or accessories, and do not treat an item pictured as included unless the product information says so. Review the stated base and assembly requirements, too. If an essential dimension or requirement is unclear, ask the seller for clarification rather than making a purchase decision from an assumption.
Consider delivery and assembly as part of the room plan. Check whether the route from the delivery point to the intended position can accommodate the supplied parts, and confirm what unloading or assembly arrangements are expected. Make sure there is suitable space for access during installation as well as for the finished shed. If preparing the site or assessing an installation requirement is beyond your experience, consult a qualified professional. Where local approvals may be relevant to your site, confirm the position with the appropriate authority before ordering; requirements can depend on the specific circumstances, so avoid relying on a general assumption.
Test the arrangement and leave room to adapt
Before committing to furniture, mark its full footprint on the floor with removable tape or arrange boxes of similar size in the proposed positions. Walk the route with the door open, sit at the planned work surface and try the movements needed to reach equipment. Pull out drawers, move a chair and check whether a cupboard can open without blocking access. This practical test often reveals conflicts that a top-down plan misses, especially where several activities share a surface. Change the layout while the items are still only outlines, rather than after heavy furniture has been moved into place.
Keep the plan flexible enough to respond to changes in what you store or do. Leave a little usable space for a new tool or a seasonal container, and avoid fixing every item into a permanent position if your needs may change. Once the layout works, note where each category belongs and return items to those places after use. A clear route, a suitable work area and storage that matches the real inventory are stronger measures of success than filling every available corner. Revisit the arrangement when your routine changes, rather than letting extra furniture gradually take over the space.
Frequently asked questions
Is 10–15 m² enough for work and storage?
It can be, if you decide which activity takes priority and measure the items that need to stay in the shed. A work surface, its working clearance and storage all take space. Keep secondary tasks flexible, and use the confirmed internal dimensions rather than relying on the stated area alone.
Should I plan from the advertised area or the internal measurements?
Use confirmed internal measurements for furniture and storage. The advertised figure may describe the footprint, so check what it means and whether a drawing shows internal dimensions. If that information is not clear, ask before ordering rather than estimating from a photograph.
Where should I place a workbench?
Choose a position that gives you room to stand, reach tools and use drawers, while keeping the entrance and route through the shed clear. If a window is shown on the plan, consider daylight and glare, and make sure furniture does not obstruct access to it.
How can I plan shelves safely?
Check what the product information says about the walls and follow the manufacturer’s fixing guidance. Do not assume that a wall can support a loaded shelf from its appearance alone. If the appropriate fixing or load is unclear, ask a qualified installer.
What should I check before ordering a garden shed?
Confirm the internal dimensions, door and window positions, what is included, and any stated base or assembly requirements. Also check delivery access and unloading arrangements. If the site or installation raises questions beyond your experience, get advice from a suitable professional before committing.
A well-planned 10–15 m² garden shed is organised around the tasks you will actually do there. Confirm the usable dimensions, allow for doors and working clearances, and give furniture and stored items a defined place. Testing the layout before ordering helps the room feel practical from the outset, while a little flexibility makes it easier to keep working as your needs change.
