
Small Garden Shed Interior Ideas to Preserve Open Space
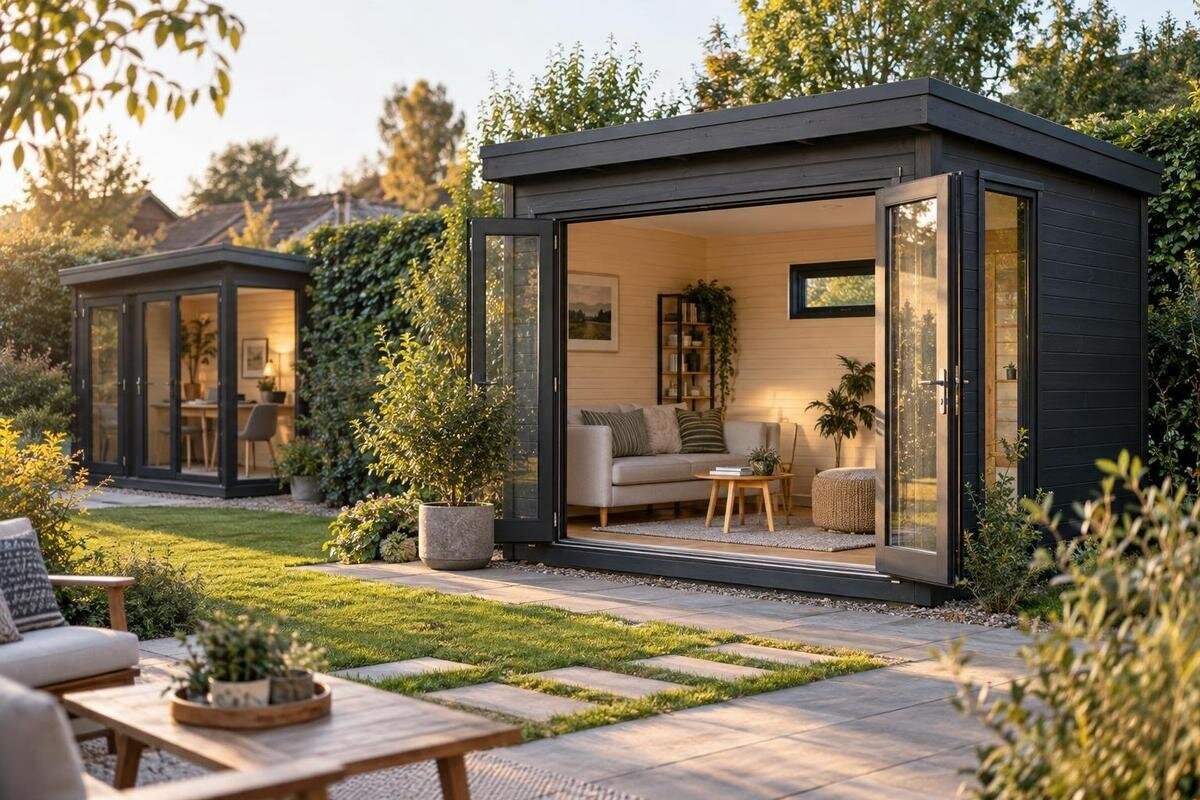
Garden shed planning
Small garden sheds can feel crowded when the items stored inside are planned for but the room needed to reach, lift and return them is not. A useful layout begins with an honest inventory and the measured interior, then gives everyday essentials a clear place without filling every wall. These ideas focus on open floor space, practical access and storage that suits what you actually keep, so the shed remains useful rather than becoming a tightly packed cupboard.
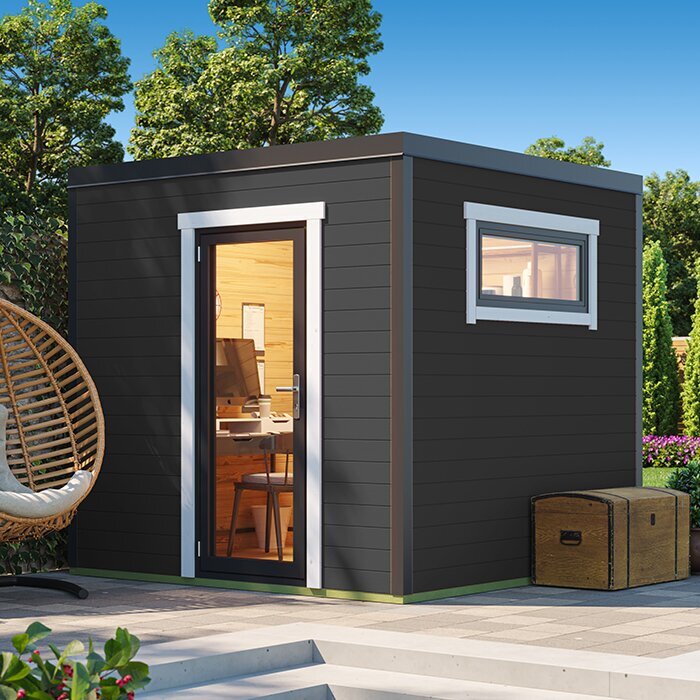
Plan around what you actually store
Begin with an inventory of what you expect to keep, rather than with a search for shelves. Group items by task, such as hand tools, watering equipment, pots, outdoor toys or hobby supplies, then note which are used every week, occasionally or only in one season. This separates daily-use objects from reserves and makes duplicates easier to spot. Include things carried in temporarily too: a bag of soil, folded chairs or a basket of produce can occupy more floor space than several small tools, even though they are not stored there all year.
Give bulky objects their own line in the inventory. Record their longest side and width, note whether they need to be lifted or turned to remove them, and identify anything that should not be stacked. A vague entry such as tools is less useful than listing a rake, a watering can and a box of hand tools separately. Decide which belongings need to stay in the shed and which could be stored elsewhere or let go. The aim is a realistic limit, not a completely full inventory; some spare capacity keeps an open patch available for changing tasks and bringing items in.
Measure the usable interior, not just the footprint
Measure the clear interior width and depth, then note the lengths of wall that are available for storage and the height where shelving might go. If the roof shape changes headroom, record it at the points that matter. Mark the entrance and any windows or fixed features shown in the product information; do not assume a wall can take a cabinet just because it looks blank. External dimensions help you assess where a shed will sit, but they do not tell you exactly how much unobstructed floor is available inside. A simple sketch with the door location marked gives each measurement a useful reference.
Compare those measurements with the stored items and the clearance needed to take them out. A box may fit on a shelf yet be difficult to pull forward if the route is narrow; a long handle may fit diagonally but still block access to another group. Keep internal and external figures separate on your comparison sheet. For the Verdana 1 garden shed page, use only dimensions actually provided and request any missing internal or entrance measurements before deciding whether your arrangement will work. A product name or photograph is not a substitute for those figures.
Keep a clear route through the shed
Treat the centre as circulation space before treating it as storage. Put fixed shelves or cupboards around the perimeter where practical, and keep a clear line from the entrance towards the far end. Someone carrying a watering can, a crate or a folded chair should be able to enter, turn and put it down without first moving a pile. This does not mean every shed needs an empty strip down the middle: the route can run along one side if the entrance and stored objects allow it. The important point is to choose the route deliberately and protect it from gradual encroachment.
Decide where the route ends, too. Leave a small landing area where incoming items can be set down temporarily, rather than placing them directly in front of a shelf or against the door. On a paper plan, mark the planned storage depth and the clear path separately; if the path disappears after adding a box, the layout is too dense. When checking the Verdana 2 garden shed listing, apply the same test to its stated usable dimensions, if supplied, rather than judging the available aisle from an exterior image. The route must also suit the objects you carry.
Use wall storage selectively
Wall storage can protect floor space, but it helps only when it is limited to items that belong there. Use wall space for light, regularly used objects that are easy to identify and return, and keep heavy containers or equipment low. A few well-planned hooks, a narrow rack or a shallow shelf can be easier to manage than filling every wall with deep units. Leave gaps where longer tools, an open door or a future item needs room; a wall covered edge to edge can make the interior feel as crowded as a floor full of boxes.
Before choosing wall-mounted storage, check that the surface and fixing method are suitable for it. Do not assume the shed’s walls are designed for any rail or shelf you might use at home. Follow the hardware maker’s guidance and ask the supplier or a qualified installer if the construction or attachment is unclear. Keep frequently reached items at a sensible level, and position sharp or fragile tools so they cannot fall into the route. If the Durano garden shed page is on your shortlist, use documented construction information, where available, to assess your proposed storage rather than relying on the model name.
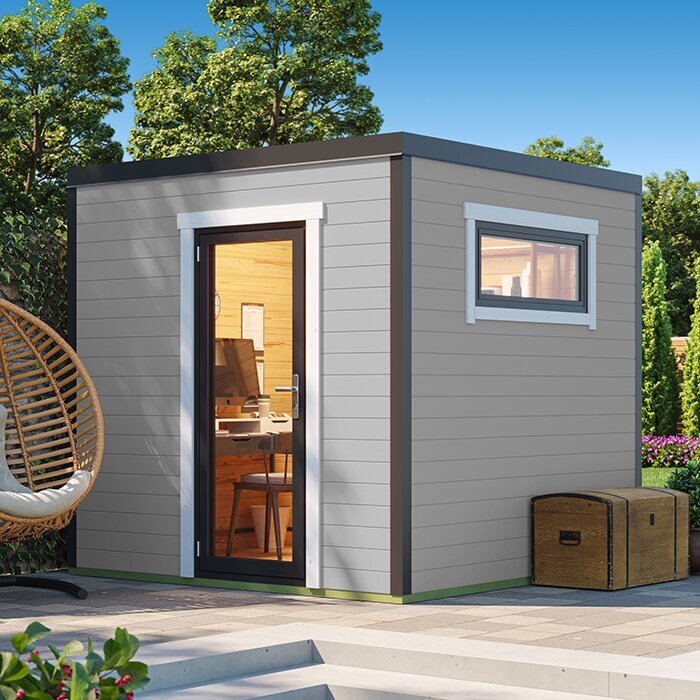
Choose shelves and containers for their contents
Match shelving to the containers and objects rather than buying the deepest unit available. A shelf that is too deep encourages items to be pushed to the back and forgotten; too little depth can make boxes unstable or waste space. Measure the width and height of the containers you plan to use, then check that stacked units still leave room to lift one out. Trays or divided boxes can keep small items together, while larger open bins suit equipment that is handled often. Leave one part of a shelf uncommitted for irregular items that do not fit neatly into a standard container.
Use containers to simplify putting things away, not to hide clutter. Label boxes on the side that will face the route, group contents by task and avoid mixing unrelated items simply because they fit. Clear containers can help when you need to see what is inside; with any type, make the label readable without moving the box. Do not stack so high that retrieving a lower box means unloading several others. When comparing your planned container arrangement with the Veltor 1 listing, rely on stated internal measurements or ask for them; an outer footprint alone will not show the usable space.
Give long and awkward items a designated place
Long-handled tools and awkward equipment need a home that does not become a leaning pile. Group rakes, brooms, spades and similar items by length, then decide whether a floor-standing holder, a rack or a strip along one wall suits their shape. Keep the most frequently used items where they can be removed without shifting the rest. If objects stand upright, make sure their bases are stable and their handles cannot tip into the route; if they lie horizontally, allow room to retrieve them. Keep sharp edges covered and facing away from the path through the shed.
A hose, folding chair, pole or piece of sports equipment can be bulky even when it takes up little volume. Check that its planned location leaves access to anything stored behind it, and avoid laying long items diagonally across the shed as a shortcut. Measure the longest item and consider where both its ends will sit. For the Orello 1 garden shed page, compare any published internal dimensions with that length and the approach needed to lift the item out. Ask for missing information rather than assuming it from a photograph.
Keep the entrance clear and useful
Treat the entrance as a working area, not spare storage. Check the actual way the door opens, then leave its movement and a clear place to step inside unobstructed. A cabinet placed immediately behind the door can make the route awkward even if it fits on a plan, while an item across the threshold can become an obstacle. Think about what you carry in most often, such as a watering can or a box, and make sure you can pass through without having to shift stored goods. The exact opening and movement need to be checked for the model you choose.
Position regular-use items near the entrance but not in the doorway. A shallow tray, a reachable hook or one labelled box may be enough for the things you pick up most often. Keep heavier items low and leave a clear patch for setting down what you are carrying. For the Modano 1 listing, check the documented entrance and internal measurements before drawing the arrangement; if these details are not shown, ask for them instead of estimating from a picture. Keep this landing area flexible so a seasonal item does not permanently block the way in.
Add a work surface only if you need one
Decide whether you need a working surface at all. If the shed is used for potting, minor repairs or sorting supplies, a small clear top may be useful; if it is mainly for storage, a permanent bench can consume floor space and become another place for unsorted items. Choose a surface around the task: consider what you will place on it, how far you need to reach and where you will stand. A portable or fold-down surface may be worth considering if it can be stored and used safely, but it still needs a clear approach and a stable arrangement.
Give any work area one defined place, away from the entrance route and from the items you need to reach most often. Keep its top clear between tasks and store only the supplies routinely used there, so it does not become a permanent dumping zone. Check headroom, light and any openings before placing a tall surface or cabinet nearby, rather than assuming a wall is free. When assessing the wooden garden shed M listing, compare its stated dimensions and documented openings with the footprint of your proposed surface; the model name alone cannot confirm a particular layout.
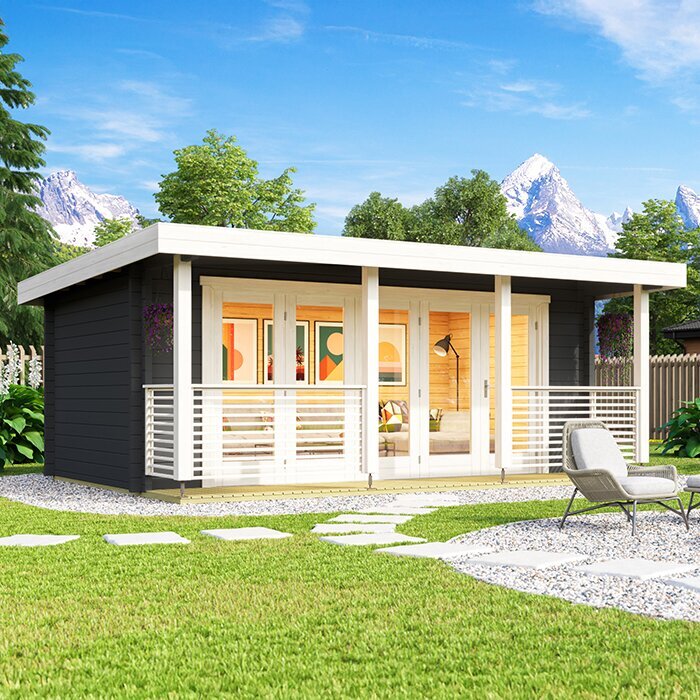
Compare interior details before ordering
When choosing between garden sheds, compare the details that affect how you can arrange the interior: usable internal dimensions, the entrance position and opening, any windows or fixed elements, and whether the floor area is uninterrupted. Check which measurements refer to the outside. If product information provides a plan, use it to mark storage depth, door movement and your clear route; if it does not, ask for the missing detail. Do not read extra floor area, openings or equipment into a model name or photograph. This makes comparisons more useful than choosing by appearance alone.
Also check how the product is delivered and assembled, and what access is needed, if that information is not clear. The shed must reach its intended position, and the route inside should still work after assembly. Compare the entrance orientation with the approach to the site and with your planned storage. For the wooden garden storage shed S page, use specifications actually provided and confirm any point that would change your layout; the word storage in a title is not evidence of a particular shelf or internal arrangement.
Test the layout before buying organisers
Before purchasing shelves, boxes or racks, make a rough full-size mock-up of the arrangement. Mark storage footprints on the floor with tape or use empty boxes to represent larger units. Include the route, the door’s movement and the landing area, not just the edges of each shelf. Put the largest stored objects in their intended places on paper or in the mock-up and check whether they can be removed without shifting other belongings. This quick test often reveals that one deep unit uses more valuable floor space than several shallower storage choices.
Try the layout against an ordinary sequence of tasks: enter with something bulky, reach the items you use often, put everything back and leave without moving a pile. Change the plan if you find yourself needing to step around a box or relocate equipment just to reach a shelf. Keep any clear floor area marked as part of the arrangement, rather than treating it as a gap waiting to be filled. When what you store changes, review the layout and move a shelf or container if needed; organisation should adapt to the contents.
Frequently asked questions
How do I make a small garden shed feel more open?
Give each stored group a defined place, keep the entrance and a route through the shed clear, and avoid filling every wall with deep shelves. Leave a small area for putting things down as you come in. Open floor space is useful working room, not wasted capacity.
What should I measure before choosing storage?
Measure the clear interior width and depth, usable wall lengths, and the entrance. Then measure bulky items and the boxes or shelves you plan to use. Include the space needed to pull a container out, carry an object through the door and turn it without moving other belongings.
Are high shelves the best way to free up floor space?
Not for everything. High shelves suit light items that are used occasionally, provided they can be reached safely and the shed’s construction is suitable for the fixings. Keep heavy or frequently used belongings lower, and check with the supplier or a qualified installer if you are unsure about wall storage.
Should all garden shed items go in boxes?
No. Boxes are useful for small items and grouped supplies, but long tools or awkward equipment may be easier to access in a suitable rack or designated space. Label containers clearly, avoid unstable stacks and choose a storage method that lets you put things away without shifting several other items.
How much floor space should I leave empty?
There is no useful percentage for every shed. Leave enough clear floor for the route you need, the items you carry in and out, and any temporary unloading. A simple layout mock-up can show whether you can open the door, reach storage and turn with a bulky object.
An open garden shed interior is not an empty one. It is a layout where stored items have clear homes, the things you use most are easy to reach and enough floor remains to move around and bring things in. Start with what you own, measure the usable space, then test the route before committing to organisers. If the arrangement makes everyday tasks easier without filling every available corner, it is doing its job.
