
Buying a Pergola for an L-Shaped Terrace
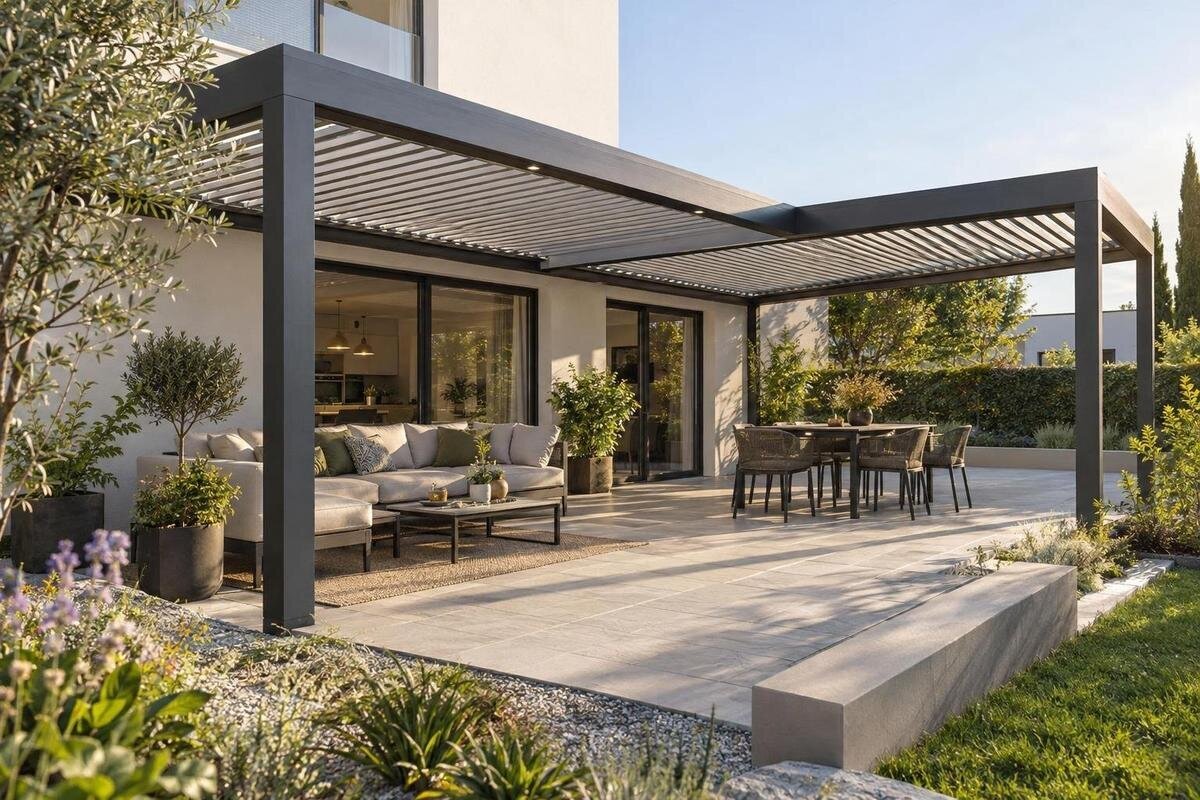
Pergola buying guide
An L-shaped terrace joins two runs around an inside corner, so its outline can be harder to cover than a simple rectangle. Before choosing a pergola, decide which parts need overhead coverage, measure each arm separately and compare that plan with the product's complete footprint, not just its advertised area. A good fit also depends on where supports, wall connections, doors and drainage sit. This guide focuses on those layout and ordering checks, so you can narrow your options without assuming one size or configuration will suit every L-shaped space.
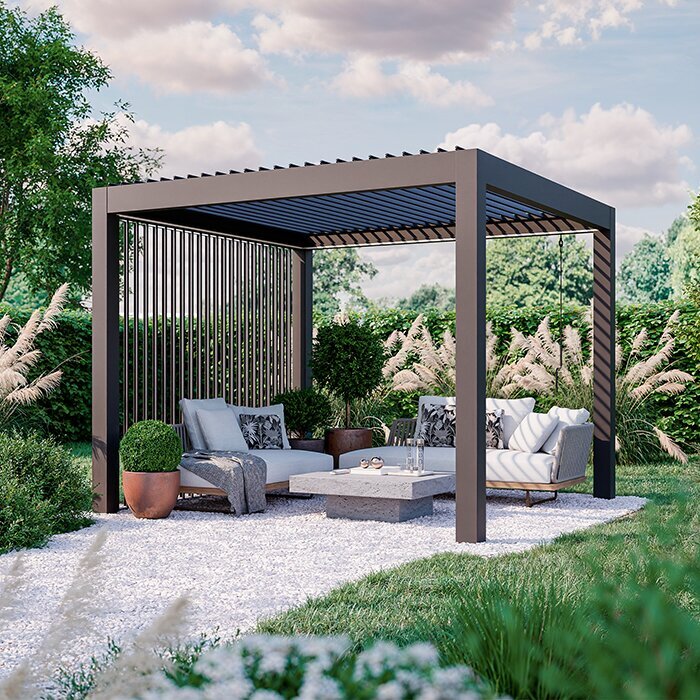
Map the two arms and the inside corner
Start with a plan viewed from above, rather than a product photo. Draw the house edge, terrace boundary and inside corner, then sketch each arm as its own run. Mark where each begins and ends, and note any notch, step, taper, narrow return or change in width. Add the overall outside limits as well, so you can see the rectangular shape around the L and the areas that are not paved. A rectangular structure positioned to cover both arms might extend beyond the paving beside the inner notch, while a smaller footprint may serve only one arm. The sketch is a buying aid, not a construction drawing.
Add fixed features before comparing products: doors, steps, handrails, drains, outdoor taps, windows, downpipes and existing posts. Mark the routes you need to keep open, not just the places where furniture might sit. If the corner is close to the house, include eaves, gutters and wall projections that could limit the roof position. Keep the whole proposed pergola outline on the plan, rather than drawing only the area you hope to shade. A Bloomcabin pergola listing can be assessed against that sketch, but its name alone does not establish its footprint or suitability. Check the current product information, or request a dimensioned drawing, before deciding whether its shape suits the corner.
Measure each arm without losing the corner
Measure the two arms independently and label each figure clearly. For each one, note its length along the terrace and its usable width across the paving, then record the inside-corner dimensions and overall outside limits. Measure the paved area rather than assuming that the distance from the wall to the edge is usable everywhere: a step, pillar, tapered boundary or fixed fixture may interrupt it. Write down where each measurement starts and finishes, and use metres consistently. A quick sketch with arrows is more reliable than a loose list of numbers, especially if someone else will compare the site with product drawings. If an edge is irregular, take enough measurements to show how the width changes.
Treat the inside corner as a separate feature, not as spare space belonging to either arm. Measurements along the outer edges can miss the notch or count part of the corner twice, so show the inner boundary explicitly. Note where a support could stand as well as how much paving lies beneath the proposed roof. A wall-mounted pergola listing is a candidate to investigate if you are considering that type, but the product name does not confirm its fixing position or the space it needs. Compare your notes with the product's stated dimensions and installation guidance. If the reference points are unclear, ask the retailer what each dimension includes. Resolve discrepancies on site before ordering, rather than rounding to a convenient size.
Choose one span or a pair of structures
Decide whether you want one covered rectangle, coverage reaching across both arms, or two clearly separate zones. The distinction matters because an L-shaped terrace does not have the outline of a standard rectangle. A larger rectangular pergola may project beyond the paved area at the missing corner; one placed over the wider arm can leave the return uncovered. Draw each possible footprint over your plan, marking roof edges separately from support positions where those details are available. Compare the uncovered and overhanging areas as carefully as the covered area. Total square metres alone are a poor guide: layouts of similar size can put supports, shade and usable floor space in very different places.
Two separate structures may let each arm have its own span, but the junction needs deliberate planning. Decide whether the space between them should remain open or whether you expect their roof edges to meet, then check that the products are designed for your intended arrangement. Do not assume that units can be joined, share a post or form one continuous cover. Look at the gap, alignment, separate fixing requirements and the way the corner will be used. The bioclimatic pergola listing is a distinct product candidate, but the word in its name does not confirm its dimensions, roof design or compatibility with another unit. Use the product information to establish its exact form before comparing it with a paired layout.
Set the coverage goal before comparing sizes
Choose which activities or places need overhead cover before deciding on a pergola size. You might prioritise a dining spot, a doorway, a route around the corner or only the arm that receives more sun. Mark those areas on the plan and separate essential coverage from a preference. That gives you a practical way to compare a one-arm layout with a larger footprint, rather than treating a roof over every part of the paving as the only good result. It can also stop a pergola taking up open space where you prefer to move furniture or leave the terrace clear. The useful layout is the one that suits how you intend to use the space.
Be precise about what you mean by coverage. A pergola's ground footprint, roof outline and the area that feels sheltered are not necessarily identical. Posts may occupy floor space, and roof designs differ; open or adjustable elements will not act in the same way as a more continuous roof. Check the exact roof type and the manufacturer's description instead of assuming every pergola blocks direct sun or rain. If rain protection is essential, look for explicit product information about water handling and ask for clarification where needed. A roof outline also does not show how shadows move across both arms through the day, so observe the terrace at the times you expect to use it.
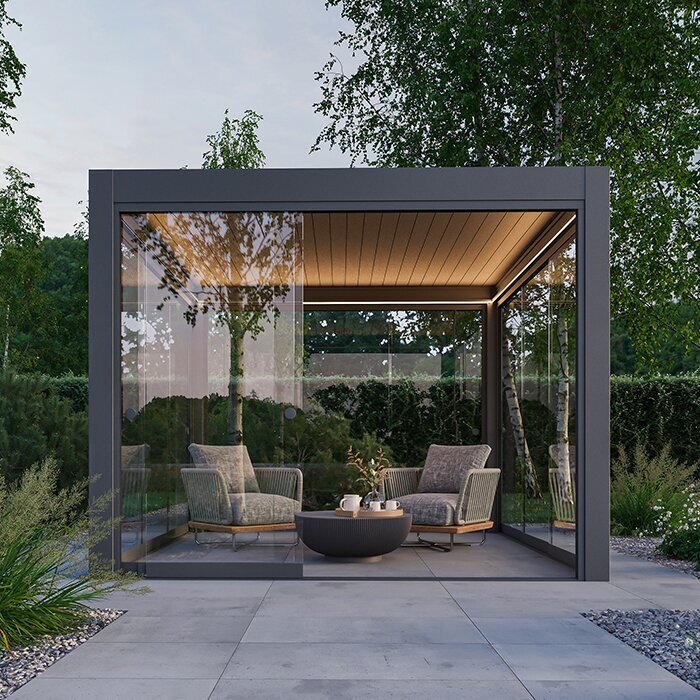
Keep doors and everyday routes clear
On an L-shaped terrace, the inside corner is often part of the route between the two arms. Trace how people will move from the house to the steps and from one run to the other, then check whether the proposed supports interfere. Include the full opening arc of hinged doors, the travel of sliding doors and enough room to carry outdoor furniture in or out. A post at the bend can disrupt movement more than one beside an outer edge, even if both fit within the product's stated dimensions. Use the support layout in the manufacturer's drawing when available; the roof footprint alone does not show where every post will stand.
Check vertical clearance as well as floor space. Eaves, gutters, downpipes, windows that open, wall lights and vents can affect where the roof sits or how the space can be used. Add the room needed to move chairs and tables, and test routes with their actual dimensions if they need to pass through the corner. A plan that looks clear when empty may be awkward once people are seated or a door is open. Consider the pinch point created by a post near the inner corner, especially if people need to pass in both directions. You might choose to cover only one arm or set the covered area back from the bend; either can be a good fit if it keeps the route comfortable.
Compare wall-mounted and freestanding layouts
A wall-mounted arrangement may be worth considering when one arm runs alongside the house, while a freestanding one may allow the footprint to sit away from the wall. Neither label guarantees a good fit. For a wall-mounted product, check the specified attachment method, accepted wall type, clearances from eaves and openings, and how the roof would relate to the second arm. For a freestanding design, plot every support position: a post can obstruct the inside corner, a door or a route even when the overall width and depth fit. Compare the full installation notes with the building and terrace rather than choosing from the outline alone.
Do not assume that a wall or paved surface is suitable for a particular fixing method because it looks solid. House construction, surface build-up and the product's requirements need to be considered together. Ask the retailer or an appropriately qualified installer what information is needed to assess your site, and whether additional work must be planned. The wall-mounted pergola product page identifies an option in this category, but it does not establish that your wall, arm width or L-shaped layout is compatible. Treat it as a candidate to investigate and base your choice on the product's current installation instructions and a site-specific assessment.
Check the roof design and exposure
Conditions can vary across the two arms. The house may shade one side, while trees, fences or nearby buildings influence the other; observe the terrace at the times you expect to use it rather than judging from one glance. Note where rainfall from a proposed roof edge could run in relation to doors, seating and existing drains. A pergola's name or appearance does not prove how its roof operates or handles water. Confirm the exact roof construction, any moving parts and the product's stated use and limits in its information. If a roof has adjustable positions, check how each changes the coverage and whether operating clearance is required. Ask the retailer if the description is unclear before treating the structure as shelter.
Consider wind exposure, run-off and access for cleaning or adjustment on each arm; a wall-side location and an exposed outer edge may call for different checks. Confirm that the manufacturer's installation guidance covers the arrangement you intend, and ask a qualified professional about site or fixing questions that need assessment. For a product described as bioclimatic, check what that term means for that specific model, including its roof components, operation and weather guidance. The product page for the bioclimatic pergola is a place to review the exact listing, not evidence of a particular capability. Do not carry assumptions from one design to another.
Compare dimensions with the exact footprint
Once the intended position is clear, compare your sketch with the manufacturer's full dimension drawing, not a headline width or total area. Check what the listed dimensions refer to: the roof edge, outside of supports, space between supports or another reference point. Look for projections, overhangs, wall clearances and foot positions, and note whether the measurements include them. Small discrepancies can decide whether a post lands in the walking route or the roof reaches across the corner. Do not estimate from a product photograph, since perspective can make a structure appear wider or narrower than it is. If the dimension diagram is ambiguous, request clarification before choosing a size.
When choosing a pergola size for an L-shaped terrace, compare both arm widths and lengths with the proposed footprint, then check the inside corner and the outside terrace boundary. A structure may suit one arm but leave the return uncovered or extend past the paving. The Bloomcabin pergola product page is a listing to assess, not a source of dimensions inferred from its name or images. Check the current specification and request a dimensioned plan if reference points are unclear. Then lay the outline over your terrace sketch, marking roof edges and supports separately. Record the clearances you want around the structure too: a footprint that technically fits can still crowd a doorway, furniture or access path.

Settle installation and delivery details before ordering
Before ordering, confirm exactly which product and configuration you are comparing, and read what is included. Check the listed roof components, supports, fixings and installation requirements, but do not assume accessories, wall hardware or surface preparation are part of the package. Ask whether installation is available or must be arranged separately. If a contractor is involved, share the terrace plan and product instructions before work is booked so they can flag site questions about the corner, support positions or attachment points. Keep written answers with your order documents, particularly where a detail affects fit or installation.
Plan delivery access as well as final placement. Gates, narrow paths, steps and tight turns may affect how components can be brought to the terrace; ask the retailer what access details it needs and what delivery arrangements apply. If possible, confirm whether package dimensions or handling requirements affect the route, rather than inferring them from the assembled footprint. Read the current terms for delivery, returns and installation, and confirm the costs that apply to your order instead of assuming they are bundled. If a wall-mounted or multi-unit layout involves extra work, include that in your comparison. The bioclimatic pergola option should be checked against the same questions as any alternative; its name alone does not confirm what is supplied.
Test the plan in the space before choosing
Before settling on a layout, use removable markers or a simple floor plan to show the proposed footprint in the actual space. Mark roof edges and support positions separately when the product information shows them, then walk the routes you identified. Check whether both arms still feel connected, the inside corner remains useful, and doors and furniture can move without detouring around a post. Try more than one orientation: turning a rectangular structure may change which arm it serves even though the area is unchanged. If you cannot represent the exact dimensions and support locations, treat the test as provisional and get the missing information.
Make a short list of unresolved points: measurements, attachment conditions, roof operation, clearances or delivery constraints. Get answers before purchase instead of filling gaps with assumptions based on another model or a photograph. For any shortlisted product, including the listing for the Bloomcabin pergola, check its own current dimensions and installation notes; do not transfer details from a different pergola. If the only workable arrangement depends on an alteration, a shared frame or a custom connection, confirm its feasibility with the manufacturer and an appropriate professional. The final choice may cover one arm rather than both if that better preserves the terrace's layout.
Frequently asked questions
Can one pergola cover both arms of an L-shaped terrace?
Possibly, if the footprint and support positions work with the space. A rectangular pergola will not match an L-shaped outline exactly: it may cover a useful area across the bend, leave one arm open or extend beyond the paving. Draw the full footprint over your measurements and check that the product is designed for the configuration you have in mind.
How should I measure an L-shaped terrace for a pergola?
Measure the length and usable width of each arm separately, then mark the inside corner, any steps or notches, and the terrace's outer limits. Add doors, routes and possible support positions to the sketch. Compare it with a dimensioned product drawing, and ask for clarification if you cannot tell which edges the listed dimensions refer to.
Would two pergolas be a better option than one?
Two structures can give each arm its own covered area, but they may need separate supports and can leave a gap at the corner. Do not assume that units can be connected or share structural parts. Check whether the manufacturer permits your intended arrangement, then compare the junction, installation requirements, delivery and total cost with a single structure.
Does the pergola need to cover the whole terrace?
Not necessarily. Decide which areas need overhead cover and which should stay open for movement, furniture or access. A structure over one arm may serve your priorities better than a larger rectangle that projects beyond the paving or crowds the inside corner. Compare the actual roof coverage, not only the pergola's overall footprint.
Can a wall-mounted pergola work on an L-shaped terrace?
It can be an option if the product's installation guidance permits the stated mounting method and your building is suitable for it. Check the fixing position, wall requirements, eaves and door clearances, and how the roof relates to the second arm. Ask a qualified installer to assess site-specific fixing questions; the label 'wall-mounted' alone does not prove compatibility with your house or terrace.
An L-shaped terrace is easier to plan when you treat each arm and the inside corner as connected but distinct spaces. Measure the footprint, mark the routes and compare the roof and support layout with the same sketch. A single pergola may serve one arm well; two units or another configuration may be worth investigating, but neither should be assumed to join or fit without clear product guidance. The right purchase is the one whose confirmed dimensions, installation requirements and ordering details match the space you want to use.
