
Buying a Freestanding Pergola: Position, Foundations and Access
Pergola buying guide
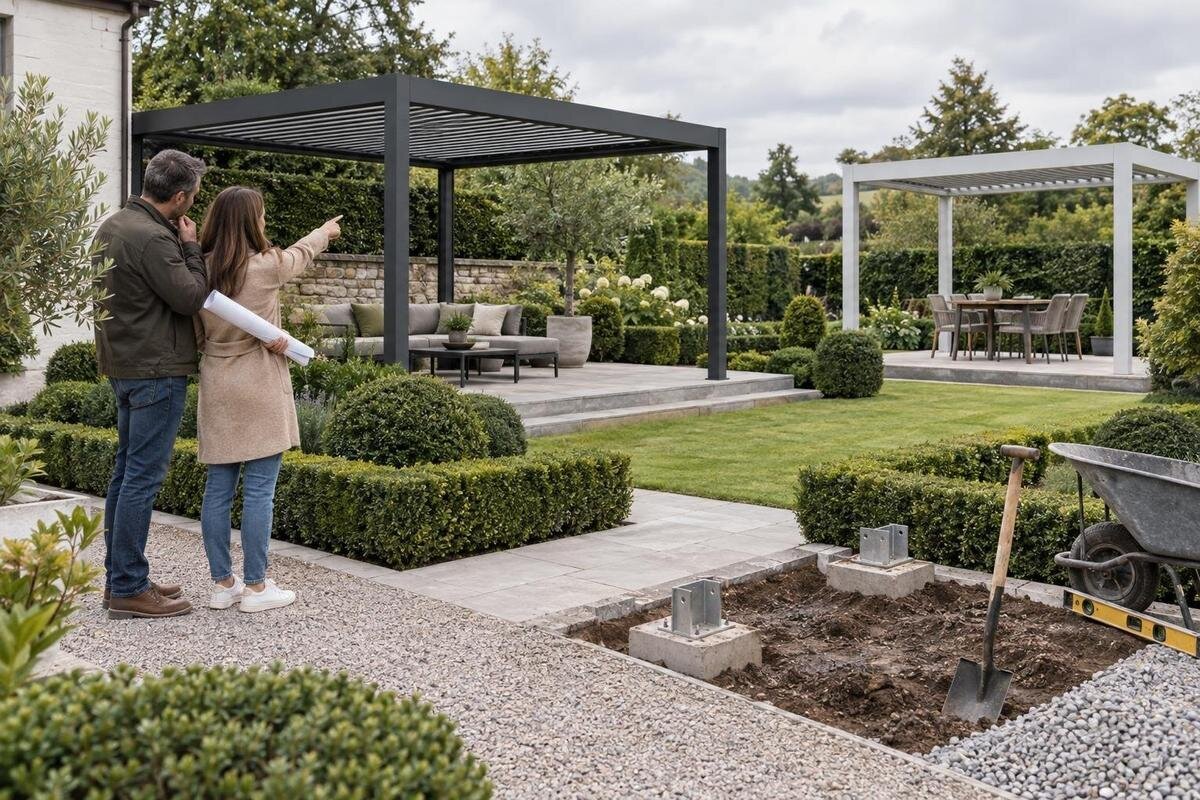
Buying a freestanding pergola is a site decision before it is a model decision. The position affects how you use the outdoor area; the ground determines what a suitable foundation needs to address; and the delivery route can limit what reaches the site. Map those constraints before comparing products. Use verified dimensions and installation information rather than judging from a photograph, and take site-specific foundation questions to a suitably qualified professional.
Why a freestanding pergola needs its own site plan
A freestanding pergola is planned as an independent outdoor structure, rather than one whose position depends on a connection to the house. The label alone does not tell you the support layout, fixing method or clearance needed for a particular model, so check its documentation. The whole placement matters: the frame area, the room people need to move around it and the route used to reach it all compete for space. Mark those on a simple site sketch before choosing a product. A pergola might fit an open patch yet obstruct a garden gate, path, clothesline or access to a shed. Note routine garden jobs as well as seating, because a clear route for maintenance is part of a usable layout.
If a wall connection is also under consideration, keep it as a separate comparison rather than treating it as an automatic fallback. The wall-mounted pergola listing represents a different category to assess: it depends on a suitable connection to the building, while a freestanding choice needs its own site and ground plan. Neither category removes the need to verify dimensions, foundation requirements and access for the exact model. If the possible position sits close to the house, ask an installer or building professional whether an independent structure can be placed there as intended. Keep the distinction clear as you browse, because a product’s mounting arrangement affects which site checks apply.
Measure the usable footprint before choosing a size
Measure the area you can actually use, not simply the open rectangle that looks large enough. Record its length and width, then locate doors, steps, garden edges and any path that must stay clear. Add space to pull chairs back, walk around a table or carry items through the area; these uses can make a nominal fit feel cramped. Lay out the intended outline with temporary markers or a tape measure, and view it from the house and garden approach. Measure with permanent obstacles in place, and note fixed items such as a garden tap or storage that cannot be shifted. That gives you a more realistic footprint than one measurement across the lawn.
Compare the sketch with dimensions for the exact product, including the position of its supports and any overhang shown in the manufacturer’s drawing. Do not infer measurements from a lifestyle photograph or assume a listed overall dimension describes the clear space between supports. The Bloomcabin pergola listing is a page to review only for details it actually gives; request a dimensioned plan if a key measurement is missing. Allow for clearances specified in the instructions, as well as room to move around the finished structure. Check height where overhead space matters, and confirm which point the listed height measures. A small mismatch at the edges can affect access more than it first appears.
Choose a position for everyday use and changing conditions
Choose a position according to how you expect to use the outdoor area, then check what changes around it over the day and through the year. Notice where sunlight falls at the times you normally sit outside, whether the proposed spot faces an unwanted view, and whether trees or buildings cast shadows that move. Consider wind exposure and the direction people approach from. These observations help you judge whether the location suits your intended use; they do not establish how much shade or weather protection a particular pergola provides. Visit or observe the area at more than one time, rather than treating one midday view as the whole picture.
Use a plan to compare possible positions rather than relying on a single view from the house. One location may preserve a path but block a garden view, while another creates a seating zone and makes access to a clothesline awkward. If a product name identifies a variant, such as the bioclimatic pergola listing, treat the name as identification, not proof that its footprint or features suit the chosen position. Compare the published dimensions and installation information with the site you have measured. If several designs are on your shortlist, assess each against the same priorities: usable space, exposure, views and routes. Avoid letting one attractive feature outweigh a practical conflict.
Check the ground before deciding on foundations
Foundation planning starts with the actual ground beneath the proposed supports, not with a general idea that a lawn, paved patio or deck will be enough. Soil, fill, slope, an existing slab and a raised deck present different questions about stability and fixing; none should be accepted or rejected by appearance alone. Ask for the exact product’s installation instructions and any stated foundation or anchoring requirements before selecting a base. If you are considering fixing through paving or to an elevated deck, have a professional check what lies beneath and whether it is appropriate for the proposed fixing. A listing category or image cannot establish whether a base is suitable.
Have a suitably qualified building professional or installer assess the site against the product requirements, particularly where the ground is uneven, recently filled, retaining, or part of an existing structure. Describe the surface and share the model’s documentation; ask whether preparation is needed and who will carry it out. Do not use generic footing sizes or copy an approach from a different pergola. The bioclimatic model page does not replace the exact model’s written requirements, and specifications should not be transferred between variants. If instructions are unclear, get a written answer before paying or arranging site work. The assessment should relate to the position and conditions you have actually planned.
Account for drainage and buried services
Ground checks should include where water goes and what may be hidden below the surface. Note low points, drains, downpipes, garden irrigation and places where rainwater already pools or runs across the proposed area. A pergola’s roof design can affect where water falls, so use the selected model’s documentation rather than assuming the result from its appearance. Keep access to drains and maintenance points in mind, and avoid blocking routine inspection. If the site has a slope or regularly gets wet, consider the proposed layout alongside existing drainage instead of assuming that paving or a new base will solve it. A landscaper or installer can help identify questions that need further assessment.
Before digging or disturbing the ground, check for buried services such as water pipes, power or communications lines using appropriate service information and advice from a qualified professional. Note overhead branches, washing lines, gutters and downpipes too, as these may affect the position or later maintenance. When reviewing the product page, use only its stated requirements and ask how the proposed base and location relate to them; a picture does not show buried services or rainwater behaviour. Tell the person assessing the site where you intend to dig, rather than asking only about the garden in general. Resolve any uncertain service route before site work, not after a delivery date has been arranged.
Measure the route for delivery
Delivery access is a separate measurement exercise from fitting the finished pergola into the garden. Trace the route from the likely unloading point to the proposed installation area, checking gates, side passages, corners, steps, slopes and changes in surface. A wide entrance does not help if the route narrows at a turn or crosses soft lawn. Note overhead obstructions and whether the route passes through a shared or frequently used area. Measure the narrowest points and record any door, fence or stair that could limit movement; do not assume a package can be turned simply because it fits through the opening. Include the distance from the driveway or kerb to the final position in your notes.
Ask the seller or carrier for the package dimensions, number of packages and unloading arrangements for the exact model; do not estimate these from finished-product dimensions. Only confirmed delivery information can settle what needs to pass along your route. Check whether delivery is left at a vehicle-accessible point or carried further, and who is responsible for moving it. If extra handling, a different drop point or a clear access window may be needed, agree that before ordering. Ask how restricted access affects the delivery arrangements, and read the terms that apply to your order. Confirm that the route can be kept unobstructed on delivery day.
Leave room for installation work
People assembling a structure need a workable area around it, which is not always the same as the route used to bring packages in. The installer may need space to handle parts, use tools and reach different sides, so ask what clear working area the specific instructions require. Consider nearby fences, planting, outdoor furniture and doors that could restrict movement. Put the work zone on the site sketch and distinguish it from the finished footprint; if space is tight, discuss the setup before ordering rather than expecting a crew to adapt without notice. Do not remove or alter anything until responsibilities and requirements have been agreed.
Confirm whether installation is part of the purchase arrangement or needs to be organised separately; never assume delivery includes assembly or ground preparation. Ask who checks the base, what must be ready beforehand, and whether the installer needs photographs or an on-site visit. If instructions are available for the exact model in the full pergola listing, read them alongside the installation-service details. Share known access limits and site conditions, then request a written outline of the work included and excluded. This keeps the product, preparation and installation plans connected before you book.
Check nearby buildings, boundaries and access
Nearby features can make a technically possible position awkward in everyday use. Check the opening area of house doors and gates, the line of eaves and gutters, windows, vents, outdoor taps and access to bins or storage. Look upward for branches and other obstructions, and consider how the pergola could affect views from inside and from neighbouring outdoor areas. If nearby planting is likely to grow into the footprint, include that in your plan. Keep a practical gap for cleaning and repairs where the product or nearby building requires it. There is no single clearance that suits every site: use verified product dimensions and requirements, then ask a professional about conflicts you cannot resolve on the plan.
A freestanding structure is not suitable for every spot simply because it is not fixed to the house. Near a building, fence or boundary, consider access for maintenance, daylight and how water or people move through the area. Local requirements can vary, so check with your council or a qualified building professional if placement near a boundary or building raises a consent or safety question. If a building connection is part of the comparison, the wall-mounted alternative is a different category, not evidence that attachment will suit your wall. Keep the decision tied to the exact design and proposed position.

Compare the same product details across models
Compare product pages against one shared checklist rather than browsing by appearance. Verify the overall footprint, overall height, positions of supports and any moving or projecting components that affect space when used. Check the supplied drawing, installation instructions, stated foundation method and whether the described base suits your surface; ask for written details if the page is silent. Then confirm packaging and delivery information against the route you measured. These are separate dimensions: a finished structure may fit its site while a package does not fit the access path. Do not fill gaps with measurements from another model or image.
Record the same questions for each model on the shortlist, including the listed bioclimatic option if it is under consideration, and compare answers rather than names. Useful questions include whether dimensions include projecting components, how supports sit within the footprint, what the manufacturer requires beneath them, and which preparation or assembly tasks are excluded. Ask for the exact model reference on drawings and instructions so a document for a similar-looking version is not mistaken for the right one. Note any assumptions in the answers, especially if you later change the surface or position. A seller can clarify product information; a suitably qualified local professional must assess whether the site and proposed foundation are appropriate.
Confirm the order, preparation and installation plan
Before placing an order, bring together the measured site sketch, confirmed product dimensions and foundation requirements, and the delivery and installation arrangements. There should be a clear answer for the chosen position, the base, the path to the work area and the tasks you are responsible for. If a key dimension, package size or foundation instruction is missing, request it before committing; if a ground or structural question remains, pause for qualified advice. This is more useful than deciding from a photograph and trying to solve access or foundation problems after delivery has been booked.
Keep a record of what the seller, carrier and installer have agreed, especially who prepares the ground, where delivery can be left and what conditions must be met for assembly. Check that the exact product named in the order matches the documents used for your site assessment. Ask for any agreed handling arrangements or excluded work to be recorded. Revisit the plan if details change, such as the chosen position, access route or surface preparation. Once those pieces agree, compare the remaining product choices and select a pergola for the real site, rather than a theoretical open patch.
Frequently asked questions
How much clearance should I leave around a freestanding pergola?
There is no single clearance that suits every pergola and site. Follow the exact model’s instructions, allow for doors, paths, furniture and maintenance, and ask the installer what working space is needed before you order.
Can I put a freestanding pergola on an existing patio or deck?
Only after the exact model’s foundation requirements and the existing surface have been assessed. A paved finish or deck that feels solid may not show what lies beneath. Ask a suitably qualified professional whether the proposed support and fixing arrangement suits that site.
What foundation does a freestanding pergola need?
It depends on the product’s installation requirements and the ground beneath its proposed supports. Get the instructions for the exact model, then have a suitably qualified professional assess the site. Do not copy footing or fixing details from another pergola.
How do I check whether delivery will fit?
Measure the narrowest points along the whole route, including turns, steps and overhead obstructions. Ask the seller or carrier for package dimensions and unloading arrangements. The finished pergola’s dimensions do not tell you the size of its packages or how far they will be carried.
Can a freestanding pergola go anywhere in the garden?
No. You still need to consider the position, foundation, delivery and installation access, nearby buildings, boundaries and services. If placement raises a consent or safety question, check with your council or a suitably qualified building professional.
For a freestanding pergola, the strongest shortlist is the one tested against the actual site. Position and usable space decide what can fit; ground conditions determine what foundation questions need answering; and delivery and installation access affect whether the chosen design can reach and be assembled in place. Treat product names and photographs as starting points, use exact written information for each model, and have site-specific structural questions assessed by a suitably qualified professional. That gives your decision a practical basis from the first measurement to the finished outdoor layout.
