
Pergola Privacy From Upstairs Neighbours: Map Sightlines
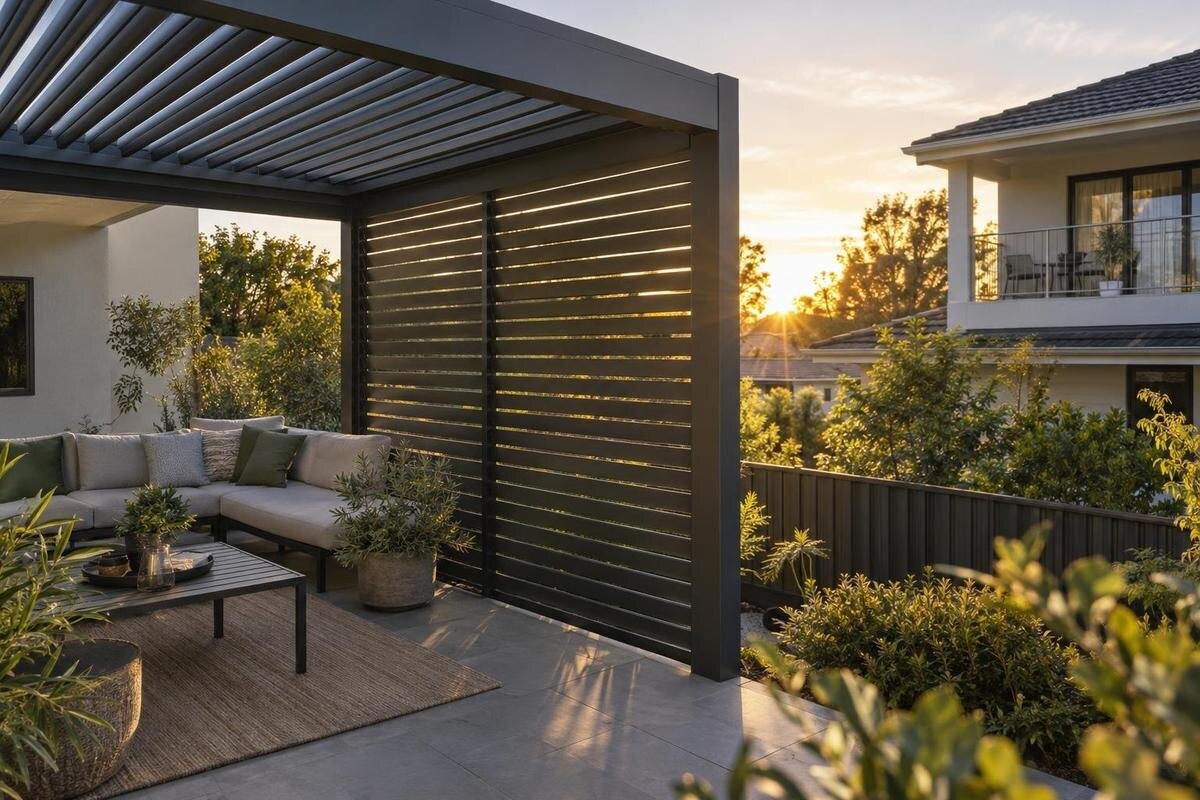
Pergola privacy planning
An upstairs window can see over a fence that screens a patio at standing height. That does not mean every side of a pergola needs to be closed in. Map the likely viewing angles against the seats and activities you actually use; the sketch can show whether the exposed area needs overhead cover, side screening or both.

Why a fence-height screen may not block an upstairs view
A fence, hedge or shoulder-height screen mainly changes views that approach from the side. Someone looking down from an upstairs window, balcony or raised landing has a different angle: the sightline may pass over that barrier and reach a table, chair or person under a pergola. Raising the screen is not automatically the answer. If the view clears its top, extra height may leave the same exposure while making the patio feel more enclosed. The key question is where the view enters the occupied area, not simply how tall the neighbouring building is. A fence may still help with passers-by, but it addresses a separate direction of view.
Privacy depends on what you want to do outdoors as well as where the pergola frame sits. You might care most about a dining seat, a lounger or a particular corner, and each can be exposed differently. Note plausible viewing positions, such as upper-floor windows, balconies, raised decks or elevated ground nearby. Also decide whether your concern is a direct view of seated people, visibility of the whole seating area or simply the feeling of being overlooked. A map records potential visibility from ordinary positions; it does not assume anyone is watching. That keeps the response proportionate: one exposed area may call for a local solution rather than enclosing the whole patio.
Sketch each likely viewing angle
Draw a simple top-down plan of the patio. Mark the proposed pergola footprint, nearby upper-level windows or balconies that could overlook it, fences, boundaries, raised ground, doors and paths. Add the furniture in its likely arrangement instead of a generic rectangle labelled seating. Then sketch a side view through each important direction: mark the observer’s approximate eye position and the seat or table you want to protect, and draw a straight line between them. If several windows sit at different heights, draw a separate line from each; they may look over different barriers. Note whether each line meets the proposed roof plane, a side screen or neither.
Use a site plan if one is available, but mark assumptions rather than suggesting survey accuracy. Ask a helper to sit in the usual chairs while you check what is visible from other positions on your own property. This can help you identify exposed seats, though it will not reproduce the upstairs viewing angle. Estimate that observer’s position from the visible window level and label uncertain heights on the sketch. Do not enter a neighbour’s property or point a camera into private interiors to test the angle. The Bloomcabin Pergola model page lists sizes from 9 to 24 m²; compare the specific footprint you are considering with the mapped seating area, rather than treating that range as a site plan.
Separate overhead views from side views
Label each line by direction before deciding what to add. A steep downward line that falls through the open top is an overhead exposure; a diagonal line entering from one edge is a side exposure. A view that crosses an edge and then an open roof may need more than one part of the layout considered. Also mark people standing near the edge of the covered area: they may remain visible even if seats beneath a roof are screened. A balcony rail or façade is not necessarily the observer’s eye position, so use the window or balcony opening where a person could actually look out.
This classification prevents a common mismatch. A side screen may reduce an oblique view but cannot be assumed to block a steep view from above; overhead cover interrupts a downward line only where it lies between the observer and the target, and it does not screen an open side. If the roof or screen has openings, check whether the line passes through them. The Bloomcabin Bioclimatic Pergola listing identifies a model with a listed 9–24 m² range, but area alone cannot show what an upstairs observer can see through or around a chosen configuration. Ask for details of the exact arrangement and its compatible options.
Map the seats and activities beneath the pergola
Draw around how people use the space. Mark the approximate head position of someone seated in each regular chair, then the standing positions used when serving, moving between house and garden or talking beside the table. An upstairs sightline can fall across a seated person or tabletop while missing someone standing at the edge, so one marker at the centre of the pergola hides useful differences. Keep frequently used seats distinct from occasional circulation space, and note which areas matter most for privacy. That makes it easier to assess a targeted solution rather than treating every part of the footprint as equally exposed.
Try the plan with furniture in its likely position before changing the structure. A chair shifted or turned away from a direct view may reduce exposure without changing the whole footprint, but check that the route to a door remains clear and that the arrangement works for the way you use the patio. If you are considering a pergola attached to the house, compare the Bloomcabin Wall-Mounted Pergola listing with your layout. Confirm the selected model’s projection and mark its outer edge on the sketch, so you can see how the covered area relates to the seats, house openings and access points.

Compare sightlines with the sun path
Keep a sun-path note beside—not instead of—the sightline drawing. Record where shade falls at the times you use the patio, and repeat the observation in seasons when your outdoor use differs. Low-angle morning or late-day sun can enter from a side that is shaded around midday, while the path of sunlight changes across the year. Mark nearby windows and interior areas whose daylight you want to retain, as well as the outdoor seats. A few observations can show whether a proposed screen is being asked to solve privacy and sun exposure at the same time.
A privacy measure can change the amount of light reaching the patio or a nearby room, so record that separately from whether an upstairs view is blocked. A roof that interrupts one sightline may not provide useful shade at the hours you want, and a side panel may shade a window as well as a seat. When comparing sizes on the regular Bloomcabin Pergola listing, keep the sun-path notes beside your seating plan. Check the selected footprint, orientation and any supported overhead configuration against observations from your own patio, including the times when retaining daylight matters most.
Use side screening for a side-on view
Side screening makes most sense when the line arrives across a particular edge. Draw the exposed boundary and show where people sit in relation to it; a panel on the opposite side does little for that line. A screen that stops below the observer’s downward view may still leave a seat visible, so compare its top edge with the side-view sketch rather than choosing a height by appearance. One limited panel may preserve the view and an open route on other sides, while full enclosure can narrow the outlook and reduce airflow depending on its material and coverage.
Material matters as well as location. A solid surface, a perforated panel and a translucent fabric do not offer the same view, light or airflow, and silhouettes can be easier to see when one side is brightly lit. Judge the screen in its intended position from the observer’s direction, not only from inside the pergola. When enquiring about the model on the bioclimatic pergola product page, ask which side configurations or approved accessories are available for the exact version, what is included or optional, and what limits apply. Do not assume a third-party curtain or screen will fit or be approved because it appears suitable.
Check what the overhead structure actually hides
An overhead solution is relevant when the sightline drops into the covered area from above. It must be a surface that actually interrupts that view: an open frame, widely spaced elements or a gap can leave a clear path. A covered footprint is not the same as a privacy boundary; a person near the edge, an uncovered chair or a view coming in diagonally can remain exposed. Mark the portion of the roof that sits between the upstairs eye point and the target, and note any openings. Do not treat the outline of the pergola as if it were a solid cover.
If an option has movable or adjustable roof elements, inspect the positions you would genuinely use and ask how much open area remains in each. A privacy assessment based only on a fully closed position is not useful if that is not the setting you expect to use. For the product on the regular pergola model page, request drawings of the proposed overhead arrangement and compare them with your side elevation. Look specifically at where each viewing line meets the roof and whether that point falls on a covered part or an opening. This makes the assessment about the actual arrangement rather than the pergola’s overall outline.
Keep airflow, daylight and access in the plan
Screening can solve one sightline while making everyday movement less convenient. Note which side needs coverage, which should stay open for a garden view or passage, and whether an outside door or window needs to remain accessible. Check how an opening screen affects the route when it is retracted or deployed; a panel that is clear on a drawing may interfere with a chair, table or door in use. Consider airflow and daylight through both the roof and sides, particularly if you expect the arrangement to stay in place for long periods. The right fit may be a limited combination rather than maximum enclosure.
Consider which parts of the arrangement you would open or close during ordinary use. A screen may protect a dining seat when deployed but leave it exposed when opened for access or outlook. Similarly, opening roof elements for daylight may change the view from above. Mark these alternatives on the plan so you can compare privacy with the airflow and light you want at different times. Use the Bloomcabin bioclimatic model page as the starting point for an enquiry about supported configurations, then assess each confirmed option in the positions you expect to use rather than only in its most enclosed state.

Confirm compatibility and installation constraints
Before ordering, turn each drawing question into a confirmation: the dimensions of the selected model, the exact roof arrangement, open edges, included components and any separately supplied screening. Ask whether an accessory is approved for that configuration, how it is intended to operate, and which documented limits apply. Compare the information with your access, windows and furniture plan; a general product image cannot establish the result at a particular angle. If details are unclear, do not fill the gaps with assumptions based on a brand name or another buyer’s installation.
Where a design attaches to the house, a qualified installer or other appropriate building professional should assess the actual wall and attachment conditions; a product name does not prove that a specific wall is suitable. The wall-mounted pergola model page identifies the type of product, not a site-specific fixing plan or privacy outcome. Ask the supplier to confirm what the model and accessories support, then seek professional advice for anything dependent on the building or site. Keep the sightline check separate from installation approval: one concerns who can see the seats, the other whether the chosen structure can be fitted appropriately.
Turn the sightline sketch into a clear product brief
Your product brief can be short but specific: mark the exposed seat, the likely upper-level viewing point, whether the line comes from above or from an edge, and when the area is used. Add what must remain open for airflow, daylight, a view or access. That information lets a supplier discuss a targeted side configuration, an overhead option or a combination without you having to ask for privacy in general terms. Ask them to identify the proposed screen or cover on the sketch and explain which viewing line it would interrupt. Keep any estimated heights clearly labelled so the response does not treat them as confirmed measurements.
Compare responses against the same map. If one chair is exposed, test whether moving it changes the line before adding a screen. If several seats are visible from above, ask how the actual overhead layout covers them; if the line enters from a boundary, check that side. The sketch is not an engineering drawing and does not replace installation advice, but it keeps the privacy goal concrete. A suitable plan is the one that blocks the relevant view while leaving the parts of the patio you value usable.
Frequently asked questions
Will a fence-height screen stop an upstairs neighbour seeing the seating?
Not necessarily. A fence-height screen mainly addresses a view coming across the boundary, while an upstairs window or balcony may have a downward sightline over it. Draw a line from the likely viewing position to the seat. If it clears the screen, consider a targeted overhead solution, a different screen position or moving the seat before assuming that a taller barrier is needed.
Does a pergola roof guarantee privacy from above?
No. The result depends on whether the chosen configuration has an overhead surface that interrupts the view, how much of the seating area it covers and whether gaps remain. An open frame, uncovered edge or seat outside the footprint may leave a direct view. Check the exact configuration against a side-view sketch rather than relying on the word pergola or a product image.
Do I need side screening as well as overhead cover?
Only if the map shows an exposed side view that the overhead cover does not block. A steep view from above and an oblique view across a boundary are different problems, and a site can have both. Mark each exposed seat and viewing direction first; that helps identify whether one targeted screen, overhead cover or a combination is worth considering.
How can I test a sightline without accessing an upstairs property?
Estimate the window or balcony position from what you can see from your own property, and mark uncertain heights on a rough side view. A helper can sit in your usual seating area while you look from another position on your property. Do not enter a neighbour’s property or point a camera into private interiors. You are mapping potential visibility, not checking whether anyone is watching.
Could side screening make the pergola feel enclosed?
It can, depending on the material, coverage and number of sides screened. A solid panel may reduce outlook and airflow more than a more open material, while openings may leave movement visible. Compare the view from both sides, check how the screen affects daylight and access, and confirm that any accessory is compatible with the exact pergola configuration.
Good pergola privacy planning starts with the viewing line, not an assumed solution. A top-down plan and a side view can show whether a fence-height barrier is bypassed by a downward angle, which seats are actually exposed and whether the view enters from above or across an edge. Matching a suitable screen or cover to that line can avoid unnecessary enclosure and help preserve airflow, daylight and access. Before choosing, compare the exact configuration with the sketch and confirm any product-specific details that affect the result.
