
How to Design an Accessible Path to a Garden Shed
Garden shed planning
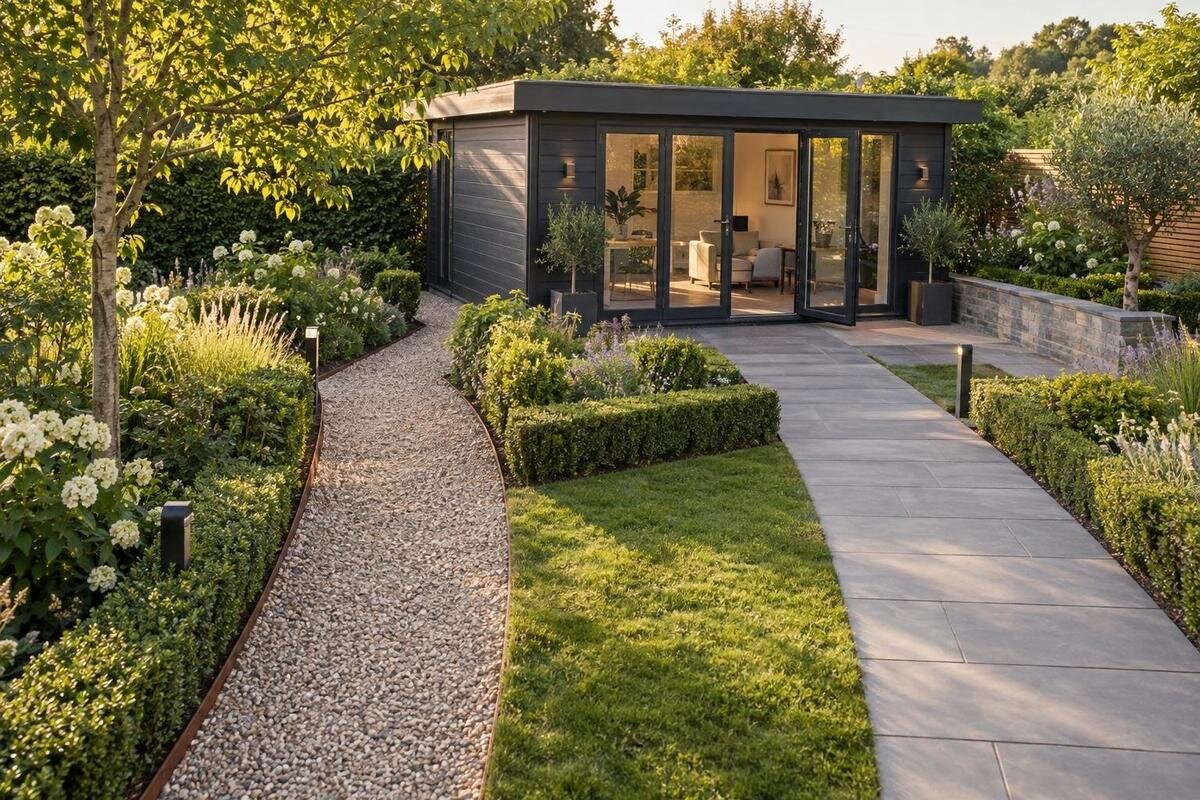
An accessible path to a garden shed is not simply the shortest line across the garden. It needs to suit the people, equipment and routines that will use it, meet the entrance cleanly and remain manageable in the conditions on your property. The route also affects which garden shed makes sense: its position, entry point and confirmed dimensions must work with the space available outside. Plan the path alongside the purchase, rather than treating it as a finishing detail after the shed has been chosen.
Map the route around everyday journeys
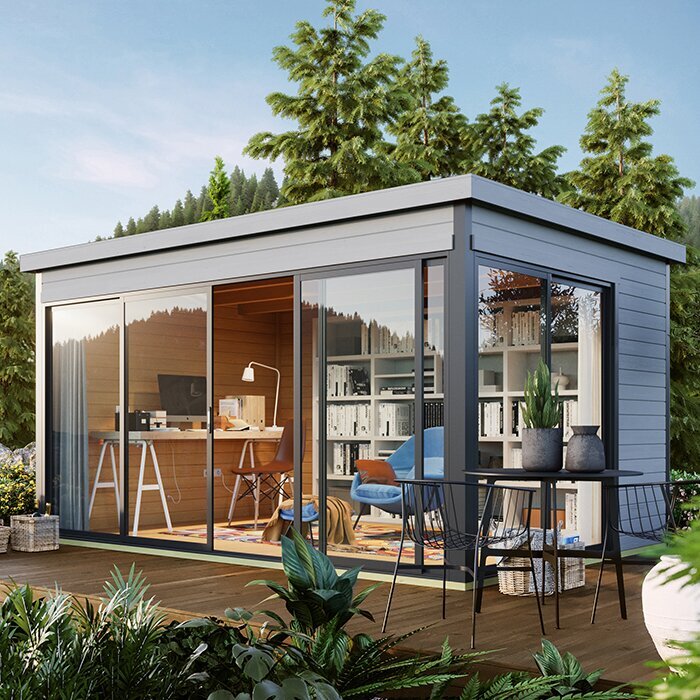
List the jobs that make the trip to the shed: collecting tools, putting equipment away, reaching stored items or carrying supplies from the house. Note who will use it and what they usually bring: a small item in one hand, a box, a full wheelbarrow or a mobility aid. A route that feels wide enough for one person walking empty-handed may be awkward when someone is carrying a load or moving alongside another person. Plan around the most demanding regular journey, not just the easiest occasional trip, and include the return with the door open or a load in hand. This helps show which parts of the route need the most space.
Identify likely starting points such as the back door, patio, driveway or main gardening area, then walk several possible lines. Mark an early route with string, chalk or temporary markers and try the turns using bulky items you actually move. Note gates, steps, taps, bins, tree trunks, low branches and places where chairs or pots may narrow the way. A straight line is useful only if it stays clear and reaches the entrance without a difficult final turn. Check that the return journey is manageable too, rather than assuming the outward walk answers both directions. If someone has particular mobility requirements, confirm the appropriate clearances before drawing the final plan.
Position the shed and path together
Treat the shed position and route as one layout decision. Consider the connection to the house and the places where equipment is used, but do not automatically run the path through the busiest part of the garden. Existing paving, garden beds, trees, fences, retaining edges and service routes can all affect where a new line is practical. Leave room for the shed itself and for a useful approach to its entrance; a route that ends beside a wall or hedge may not give enough space to arrive, turn or open a gate. Think about how planting and garden furniture may change the clear route over time. Before digging, identify known underground services and seek suitable advice if their position is uncertain.
On a simple site plan, mark the proposed shed footprint, its entrance side and the path’s full width, including edging and any turning area. Check the same layout on the ground; a paper plan can hide a narrow corner or a gate that swings across the route. If the Verdana 1 garden shed is on your shortlist, use its current published dimensions and entrance information rather than assuming where the door sits from the model name or image. Compare those details with your marked route before ordering, and revise the position or path if they do not line up. Also check that the route does not conflict with where water leaves the roof or with space needed for maintenance.
Set a useful clear width
Choose the clear width based on the largest regular user and load, not just the bare strip of ground available. Include a person walking beside a wheelbarrow, a mobility aid, a garden trolley or a bulky item if these are part of normal use. The route should not narrow at a gate, between a wall and a garden bed, or where the path meets the shed. If people may need to pass each other, identify where that is likely to happen; a wider area can help, but it does not make a pinch point suitable for regular use. There is no single width that suits every garden or access need. If the path has a bend, make sure the widest regular load can negotiate it without clipping planting or forcing someone off the route.
Measure the unobstructed width after allowing for borders, edging, fence posts, open gates and mature planting; the nominal width of the paving is not the same as the usable width. Check the approach area as well as the path, because a person may need room to turn or position a load before opening the shed. For the Verdana 2 garden shed, compare the confirmed product dimensions and entrance details with this clear-width plan; do not infer them from the name or a photograph. Account for anything that may reduce the space later, including seasonal pots or a door held open. If formal access requirements apply, confirm the relevant dimensions with a qualified local professional before finalising the layout.
Choose a surface for regular use
Select a continuous, firm surface that works for the people and equipment using the route. Paving or another stable, even finish can make wheeled movement easier than loose material, while widely spaced stepping stones leave gaps that interrupt a rolling route. Compacted aggregate may be an option if it can be kept sufficiently firm, but loose gravel can shift, scatter and collect at the edges. Grass may blend into the garden, yet it can become uneven or soft in some conditions. Think about the whole journey, including the final approach to the shed, rather than only the largest central stretch. The chosen surface should suit the main route, not just the part most visible from the house.
Consider how the surface behaves when wet, how it will be maintained, and whether its texture and joints are comfortable for the intended users. A very smooth finish can still be awkward if water stands on it, while rough or uneven edges may catch wheels or footwear. A sample can help you judge appearance and feel, but the site preparation and installation also affect the finished result. If the Veltor 1 garden shed is among the options, match the planned route to its confirmed footprint and entrance position; the product name alone cannot tell you which surface suits your ground. Choose the material for the entire approach, including the transition at the door.
Plan the final approach to the entrance
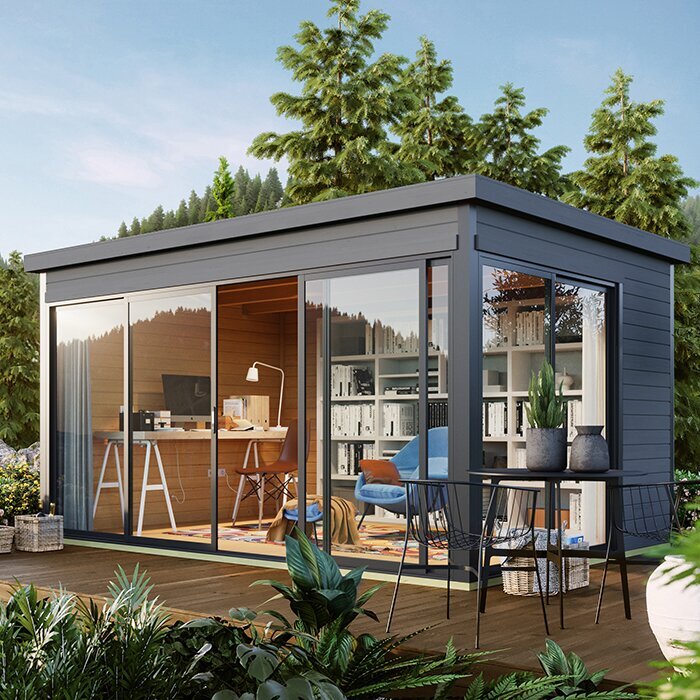
Pay particular attention to the final few metres. The approach should let someone reach the entrance and handle the door without having to stand on a step, in a planting bed or on a loose shoulder. Check how the door opens, how much clear space it needs, and whether its swing overlaps the path or a gate. Include a place to pause, set down a load and open or close the door. A path that is wide along its length can still be difficult if it meets the entrance at an awkward angle or stops at a raised edge. Look at the gate and door together: both need to be usable without one blocking the other.
Treat entrance details as essential when comparing garden sheds. For the Durano garden shed, verify the current product information or drawing for the door’s position, opening and threshold; do not infer these from the model name or photographs. Compare the details with the route plan and the space beside the shed, including any nearby fence or planting. If the entrance cannot be approached as planned, check whether a different position or orientation is possible, then consider another model. Do this before fixing the path so a later change does not leave you with an awkward final stretch.
Account for slopes and water
Walk the site after rain if possible and notice where water travels, where it slows and where soil or leaves settle. A path at a low point may hold puddles, while a route that intercepts runoff can carry water and sediment towards the entrance. Consider the slope along the path and across it, together with the levels at the house, gate and shed. Avoid assuming that a flat-looking route will drain well, or that a steeper route can be made comfortable simply by choosing a different surface. Water management is part of route usability, not a separate finishing task. If the ground changes significantly across the proposed line, account for that before choosing the shed position.
Aim for a consistent approach without abrupt level changes, loose transitions or water directed into the shed. Where the ground rises, falls or changes sharply, a qualified local contractor can assess suitable levels and drainage for the site; do not rely on guessed gradients or an improvised edge. Ask how runoff will be handled before agreeing to the route and shed position. If the Orello 1 garden shed is on your shortlist, check its confirmed entrance location against the site levels and runoff you have observed; a product name or image cannot establish whether the chosen position works. Resolve that fit before ordering or building the path.
Make the route easy to see
Consider when the path is used and what someone can see from both ends. If trips happen early or after sunset, a dark gap between the house and shed can make changes in level, edges and gates harder to notice. Plan suitable outdoor lighting along the route and at the entrance, without directing glare into the user’s line of sight. Keep the path visually distinct from nearby planting and avoid hiding steps, drains or borders in shadow. Good visibility also means choosing a line that is easy to follow from the house rather than weaving behind shrubs or stored garden items. Think about seasonal changes too: growing foliage can block a view that was clear when the path was new.
Check the planned line in daylight and, if relevant, after dark; note which sections are shaded by buildings or foliage and whether a gate blocks a suitable place for a light. Choose lights intended for outdoor use, and have fixed electrical work assessed and installed by a qualified person rather than improvising with wiring. When positioning the Modano 1 garden shed, compare its confirmed entrance position with the sightline and lighting plan; do not assume the route will be visible simply because the shed can be seen from the house. Include a plan for keeping lights and surrounding plants clear so visibility does not deteriorate as the garden changes.
Keep everyday obstacles off the path
A path can be clear on moving-in day and quickly become an obstacle course. Decide where hoses, extension leads, bins, compost containers, pots and garden furniture will sit, then keep those places outside the required clear route. Avoid a line that cuts across a regular work area if tools or materials are likely to be left there. Where the path passes a tap or another access point, plan how it will be used without leaving a hose or cable across the walking surface. Give plants space so growth does not steadily squeeze the route. Make sure the gate can remain open for the time needed to move an item without blocking the approach.
Think about what will travel between the shed and the rest of the garden: a wheelbarrow, mower, bags of soil or boxes may need more turning room than a person alone. Check that gates open far enough, corners are negotiable and the doorway can be reached without balancing items on an edge. For the wooden garden tool shed M, check the current dimensions and entrance information before deciding whether its planned position supports the way you intend to move items; the product name does not confirm capacity or clearance. A clear strip beside the route can help with manoeuvring, but should not become a regular storage spot. Keep frequently used equipment from narrowing the path when it is put away.
Allow for maintenance and future changes
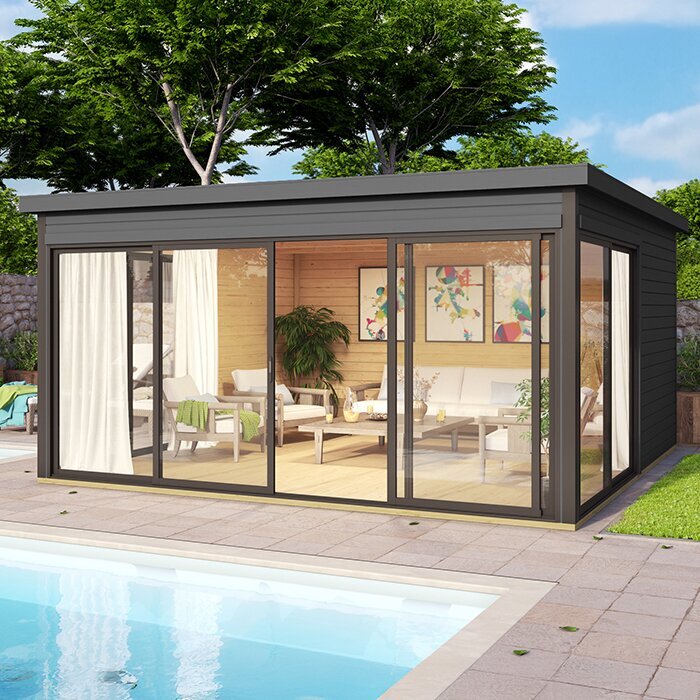
Choose a surface and layout that you can maintain, not only one that looks tidy on installation day. Leaves, silt, weeds and loose material can affect the continuity of a route, so consider how each would be cleared from its full width and edges. Check the path after heavy rain or garden work, particularly where a slope carries debris, and deal with movement, wash-out or uneven joints before they become a larger obstacle. A material that needs frequent attention may not suit the time you can realistically spend on upkeep. Include the shed entrance and its threshold transition in routine checks, not just the main length of the path.
Think ahead to changes in the garden and the way the shed is used: planting grows, furniture moves and storage needs can change. Leave a route that can still be reached for cleaning and repair, and avoid relying on a narrow temporary gap between objects. When comparing the wooden garden tool shed S, use confirmed dimensions and entry details rather than reading the letter in the product name as a measure of size; then check that the route remains clear in its intended position. A plan that can be reviewed and adjusted is more useful than one that depends on every border, pot and stored item staying exactly where it is.
Confirm the layout before ordering
Before placing an order, bring together the site measurements and the product details you have confirmed. Record the shed’s external footprint, entrance location, opening direction and threshold information where available, then compare them with the clear path width, turns, gate openings and space to arrive at the door. Check the exact model and any available layout drawing; similar names or appealing photos are not enough to confirm size or orientation. If an important measurement is missing, ask the seller for it before deciding. The aim is to know that the chosen shed and its access route fit the same plan, rather than making separate decisions that conflict later.
Mark the final footprint and path on the ground before construction, including the surface edges and the space needed to use the entrance. If the route has significant level changes, drainage concerns, buried services or a requirement for formal accessibility, discuss the plan with an appropriately qualified local professional. If components need to pass through a narrow gate or around a turn, ask about access and assembly arrangements before ordering rather than assuming the completed shed’s dimensions answer that question. Keep a simple plan and confirmed measurements together; they make later site discussions and adjustments clearer.
Frequently asked questions
How wide should an accessible path to a garden shed be?
There is no single width that suits every user or garden. Base the clear width on the people and items that will regularly use the route, then allow for gates, turns, edging and planting. If you need to meet a formal accessibility requirement, confirm the applicable dimensions with a qualified local professional.
Which surface works best for a garden shed access path?
Choose a surface that stays firm and reasonably even for the people and equipment using it, and that suits your site and maintenance routine. Paving, concrete and well-compacted aggregate each have different practical considerations. Check the finish and drainage as well as the material name.
Is gravel suitable for an accessible path?
It depends on the type of gravel and how well the surface can be kept firm. Loose material may shift, scatter or make wheeled movement difficult. If considering aggregate, assess the proposed finish on site and ask how it will be maintained before making it the main route.
Does the path need to run straight to the shed door?
No. A direct route can be convenient, but it should avoid obstacles and provide a workable approach at the entrance. Check that bends, gates and the door opening leave enough clear space for the people and items using the path.
What should I confirm before ordering a garden shed?
Compare the chosen model’s confirmed footprint, entrance position, opening direction and threshold information with your measured route and site plan. Ask the seller about any important details that are not shown. Check the full approach on the ground before committing to the path layout.
A useful accessible path is designed around how people reach and use the shed, with enough clear space, a suitable surface, a manageable entrance and attention to water and upkeep. Treat the route as part of the garden shed purchase: confirm the chosen model’s footprint and door details, then test the full layout on site before ordering or fixing the path. When those details align, the shed is easier to reach and the route is less likely to become an afterthought.
