
Setting Up an Art Studio in a Garden Shed: Light, Surfaces and Ventilation
Garden Sheds
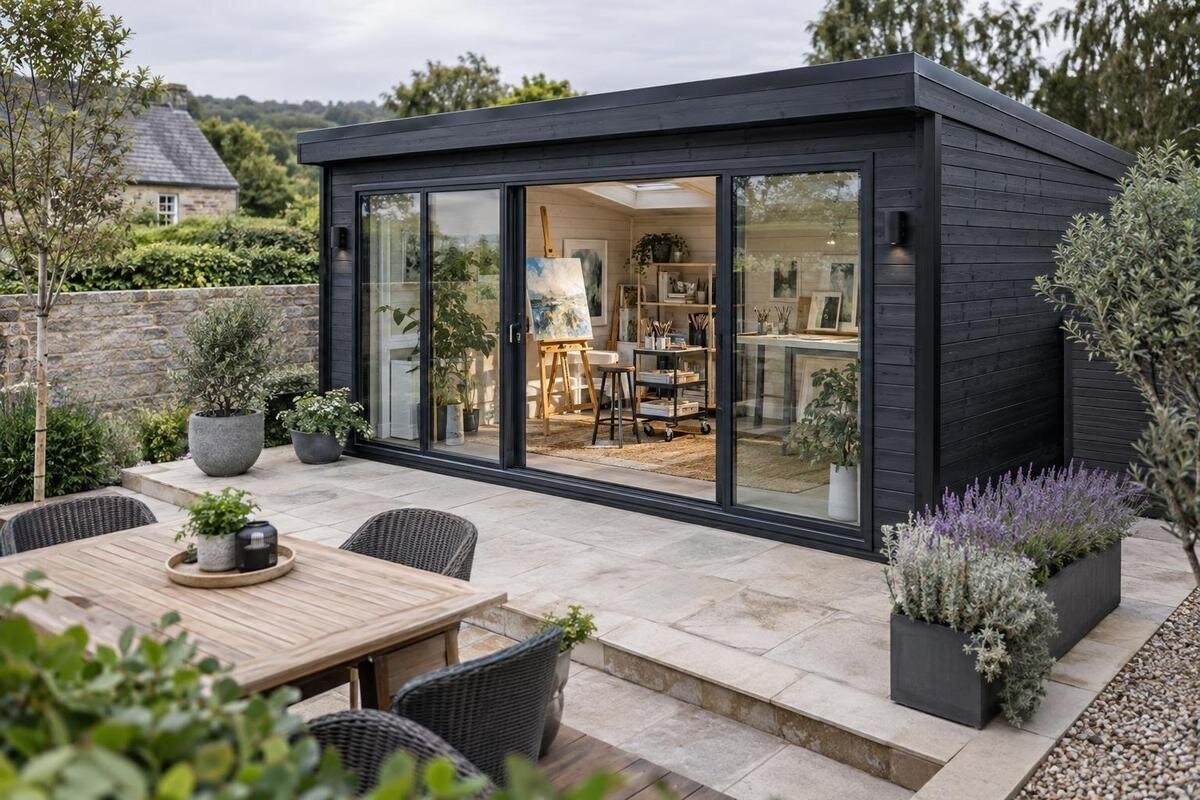
An art studio in a garden shed works best when the building is chosen around the way you make art, not just how it looks. The key purchase questions are practical: how much clear work area you need, where daylight will fall, what surfaces can handle your materials, and how air will move through the space. Set out those needs before comparing Garden Sheds, then confirm each option's details rather than relying on a product name or photograph.
Before you order 1
Define the art practice before setting a size
Start by listing the work you expect to do most often. A painter who uses an easel and stores stretched canvases has different space needs from someone who draws at a table, works with clay or printmaking, or moves between several media. Note the largest item that must come inside, the longest material you handle, and whether you need to walk around a work in progress. Record whether you sit, stand or alternate; the dimensions of a table alone do not describe the space required to use it. Include drying or curing time, because a piece may occupy the room long after you stop making it. If someone else may occasionally work alongside you, include their route and equipment too.
Turn that list into a floor plan before looking at models. Mark the easel, table, storage and clear route at a consistent scale, then check whether a chair can pull back and the entrance can be used without moving equipment. Include a spot for wet work to remain undisturbed and a place to put tools down without covering the main surface. Leave room to move a finished piece out without dismantling the whole setup. If you have not chosen equipment, use a realistic size range rather than assuming a compact arrangement. This exercise keeps an attractive photograph from taking priority over the way you will actually work, and gives you a practical basis for comparing garden-shed footprints.
Check the site and delivery route before ordering
Look at the intended site at different times of day before choosing a shed. Note which parts are in sun or shade, whether nearby trees or buildings change that pattern, and whether direct light could cause glare or warm the room. Notice how rainwater moves around the spot, where vegetation may need attention, and how far the entrance is from your home or other workspace. The route you take with wet or oversized work matters too; consider whether it stays usable in ordinary weather. These observations help you compare locations, but they do not determine a universal base or foundation. Ask the supplier or a qualified installer what site preparation the particular design requires.
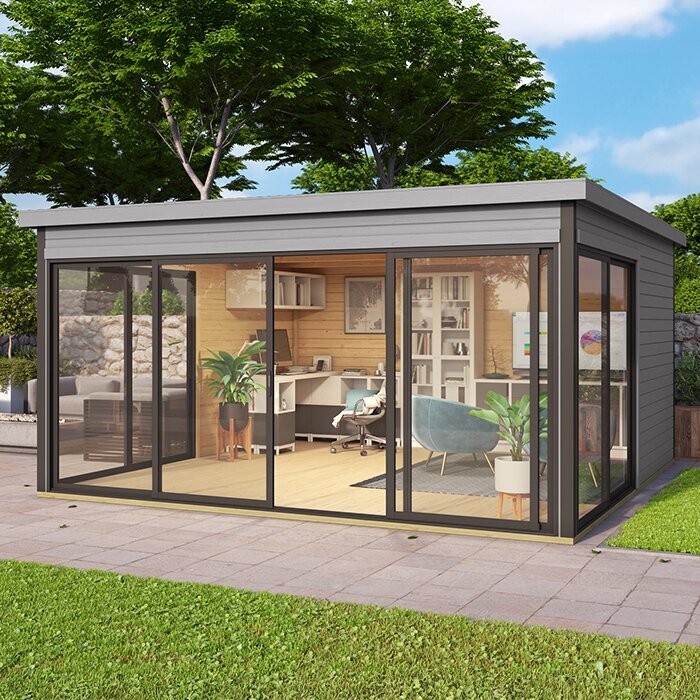
Measure the route from the delivery point to the intended position, including gates, corners and any narrow passage. Confirm delivery access with the seller before ordering, and check whether assembly is included or needs to be arranged separately. If the site has a slope, drainage issue, overhead obstruction or nearby service, ask a competent local professional how it affects the proposed location rather than estimating a fix yourself. When comparing options such as the Verdana 1 garden shed listing, use the dimensions actually stated for that model and request any missing measurements; do not infer scale from the name or image. Also confirm any local requirements that may apply to your property before committing.
Before you order 2
Measure usable space and plan the layout
Distinguish the shed's outside footprint from the interior space you can use. Check the available product information for internal length and width, clear height, door opening and any features that reduce usable wall or floor area. A footprint that fits the plot may still leave too little room for an easel, a bench and passage between them. Sketch each item to scale and leave space to stand back from a canvas or turn a large panel. Include the area taken by stools, drying racks and equipment when not in use. If internal measurements are not provided, ask for them rather than estimating from exterior dimensions or a photograph.
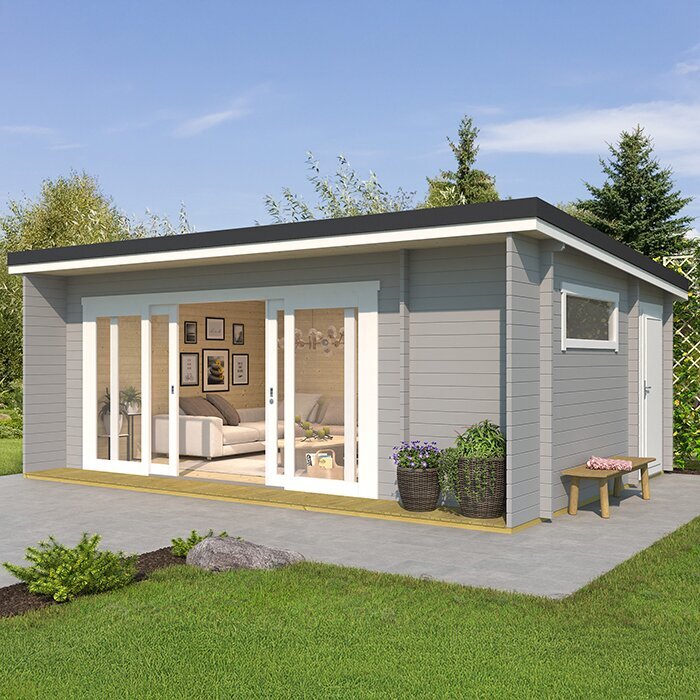
Plan equipment around the entrance and any windows or other openings, once their actual locations are known. A door that swings into the room can take working space; other door arrangements still need a clear approach. Keep frequently used tools close to the main station, but avoid a narrow route that forces you to step over canvases or wet work. Consider how you will carry completed pieces through the entrance without shifting furniture. Use the garden shed Verdana 2 page as a candidate to assess against that plan: confirmed measurements and opening details, not the model label, determine whether the layout works for you.
Assess daylight and window positions
Natural light is useful, but consistency matters as much as brightness. Follow the sun across the proposed position in the morning, midday and afternoon, and check whether light lands directly on the work surface, enters at a low angle or creates sharp changes in contrast. A view through glazing can look bright in a photograph while the best working area remains shaded, so observe the actual site instead. Think about the direction you face at an easel and whether your body will cast a shadow over the work. If possible, test the spot with a board at the planned working height and compare a colour sample in changing conditions.
Treat windows as details to verify, not assumed features. Check the location, size, shading and whether an opening is designed to open; each affects how daylight reaches a table and whether you can control glare. For a product page such as the Durano garden shed listing, use confirmed opening information when judging daylight, and ask the seller if it is unclear. Curtains or blinds can soften unwanted sun but also reduce available light, so keep an artificial-light option in the plan. Avoid leaving delicate work where direct sun will fall on it for long periods, and arrange storage and display with changing light in mind.
Before you order 3
Plan artificial lighting around the work
Plan electric lighting as layers rather than relying on a single ceiling fitting. General light makes it easier to move around, while an adjustable task light can illuminate detail without making the whole studio overly bright. A second light source or movable lamp can reduce strong shadows from your hand, easel or tools. If you work on colour-sensitive pieces, compare the colour-rendering information and colour appearance of the lamps you are considering. Do not assume every lamp labelled daylight will show colours identically. Try a sample under the lighting you plan to use before settling on a setup, and note whether the colour of nearby walls or surfaces changes how the work appears.
Choose positions that do not shine into your eyes or reflect sharply from glossy paint, glass or a screen used for reference. A flexible lamp helps when the working position changes, while fixed lighting should reach the surface you actually use. If you also photograph or inspect finished pieces, a separate, repeatable setup can make comparisons easier; it need not be the same as comfortable everyday lighting. Ask a qualified electrician to assess the power and lighting layout and carry out any electrical work. Give them details of the equipment and planned locations, and treat temporary lighting arrangements as a trial rather than a permanent plan.
Choose work surfaces for the media you use
Surface choice depends on what you make and how you clean up. A flat, stable table suits many drawing and painting tasks, while an easel or separate board may be better for large canvases. Keep a mixing or tool area available if you use both. Think about working height, reach to materials and whether the surface can tolerate the water, pigments, adhesives or cleaning products involved. Check the surface maker's care and compatibility guidance, especially if you use solvents or other reactive products. A removable protective sheet may be easier to replace than a permanent finish, but make sure it stays in place and does not make the surface awkward to use.
Plan the floor as carefully as the tabletop. Drips, clay dust and dropped tools call for different clean-up routines, so decide what protection or washable covering you can use without creating a trip edge or blocking the entrance. Leave a clear zone around equipment that needs access from more than one side. If you plan unusually heavy, vibrating or fixed equipment, ask a qualified building professional whether the proposed floor and base can support the intended use; do not judge capacity by appearance. For the Veltor 1 product page, check confirmed floor and dimensional information relevant to your setup, rather than assuming a surface or included floor from the product name.
Before you order 4
Organise materials without crowding the work area
Separate clean supplies, wet or dusty work and pieces that need to dry. Paper, canvases and drawing materials are easier to find when stored upright or flat as their format requires; paints and tools can be grouped by how you use them, rather than placed wherever a shelf fits. Leave a landing space for items brought in from the garden and a clear section of bench for the next task. Open shelving can collect dust, while deep storage may hide smaller supplies, so consider how often you need to reach each item. Distinguish current projects from archived work, and base storage choices on the actual containers and materials you own.
Account for pieces that must remain flat, upright or untouched while drying, and decide whether you need a separate rack or protected corner. Store materials according to their labels and safety information; keep incompatible products apart and avoid places exposed to damp or direct sun when the manufacturer advises against them. If you want wall-mounted storage, confirm how it can be supported in the chosen building before counting on it. When reviewing the Orello 1 garden house listing, compare your storage plan with confirmed internal measurements and check whether expected fittings or accessories are included. This makes storage a purchase decision, not an afterthought.
Match ventilation to the materials
Ventilation depends on both the enclosure and the art materials. A door or window may provide some fresh air when open, but it is not automatically adequate for every activity, and airflow can change with weather and the position of openings. Think about where air enters and leaves, where you sit or stand, and whether moving air would carry dust across a wet painting or disturb lightweight work. If you expect to work with the door shut, do not base the plan on an opening you will rarely use. Ask what ventilation is available before treating the space as ready for your process.
Read the labels and safety data for products that can release vapour, fumes or fine dust, including solvents, sprays, resins and some cleaning products. Follow their stated use and storage guidance, and ask a qualified ventilation professional to assess whether the proposed room and any intended extraction meet the needs of your materials. Do not assume a portable fan or an open door solves every issue; suitable design depends on the substances and work involved. For the Modano 1 garden shed page, count only openings and ventilation details that are confirmed, and ask about planned changes before ordering. Reassess the plan if your materials or processes change.
Before you order 5
Protect artwork from moisture, dust and changing conditions
Artwork and materials need protection from the conditions of the actual site. Moisture, dust and changing temperatures can affect paper, canvases, panels, paint and adhesives differently, so do not assume a garden shed offers the same stable environment as a room inside the house. Keep finished pieces away from obvious damp areas, store small materials in suitable containers, and leave space around work that is still drying. Keep valuable work away from entrances where dust or rain may be brought in. Check after rain for signs of water entry and deal with the cause before moving important work in. If a medium is particularly sensitive, use a more controlled indoor space for storage or curing.
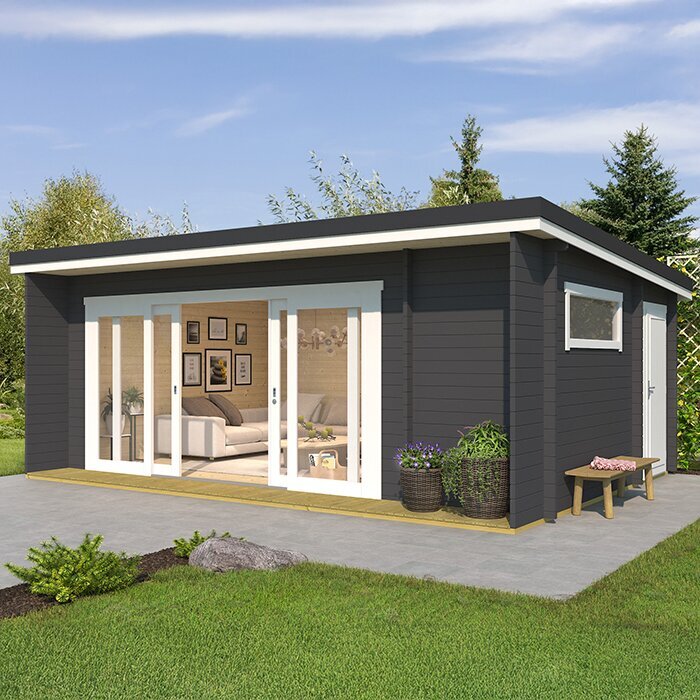
Include ongoing care in your selection: ask what finish the product has, what maintenance it needs and whether care instructions are available for the exact model. A simple-looking exterior does not establish how it should be cleaned or protected. The wooden garden tool shed M listing should be assessed only from its stated construction and care details; its name alone does not establish the conditions it can maintain for art. If those details are not provided, ask before ordering. Think as well about how easily the floor and work surfaces can be swept or wiped without damaging their finish. A studio that is straightforward to maintain is easier to keep ready between projects.
Compare specifications and order details
Before placing an order, compare candidates on the same written checklist: external and internal dimensions, clear height, door opening, position and operation of any windows, floor details, finish, ventilation information and any stated base requirements. Separate what is included from items you must source yourself, such as shelving, floor covering or lighting; do not assume accessories shown in an image come with the shed. Ask for written clarification where a detail is missing or ambiguous, especially if it affects your work surface, the equipment you can bring inside or the airflow plan. A smaller footprint is not useful if the layout prevents the work you intend to do.
Check the order terms for delivery access, site preparation, assembly responsibilities, payment and what to do if something arrives damaged; arrangements can differ by product and order. Confirm what the seller needs from you before delivery, and whether a qualified installer or electrician must be booked separately. The wooden garden tool shed S page can be compared on the same basis as any other candidate, but treat its product identity as a starting point, not proof that it meets studio requirements. Keep your layout, unanswered questions and any agreed details with the order, so the building that arrives can be matched to the plan you made.
Frequently asked questions
Can a garden shed provide enough daylight for painting?
It can, depending on the site, openings and layout, but do not judge by a product photo. Observe the proposed spot at different times of day and check whether light reaches the work surface without persistent glare. Plan artificial lighting as well, so your work is not entirely dependent on changing daylight.
What lighting should I plan for an art studio?
Use general lighting for moving around and adjustable task lighting for detailed work. Check the colour-rendering information for lamps if judging colour is important, and try a sample under the lighting you plan to use. Ask a qualified electrician to assess the layout and carry out electrical work.
How much space does an art studio in a garden shed need?
There is no single useful size for every artist. Draw your table, easel, storage, equipment and walkways to scale, allowing room to use each item and move larger pieces in or out. Compare the plan with confirmed internal measurements and clearances, not only the outside footprint.
Is opening the door enough ventilation?
Not necessarily. Airflow depends on the room, the position of its openings and the materials or processes involved. Check product labels and safety data for ventilation guidance, particularly for products that release vapour or dust. If requirements are unclear, ask a qualified ventilation professional before choosing the building.
Which work surface is best for a garden shed studio?
Choose for the work you do: consider the working height, space for tools, clean-up routine and compatibility with paints, adhesives or cleaning products. Check the surface maker's care guidance. A removable protective covering can help keep the main surface usable, but it should not obstruct access or create a trip edge.
A practical studio begins with a clear picture of the work it must support. Map equipment and walkways, observe the site's light, and decide what your surfaces and ventilation need to handle. Then compare garden-shed listings against those requirements, confirming the measurements, openings, order details and any professional advice needed before you commit. The result is a space planned for your actual practice, rather than a layout you have to adapt after the shed is in place.
