
Connecting a Garden Shed to a Terrace or Deck
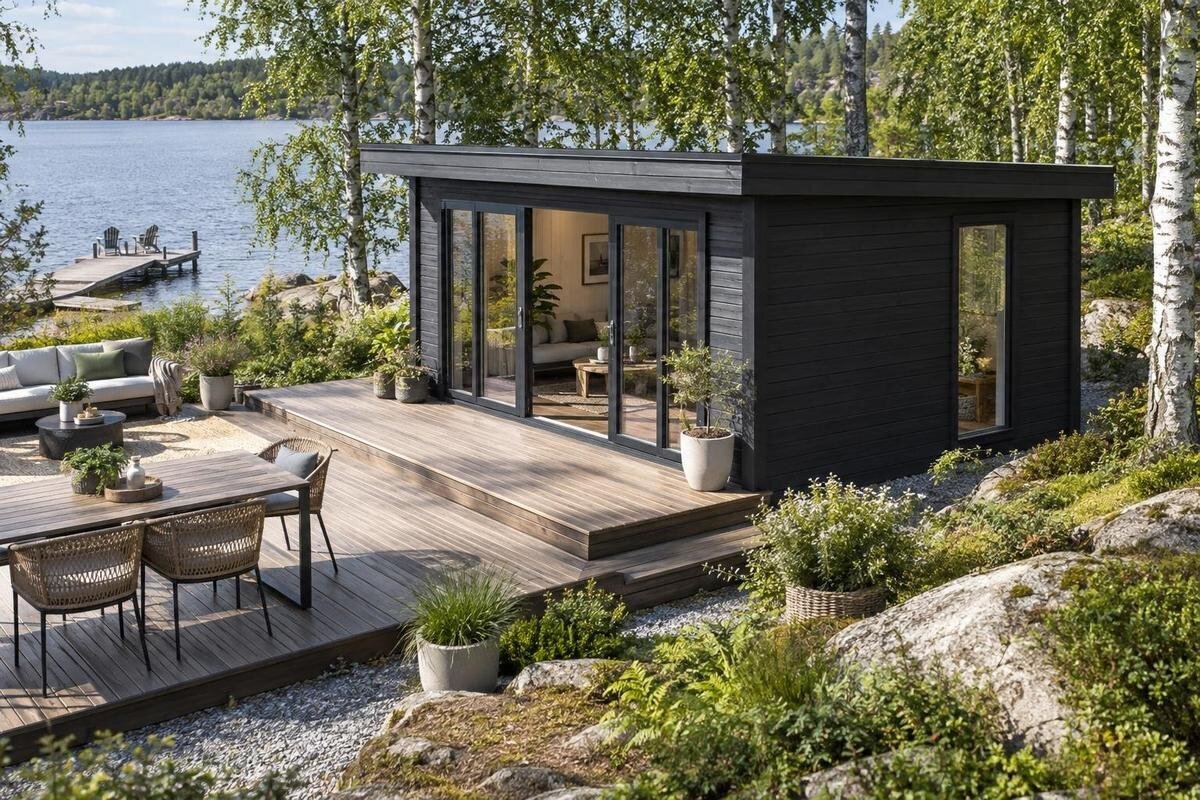
Garden shed planning
Connecting a garden shed to a terrace or deck is as much about how the garden works as how the two structures look together. The shed might sit a short distance from the seating area, share an edge or simply align with it; those arrangements do not automatically mean the structures should be physically attached. Before choosing a model or ordering materials, settle the shed’s role, map doors and movement, and consider levels, water, support and maintenance where the areas meet. This guide focuses on planning both spaces as one garden layout, then identifying the details to verify before purchase.
01
Decide what connected means for your garden
Begin by separating a visual connection from a physical one. A shed can feel part of a terrace because it sits beside the seating area, follows the same overall layout or shares a convenient approach; none of those choices automatically requires fastening the structures together. A physical join is a different decision: it affects the junction, support, weather protection and future upkeep. Before you browse, note whether you want the shed to be beside, aligned with or physically joined to the deck. That wording makes the brief clearer and avoids treating a close fit as proof that two structures can be attached.
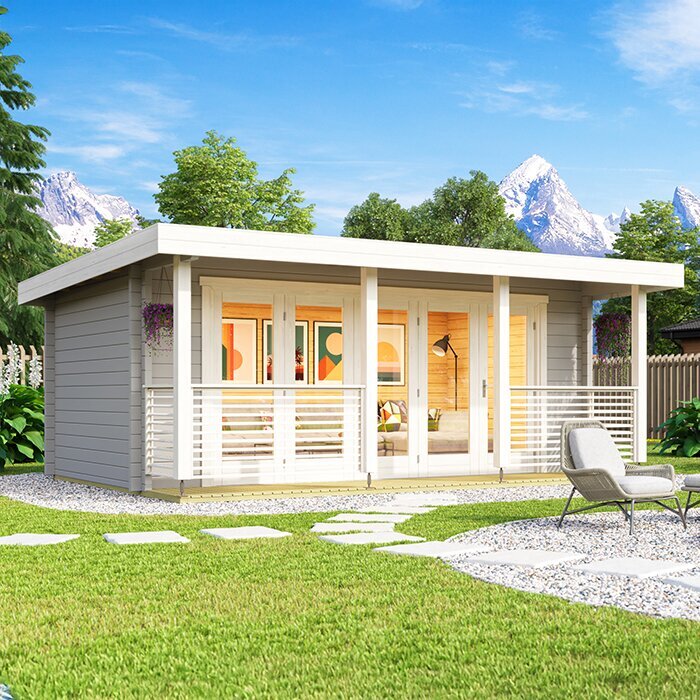
Now define the everyday relationship. If the shed will hold tools used while gardening, convenient access may matter more than a direct view from the dining table. If it will be opened while people are using the terrace, the door area should not cut through the main seating or serving space. Write down which tasks, people and items need to move between the two zones, and how often. When you begin a shortlist, the Verdana 1 garden shed is one listing to compare with that brief; its name alone does not establish its footprint, door position or suitability for a physical join.
Map the shed and deck across the whole garden
Draw the house, terrace or deck, proposed shed area, garden beds, trees, gates and existing routes on one overhead sketch. Add the outdoor table, chairs and other fixed items you expect to keep; furniture changes how much of a deck edge is actually free. Mark any known drains or services, note uneven ground and show where people normally enter the garden. This is not a construction drawing. It is a way to see whether the shed interrupts a route, blocks a useful corner or occupies space needed for another activity. Consider the garden shed and terrace layout as a whole, not only the line where the two areas might meet.
Measure the likely shed area and the deck’s usable area separately, then place them on the same plan. Include openings and a clear working area only when you have product information to guide you, rather than drawing a guessed rectangle from a photograph. Make a second sketch with the shed in another position—at the deck’s end, along one side or slightly apart—and compare how each option affects movement and garden use. The Verdana 2 garden shed listing can be another entry in that comparison; use dimensions supplied for the product if available, rather than assuming similarly named models share a footprint.
02
Choose a position that suits both spaces
The best position depends on how you use the terrace. A shed along one edge may leave the middle open, but it can also make that side feel narrower. Placing it at the end can give the outdoor area a defined boundary, while a shed set slightly apart keeps the structures visually distinct. Each arrangement has trade-offs, so compare them with the actual shape of your deck and garden rather than an idealised rectangle. Keep enough room for the terrace activities you value, and avoid a position that leaves a corner difficult to use or makes the shed awkward to reach.
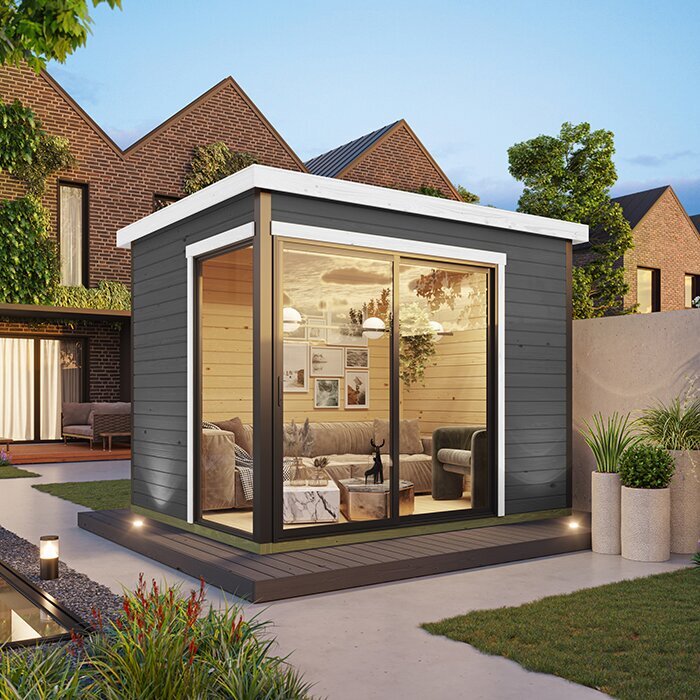
Look at each proposed position from the house, the seating area and the main garden entrance. A location that looks balanced from one viewpoint may interrupt another view or feel out of scale with the rest of the garden. Visual alignment can come from the position of the shed in relation to a deck edge, or from a deliberate contrast in colour and form; it does not require the structures to meet. When comparing the Durano garden shed, use its product information for dimensions and treat images as a guide to appearance, not as a scale drawing.
Allow for doors and the change in level
Door position affects how close a shed can sit to the terrace and where people will stand when using it. Check the product information for the door’s location and opening arrangement. A hinged door needs room for its opening movement; a sliding or folding arrangement has different clearance needs, which should be checked against the specific product details. Include space for someone to pause at the entrance and carry an item through without obstructing a chair or the main terrace activity. If the information you need is unclear, ask before setting the final position rather than estimating from a product image.
Compare the planned level of the deck with the shed’s base and entrance. A difference in height can change how easy it is to carry tools between the two areas, and it can affect where water travels. Do not assume the floors will meet flush or that a small step will suit every household. If a level transition is important, or if the deck and shed are intended to join, ask a qualified professional to assess the site and the relevant product requirements. For the Veltor 1 garden shed, as with any model, base your sketch on stated details rather than assumptions about the name or appearance.
03
Plan how water will drain around the junction
Before settling on a neat-looking edge, consider where rainwater will go. Water from a roof, deck or nearby paved area may follow different routes, and an added structure can change where it collects. Mark existing drains and outlets on your garden plan, and note whether the proposed position is near a low point or an area that already stays wet. If you are unsure how surface water moves across the site, observe it after rain or ask a qualified professional to assess it. The aim is to identify potential drainage conflicts while the layout can still be changed.
Do not assume that placing a deck beside a shed creates a sheltered, weatherproof link. A product image or model name cannot show how a particular junction should be finished, and a close fit does not answer questions about exposure or water entry. Check the manufacturer’s instructions for the intended position and clearances, and get appropriate advice if you plan a cover or physical join. When reviewing the Orello garden shed, look for information relevant to your intended placement; if it is not clear, ask the seller or manufacturer rather than improvising a detail.
Check the deck and shed support separately
A deck that suits its existing use cannot automatically be assumed to meet the requirements for supporting a garden shed. The deck and shed may have different support and base requirements, and what is appropriate depends on the products and the site. A shed that appears to fit within the deck’s outline is not necessarily suitable to stand on it. Before deciding where it will sit, find out what base the shed requires and whether the proposed deck position is permitted by the product instructions. Do not use a plan view alone to judge whether the arrangement is structurally suitable.
Decide whether the shed will remain separate from the deck or whether you are proposing a physical attachment; these are not interchangeable choices. For a join, ask the manufacturer about the product’s installation requirements and have a suitably qualified local professional assess the proposed connection and site. If the arrangement involves changes to an existing deck, ask what structural review or approvals may apply locally. The Modano garden shed is a listing to check against the same questions; its name by itself cannot confirm that it may sit on or attach to a deck.
04
Coordinate appearance without blocking upkeep
Consider how the shed will look from the areas where you spend time. You can aim for a coordinated appearance through the position, scale and colour of the two areas, or choose a clear contrast so the shed reads as a separate garden feature. Neither approach needs to dictate a physical connection. Check product information for any stated finish or material details, and do not infer them from a name or image. If you can view or request finish samples, compare them in the garden’s actual light rather than relying only on a screen image.
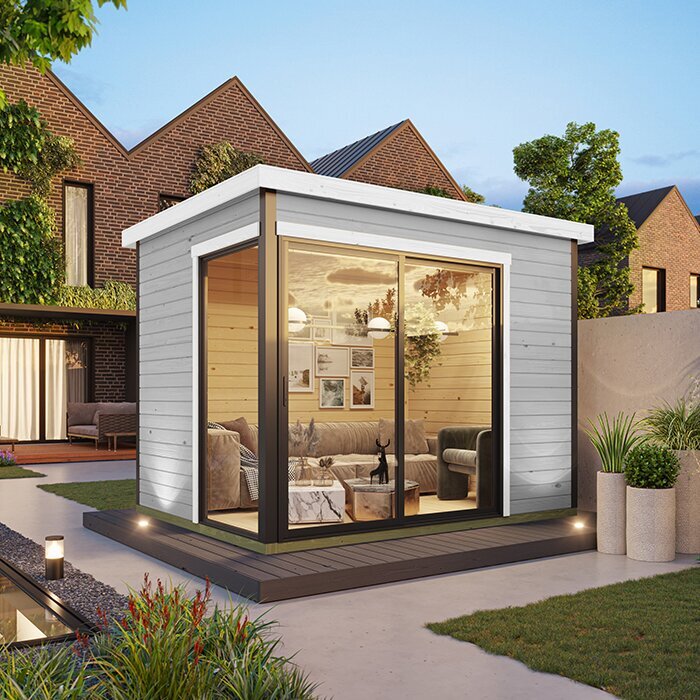
Allow access to the sides of the shed that may need cleaning, inspection or maintenance. A narrow gap can be difficult to reach, while a tightly closed junction may make upkeep more awkward for both the deck and shed. Follow any product instructions about clearance and care, and plan for leaves or debris that could gather where surfaces meet. The garden tool shed listing marked M can be included in a visual comparison, but use its published details for any material or care information rather than treating the listing label as a specification.
Make room for furniture and stored items
Plan the terrace with its furniture in place, not as an empty rectangle. Mark the table and chairs on the sketch, including the space used when a chair is pulled out, and consider where people will stand when moving between the shed and seating area. A shed entrance that opens into the busiest part of the terrace can make ordinary use feel cramped, even if the structures fit on paper. Where possible, compare the shed position while looking at the whole deck arrangement, including the areas that need to remain open for everyday use.
Think about what will be stored and how it will be carried in and out. A frequently used garden tool may need convenient access, while a larger item may influence which side of the terrace is practical for the shed entrance. Make a list of the items that matter most and compare their dimensions with the product information; a model name is not a measure of usable storage. The garden tool shed listing marked S can be considered in that comparison, but do not treat the letter in its label as proof of size or capacity.
05
Check product details before placing an order
Compare the information for each shortlisted shed with the measured plan. Confirm the stated external dimensions, door position and opening arrangement, base requirements, installation clearances and any other details that affect the deck layout. Check what is included and whether the information distinguishes between the shed itself and any optional items. Do not estimate dimensions from photographs or assume that two models with similar names share the same layout. If a detail matters to your design but is not clearly stated, ask the seller or manufacturer before deciding that the shed will fit.
Also check how the order relates to the site and the work you have planned. Confirm the exact model and any selected options, and find out what you need to arrange for assembly or installation rather than assuming it is included. Consider whether the components can reach the intended location through gates and along the access route. If the design includes a physical join or changes to the deck, resolve the product requirements and professional advice before committing. Keeping the confirmed choices and any outstanding questions in writing makes it easier to compare listings and reduces the chance of ordering on an untested assumption.
Review the complete layout before committing
Test the proposed arrangement at full scale where practical. Use the product’s stated dimensions to mark the shed outline with removable markers, then place chairs or other furniture where they will normally sit. Include the door opening area and any clearance specified in the product information. If the terrace has not yet been built, make a scaled drawing that shows both spaces together. This simple review can reveal a crowded entrance or a blocked terrace edge before you order, without requiring you to make decisions from a product photograph alone.
Finally, consider the view and movement through the garden as well as the shed–deck junction. Check that the arrangement leaves the terrace useful, keeps the shed practical to reach and does not interfere with features you intend to retain. If a visual connection gives you what you need, the structures can remain separate. If you want them physically joined, carry the unresolved questions about levels, drainage, support and product requirements to the relevant professionals before finalising the purchase. A clear layout makes that choice part of the whole garden plan.
Frequently asked questions
Does a garden shed need to touch the deck to feel connected?
No. A shed can feel part of the same outdoor area because it is nearby, aligned with the terrace or reached by a convenient route. Physical attachment is a separate choice and should depend on the product’s installation requirements and the site, not just on appearance.
Can I put a garden shed directly on an existing deck?
Do not assume that a deck is a suitable base. Check the shed manufacturer’s requirements and ask a qualified local professional to assess the deck and the proposed position. The product name or a photograph cannot confirm that a particular shed can be placed on or attached to a deck.
Should I choose the shed or design the terrace first?
Plan them together. If the terrace already exists, measure its usable area and work around its furniture, edges and levels. If both are new, decide how they will relate before ordering either, then check the shed’s published dimensions and door position against the combined layout.
How much space should I leave between a shed and a deck?
There is no single clearance that suits every layout. The necessary space depends on the shed’s door arrangement, the manufacturer’s requirements, access for upkeep and how water moves around the site. Use the product information and seek professional advice if you intend to join the structures.
What should I check before ordering a shed for a deck connection?
Confirm the shed’s dimensions, door position and opening space, base requirements, installation clearances and what is included. Check how the planned position relates to levels, drainage and the deck’s support. If you intend a physical attachment, resolve the product and site requirements with the relevant professionals before ordering.
A useful garden shed and terrace layout balances access to the shed with the way you want to use the outdoor area. Measuring both spaces together helps reveal the effects of door positions, furniture, levels and drainage before you order. A close visual relationship does not have to mean a physical attachment; if you do want to join the structures, make sure the product requirements and site-specific questions have been addressed before the purchase.
