
Dividing a 20–30 m² Garden Shed into Functional Areas
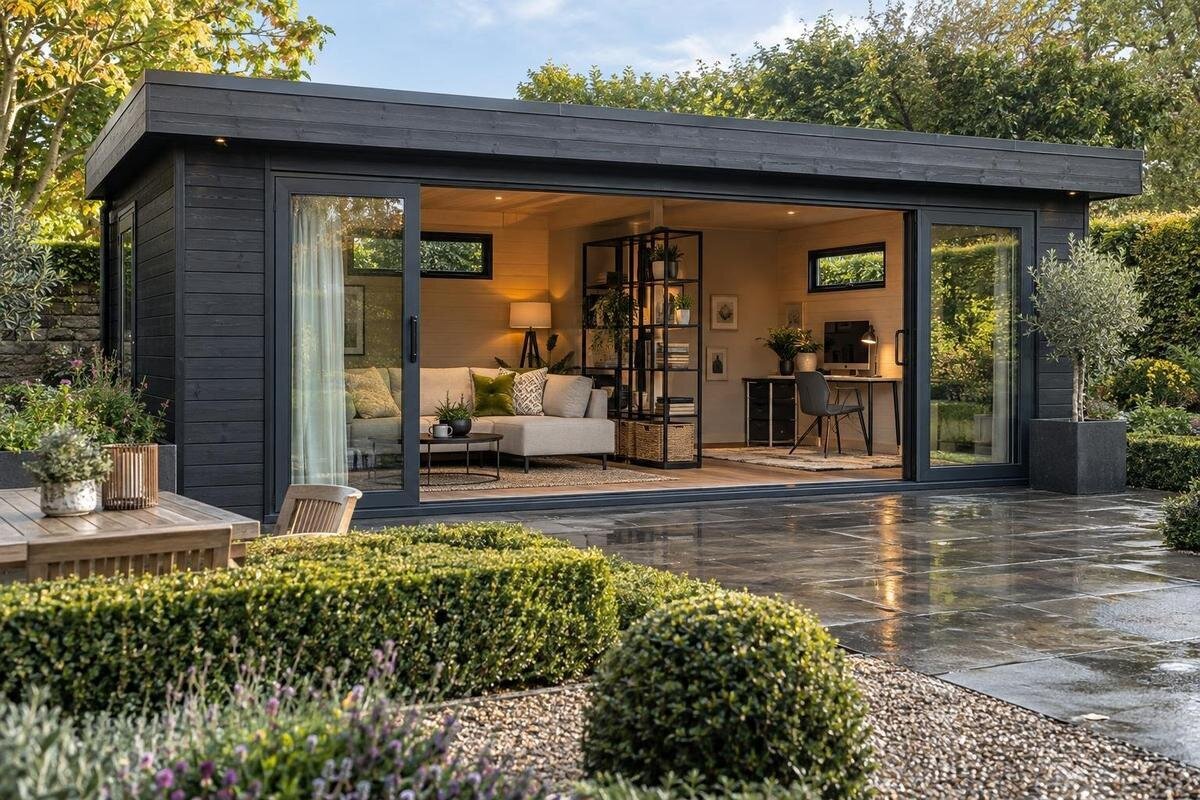
Garden shed planning
A 20–30 m² garden shed layout needs more than a set of labelled zones: each activity must fit with its equipment and leave room to move. The usable floor space depends on the confirmed internal dimensions and the room’s shape, while entrances, openings and furniture affect where each function can go. Start with the activities the shed must support, then test how they work together before choosing a model.
01
List the activities before dividing the floor plan
A useful layout begins with a list of activities rather than a wish list of furniture. Decide what must happen in the shed most often: storing garden tools, potting, repairing equipment, working at a bench or keeping seasonal items. Then note occasional uses, such as a place to sit or a hobby that needs a clear table. For each activity, record the main item, its measured footprint, the space required to use it and how often it needs to be reached. Include small accessories and supplies too; they can take up space and need to be close at hand.
Rank the activities as essential, regular or occasional, and choose one primary function. A 20–30 m² floor plan may allow several uses, but every extra zone also brings equipment, storage and movement needs. If a task depends on a permanent bench, allow for the bench and the room to work around it before allocating space to optional uses. For an occasional activity, consider whether its furniture can be moved or its supplies stored elsewhere. A simple table with columns for activity, equipment, access and priority helps make trade-offs clear before you sketch the garden shed layout. It can also reveal when two activities need the same clear floor area at the same time. In that case, decide which use takes precedence, or plan a shared area that can be reset easily instead of promising both activities permanent space. Add a note about what each activity needs close by, such as a supply shelf, a place for materials waiting to be used or a clear area for handling a larger item. This distinguishes the activity’s true working area from the furniture footprint alone. It also shows early whether two uses can genuinely share a zone or will compete for the same nearby storage and clear floor space.
Measure the usable floor area
Treat the 20–30 m² range as a planning brief, not proof that every part of that area is available for furniture. Product information can include measurements for different parts of a building, so note whether a figure is internal or external. Use confirmed internal floor dimensions for your zones, and keep the external footprint for checking the space needed on site. The room’s shape matters as well: a long, narrow floor plan and a more even one can have the same area but offer different options for benches, storage and access. Note the dimensions on the sketch itself and label their source, so that an internal measurement is not accidentally compared with an external one later. Mark walls that need to stay clear for an opening, a window or access to stored items. This prevents a zone from seeming workable on paper when furniture movement or the handling of bulky items reduces the space that can actually be used.
Draw the internal outline to scale on graph paper or in a room-planning tool. Mark the entrance, windows and any fixed obstructions where they actually sit; note how openings move if that information is available. When checking the Verdana 1 garden shed listing, look for stated dimensions and a plan rather than inferring size or suitability from the model name. If the relevant internal measurements are not provided, ask for clarification before using that model in your 20–30 m² plan.
02
Fit each zone to the room’s shape
Give each activity a defined footprint, including the furniture and the room needed to use it. For a work area, that might mean drawing the bench, the item being worked on and space to stand. For storage, include the area needed to reach frequently used items. In a long room, arranging zones along its length may leave a clearer route; in a wider room, it may be possible to place uses beside one another. Corners can be useful for storage or a fixed bench, provided they do not make items hard to reach. Avoid treating an empty-looking corner as available until you have checked how a door, chair, drawer or long item will move nearby. Treat these as alternative sketches, not rules: entrances, openings and the items you own should determine which one works.
Try two or three versions before settling on a plan. Use paper shapes or a simple grid to move the zones around, and pay attention to leftover areas that are too narrow to serve a purpose. A zone does not need a wall around it; shelving or the position of a workbench may be enough to distinguish one activity from another. If you review the Verdana 2 garden shed listing, use a dimensioned plan if the product information provides one, or request the measurements needed to draw your own.
Keep entrances and routes clear
Draw a route from the entrance to every area you plan to use. It should remain possible to reach storage, the work area and any seating without moving several objects first. A route that looks open on a blank plan can disappear once a chair is pulled out or a cupboard door is open, so include the way furniture and stored items are used. Consider the route in the direction you normally travel as well as the return journey when carrying items back out. Place the things used together so that routine tasks do not repeatedly cross the main passage. If more than one person may use the shed at the same time, consider where they will pass one another and whether one activity will block access to another.
Mark the entrance’s position and the space taken by its opening before placing furniture nearby. Also check whether the larger tools, boxes or furniture you expect to bring in can pass through it. For the Durano garden shed, verify the entrance position and opening arrangement from its product information rather than assuming them from the model name or an image. If the opening details are unclear, get them before finalising the layout; they can affect both the route and the position of storage.
03
Group storage by access and task
Sort stored items by how often you use them and where they are needed. Everyday tools and supplies are easier to manage when they are close to the activity they support, while seasonal or rarely used items can occupy less central space. Grouping similar items can also make it easier to see how much storage you really need, rather than filling the shed with shelves before you know what they must hold. Measure long or bulky items and allow for the way you remove and return them.
Keep equipment that belongs to different tasks from competing for the same work surface or route. If you plan to use wall-mounted or overhead storage, confirm that the building and fixings are suitable; store heavier items low and within easy reach. Judge the Veltor 1 listing against your inventory only after checking its confirmed internal dimensions and access points. A product name does not establish its storage capacity, so compare your actual items with the information supplied for the exact model.
Allow working room around a bench or hobby table
A bench or table needs more than its own footprint. Add the room to stand, sit, reach tools, turn an item or place materials while the task is under way. Measure the furniture you already own rather than relying on a typical size, and include chairs, stools or movable equipment in the drawing. Think about where offcuts, containers or an item awaiting repair will sit during a task, because these temporary items often occupy the route beside a bench. If the work area is also used for storage, decide which items can stay there and which must be cleared away before you begin; otherwise the surface may not be available when you need it. A designated nearby shelf or trolley can make resetting the area more realistic. Plan a landing place for materials arriving at the bench and for completed or unfinished items leaving it. Without one, the nearest clear strip often becomes temporary storage and narrows the route. Where two activities share the table, list what must be packed away between them and give those items a defined home. That makes the shared arrangement easier to maintain in ordinary use rather than only when the shed has just been tidied.
Match the position of the work area to the task. Potting, repairs and hobbies may each need different nearby supplies, light or room to handle materials. If an activity produces dust or odours, consider its ventilation needs and check what the specific building can support with an appropriate supplier or qualified professional. Before allocating a bench in the Orello 1 garden shed, confirm the exact model’s dimensions and documented arrangement; do not infer a work area from its name.
04
Share space without blocking other functions
A flexible zone can serve an occasional activity without turning the whole shed into a permanent room for it. A movable table, stackable seating or a clear patch of floor may be useful if the items can be stored elsewhere when the space is needed for another task. Decide where those items will go when not in use. If there is no planned storage spot, they may end up in the route or in front of equipment that needs regular access.
Check furniture in both its stored and working positions. Measure the folded and unfolded dimensions, including any space needed to pull a chair out or move around the item. Keep the most important route clear in both arrangements, and avoid a layout that only works if everything is perfectly put away. When reviewing the Modano 1 garden shed listing, base your comparison on confirmed floor dimensions and opening details, not on the model label or image.
Plan for daylight, ventilation and privacy
Consider the conditions each activity needs before deciding where its zone belongs. A task that benefits from daylight may work best near a confirmed opening, while stored items or a seating area may have different priorities. If privacy matters, think about sightlines from the entrance and any neighbouring spaces when positioning the furniture. Keep these preferences in balance with access: placing every activity beside one opening may leave the rest of the room awkward to use.
Use product information to confirm opening positions and any documented options relevant to your plan. An image can help you recognise a product, but it is not a measured floor plan and does not establish the amount of light, ventilation or privacy available. If you are comparing the garden tool shed M listing, check what its own product information confirms about dimensions and openings rather than relying on its name. For a task with particular ventilation needs, seek advice on the specific model before assigning it a permanent place.
05
Test the layout at full scale
Before ordering, recreate the plan on the floor of a space you can use, or mark it on paper at full scale. Use removable tape or other temporary markers to outline furniture, storage and the main route. This makes it easier to notice when a work area is too tight, a chair obstructs access or a cupboard placement conflicts with the entrance. Check the measurements against your sketch once more; a rough drawing can conceal small differences that matter when several zones sit close together.
Walk through ordinary routines in the proposed arrangement. Imagine carrying a long tool in, putting it away, reaching the bench and moving between activities. Pull out chairs, open storage and account for the largest item you expect to handle. Test how the layout works when seasonal equipment is present too, rather than assessing it only when shelves and floor space are empty. Ask whether the item you need first is accessible without shifting items used less often. If a route becomes blocked, change the layout or reduce the number of permanent items rather than treating the obstruction as a detail to solve later. This practical test helps show whether the zones work together, not just whether each one fits on its own.
Check the exact product before ordering
Compare candidate garden sheds using the same information each time: confirmed internal and external dimensions, the floor plan where available, entrance position and any relevant opening details. Check that you are looking at the exact model and configuration you intend to order. A name or broad category is not enough to establish that a building fits your 20–30 m² brief. If a detail needed for your layout is missing or ambiguous, request clarification before making a decision. Keep the figures used for each comparison beside the drawing, including whether each one is internal or external. If you consider another configuration, repeat the layout check rather than carrying the first sketch across unchanged: a different entrance or opening position can affect which walls remain available for storage, seating or a work area.
For the garden tool shed S listing, as for any model, use its own product information to confirm the measurements and details relevant to your plan; the name alone does not establish its size or suitability. Read the order information to see what is included and what preparation or assembly is required, and consider whether the route to the site will allow the items to be brought in. If your plan includes powered equipment or new lighting, have the electrical requirements assessed by a qualified electrician before treating that area as ready to use.
Frequently asked questions
How many functional areas should a 20–30 m² garden shed have?
There is no useful fixed number. Plan around one main activity and the supporting uses that fit without compromising access. A storage area, workbench and flexible open space may be more practical than several small zones, depending on your equipment and the room’s actual dimensions.
Is 20 m² enough for storage and a work area?
It may be, but the stated area alone cannot confirm that. Check the usable internal dimensions, entrance position and the footprint of your storage and work equipment. Include the space needed to reach items and use the work area, not just the area occupied by furniture.
Do I need fixed partitions to create separate zones?
Not necessarily. A workbench, shelving or movable furniture can define areas without dividing the floor. Consider fixed partitions only if they serve a clear purpose, and check that they will not obstruct access, openings or the room you need for an activity.
How much space should I leave for a route through the shed?
There is no single width that works for every layout. Draw the actual entrance and route to each zone, then check the narrowest point against the way you will move through it and carry equipment. Keep the door’s opening area clear as well.
What should I check before ordering a garden shed?
Confirm the exact model’s internal and external dimensions, entrance position and any documented plan or opening details. Compare these with your measured layout, the furniture you intend to use and the access route to the site. Check the order information for what is included and what preparation or assembly is required.
A practical layout is one where the main activity has the room it needs, supporting uses are easy to reach and everyday movement stays clear. Measure the items you plan to bring in, draw the zones inside the confirmed internal dimensions and test the arrangement before ordering. That gives you a more reliable basis for comparing garden sheds than the floor-area figure or product name alone.
