
Enlarging a window opening: what to plan first
Planning before breaking through
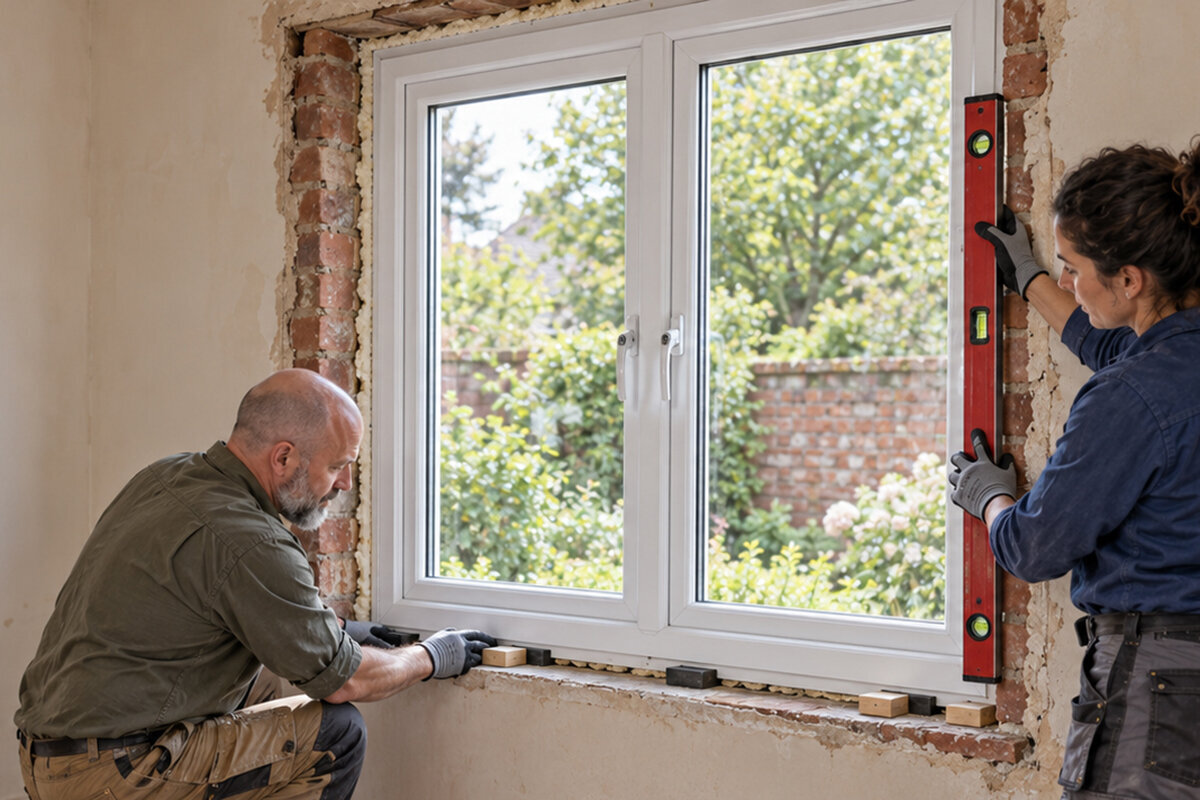
A larger window opening can transform a dark room: it can bring in more daylight, strengthen the connection to the garden or widen the view. Yet the decision should not start with the desired window format. Once masonry is removed, the structure, external-wall build-up, internal finishes, drainage, window junctions and later installation all interact. Choosing an element first, or measuring only the visible size, can lead to remedial work that is difficult to resolve neatly later. A sound sequence moves from the existing building to the opening, and only then to the window: assess the wall and loads, define target dimensions, draw the junctions, and establish installation access and the building sequence. This guide helps you ask the right questions in the right order and compare quotations on an equivalent scope of work.
Start with the desired room effect, not the product
First define what the new opening needs to achieve. Should a small kitchen window bring more light to the worktop, should a living room gain a view of the garden, or should a window become an exit? Each aim leads to a different design. A wide, low opening directs the eye horizontally, while a taller opening carries daylight further into the room. A low-level junction changes the threshold, floor build-up and use of the space immediately. Draw the room with furniture, radiators, curtains, switches and intended routes. This shows whether the desired area will genuinely be usable and which part of the room benefits from daylight.
Then compare options without committing too early to one format. A wide fixed pane can suit an uninterrupted view, while an opening sash makes ventilation easier. Where future garden access is intended, a door solution is different from a particularly large window: threshold height, external finishes, hardware and circulation space must be considered from the outset. As a reference for extensive non-opening glazing, a fixed-glazed window can be useful. Its name describes only that basic configuration; whether its dimensions, glazing, frame and junction suit the project must be planned separately. Record the benefit of each option and the additional components it affects.
Have the existing wall assessed before any removal work
The key preliminary question is this: what role does the wall above and beside the current opening perform? In a load-bearing external wall, loads from floors, the roof or components above may be transferred through this area. Even a wall that appears uncomplicated can contain supports, ring beams, lintels, services or evidence of different construction phases. Building records, earlier alterations and visible cracks are important clues, but they do not replace an assessment of the actual building. Competent planning establishes which parts remain, how loads are supported during the work and what construction will permanently span the new opening.
The survey should record more than width and height. Establish the wall thickness, materials and layered build-up, position of the existing lintel, floor bearings, masonry condition, and nearby services and connections. Particularly in older buildings, what is found on site may differ from the drawings. Ask the responsible professional which investigations are needed before the wall is opened and whether exploratory openings are appropriate. Only after the proposed support arrangement and its bearings are understood can the possible sideways or upward enlargement be determined. Removing the existing window alone does not establish that the proposed enlargement is safe.
Keep structural opening, order size and visible glass area separate
Planning uses several dimensions that must not be confused. The clear internal dimension describes what will be visible and usable from the room. The structural opening is the masonry space for the frame, fixings and junction. The window’s overall frame size can be determined only from the verified site measurements and installation concept. The glass area is smaller than the frame’s external dimensions. If a particular clear view or width is wanted, the desired visible width must not simply become the order size. A drawing showing every reference edge prevents misunderstandings between design, structural work and window supply.
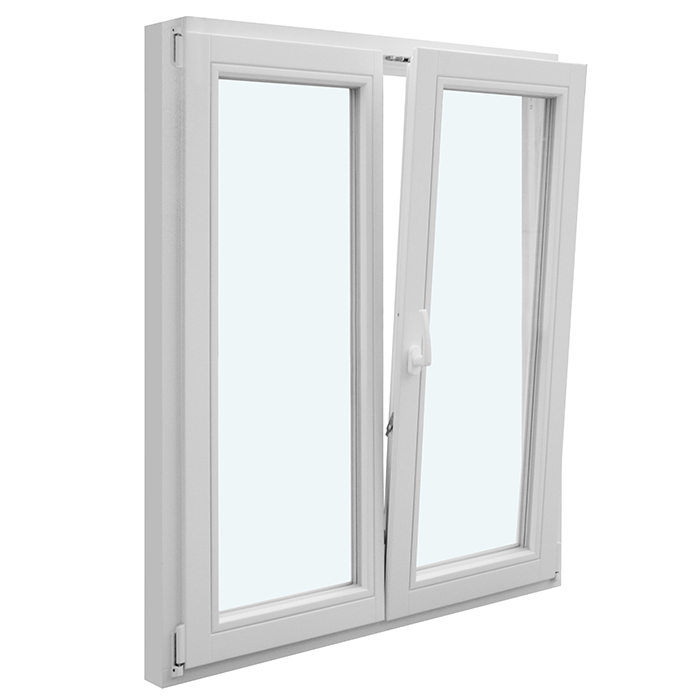
Do not measure at only one point. Reveals may be out of plumb, older buildings can have varying wall thicknesses, and a new floor build-up changes the final datum height. Agree who will take the definitive site measurements once the opening is complete and who will approve changes. With a double-sash element, the sash division and centre section affect the view, operation and space in front of the window. A double inward-opening window is, for example, a configuration with two inward-opening sashes; it does not answer questions about divisions, reveal depth or the swing space required. These points belong in the approved dimensions and elevation, not in assumptions from a product image.
Coordinate the new load path and the construction stages
Forming an opening is an intervention in the structure, not simply a removal task. The design documents should show how loads will be temporarily supported, in what order masonry will be removed, and how the new structural component will be installed. The bearings to the left and right are equally important: they need a load-bearing, adequately prepared base. A solution that works only in the finished state is no help if a critical temporary condition arises during demolition. A simple sequence drawing is useful for the site meeting: it identifies temporary support, cutting order, the route for bringing in components and the point at which the new construction can carry load. It should also include stop points for assessing unexpected voids, loose masonry or differing components before removal continues. Coordinate the structural design, building contractor and window planning before materials are ordered or dates promised.
Ask for a clear interface schedule. Who forms the opening? Who provides bearings and the lintel? Who repairs damaged internal plaster and façade surfaces? Who remeasures, who supplies the element and who forms the junction seals? With a wide opening down to floor level, a door junction can also influence structural work. Where access with a large opening width is required, a Patio Life lift-and-slide door may be included as a product category when comparing options. Its structural and functional suitability nevertheless depends on the verified opening size, threshold, external build-up and the complete junction detail. One trade should not silently adopt another trade’s assumptions.
Plan reveals, insulation and sealing as one connected detail
A larger window will perform durably only with a continuous junction concept. The reveal connects the interior, frame and external wall; at the head, construction and insulation often meet; at the bottom, the sill, drainage and possibly a floor junction are added. Widening the opening sideways or extending it upwards inevitably changes these areas. The question is not merely how the frame fits into the wall, but where the sealing and insulation layers run and how they continue without interruption. A sectional drawing for head, side and sill is far more informative than an elevation alone.
Check especially what becomes visible when the old frame is removed. Existing seals, insulation strips or plaster junctions cannot simply be assumed suitable for the new, larger format. Discuss how wind-driven rain will be drained outside, how the transition to the sill will be formed and how a neat, movement-tolerant joint will be created inside. For full-height solutions, the detail must also suit the later external finish and fall. Do not accept materials and responsibilities only under the collective term “installation”; request traceable line items instead. This makes inspection easier before linings, plaster or finishes conceal a junction.
Choose the opening type around daily use and room space
More area does not automatically mean every section should open. Opening sashes allow targeted ventilation and cleaning, but need room for their swing. Inward-opening windows can clash with worktops, plants, radiator covers or curtains. Outward-opening versions require a clear area outside and must suit the use of the patio, path or planting. Fixed glazing keeps the elevation calm and can be combined with a smaller ventilation sash. Decide using a floor plan: where will people stand when opening it, where does the sash move, and how will the outer face be reached?
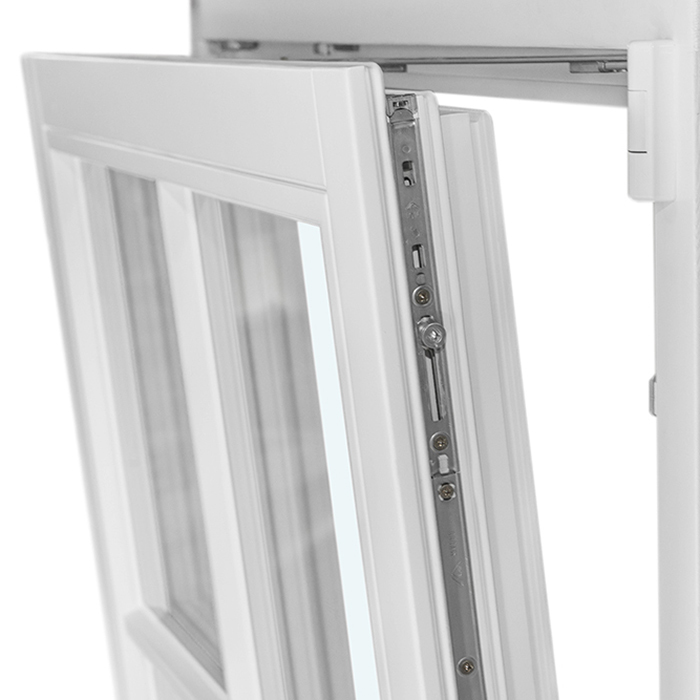
For a wide window zone, sash division also matters. Two narrow sashes behave differently in a room from one large sash, and a central frame divides the view differently from side mullions. Where the design should complement an existing façade, a double outward-opening casement window may be a useful comparison option. If only a high-level ventilation sash is wanted, an top-hung outward-opening window can provide another comparison configuration. Pay particular attention to reach, operating route, clear external space and cleaning; the product title alone does not determine installation height or the operating solution. When comparing, also ask about opening direction, handle side, sash weight and space in front of and behind the window. These practical characteristics should be settled before ordering.
Assess daylight, outlook and privacy together
A larger opening changes the feel of a room very differently depending on orientation, shading and surroundings. In a room with an opposing wall, a taller opening can carry light further into the depth of the space; where neighbours look directly in, the same enlargement can increase the need for privacy. Mark the planned window outline on the internal wall with tape or temporary cardboard. Over the course of the day, this helps test the view lines created, whether furniture needs moving and whether the handle remains easy to reach. A view from the garden also helps place the proportions within the façade and alongside existing openings.
Also consider both the view out of the room and the view into it. A fixed toplight can add daylight without opening the lower area further. An asymmetric pane can illuminate a staircase or work zone, but requires precise reveal planning. For angled or triangular bounded areas, there are fixed-glazed triangular and angled windows as corresponding product configurations. Consider these shapes only after the construction, sealing route and overall visual effect have been resolved. An unusual shape is not a substitute for a sound detail; it increases the importance of exact design documents and carefully managed interfaces.
Check façade, heritage requirements and design early
From outside, an enlarged window changes the appearance of a building. The width of wall piers, sill heights, alignment of other windows, shutters, downpipes and the façade composition all influence whether the new opening looks natural or added later. Photograph the whole façade from some distance and mark the new outline, rather than viewing only the affected room. With rendered façades and facing brickwork, also establish how the added areas will connect visually and structurally to the existing building. Plan samples, colours or junction profiles early if they are relevant to façade repair.
For buildings subject to special protection or heritage requirements, do not draw conclusions from the age of the house or neighbouring buildings. Clarify project-specific requirements with the relevant authority before fixing the design or placing an order. For a façade where traditional proportions matter, a historic-style Kombi outward-opening casement window can be a visual comparison. The name describes a historic style and opening direction, not suitability for a particular building or official approval. Give designers and contractors the same elevations, existing-condition photographs and desired grid, so that design and technical planning do not diverge.
Manage sequence, protection of the home and timing risks
Good planning describes the sequence from the first survey to the finished surface. Before work begins, clarify the work area, dust protection, material access and protection for sensitive floors. Also identify components that must be temporarily removed or moved, such as radiator covers, socket covers or internal sun-shading parts. For occupied rooms, establish when they can be used again and who checks daily separation. Photographic records before work starts make it easier later to identify existing damage and agreed reinstatement areas. While the opening is being formed, the building needs secure temporary weather and theft protection if the new element is not installed immediately. Installation is followed by internal and external junction work. Plan plastering, sealing, sill work, façade repair, painting and, where needed, flooring as one connected chain.
Order the element only after the dimensions and execution have been confirmed. Bloomcabin delivery time is 4–6 weeks, subject to order confirmation; it does not replace construction-sequence planning. Coordinate delivery, storage and installation capacity so the element does not remain unprotected on site for long. Also agree a check point after structural work: are width, height, plumb, level and the intended junction planes actually present as planned? Only then is it clear whether the order can proceed unchanged. A tight programme is no reason to skip dimension checks or protective measures.
Compare quotations using the same scope boundaries
A robust quotation states exactly what is included and excluded. Ask for structural work, window, fixings, junction materials, internal reveals, external sill, façade repair, disposal and protective measures to be listed separately. A simple matrix with the columns “included”, “by others” and “unclear” is useful for comparison. Enter each item once and mark whether design, materials, execution and final inspection are offered together or separately. This reveals gaps between lintel work, window installation and finishing before they create variations or delays. Ask which drawings, dimensions and wall-build-up assumptions underpin the quotation. Vague wording such as “junction as required” should be made specific before appointment. It is also important to establish how deviations found in the existing building will be handled: who records them, who decides and how is the change approved?
Before ordering, prepare a short approval list: confirmed structural opening, elevation and sash division, opening direction, handle side, datum heights, junction details, external sill or threshold, responsibilities and sequence. When converting the opening into an exit, an single inward-opening patio door may be an alternative to a window if it suits the room layout and external area. Here too, the title says only that it is a single inward-opening patio door. Test each quotation against the approval list rather than a product name alone. Bloomcabin windows and doors have a 5-year guarantee; check its scope and conditions against the specific order documents. In Cape Town, confirm the City’s building-plan route, planning controls and project classification before work starts; elsewhere in South Africa, ask the relevant municipality which requirements apply.
Frequently asked questions
Can I simply widen a window opening sideways?
No. Make this decision only after the existing wall and load path have been assessed. Side areas can contain bearings, load-bearing zones or services. What matters is the actual building, proposed support arrangement and junctions, not only the size of the old window or a comparison with neighbouring houses.
What is the difference between a structural opening and window size?
The structural opening is the prepared space in the masonry. The window size refers to the element to be supplied and follows from a verified survey plus the installation and junction concept. The visible internal dimension and glazed area are different dimensions again. Every reference edge should be clearly identified on an approved drawing.
When should the new window be ordered?
Only once the structure, opening dimensions, opening type and junction details have been coordinated and the final site measurements confirmed. Then allow for the stated delivery time. At Bloomcabin, it is 4–6 weeks, subject to order confirmation. Ordering too early can make later structural deviations unnecessarily difficult.
Must a larger window always become a patio door?
No. Larger glazing can be designed as a window where light and outlook are the main aims. A door makes sense when actual access is required. In that case, however, the threshold, external finish, drainage, circulation areas and opening direction must be assessed as part of the full building project, rather than added afterwards.
What should I bring to a planning meeting?
Useful items include internal and external photographs, existing floor plans and sections, information about earlier alterations, dimensions of the current opening and a sketch of the desired outline. Add room photographs showing furniture and external photographs of the whole façade. Also note your priorities: daylight, outlook, ventilation, access, privacy and intended use of the area.
Next step
Enlarging a window opening is primarily a coordination task. The secure route runs from an existing-building survey through the planned load path and binding structural opening to a coordinated junction detail, and only then to product selection. Do not treat daylight, outlook and opening type separately from the façade, insulation, sill and construction sequence. With a shared drawing basis and clearly named responsibilities, quotations can be compared meaningfully and site surprises reduced. Obtain suitable professional assessment for the structure, existing building and project execution; then configure the window or door using verified dimensions.
