
Garden Shed Assembly Mistakes That Are Hard to Fix Later
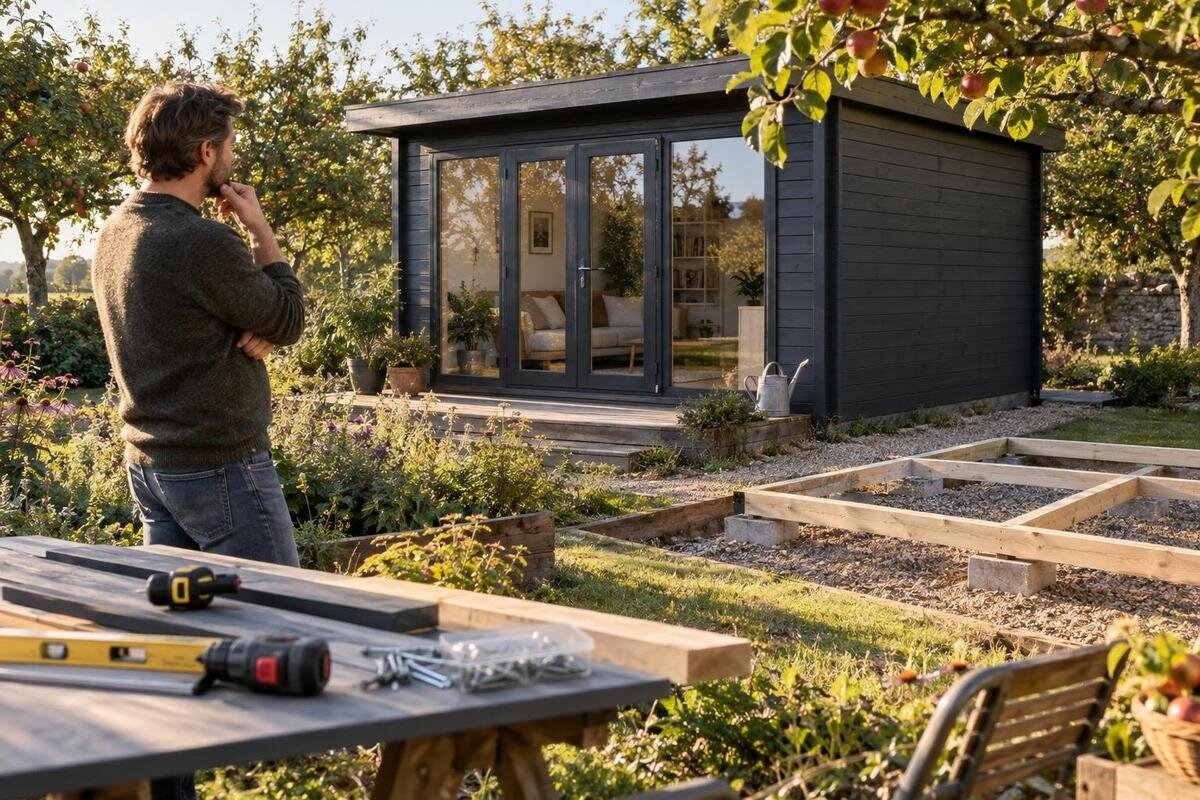
Garden shed assembly planning
A garden shed is easiest to correct while it is still a plan on paper. Once the base is prepared, the walls fixed and the interior filled, a misplaced entrance, poorly matched footprint or improvised cut can take far more effort to put right. Many avoidable garden shed assembly mistakes therefore begin before assembly: dimensions are assumed, the site is chosen by eye, or instructions for a similar model are treated as interchangeable. This guide focuses on decisions that can lock in the layout or damage parts. Use current instructions for the exact model, pause before irreversible work, and get qualified advice if the base, services or a proposed alteration raises questions.
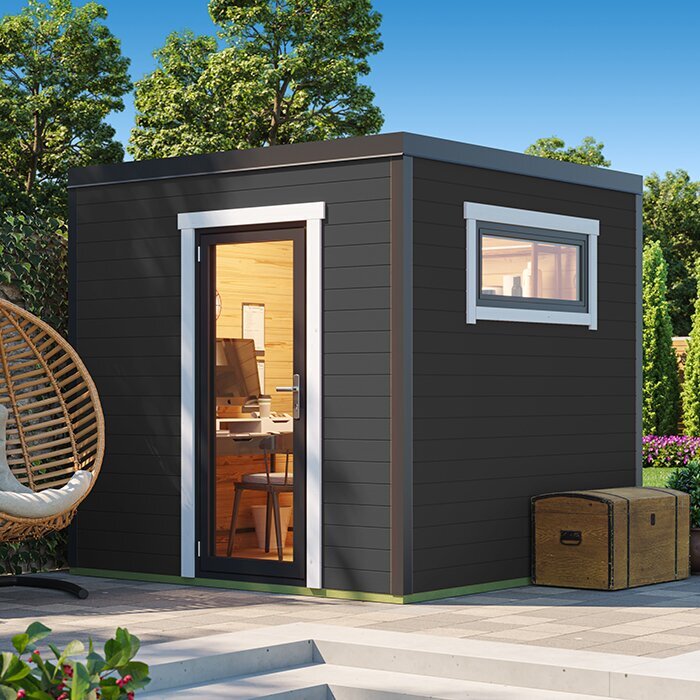
Plan the shed around what needs to fit inside
Begin with what the shed needs to do, not a footprint chosen because it seems to fit. List the items that will live inside and note the largest ones, how often you need them, and whether you need room to reach them without unloading everything else. A lawn mower, stacked boxes, potting supplies or a work surface each affect how space is used. Then compare that list with the exact model’s published outer and usable dimensions, if both are given, and the stated entrance position. A product name or photograph cannot confirm clear floor area or headroom. For a candidate such as the Verdana 1 garden shed listing, use its current measurements and drawings, where provided, rather than guessing from an image.
Draw the footprint and door approach on the same simple site plan, then sketch the main stored items, shelves and any work area. This reveals where an open door or fixed storage may block the route or remove useful wall space. Think about whether you will reach frequently used items without moving everything in front of them. An area that accommodates the footprint may still leave too little room to turn a long item at the entrance. Choose with plausible future use in mind, but do not pay for space you cannot position sensibly. Resolve the layout on paper while moving lines costs nothing; changing the shed’s orientation once walls or fixed fittings are in place may mean undoing assembly.
Choose the site before preparing the base
Choose a location by its conditions as well as its outline. Walk the area and note slopes, low spots, the way rainwater moves, overhanging branches and exposure to sun if light matters for how you plan to use the shed. A patch that looks level and clear on a dry day may behave differently after rain or when parts need to be carried in. Keep the intended entrance in mind. If you are considering a model such as the Verdana 2 garden shed listing, compare its published dimensions or plan, where available, with the marked site; do not treat a model name or photograph as a site measurement.
Mark the full footprint on the ground and walk around it. Check the route from the gate or driveway, space to bring components in, room for the entrance to operate, and clearance for the assembly itself. Account for fixed obstacles such as fences, paving, taps or planted beds, not only the visible walls. Before digging or preparing a base, establish whether underground services, property boundaries or municipal or property-management requirements affect the position. Check with the relevant authority or a qualified professional rather than relying on a neighbour’s arrangement. Also consider whether the shed would block a gate or a route used regularly; shifting it after the base is prepared can turn a simple siting choice into rework.
Prepare a base that matches the exact model
An accurate plan cannot compensate for a base that fails the selected shed’s requirements. Find the manufacturer’s stated base or foundation requirements for the exact model before arranging the work; do not assume a surface that looks flat is level, square or suitable. Make the prepared area match the documented footprint and support arrangement. Do not use the walls to pull a poorly prepared base into line: uneven or twisted support can carry through the frame and leave joints, openings or doors out of alignment. The required dimensions and preparation depend on the product instructions and site conditions, so a neighbour’s base is not a universal template.
Before assembly, compare the completed base with the manufacturer’s drawing and its checks for level and squareness; follow the stated tolerances rather than inventing your own. Check the set-out dimensions in the instructions rather than measuring from an edge they do not use. If the surface has shifted, holds water or has visibly soft or uneven areas, address the cause before placing components. Ask a suitably qualified building professional if you are unsure whether the ground and base can support the structure. Check any specified interface or fixing arrangements while the base is open and accessible. Once the frame covers it, correcting the footprint or alignment may mean dismantling the shed; improvised packing or pulling corners can create another problem instead of fixing the first.
Check the instructions and order before assembly
Before opening components, confirm that the order, model variant, parts list and assembly instructions refer to the same product. A guide for a similar-looking shed is not necessarily interchangeable, and a small difference in layout can alter which part goes where. Read the complete sequence, then compare stated dimensions, opening positions, included items and optional extras with your intended plan. If the order confirmation, product description and supplied drawing do not agree, pause and ask the seller or manufacturer to clarify before construction. A page such as the Durano garden shed listing can identify the model you are considering; do not assume a photo or product name settles what is included.
Make a simple record of what the instructions say is supplied and what the order says you chose. As parts are unpacked, compare labels and quantities with the list before discarding packaging or continuing past an early assembly stage. If a component appears missing, damaged or different from the drawing, raise it before adapting another piece to fill the gap. Keep the packing information and documents together so you can refer to exact part names if you need to ask a question. Avoid ordering extras or making cuts on the assumption that a feature shown in illustrative imagery comes with the shed. Keep any answer to an unresolved question with the relevant instructions, rather than relying on a verbal assumption.
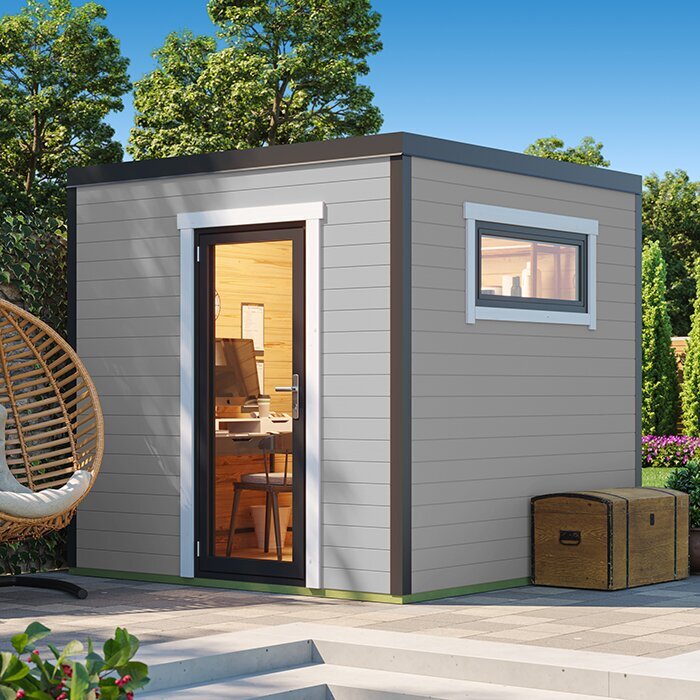
Set the entrance position before the walls go up
The entrance is one of the most awkward details to reconsider after assembly, because it determines both the approach and the way you use the interior. Decide which side should face the path and check the exact drawing for the entrance position and intended door operation. Depending on the design, a door may swing, slide or fold, and each needs a different clear area. Do not assume the opening can be moved to another wall or reversed. A candidate such as the Veltor 1 listing should be judged from its documented configuration, not from a guess based on a product name.
Mark the space the door needs when in use, plus standing room to open it while carrying bulky items. Check that a fence, downpipe, step, paving edge, garden bed or other fixed object will not stop it opening or make entry awkward. Think about where the first large item will travel once inside; clear door access alone does not help if the item cannot turn in the available aisle. Verify any alternative orientation in the assembly instructions before you order or begin building. If a doorway would open close to a wall, account for that now; a late change may involve more than simply turning the shed.
Follow the stated assembly sequence
Treat the manual’s assembly order as a set of dependencies, not a suggestion to rearrange around convenience. A panel may need to be positioned before access is restricted by a neighbouring component; the instructions also set out when components should be checked and secured. Read the whole sequence before beginning so you know which decisions are coming and which step is a checkpoint. Do not complete one section from memory and then try to join it to another if the instructions show a different order. For a shed such as the Orello 1 listing, use only the sequence supplied for the exact model and configuration.
Pause before making a final fixing, sealing a joint or changing a part. Confirm that the instructions call for that action at that stage and that alignment and orientation match the diagram. A simple tick beside each completed instruction can help prevent skipped steps if the work is interrupted, but it does not replace the diagrams. If an instruction is unclear, identify the part and step and seek clarification before proceeding; do not use a video of a similar shed as proof that a different sequence is acceptable. A small delay now can prevent having to dismantle an assembly to reach a concealed connection.
Investigate misalignment instead of forcing parts
A mismatch is a reason to investigate, not to apply more force. If holes, joints or frame pieces do not meet as the diagrams show, stop and check the part reference, its orientation and whether the preceding steps are complete. Also recheck the base against the model’s requirements if the mismatch could have started at ground level. Do not assume that a gap is acceptable simply because it looks small, and do not bend a component or lever it into place. Forcing parts can damage them or make the next stage harder to assemble, leaving a problem that is less accessible later.
Compare the part with its illustration and review the work immediately before the mismatch. If the pieces still do not fit as shown, note the step and part reference, and take a photo to explain the problem when asking for help. When raising a question about a candidate such as the Modano 1 garden shed listing, use the exact model and component details rather than a general product image. Do not drill, enlarge holes, trim components or substitute fixings unless the manufacturer’s instructions explicitly allow it. If the problem involves the base or a structural connection and remains unclear, pause and seek advice from the manufacturer or a qualified installer.
Check modifications before cutting or fitting extras
A new vent, opening, cable entry, shelf support or latch may seem like a minor addition, but cutting or fixing into a component can affect its fit and weather protection. Decide what the shed needs to accommodate before ordering, then check whether the manufacturer permits the proposed change and specifies where or how it may be made. If the instructions do not cover it, ask for guidance rather than treating a similar product’s layout as permission. The name on the wooden garden tool shed M listing identifies a product; it does not establish that a particular cut or added fitting is approved.
Plan interior fittings before the structure is fully assembled. If shelves or hooks matter to your intended use, check whether the product documentation gives suitable positions or load limits, and do not infer capacity from how sturdy a wall looks. Choose a shed and layout that meet the need without relying on an unverified retrofit. A planned electrical supply also needs to be assessed by a qualified electrician before any opening or cable route is considered. Changes are easier to discuss while the model and its layout are still being selected than after a component has been cut.

Plan any finish and allow access for care
Do not assume that every shed needs the same coating or preparation. If the product instructions call for a finish or care step, check which surfaces it applies to, which products are compatible and whether the work must happen before assembly. Applying paint, sealant or adhesive without checking can affect fit or conceal a problem that should have been addressed first. For a candidate such as the wooden garden tool shed S listing, consult the guidance for the exact product rather than applying a generic routine. Do not use a finish to hide an unexplained gap or damaged component.
Think about access to the outside faces when placing the shed, not only how it looks from the garden. A narrow gap beside a fence or planted bed may make it difficult to inspect or maintain a surface later. Mark the space you need while planning the site and keep it available during assembly, so you can reach the areas the instructions say to check or treat. If a required step must be completed before the structure is assembled, follow the product guidance on timing; do not assume it can be done just as easily once the panels are in place.
Check assembly before storing anything
Before filling the shed, compare the completed assembly with the final checks for the exact model. Confirm that components are in the intended orientation, specified fixings are fitted as directed and joints line up with the illustrations. Operate the door and any supplied moving parts through their intended movement, checking that nothing obstructs them. Look for loose packing material or components and resolve any visible mismatch while the relevant area is still accessible. Do not hide uncertain alignment or incomplete fixings behind shelves, stored items or a finish; finding the issue now is easier than clearing the shed to reach it later.
Keep the instructions, order details and any notes about questions or repairs together. Photos of the completed assembly and of any unresolved issue can make it easier to explain what you see when seeking product support; they are a record, not proof that the build has been assessed. If a door binds or a part shifts after assembly, consult the instructions before trying a repair that changes the structure. Where the cause could involve the base, a service or a structural connection, ask an appropriate professional rather than improvising. A clear record also helps you distinguish an original assembly question from a later maintenance task.
Frequently asked questions
Which garden shed assembly mistake is hardest to correct?
That depends on the model and site, but a misplaced base, poorly planned entrance or unapproved cut can affect later stages and may require dismantling. Check the footprint and layout against the exact instructions before beginning.
Can I use a paved area as the base?
Do not decide from appearance alone. Check the chosen model’s base requirements and assess whether the existing surface meets them. If you cannot establish that, ask a qualified building professional before assembly.
Can I move the door to another side?
Only if the instructions for the exact product allow that layout. Parts may be intended for specific positions, so do not assume a wall or doorway is reversible because a similar model appears to allow it. Confirm before ordering or building.
What should I do if the holes do not line up?
Stop and check the part orientation, the previous assembly steps and the base against the diagrams. Do not force the parts or enlarge holes. If the mismatch remains, ask the manufacturer or a qualified installer before continuing.
Can I add a vent, shelves or electricity later?
Plan these changes before purchase or assembly. Check with the manufacturer before cutting or adding fittings, and do not assume the walls can support shelves. For an electrical supply, consult a qualified electrician rather than making openings or routing cables yourself.
The point of careful garden shed assembly planning is not to anticipate every possible future change; it is to settle the choices that become expensive once parts cover one another. A footprint that fits the site, a base matched to the exact instructions, an entrance with working clearance and a clear rule for any alteration give the build a sound starting point. When a part or instruction does not match, pause while the issue is still visible. A few early checks are easier than dismantling a completed shed to revisit the same decision.
