
Garden Shed Gym Layout: Floor Loads, Headroom and Ventilation
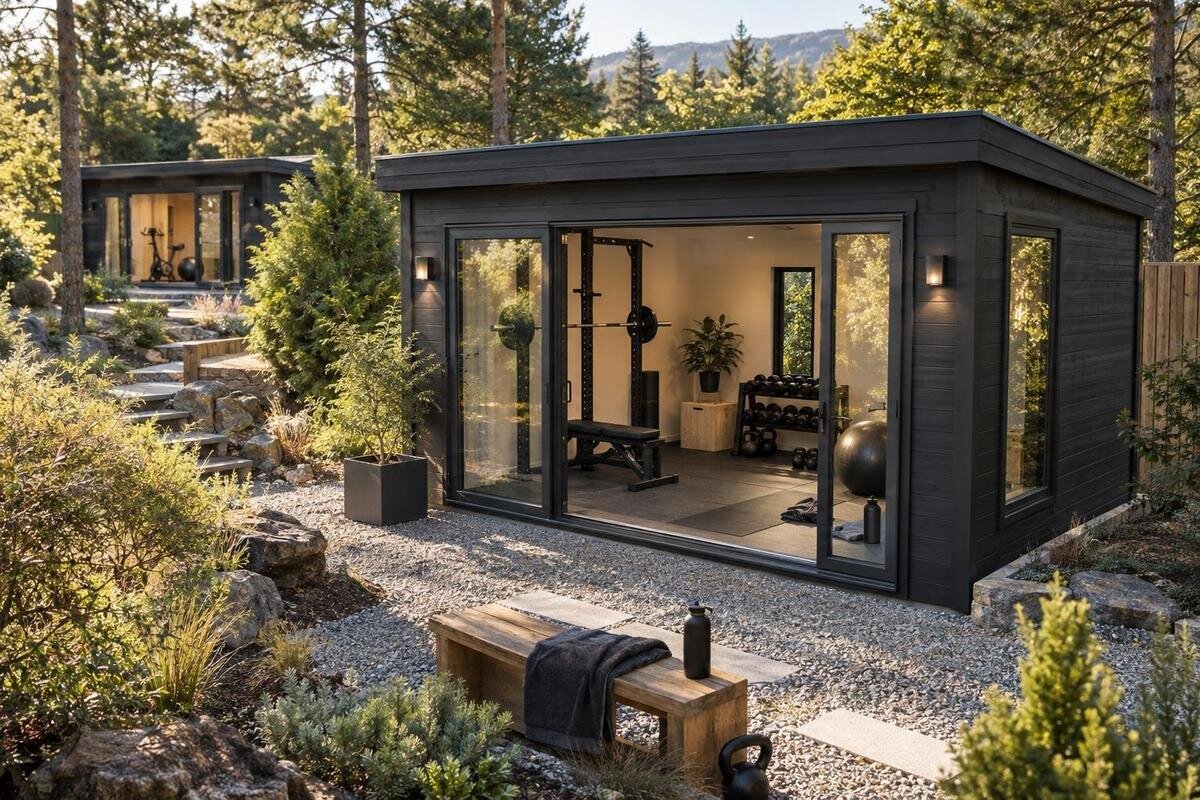
Garden shed planning
Planning a gym in a garden shed is about more than fitting equipment inside. The floor must suit the loads, the usable headroom must accommodate your movements, and airflow must work with the way you train. Measure the internal space, map equipment in use rather than in storage, and verify construction details before ordering. That process helps you compare garden sheds on evidence instead of assuming a product name or picture says enough.
01
Your training plan and equipment list
Decide what the gym needs to do before choosing a shed. List the equipment you own or plan to buy, who will use it, and which sessions you expect to do. A cardio machine needs the manufacturer's stated operating clearance; a bench, rack or free weights need room for set-up and movement, not just storage. Body-weight or mobility work may need an open patch that stays clear when equipment is in place. Include accessories, weights, shoes and cleaning items, since small belongings can gradually take over a corner. Record each item's dimensions in its assembled working form, because folded and ready-to-use footprints may differ.
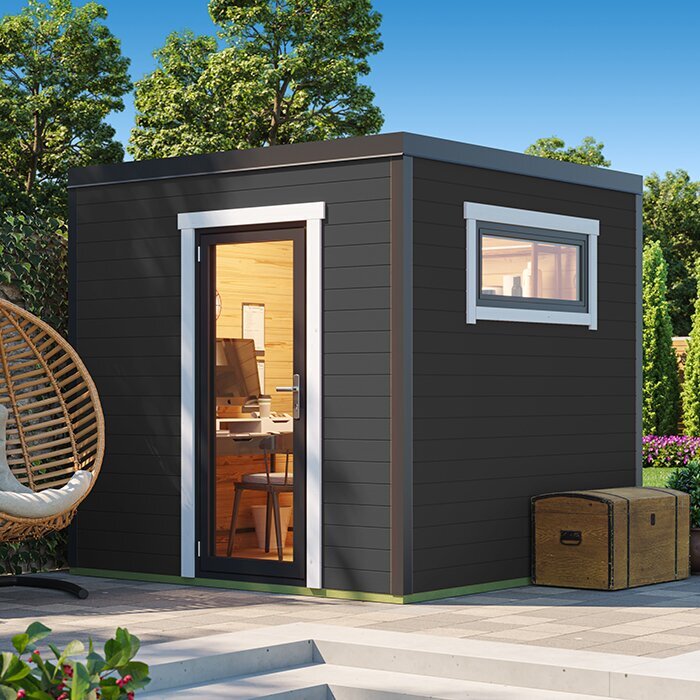
Draw the internal dimensions to scale rather than relying on an advertised outside footprint. Mark the door's clear opening and swing, fixed obstructions, each equipment base and the routes between stations. Place items as you expect to use them, then check whether changing exercises means shifting heavy gear. Do not count one patch of floor twice as both a station and a circulation route. Leave some flexibility for a change in routine, but do not add a future machine unless the space can accommodate its use. For a candidate such as the Verdana 1 garden shed listing, verify its actual internal dimensions and floor information with the seller; its name alone does not establish gym suitability.
Check floor capacity for static and moving loads
Floor capacity is not established by the shed's footprint or by how solid the floor looks. Record each machine's mass, the weights it carries, the user's weight and other heavy items, then note where each load bears on the floor. Narrow feet, rack posts and small machine supports concentrate loads; repeated movement differs from an item sitting still, and dropping weights creates impact. If plates or attachments will stay on a rack between sessions, include that stored weight too. A protective mat may help preserve the surface, but it does not confirm that the floor, supporting frame and base can carry a gym set-up.
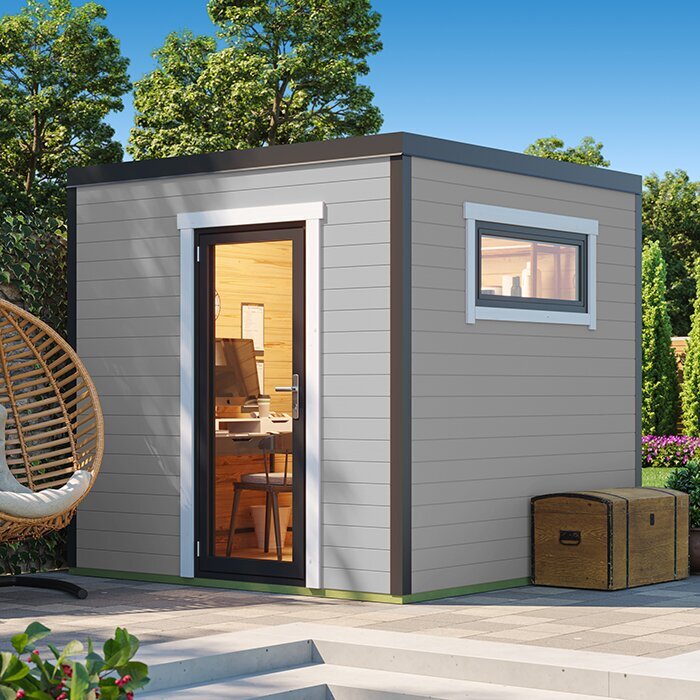
Look for manufacturer information that applies to the complete floor and supporting arrangement, not a broad statement about shed size. Ask what conditions a stated capacity assumes, including how the shed must be assembled and supported, and whether it addresses concentrated equipment feet and workout use. When considering the Verdana 2 garden shed listing, check the documentation for that exact product and request written clarification if load details are missing or unclear; do not borrow another model's rating. A structural professional can assess a proposed arrangement when the supplied information does not resolve the question. Keep heavy equipment out until capacity has been established.
02
Map equipment footprints and movement
Use each equipment maker's measurements for the space needed while a machine is operating, not only the outline of its frame. Leave room to step on and off, move a bench into position, handle weights and complete the movements in your routine. Some stations need clear space beside or behind them; others need room around the user. Follow the model-specific clearances in the manual even if a tighter arrangement appears to fit. A circuit layout should let you move between stations without crossing a moving belt, squeezing past a loaded bar or dragging equipment through another exercise area.
Mark every equipment footprint and its operating clearance separately, then draw a continuous route from the entrance. Remember that a door may use floor area as it opens and that weights need a stable, reachable home. Tape or cardboard on a clear surface can test whether your plan works at full scale; mark the door and storage as well as the machines. Include room to set down and collect weights, not only to move once holding them. If the Durano garden shed listing is on your shortlist, confirm internal dimensions and opening details for that exact product rather than treating a photograph as a floor plan.
Measure headroom where you will train
Headroom means the lowest clear height over a planned exercise area, not the tallest point under a peaked roof. Measure from the finished floor to the first obstruction at each station: beams, roof members, lights and other fittings can reduce usable space. If gym flooring is part of the plan, measure from its finished surface. A central roof peak can look generous while a low edge is unusable for standing movements. Check the door area and equipment positions separately instead of relying on one measurement taken in the middle.
Compare the lowest measurement with your full movement, the assembled height of equipment and any clearance its manufacturer specifies. For overhead lifting, skipping or pull-up work, consider the actual movement envelope in a space with comparable clearance; do not substitute external wall height for usable internal height. A wall- or ceiling-mounted bar also depends on suitable support, which must be confirmed rather than assumed. Keep lamps or other fittings out of that envelope. For the Veltor 1 listing, check the published internal height and roof profile, or ask for those details if they are not stated.
03
Plan ventilation around equipment
Exercise adds heat and moisture to an enclosed room, so ventilation belongs in the layout rather than being an afterthought. Decide how fresh air can enter and warmer, damp air can leave, then check that openings remain reachable after machines and storage are placed. A window behind a rack or a door blocked by a bench may be hard to use during a session. Think through normal weather and security needs too, so the ventilation plan is practical for the way you expect to use the garden shed. An opening only helps when there is a workable airflow path through the occupied space.
Product photographs do not establish the number, size or operation of vents and windows. Check written product information for the location and type of openings, whether they are included, and whether planned equipment will block them. For the Orello garden shed listing, use verified details for that exact product rather than interpreting its name or an image. If the room's natural airflow appears inadequate, ask a competent building professional about appropriate options. Any fixed mechanical ventilation and associated electrical work should be planned and carried out by qualified tradespeople, not improvised as part of the gym layout.
Coordinate light, mirrors and wall space
Lighting and sight lines affect where equipment belongs. Place the working area so you can see controls, floor edges and stored weights clearly, and avoid a position where sunlight or a bright window reflects into a screen or mirror. Natural light can make the room more pleasant, but it changes through the day and should not be treated as a complete lighting plan. Note where shadows fall around a rack or bench, and decide which areas need steady task lighting. A mirror or screen should not take the only clear wall space needed for another part of your routine.
A mirror may help you watch your movement, but it is optional; include its size and position in the plan rather than adding it above equipment later. Do not assume a wall can carry a mirror, rack or heavy fitting just because it looks solid. Have the support and mounting method checked by a qualified installer where needed. When reviewing the Modano 1 listing, confirm the actual glazing and internal wall arrangement from product documentation; a photograph alone cannot show whether your preferred mirror or lighting position will work. Leave room to reach switches or controls without crossing an active exercise area.
04
Match the base and floor finish to the use
Treat the floor, supporting frame and base as one system. Follow the shed manufacturer's preparation and assembly instructions, and confirm what kind of base the structure requires; a surface that looks level does not prove that the completed floor will handle concentrated gym loads. If the site is uneven, soft or prone to water collecting, ask a competent building professional how it should be prepared rather than correcting movement with extra boards or mats. Keep structural changes within the manufacturer's guidance, and get any unresolved support question checked before fitting equipment.
Choose gym flooring for grip, cleanability and compatibility with the equipment, not as a substitute for a sound floor. A thick or soft layer can make some equipment less stable, while an extra layer can reduce door clearance or create a raised edge. Check whether the shed package includes a floor, what finish it has and what preparation remains your responsibility. For the wooden garden tool shed M listing, confirm those details for the exact product; a product name does not show whether its floor arrangement suits training loads. Include added flooring when checking the final headroom and door threshold.
Keep access, storage and cables out of the workout zone
Plan how equipment will get in and how people will move after it is installed. Check the clear entry width against the largest item, including how it must be turned, and show the door's operation and a clear route through the room. Put accessories where they are easy to reach without stepping across another exercise area. A shelf or rack can free floor space, but do not load it or fix it to a wall until its capacity and supporting structure are confirmed. Keep ventilation openings accessible, and avoid storing weights where you must reach across or around moving equipment to collect them.
Powered equipment can influence station positions. Follow each machine's instructions for its power requirements, identify where a suitable supply would need to be, and keep cables away from walking and exercise paths. Do not make the arrangement depend on a lead stretched across the floor; ask a qualified electrician to assess fixed wiring or outlets in a garden structure. For the wooden garden tool shed S listing, check the actual door, internal-space and floor details for that exact product before assuming equipment can pass through or fit inside. Leave enough accessible space to use the room without moving items at every session.
05
Compare product and ordering details
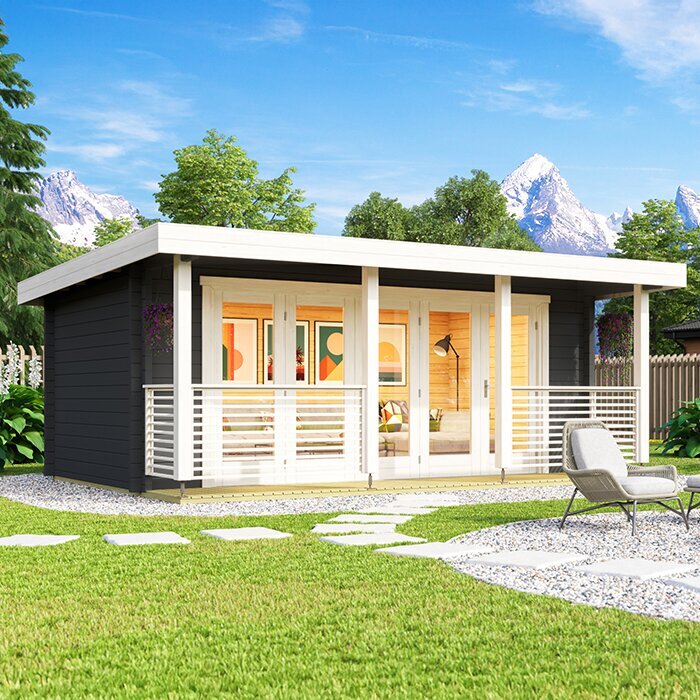
Compare shortlisted sheds with the same written checklist: usable internal floor dimensions, lowest headroom at each station, clear entry width, opening locations and documented floor and base information. Add what is included in the package, the required site preparation and the assembly instructions. Check both outside dimensions for siting and inside dimensions for training; the overall footprint is not the workout area. If a detail is not stated, record it as unknown instead of treating a photograph or general description as confirmation. This makes it easier to rule out a structure that cannot be shown to meet the load, height or airflow needs of your plan.
Before ordering, read the terms for delivery, site access, assembly, installation, payment and returns, and confirm what the quoted price includes. Check the route to the intended garden location: gates, narrow paths and changes in level can affect how materials or a completed structure reach the site. Confirm who is responsible for preparing the base and whether that work is separate from the shed purchase. Ask about maintenance requirements and product-specific warranty terms without assuming they are the same across models. Keep answers about dimensions, included parts and floor capacity in writing, then compare them against your drawing.
Test the layout before placing the order
Before committing, test the arrangement at full scale where practical. Tape out equipment footprints on a clear floor, use boxes to represent storage and mark the door swing, then trace your routes through the proposed room. Compare movement needs with verified internal headroom and equipment clearances; do not add obstacles to test an overhead movement. Try the order of your planned exercises: if changing stations requires shifting heavy weights or closes off the entrance, revise the drawing. A mock-up can reveal circulation problems, but it cannot verify floor capacity or replace product information and professional assessment.
Think about how the garden shed will work after a session as well as during one. Can you reach the planned openings, put equipment away, clean around the machines and leave a clear route? Consider whether your routine may change, but do not reserve space for future gear unless the floor and dimensions can support it. If a critical fact about capacity, internal height or ventilation remains uncertain, pause before ordering and get a clear answer. The useful layout is the one that fits both the equipment and the movements you actually plan to make.
Frequently asked questions
How can I tell whether a garden shed floor can support a squat rack and weights?
Check the manufacturer's information for the floor and supporting base, including whether it applies to concentrated loads and workout use. Include the rack, stored weights and user in your plan. If the details are missing or unclear, ask the supplier for written clarification or have a structural professional assess the proposed set-up. A floor's appearance is not a capacity rating.
What clearance does a treadmill need in a garden shed?
There is no single clearance that suits every machine. Use the operating space specified for the exact treadmill, then add room for its user, the entry route and any other equipment. Check internal measurements rather than the shed's outside footprint, and make sure a door or storage area will not obstruct the space.
Is the shed's external height enough to check headroom?
No. Measure from the finished floor to the lowest obstruction above each exercise area. Roof members, fittings and a sloping ceiling can reduce usable height. Compare that measurement with your movements and the assembled height and clearance requirements of planned equipment.
Do operable windows guarantee adequate ventilation for a gym?
Not by themselves. The size, position and operation of openings matter, as does whether equipment or storage blocks them. Plan how air can move through the occupied space and check the actual product information. If natural airflow seems insufficient, ask a building professional about suitable options.
Will gym mats strengthen the shed floor?
No. Mats may protect a surface or provide a preferred finish, but they do not confirm or increase the structural capacity of the floor and its supports. Establish that capacity separately before placing heavy equipment, and check that added flooring will not make equipment unstable or interfere with doors.
The best garden shed gym is not the one with the largest-sounding footprint; it is the one whose documented floor and support arrangement, usable headroom and openings fit your training plan without forcing equipment into traffic routes. When those constraints are clear before you order, each station can have room to work, the floor can be assessed for its loads, and ventilation can remain part of the everyday routine.
