
How Much Space Do You Need Around a Hot Tub?
HOT TUB SPACE PLANNING
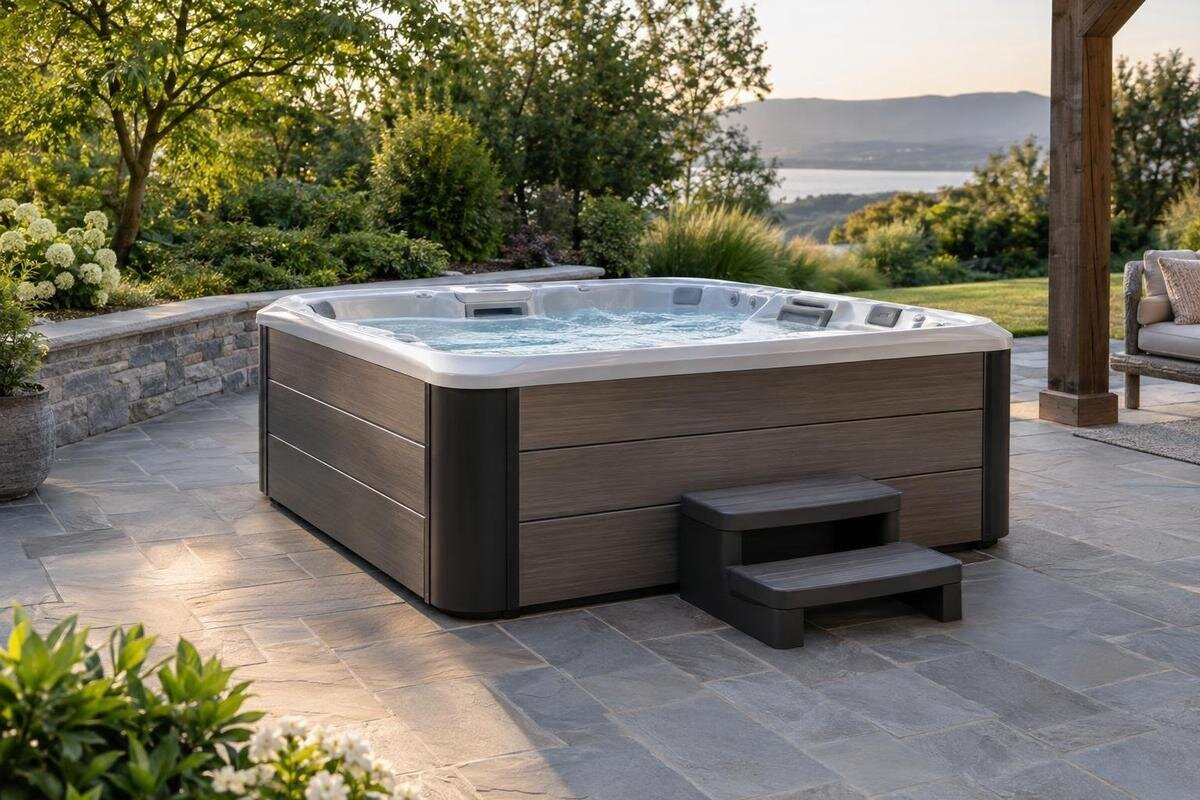
How much space you need around an outdoor hot tub depends on more than the rectangle it occupies. You need room to approach and leave, move where needed, operate the cover and reach service points. Manufacturer-specified safety clearances are a separate matter, and they are not the same for every model. Start with the chosen tub’s verified external dimensions, then map each working area using current, model-specific instructions. A full-size mark-out shows whether the complete arrangement—not just the tub itself—fits the space you have.
Start with the chosen model’s verified footprint
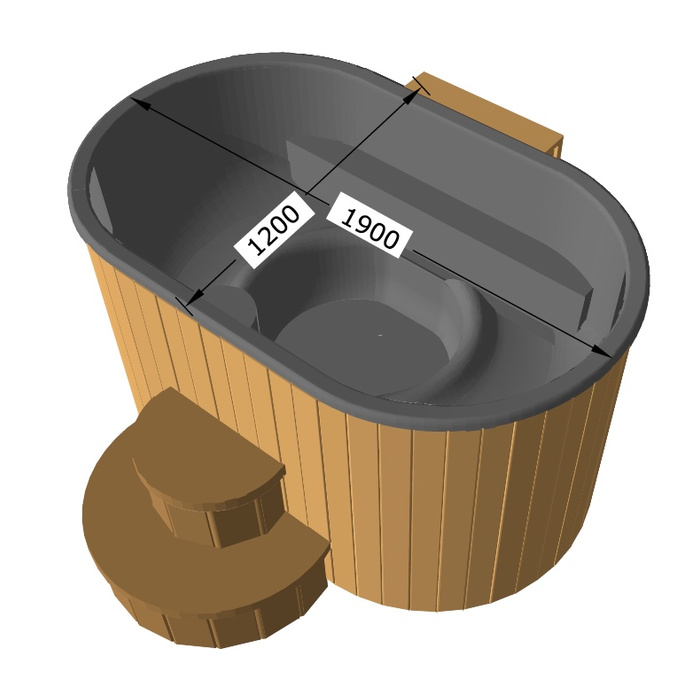
Look for the current overall external length and width in a technical sheet or dimensioned drawing for the exact hot tub. These measurements establish the space occupied by the unit, but first check what they include. A drawing may show the outer casing, while fixed panels or attachments could be represented separately. Use the manufacturer’s stated overall measurements rather than estimating from a photograph, a room layout or the apparent proportions of the tub. If the footprint has an unusual outline, note its widest and longest points and any projection that affects the surrounding space.
Keep a record of the model name, version and source of the measurements so you do not compare different configurations by mistake. When considering the Cove 2 hot tub, record its confirmed dimensions beside your sketch rather than estimating them from the product image. Label the front, back and sides to match the manufacturer’s drawing, especially if you are considering more than one orientation. This keeps later notes about entry and servicing tied to the correct side. If the drawing gives several measurements, establish which describe the complete external outline and which refer to individual parts. Keep any unresolved measurement clearly marked as a question rather than treating it as available space. You can then update the outline without losing track of which dimensions have been confirmed.
Separate the footprint from the usable space around it
The footprint is only the area directly occupied by the hot tub. Everyday use also needs clear space for particular tasks: approaching the entry point, walking along a side, opening a service panel or moving the cover. Those areas do not have to form an identical border on every side. Draw the tub’s outline first, then assign a separate zone to each task. This makes the plan more realistic than adding an arbitrary strip to the length and width and assuming the remaining perimeter will work for every purpose.
Measure the clear gap between the outside of the tub and any nearby fixed obstruction, rather than measuring from the tub’s centre or an approximate position on the plan. Include projections that reduce that gap. When assessing the Haven 6 hot tub, put its confirmed outline on the drawing and label the surrounding areas by purpose: entry, passage, servicing and cover operation. Beside each label, record the available space and the space needed for that task. This separates a measured gap from an assumption that the gap will be useful. Where two areas overlap, note whether they need to be used at the same time. An area used temporarily for handling a cover needs different consideration from a route that must remain available while people use the tub.
Plan a clear route for getting in and out
Identify the intended entry side before deciding how much space is usable. The approach should lead to the place where someone will stand, use any chosen steps and enter or leave the tub. A route that reaches the side but leaves no room to pause or turn may be awkward in daily use. Draw the access route as its own area, including any space taken up by the steps. Do not assume the entry point is on a particular side; check the chosen model’s instructions or layout drawing.
Consider how the space will be used rather than relying on a minimum figure borrowed from another installation. If people may need to pass one another, decide whether that is realistic in the proposed arrangement; a one-person route still needs to be practical to approach and leave. For the Fjord 8 model, confirm the intended entry arrangement before deciding where that route ends. On the marked plan, allow for someone pausing at the steps while another person approaches. Think about where a towel or robe will be picked up without placing it in the standing area. If someone who will regularly use the tub has particular access needs, include those needs in the layout discussion. A full-size outline helps assess the approach, but it cannot demonstrate how easy the actual tub will be to enter.
Leave a practical route around the tub
Decide which sides need to be reached during ordinary use and which need access for servicing. You may want a clear route around more than one side, but there is no benefit in labelling every leftover gap as a walkway if it is too tight to use. Draw the path you expect people to take and check its narrowest point, not just its average width. A broad area at one end will not make up for a pinch point where a fixed object or the tub’s outer edge blocks the route.
Check that moveable items will not routinely end up in the path, and that the route remains clear when the cover is open or any separate steps are in place. When comparing the Aurora 10 hot tub with your available space, include the ordinary arrangement of nearby furniture rather than drawing an artificially empty area. A chair pulled out for use or a towel stand beside the tub may occupy space that looks clear on a basic plan. Walk the intended route in both directions and check where you would have to turn or step aside. If reaching one side requires moving furniture every time, record that inconvenience explicitly. It may be manageable for occasional access, but it should not be mistaken for a permanently clear everyday route.
Keep service panels and components accessible
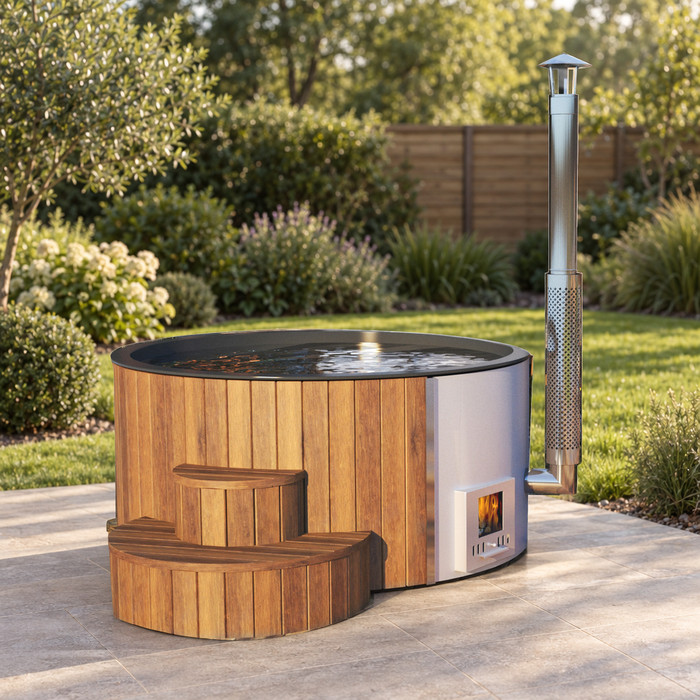
Find out where the manufacturer identifies service access for the chosen model. If a panel needs to be opened or removed, the space required may be different from the space needed simply to walk past that side. Check the service diagram and instructions for the access face, the direction in which a panel moves and any components that need room to be reached. Do not assume that the most convenient-looking side in a photograph is the side intended for maintenance.
Allow for the working area as well as a route to it. A technician may need to stand at the access point or move a removable panel aside, so a layout that leaves only a narrow passage can still obstruct the job. For the Cove 2 service-access layout, confirm the access face and required working clearance with the manufacturer or installer. Show both on your plan, along with somewhere to place a removed panel without blocking the approach. If you are considering a screen or other item beside that face, establish whether it would obstruct the specified access. Do not describe a service zone as clear merely because an obstruction could theoretically be moved; distinguish what will remain accessible from what would require preparation. That makes the practical servicing arrangement clear before you commit to the layout.
Include the cover’s movement and storage area
A cover can change how much space is needed once the hot tub is in use. Depending on the specified arrangement, it may lift, fold, move aside or need to be taken off and placed somewhere. Check the manufacturer’s instructions for the cover supplied or proposed for the exact model. If you are considering a cover lifter, confirm its dimensions, compatibility and operating space rather than assuming it is included or that it will fit within the tub’s outline.
Mark the cover in both its closed position and its fully open or stored position. Show the full movement path, including any lifter that remains beside the tub, and check that it does not obstruct the entry route or service zone. For the Haven 6 cover arrangement, first confirm which cover and handling method form part of your proposed setup. If the cover has to be set down, draw its storage position and the route used to move it there. Also allow for the person handling it: an empty rectangle beside the tub does not by itself show whether the cover can be moved into that rectangle comfortably. Check the arrangement through the whole sequence of opening, using and closing the tub, rather than judging only the final stored position.
Allow for steps and any separate equipment
If the intended entry uses separate steps, measure the actual steps you plan to use and add their outline to the drawing. Leave space for approaching them and standing at the entry; the steps should not block a service panel or force the access route across another working area. Check whether steps are part of the selected package or are being chosen separately. Do not assume that a set of steps will fit whichever gap remains after positioning the tub. Mark where the steps meet the intended entry point and where a person will stand before stepping up or after stepping down. Include only the accessories in your planned setup, but leave any undecided item labelled so it is not overlooked.
Also confirm whether the chosen installation includes equipment that sits outside the tub, or whether the manufacturer specifies a separate unit or enclosure. Do not assume that every model has external equipment, or that the tub’s footprint includes it. When reviewing the Fjord 8 equipment layout, establish which items belong in the proposed configuration before allocating space. For any separate item that is required or planned, use its own installation drawing to mark its footprint and access area. Label that area separately from the tub’s service zone so neither is accidentally omitted or counted twice. If an enclosure is proposed, include its opening or removal space too. The purpose is to represent the complete arrangement beside the tub, not to design equipment connections or installation details yourself.
Check model-specific safety clearances
Room for convenient access and a manufacturer-specified safety clearance are not interchangeable. The first is a practical planning choice; the second is an instruction for the particular model and setup. Read the current installation guidance for any stated clearances and note what they are measured from. Do not treat a working gap that seems comfortable as proof that a specified requirement has been met, or assume that a clearance shown for another model applies to yours.
There is no universal perimeter figure that can be applied to every outdoor hot tub. For the Aurora 10 clearance requirements, use the current instructions for the exact model and setup. Record each specified distance separately, with its reference point and the object or boundary it concerns. On the drawing, distinguish these required clearances from the extra room you prefer for comfort or convenience; combining them into one unexplained border makes later comparisons difficult. If guidance is missing or unclear, ask the manufacturer or installer to explain the applicable distances before buying. If a project-specific local requirement is raised, confirm it with the relevant professional or authority rather than relying on a generic online diagram.
Mark out the complete layout at full size
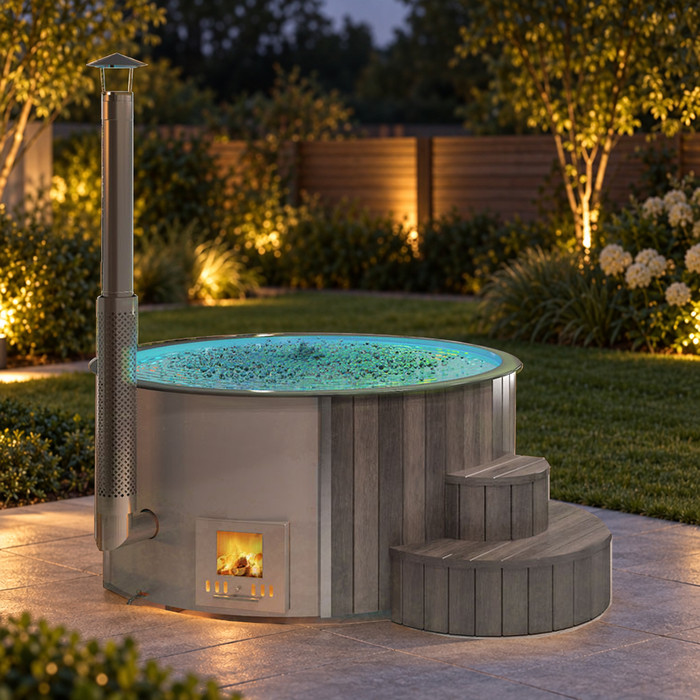
Once you have verified the dimensions, make a top-down sketch or plan to scale. Draw the outside of the tub first, then add separate labelled zones for entry, movement, service access and cover operation. Include steps or external equipment only if they are part of the intended setup. Mark nearby obstructions that reduce the clear space. Keeping the footprint and working areas separate makes it easier to see what is fixed by the product dimensions and what depends on how you plan to use the space.
Where practical, transfer the outline and zones to the proposed area with a measuring tape and suitable temporary markers. Walk the approach and stand where the entry will be. Mark the cover’s movement using the dimensions in its instructions, without treating this outline as a test of the actual mechanism. Use different labels or marker colours for the tub, access areas and required clearances so the boundaries remain understandable. Check that the service area can be reached and that opening the cover or positioning steps does not close off a route. Note any awkward turn or overlap directly on the sketch. This full-size check can reveal a tight corner that is easy to miss on paper, while keeping unanswered questions visible for the model comparison.
Compare the marked plan with each shortlisted model
Use the same plan for every candidate, but replace the footprint and model-specific zones with verified information for each one. A simple comparison can record external dimensions, entry side, service access, cover operation, any separate equipment and the manufacturer’s stated clearances. Keep the product’s footprint separate from the total area needed to use and maintain it: one model may fit inside the drawn outline while its access or service zones do not. Record practical compromises alongside the measurements, such as a route that would need furniture moved or a cover position that limits circulation. This lets you compare usable arrangements rather than just overall dimensions. Keep any unknown requirement marked as unresolved instead of giving that model an apparent space advantage because information is missing.
Before placing an order, check that the measurements and instructions apply to the exact version and options you intend to buy. If a dimensioned drawing, cover detail or service requirement is missing, request it rather than filling the gap with an estimate. Then compare the complete marked arrangement with the available space. If the plan only works by ignoring a required access area or clearance, it is not a workable fit; revisit the layout or compare a different model.
Frequently asked questions
Is there a standard clearance distance for every hot tub?
No single distance works for every model and setup. Separate the room you want for everyday access from any safety clearances specified by the manufacturer, and follow the current instructions for your chosen tub.
How do I work out the space a hot tub needs?
Start with its verified external footprint, then add the areas needed for entry, movement, cover operation and service access. These areas can differ from one side to another, so do not simply add the same guessed gap around the whole tub.
How much space should I leave for servicing?
Check the model’s service layout for the access panel or components that need attention, and find out how much room is needed to open or remove them. If the instructions are unclear, ask the manufacturer or installer for the required working clearance.
Does a hot tub cover need extra space?
Usually, you need to allow for the cover’s full operating movement and, if it is removed, somewhere practical to place it. The space depends on the cover arrangement and any lifter, so check the instructions for the exact setup.
Can I use a product photo or model name to estimate dimensions?
No. A photo is not a reliable measuring reference, and a model name does not establish dimensions. Use a current technical sheet or dimensioned drawing for the exact model and version.
The useful measurement is the complete operating area, not just the hot tub’s footprint. Once you have checked entry, movement, cover operation, service access and any specified clearances, mark them all together. That gives you a realistic way to judge whether a shortlisted model and its planned setup will fit without sacrificing the space needed to use and maintain it.
