
How to Combine a Sauna and Hot Tub in One Garden
Garden planning
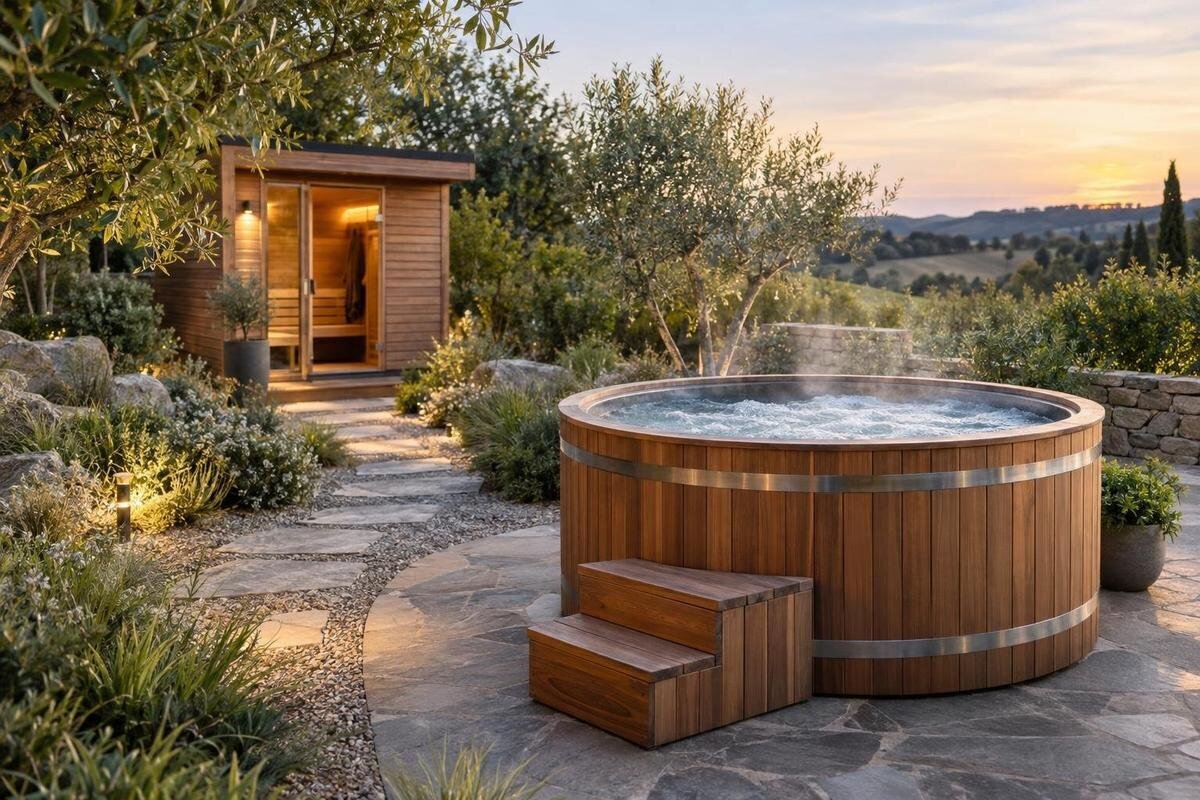
Pairing a sauna and hot tub in one garden is less about placing two units close together than making their entrances, route and shared spaces work as a whole. The layout needs to account for changing, somewhere to sit, privacy, everyday movement and access for delivery and maintenance. An adjoining arrangement may suit one property; a separated plan may work better where the garden, sightlines or circulation call for distinct zones. Decide how the features will be used, sketch both options, then compare the preferred plan with current drawings and installation guidance for the exact models. A model name alone does not confirm dimensions, capacity, delivery method or site requirements.
01
Decide how the sauna and hot tub will be used together
Before measuring, define how the two features are meant to be used by your household. Will people use them during the same visit, use either one independently, or share the area with guests? Decide how much privacy users need, whether they want a place to change or sit, and whether one person may arrive while another is using the other feature. These practical answers affect how close the units should be and where a shared space belongs. There is no single bathing order a garden layout needs to enforce; plan around preferred activities and access, rather than a prescribed routine. Note whether visitors will arrive from the house or another entrance, as that affects where the route begins.
Sketch a typical visit from the house and mark each point: changing, sauna entry, hot-tub entry, towel storage and seating. Draw the route a second person would take at the same time. If both routes cross at a doorway or service area, the arrangement may feel cramped even when the equipment fits on paper. Note other garden traffic that must remain clear, plus how you expect to use the space after dark or in wet weather. Keep the sketch provisional until you have actual product outlines and access requirements, and record which parts of the plan can change.
Compare adjoining and separate layouts
An adjacent layout can shorten the route and allow one changing or seating zone to serve both features. It may also make it easier to keep the two entrances visible from a shared area. The trade-off is that the gap between the units can be mistaken for spare space. Each sauna and hot tub still needs its own entrance and any manufacturer-specified service access; doors, equipment panels and the movement of a cover, if used, must not collide. Confirm those needs before fixing paving or screens. Close placement is useful only if both features can be approached and maintained independently.
Separate zones can give each feature its own privacy and leave a central area open, but the link between them then needs attention. A longer route may cross a patio or another household activity, require lighting, or make a shared changing point awkward. Compare both options on the same sketch: show actual outlines, entrances, access zones, the path and any shared space. If you are considering the Cove 2 hot tub, use its current dimensions and installation drawing to test both arrangements. Keep the same sauna position initially so you can see what changing the tub's position does to the shared area.
02
Make the route between the sauna and hot tub easy to use
The shortest line between the units is not always the most convenient path. Trace it from the house or changing area to each entrance, allowing for the chosen doors, steps and equipment access—not just a line on a plan. Note turns, thresholds and places where the path meets a gate or another route. Check that users can reach either feature without cutting across the other's entrance or waiting in a space set aside for servicing. Ask suppliers to distinguish required access clearances from ordinary walking space, then use dimensioned drawings to test the route.
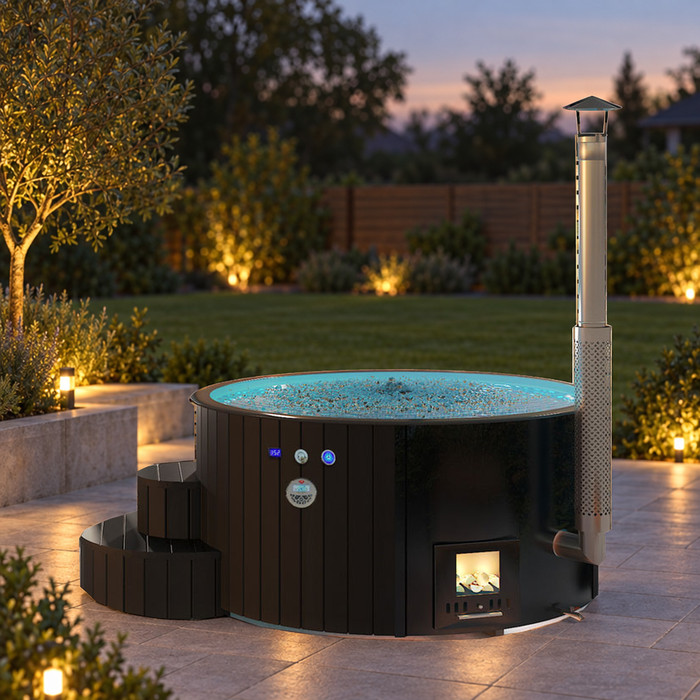
Because the route may be wet, choose an outdoor finish intended for wet conditions and ask the designer or installer how water will be managed on the site. Plan lighting so the path and entrances are easy to see, leaving electrical placement to a qualified professional. If anyone has mobility or balance needs, include these in the brief before the route is built and get professional advice on levels and transitions. When considering the Haven 6 hot tub, establish its entry position and access requirements, then trace the route to the sauna. Check whether someone entering either feature would obstruct a person walking past.
Plan a shared place to change
An in-between changing area can connect the sauna and hot tub, but it should not become a corridor where users have nowhere to pause. Decide whether a screened outdoor nook, an enclosed changing room or access to an indoor changing space best suits the property and the privacy required. Draw its footprint, doorway and any bench or hooks, then check that people can use it without blocking the route to either feature. A shared area works best when users can move through it comfortably at the same time, with a place to put down towels or robes.
Separate wet and dry jobs where possible: keep clean towels and clothing out of the direct splash or wet-foot path, and choose storage suited to the setting. A bench may serve changing, but it can occupy turning space needed to enter or leave, so test the arrangement before installing it. Consider whether users will need privacy when the other facility is occupied. If the enclosure is close to the sauna, ask its supplier about ventilation and access conditions for that exact model rather than enclosing the gap by assumption.
03
Fit seating around the shared route
Give seating a defined job: somewhere for a person to wait, sit between activities or spend time in the shared area. It should feel connected to the pair while remaining outside both entrances and any service zone. If a seat faces directly into a doorway, users may feel watched while changing or entering; if it sits on the only path, each arrival can interrupt someone using the space. Mark the seats and the route to them on the plan, including the space taken up when a chair is occupied.
Choose fixed or movable seating according to how the area will be maintained. A fixed bench can define a changing or seating area, while movable chairs can be shifted when access is needed. Neither should block specified service access or narrow the walking route. Use the number of regular users and occasional guests to guide how much seating is worthwhile, rather than filling every open corner. If the Fjord 8 hot tub is on your shortlist, add seating to its measured layout only after marking the entrance and access zones. Check the arrangement with chairs occupied, not just tucked neatly away.
Balance privacy with service access
Set privacy and access on the same drawing. Look from the house, neighbouring windows and normal garden routes towards both entrances; a screen that hides one doorway may also obstruct the route or make a service visit awkward. Consider where screening or planting would help, then check its position against the sauna's specified ventilation openings and the hot tub's access points and clearances. Do not assume an attractive enclosure meets airflow, heat-management or maintenance needs. The manufacturer or installer should identify those requirements for the selected equipment before permanent screening goes in.
Maintenance is easier to plan before paving, planters and furniture become fixed. Ask the supplier which sides of each unit need to remain reachable, whether panels or covers need room to move, and what route a technician would use. Keep that route connected to the garden entrance and avoid permanent objects in space that must stay open. If you are comparing the Aurora 10 hot tub with other options, record its service-access requirements alongside those of the sauna. Use that combined drawing to assess proposed screening: note what can stay in place during maintenance and what would need to be moved.
04
Choose a hot tub by confirmed dimensions and capacity
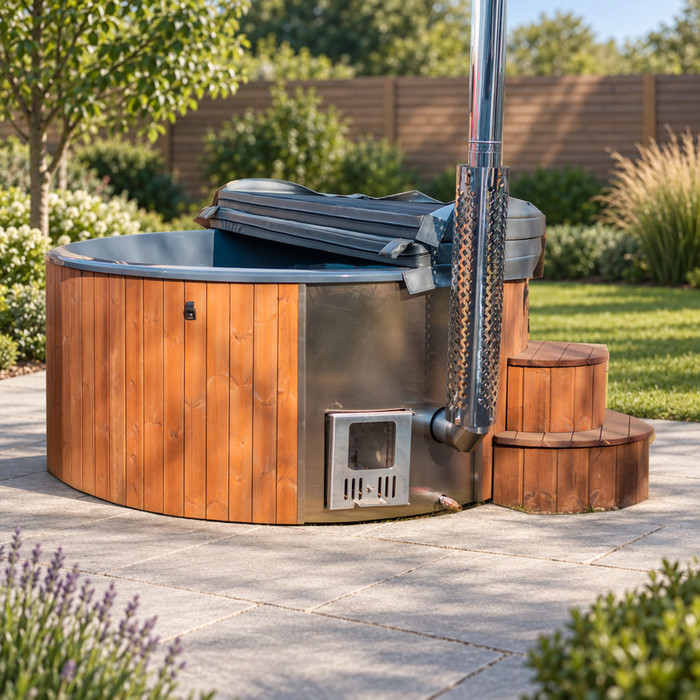
Once a layout is plausible, compare each hot tub by its verified external measurements, not by a catalogue image or model number. Ask for a dimensioned plan that identifies the outer footprint and any side that must stay available for service. If the selected model has a cover, step or other access component, confirm its full movement or working space as well. Distinguish the tub itself from any additional clearance its manufacturer or installer requires; they are not the same measurement. Put both sauna and tub outlines to scale, then add the shared route and changing area.
Capacity and comfort are separate questions from whether the footprint fits. Confirm the stated capacity in current product information, then consider who will actually use the tub, how its seats are arranged and whether users can enter and leave without interfering with one another. Never read capacity or dimensions into a numeral in a model name. Assess Cove 2's product details against the same household needs as every alternative, and ask the retailer or manufacturer to clarify missing specifications. Keep the tub's seating assessment separate from the shared garden seating: people may want to spend time together without everyone using either feature at once.
Check delivery access before finalising the layout
Delivery access is different from everyday circulation. Trace the route from the delivery point to the final position, including gates, tight turns, stairs, slopes, overhead obstructions and sections shared with building work. Ask the supplier how the actual tub and sauna will arrive, what dimensions the items or packages have, what handling access they require, and whether the route needs to stay clear during placement. Do not assume a product can pass through a doorway because its finished footprint appears to fit. Confirm logistics for both units before finishing boundaries or choosing a phased schedule.
Create a comparison sheet for each model. Record dimensions and capacity from current manufacturer information, specified service or cover access, delivery format and any site conditions or connections identified by the installer. Keep confirmed details separate from unanswered questions, and retain the drawings used for the layout so later revisions are easy to identify. For a shortlisted model such as Bloomcabin's Haven 6, record delivery questions separately from everyday access needs. This makes it easier to compare the route needed during installation with the route you want to keep afterwards, especially if the sauna and tub will arrive at different stages.
05
Confirm site and installation requirements
Before committing to a fixed layout, have the relevant suppliers and qualified professionals review the paired plan. Ask each manufacturer or installer for current siting and installation guidance, then check with the municipality or relevant local authority and, where applicable, estate or body-corporate management whether any property-specific approval or restriction applies. Separate local requirements from manufacturer recommendations in your notes; one does not replace the other. A suitably qualified electrical professional can advise on services for the selected equipment, but do not infer a connection requirement from the product name.
List topics for the appropriate professionals: electrical supply and protection, water supply and drainage, ventilation, maintenance access, and fire-related considerations where relevant to the particular sauna or heater. These are questions for the chosen equipment and property, not universal instructions. Ask where water is meant to go and whether the sauna and tub need separate arrangements; do not assume they can share services. If you are considering Bloomcabin's Fjord 8, include its current technical information in the paired plan reviewed by the relevant professionals. Record how the agreed requirements affect the shared route and changing area before committing to surfacing or screening.
Install both features now or plan a later addition
Installing both features together can make it easier to coordinate the finished layout, delivery sequence and professional reviews, provided both models and their requirements are settled. It also means a change to one selection may affect the shared space or work planned for the other, so avoid treating early assumptions as final. A later addition may suit a phased project, but reserve more than a blank rectangle: include the future model's measured footprint, entrance, service access, delivery route, privacy and the place where users will change or sit.
Write down which details are confirmed and which remain provisional before permanent landscaping or service work begins. If a model changes, recheck its measurements, delivery route and installation instructions rather than reusing the earlier outline. Keep delivery access available through the first phase, too; do not fill the future zone with a fixed feature that will have to be moved. If Aurora 10 is on your shortlist, use its current specifications to assess the reserved space, including how its eventual arrival would affect the feature already installed. Compare project costs only once quotations account for site preparation, delivery and professional work for the proposed sequence.
Frequently asked questions
Should the sauna and hot tub be next to each other?
Not necessarily. Placing them next to each other can shorten the route and make a shared changing or seating area practical, but both entrances and any required service access must remain usable. Separate zones may offer more privacy or preserve garden circulation. Compare both options using the confirmed dimensions, access requirements and the route people will actually take.
How much space should I leave between the two?
There is no single gap to assume for every model. Ask the manufacturers or installers for the required separation, access clearances and any ventilation guidance for the selected sauna and hot tub. Add the walking route and shared spaces to those requirements; the equipment footprints alone do not show whether the combined layout will work.
Can I add the sauna at a later stage?
Yes, if the first layout leaves room for a future model’s confirmed footprint, entrance, service access and delivery route. Also consider how the future feature will connect to changing, seating and the route through the garden. Recheck the current specifications and site requirements when choosing the sauna; an outline based on an unconfirmed model may not be enough.
How do I choose a hot tub that fits the combined area?
Compare current manufacturer information for actual external dimensions, stated capacity, access requirements and any cover movement, where applicable. Then test those details alongside the sauna, route, changing area and seating on a measured plan. Do not use a model number or product image as evidence of size or capacity.
What should I check locally before installation?
Ask your municipality or relevant local authority whether any property-specific requirements apply, and check with estate or body-corporate management where applicable. Have the relevant qualified professionals review services, drainage, ventilation, maintenance access and any fire-related considerations for the selected equipment. Keep local requirements distinct from manufacturer guidance.
The strongest combined layout is not necessarily the one that puts the sauna and hot tub closest together. It is the one where the route, shared spaces and privacy work for the people using them, while both units remain accessible for delivery and maintenance. Decide whether to install together or in stages only after comparing the complete plan with current model documentation and confirming site requirements with the relevant professionals. That way, the two features can be planned as one practical garden area rather than treated as unrelated purchases.
