
How to Measure a Garden Shed Site Accurately
Garden shed site planning
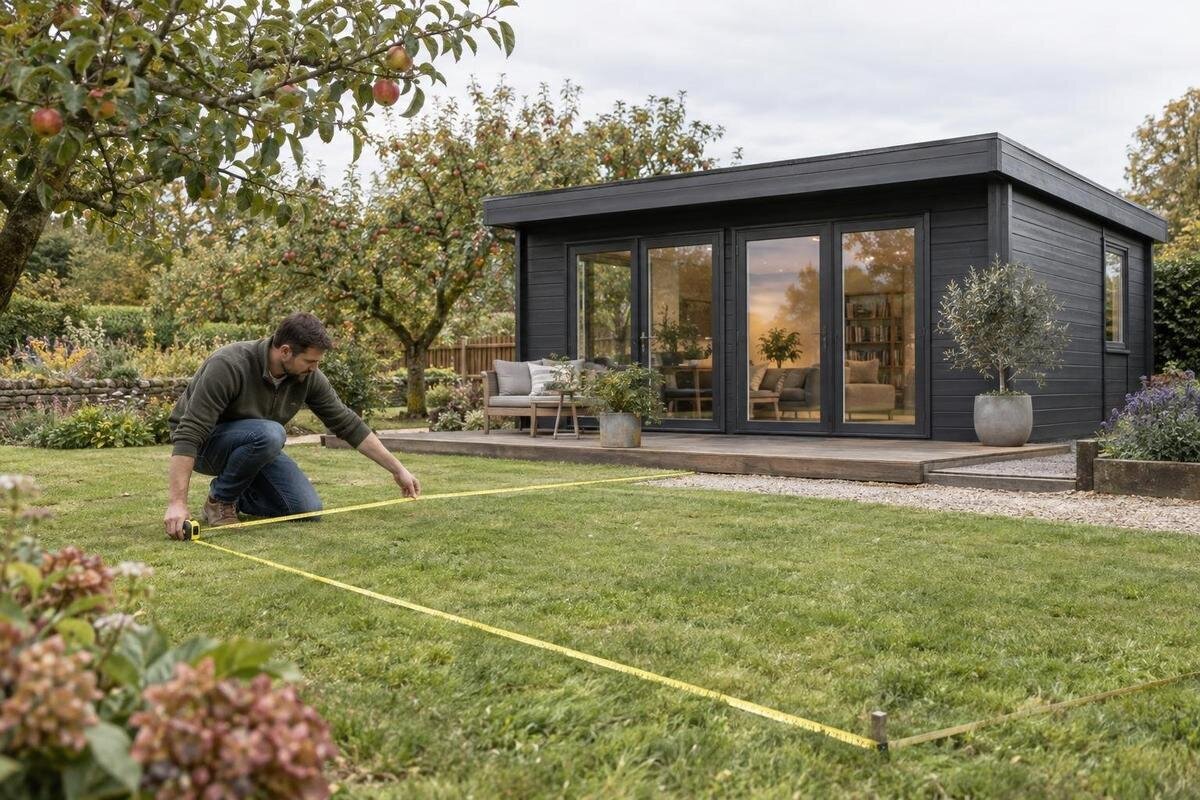
Measuring a garden shed site is not just a matter of checking whether a rectangle seems to fit. You need the proposed outside footprint, any additional space the design requires, a practical way to reach the entrance and a route for delivery or assembly. A written plan lets you compare the garden with the exact model dimensions rather than judging by a photograph or guesswork.
Before you order 1
Check which product dimensions you are using
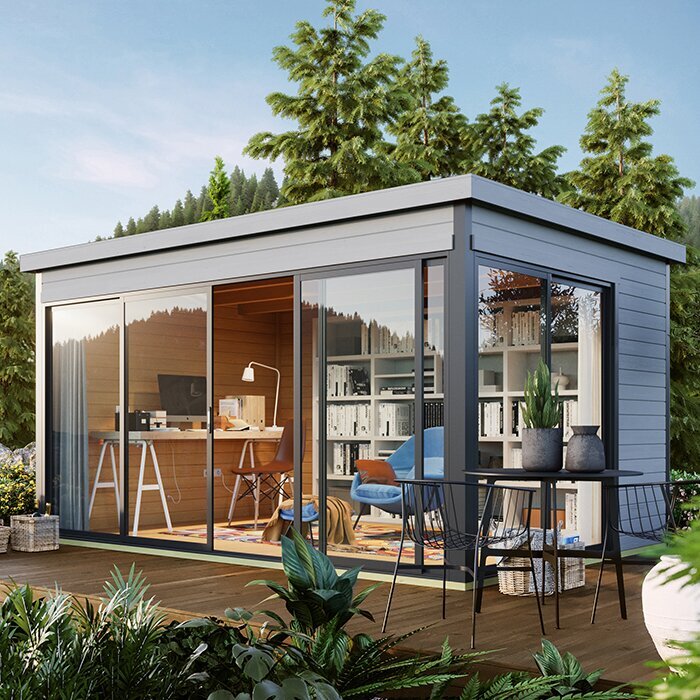
Begin with the exact model you are considering, not an estimate based on its name, photograph or a shed you have seen elsewhere. Find the published overall width and depth, then establish what each measurement covers: the outside wall line, the base or the furthest roof projection. Product drawings can label the front and side differently, so note which edge the stated width belongs to and where the entrance sits. If separate dimensions are given for the base and roof, record both. For example, use confirmed measurements for the Verdana 1 garden shed listing rather than treating its name as an indication of the space required.
Make sure the figures belong to the configuration you plan to order, particularly if similar models or versions are listed. Write down the source and units alongside each measurement, keeping metres and millimetres clearly labelled. Copy figures accurately before converting or rounding; a small difference can matter in a restricted space. Draw a simple plan from above, mark the proposed front and note its direction relative to a fixed feature, such as the house. This helps prevent width and depth being swapped when you turn the drawing. Keep the shed’s dimensions separate from any clearance needed for assembly or access.
Measure the clear width and length of the site
Choose the intended position and measure the clear width across the front line, then the clear depth from that line to the furthest usable edge. Measure between the nearest fixed obstructions, not between the centres of hedges or the edges of items that may move. Check more than one point along each side. A fence may not run parallel to a paved area, and a planting bed may curve, so the widest part of the plot may not be available across the whole shed. Record the narrowest usable measurement and mark where you took it. Compare the result with the footprint for a candidate such as the Verdana 2 garden shed listing only once you have fixed its orientation.
If the plot is irregular, note each side and change in direction instead of reducing the site to one width-and-length pair. Add the measured points to your sketch, so you can see where an obstruction narrows the available space. Keep the tape straight and, where possible, level rather than following a dip or rise: a tape laid along sloping ground records more distance than the horizontal plan distance. If that difference could affect the fit, use a levelled measuring method or ask the installer to assess the position. A diagonal glance across the garden is not a reliable substitute for measuring the usable edges.
Before you order 2
Mark and verify the planned footprint
Put the measured footprint on the ground with temporary markers. Set a marker at each outside corner, then run string between them or use removable chalk where the surface allows. Label the front and back and write each measured side length beside the matching line. Mark the entrance position too, so you can judge whether the orientation on your plan works in the actual garden. If the intended outline is rectangular, compare its two corner-to-corner diagonals. A noticeable difference is a reason to check the corner positions and side measurements again; do not assume the structure will correct a skewed layout.
Keep the shed’s outline visually distinct from any surrounding clearance. You could use one line for the outside dimensions and another for space specified in the product instructions. This avoids making the shed’s rectangle smaller to create access, or counting the same strip of ground twice. Check that your markers have not shifted and that the lines remain easy to follow from the garden path and house. Then compare the physical outline with confirmed dimensions for the Durano garden shed listing, or whichever model you are considering. If the marked footprint and the product figures disagree, check the drawing and the set-out before using them to make a purchase decision.
Allow for projections and required clearance
The footprint may not show the full space a shed occupies. Depending on the design, a roof edge, gutter, trim or another projection may extend beyond the wall line, and the stated dimensions may or may not include it. Look for a dimensioned drawing or written description that defines the overall size, and mark the furthest outer line if it is shown. Do not estimate a projection from a photograph or add a standard allowance: designs differ. For a candidate such as the Veltor 1 garden shed listing, use its confirmed dimensions and clarify what they cover before treating the site rectangle as final.
Separate permanent access space from the temporary room needed to assemble the shed. An installer may need working room around one or more sides; ongoing access may be needed to reach an opening or clean an edge. The requirements depend on the product and its instructions. Draw these spaces as separate zones rather than adding them to the footprint without explanation. Measure from the furthest projecting edge to the nearest wall, fence or other obstruction. If the manufacturer or installer specifies a working gap, use that figure; there is no single clearance that suits every model and site.
Before you order 3
Measure the delivery and assembly route
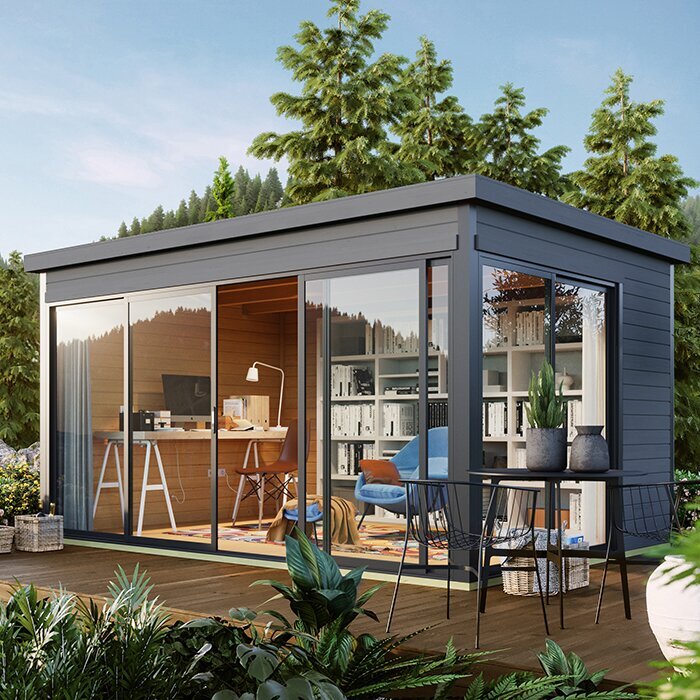
A shed can fit in the garden yet be difficult to deliver or assemble there. Trace the route from the likely drop-off point to the proposed position, then measure the narrowest gate or passage, each turn, any steps and the available overhead height. Record pinch points rather than only the widest stretch. A straight passage may be clear while a tight corner prevents a long or bulky component from being moved through. For a candidate such as the Orello 1 garden shed listing, its name and outside dimensions do not tell you the size of a delivery package or the access needed for assembly.
Check what is known about the delivery and installation arrangement for the order you are considering. Ask whether the shed arrives in components or needs a particular form of access, and request package or largest-part measurements where available. Measure the narrowest clear opening, including anything that reduces the usable space when a gate is open. Note restrictions above the route, such as a low branch or eave, and do not assume a package can be tilted or turned through a tight gap. If a delivery or installation team has access requirements, compare them with your sketch before arranging the work.
Plan the entrance and everyday approach
Give the entrance its own space on the plan. Mark which side will face the route you intend to use, then measure the approach from the doorway to the nearest path, gate or obstacle. Check the product drawing to see how the opening works and what room it needs. A door that swings, slides or folds can affect the surrounding space differently, so do not infer the mechanism from a model name or image. Before choosing the orientation of the Modano 1 garden shed listing, for example, confirm the entrance details for that exact model in its product information.
Think about what you expect to carry in and out, and whether the approach will remain clear when the entrance is open. Mark the area taken up by a moving door only if the product drawing confirms its movement; if the details are missing, note that and ask for clarification. Allow for a practical place to stand and handle stored items, not just a narrow line leading to the doorway. Taps, bins, garden furniture and gates can interrupt the route even when they do not overlap the shed’s footprint. Keeping the approach zone separate makes the layout easier to assess before you order.
Before you order 4
Record changes in ground level and surface
Width and depth do not show whether the ground changes in height. Check each corner and the marked footprint for a rise, dip, step, loose surface or paving edge, and record where the change occurs rather than describing the whole site as simply flat or uneven. A tape laid along a slope can give a different plan distance from a horizontal measurement. The shed’s base requirements are also a separate question from its footprint. Check the product information for the chosen model, such as the wooden garden tool shed M listing, and ask an installer to assess a noticeably uneven site if its suitability is uncertain.
Look for signs that need checking before installation, such as a low area where water gathers after rain, a downpipe outlet or a route where runoff crosses the proposed position. Record the condition rather than trying to account for it by changing the shed’s dimensions on paper; ask how the chosen product and base should be handled. Mark tree trunks, established shrubs and other features that will stay in place. Branches and plants can occupy space beyond what is visible at ground level, so note them as well. If vegetation may grow into the planned clearance, label it as a possible future obstruction rather than treating today’s gap as permanent.
Map nearby obstacles and future changes
Add obstacles just outside the footprint to your sketch. Measure the closest distance from the planned outer edge to a wall, fence, tree, tap, drain or other fixed feature, and note whether it sits at ground level or projects higher up. Check overhead branches and eaves too: a clear rectangle on the ground can still have an obstruction above it. Identify moveable items separately, so you do not mistake a pot or chair for a fixed limit, or assume a built-in fixture will be moved without arranging it first. If an obstacle sits at an angle, record the nearest point rather than a more generous distance elsewhere.
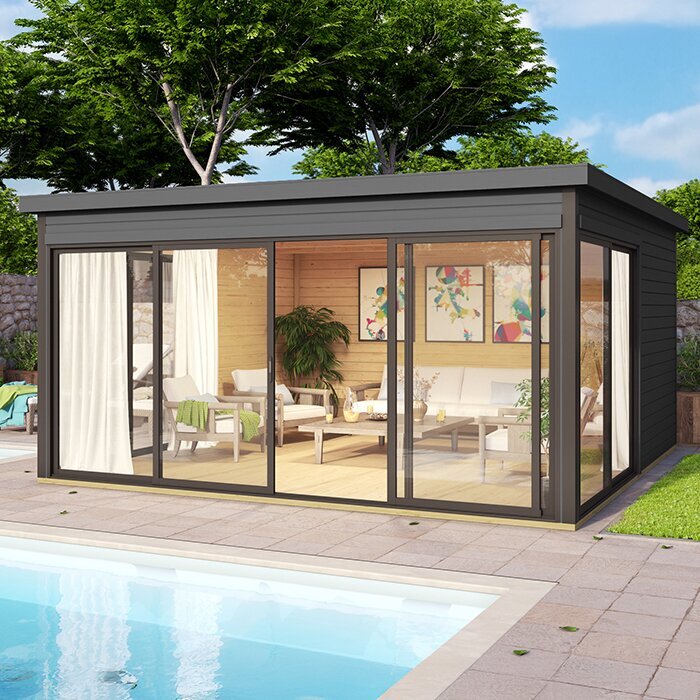
Compare this obstacle map with the whole outside envelope and any product-specific clearance, not only with the base dimensions. As a buying cross-check, make the same comparison for a candidate such as the wooden garden tool shed S listing and record any details still needing confirmation. If a position only works when a branch is trimmed, a gate is removed or an object is relocated, write that condition down and decide whether it is realistic before committing. Include planned changes such as new paving or planting where they could affect the available space. Your sketch should reflect the site as it will be used, not an idealised version.
Before you order 5
Record and repeat the measurements
Keep a clear record instead of relying on memory. Beside each number, write the unit, measuring point and date, and note whether it is a fixed edge, a sloping measurement or an estimate. A photo of the marked footprint may help you remember its orientation, but the written measurements and sketch should remain your reference. Repeat important measurements with the tape reset to zero, checking that it is straight and taut; a second person can hold one end over a longer distance. If two readings differ, check the tape position and measuring points, then take another reading rather than averaging a difference you cannot explain.
Compare width with width and depth with depth in the orientation you intend to order. Consider each documented projection and clearance separately, and do not rely on the total area of the garden: a long, narrow plot can have plenty of area but still be too narrow for a particular footprint. Avoid rounding a small surplus into a guaranteed fit, especially where the ground is irregular or working space is required. Keep the lowest usable measurement for each relevant direction and note where it occurs. If you rotate the planned shed, redo the comparison because a different site dimension will be tested against each product dimension.
Complete a fit check before ordering
Before placing an order, compare the model’s confirmed external dimensions with the measurements on your site sketch. Check that the dimension definition is clear, the footprint fits within the usable area, projections are accounted for and entrance, assembly and maintenance space follows the product instructions. Check the route from the delivery point to the garden as well as the final position. If the product information does not say whether a figure includes a projection or does not explain access needs, request clarification rather than filling the gap with an assumption based on a photograph or model name.
Pause if the position depends on an exact fit, a difficult turn, a level change or an unresolved clearance. You can consider a different orientation or position, but measure it again instead of assuming the earlier figures still apply. If the ground condition or assembly access needs a technical assessment, ask the supplier or a suitably qualified installer what information they need. Keep the annotated sketch and measurement notes with your order details, so the confirmed layout can be referred to when delivery and installation are arranged.
Frequently asked questions
What measurements do I need for a garden shed site?
Measure the clear width and depth of the proposed position, then check any roof projections and the required clearance around the shed. Also measure the entrance approach and the route from the delivery point, including narrow gates, turns and overhead obstructions.
Should I measure from the walls, the base or the roof edge?
Use the dimensions defined in the product information, and establish whether they refer to the outside walls, base or furthest projection. If the drawing does not make this clear, ask before comparing the measurements with your marked site.
How much clearance should I leave around the shed?
There is no single clearance that applies to every shed and site. Check the exact product instructions for assembly and ongoing access, then mark that space separately from the shed’s footprint. Do not estimate it from a photograph.
How many times should I measure the site?
Take important measurements at least twice, especially at narrow points and where the plot is irregular. If readings differ, check the tape position and measuring points, then repeat the measurement instead of relying on an unexplained average.
What if the footprint fits but the route to the site does not?
The location may still be unsuitable for delivery or assembly. Measure the full route, including gate openings, turns, steps and overhead restrictions, and ask for package or largest-part dimensions where available. Resolve any tight point before ordering.
An accurate site measurement brings together the shed’s confirmed footprint, the space it needs around it and the route by which it will reach its position. Marking the dimensions on the ground and checking them against a clear record can expose a tight point before you order. When the product details or ground conditions leave a question unanswered, resolve it before relying on the proposed fit.
