
How to measure replacement windows correctly
Replacement window guide
A replacement window project starts with a thorough survey of the existing opening, not a catalogue size. Measuring only the visible pane or old frame can result in a unit that does not suit the wall opening, intended installation method or junctions. For projects with several windows, use one consistent measurement sheet. It reveals differences between rooms, helps compare window styles and avoids dealing separately with dimensions, opening direction and special shapes later. Take preliminary measurements for planning, then have the final order sizes checked by the professional responsible for installation before ordering. This allows the windows, sealing, sill and fitting work to be planned as one coordinated project.
First decide: what exactly is being measured?
Three different measurement levels meet in a replacement project, and they must not be confused. The structural or wall-opening size describes the clear space in the wall. The external size of the new window frame describes the component to be fitted. By contrast, the visible daylight opening or glass area says little about whether a new window will fit the opening. The old frame size can also mislead, because it may be partly covered, plastered in or hidden behind linings. Always state on your sheet which size you recorded: wall opening, old frame or visible area. This distinction supports a reliable quotation and avoids misunderstandings between surveying, manufacture and installation.
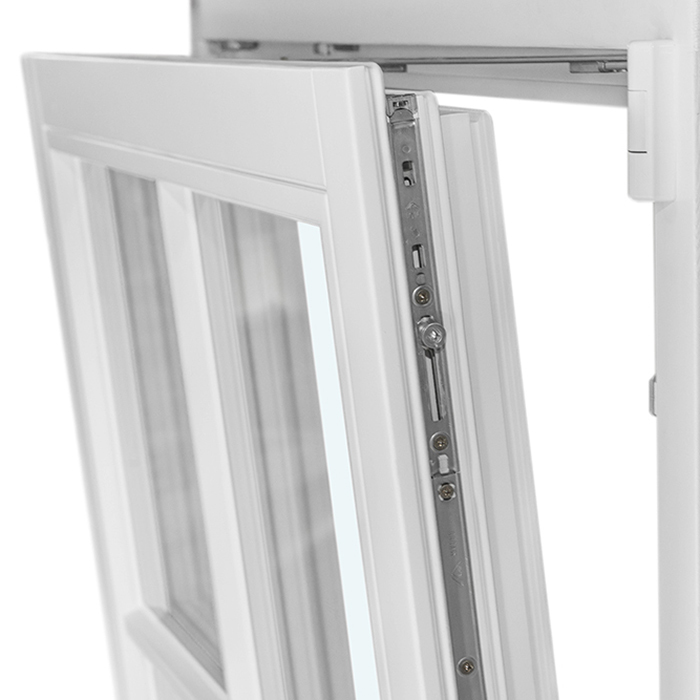
Also establish early whether the old frame will be removed completely or another replacement method is planned. This affects visible width, possible glass area, junction details and the position of the new frame. A smaller external frame size may be needed to leave a planned perimeter gap; this does not automatically mean that the window is too small. Conversely, a tightly measured size must not simply be adopted. The professional must assess how the sound substrate, reveal and sealing work together. For an initial product choice, an single-sash inward-opening window is only comparable when you record the intended operation and installation situation as well as the opening.
Record width and height at several points
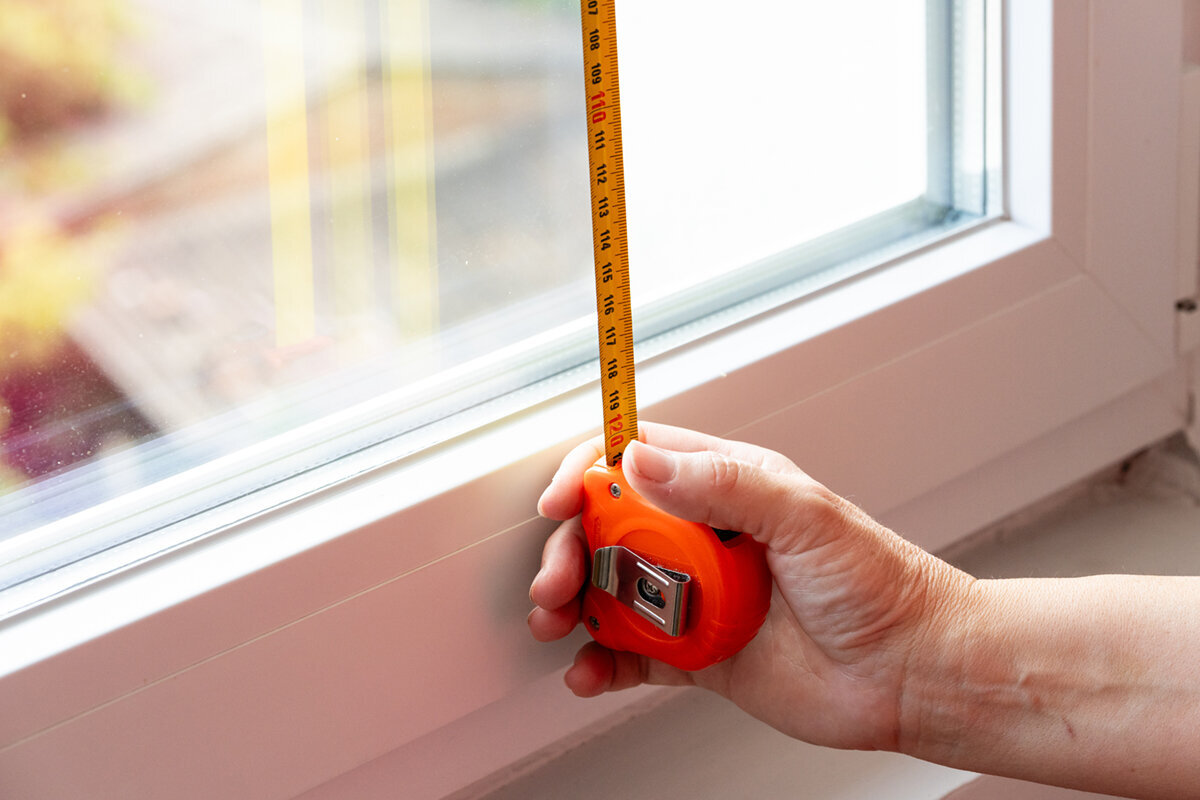
Measure the clear width of the exposed opening at the top, middle and bottom where possible. Measure height on the left, centre and right, from the sound lower reference point to the upper opening edge. In older buildings, values may differ because of uneven reveals, plaster build-up or an unlevel sill. Record every individual value in millimetres, rather than only a rounded average. Clearly mark the smallest value. It identifies the tightest point in the opening, where planning must pay particular attention to the perimeter allowance and tolerances. Do not measure over a fitted internal sill if it is not the actual lower installation junction.
For example, widths measured at the top and bottom may differ by only a few millimetres, while the middle measurement is noticeably smaller. This can indicate plaster, a bulge or an unclear measuring edge. Rather than quietly ignoring the unusual value, photograph the point with a tape measure in place and note the apparent cause. The same applies to height: an internal floor finish is not a dependable reference if the threshold or external sill is constructed differently. Make a small sketch with measuring points for every window. It enables the professional to judge later whether a differing value is structurally relevant or can only be assessed finally after exposing the opening.
Expose and identify the correct measuring edge
Curtains, internal linings, roller-shutter covers and loose trims often conceal the very edges needed for a survey. Remove only components that can be taken off safely and are due to be removed as part of the project. Do not damage seals or break into a reveal without a plan. The purpose of preliminary measurement is not destructive exposure, but a realistic picture: where does the old frame end, where does the wall begin, how deep are the junctions, and which linings affect the visible area? A torch, sturdy folding rule or tape measure, square and notebook are sufficient for many surveys. A laser can assist, but does not replace checking the actual measuring edge.
Measure square to the opening at every point. A tape held diagonally makes a distance appear larger than it is. With deep reveals, also check whether the internal and external edges have different opening sizes. For a sloping wall or heavily profiled plaster, document both planes separately. Do not assume which edge will later govern; instead, describe neutrally what you see. An internal photograph, an external photograph and a detail image of the lower corner are often more useful than a single number. Include a folding rule in the image so proportions remain visible. This documentation supports planning but does not replace the final site survey of the exposed opening.
Allow for depth, reveals and junctions
Opening width and height are not enough. Measure reveal depth on several sides and note whether it is formed the same way inside and outside. The position of the existing frame within the wall also matters: is it near the internal face, centred or further out? This affects how new linings, the sill, external junction and any shading meet. Record the material and condition where visible without intervention, such as masonry, concrete, timber cladding or a soft damaged area. This does not immediately determine an order size, but the installation plan must adapt fixings and junction design to it.
Pay particular attention to the lower area. The internal sill, external sill, masonry below the opening and transition to the frame each have their own levels. A later-fitted internal sill can distort the measurement; outside, coverings or falls can hide the true edge. For each value, record the start and end points, for example “clear height from sound internal masonry below opening to lintel”. For a window with fixed glazing this clarity is just as important as for an opening unit, even though no swing space is required. Fixed glazing can be a calm solution for hard-to-reach areas, but it does not change the need to plan frame, wall junction and drainage together.
Do not infer opening direction from the product image
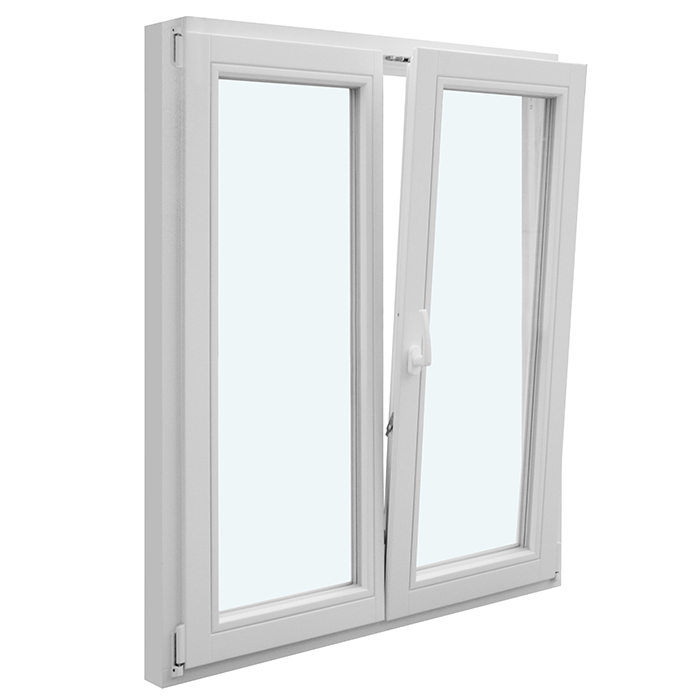
Dimensions do not show whether a sash has enough room to operate in the room. For every opening window, note the viewpoint used to describe its direction, ideally clearly as “viewed from inside”. Add whether it opens inwards or outwards, has one or two sashes, is side-hung, tilt, pivot or another operation, plus the hinge side if known. Draw the sash as an arc on your sketch. This reveals conflicts with radiators, taps, furniture, curtains or outdoor paths early. Opening type and size belong together: a wide unit may fit structurally but be awkward in daily use.
Compare not only the old window with the desired new product, but the movement space in the whole room. In a kitchen, an inward-opening sash may strike a tap. On a façade, an outward-opening sash may clash with a narrow passage. For larger openings, a double-sash inward-opening window offers different operation from a single-sash unit of the same overall width: sash division changes the view, cleaning and room required. Also note which sashes are actually intended to open regularly. This helps combine fixed and opening sections sensibly instead of copying the previous division without checking it.
Measure special shapes separately
Round, semicircular, triangular and angled windows need more information than a width and height. Draw the shape with a clear reference line. For a round window, measure the diameter on at least two axes; for a semicircular window, also measure the straight lower edge and arch height. For triangular and angled windows with fixed glazing designers generally need the base width, heights and an unambiguous angle reference or accurate survey of the corner points. A photograph with a scale helps, but does not replace geometry. Do not assume that a visually symmetrical shape is truly symmetrical. In existing buildings, arches and slopes can deviate from the ideal form.
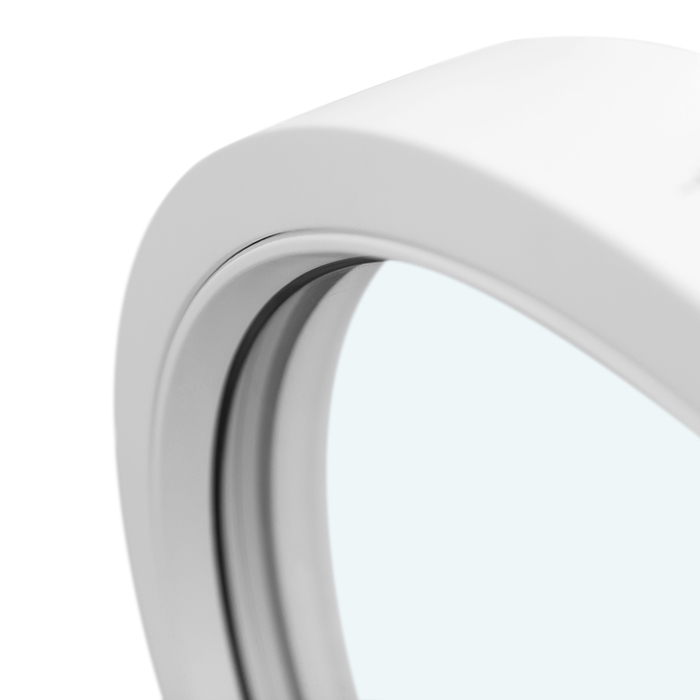
For a round window with fixed glazing the visible circular shape must be distinguished from the actual installation opening. Plaster, reveals and internal linings can alter the appearance of the opening. Therefore note whether your measurement was taken internally or externally and whether the frame is visible. For angled openings, a cardboard template can be useful for initial discussion, but is not a reliable basis for manufacture: it can distort and may not represent the installation plane. Instead, collect precise measurements, meaningful photographs and information about wall construction. A qualified person on site should confirm the final shape and junction size before you approve a bespoke unit.
Document divisions, glazing bars and visible proportions
A replacement can fit technically but still look different from expectations if divisions are not described. Photograph every window frontally from as straight an angle as possible. For multi-sash windows, measure visible field widths, the position of a central mullion and the height of horizontal divisions. Note the lines that matter to you: glazing bars that divide the glass, applied bars and a frame-only arrangement produce different appearances. “With glazing bars” must not be the only ordering information. A hand sketch with dimensions and a key prevents different expectations of the layout inside and outside. Also state whether the sketch shows the internal or external view. A fixed reference edge, such as the left clear opening edge, makes dimension chains traceable and prevents division sizes being read from opposite sides by mistake.
In an older building, a traditional appearance may be wanted without retaining every existing detail unchanged. First ask which proportion creates the character: the number of sashes, division height, narrow fields or the arch above. Only then compare, for example, a traditional-style double-sash casement window with other opening types. The product identifies a configuration, not the correct division for your façade. Coordinate frame views, glazing-bar pattern and opening function across the whole building rather than selecting each window in isolation. An elevation sketch of the street or garden side quickly shows whether similar openings should share a division or whether different room functions deliberately call for different solutions.
Record the sill, roller shutters and external junction
A window does not end at its frame. Check whether an internal sill extends into the reveal, whether an external sill, cover or another finish is present, and how far these components project. Measure depth from the relevant wall plane and photograph the side ends. Existing roller-shutter boxes, guide rails, external blinds or awnings should be sketched with their position and approximate clearances. An insect screen frame, railing or downpipe can also affect operation and access. These details help identify the consequences of a changed frame position early, rather than improvising after delivery.
An opening close to floor level needs particular attention. For a single-sash inward-opening patio door record not only width and height, but also the existing threshold, internal and external floor build-up, and fall of the adjoining surface for project coordination. Do not measure from a loose rug, decking overlay or cover. Instead, note which finishes will remain permanently and where water can drain. A photograph alone cannot decide whether an existing situation needs alteration. The professional responsible for installation should assess the junction, sealing and materials together. A precise description of the existing condition is enough for your enquiry; do not jump to a technical solution.
One measurement sheet per opening creates clarity
Give every unit a unique reference, for example GF-W01 for the first ground-floor window or FF-D02 for the second first-floor door. Use the same reference on the sketch, photographs and product enquiry. Each record should include the room, façade side, width and height at every measuring point, depth, preferred opening, unusual obstacles, and photographs from inside and outside. Add the measurement date and the name of the person measuring. With several similar windows, this system prevents a photograph or dimension being assigned to the wrong opening. A shared spreadsheet also shows which units genuinely have identical sizes and which merely look similar.
Then plan in two columns: existing condition and preferred result. The existing side should contain only observed details. The preference side can include fixed glazing, opening direction, glazing bars, privacy screening or a different sash division. This separation prevents preferred sizes being confused with existing ones. For a wide opening, a Patio Life lift-and-slide door unit may be considered as an alternative to hinged doors; this does not mean the existing opening is suitable without further assessment. When comparing, ask which overall width, threshold design, side junctions and operating areas each concept needs. The measurement sheet then serves not only as a survey record, but as a decision-making document for the entire project.
Have final measurements checked and coordinate the programme
A preliminary survey is ideal for narrowing options and preparing conversations. However, the final survey must suit the agreed installation plan. Arrange it only once it is clear whether old frames, linings, sills or shading will be removed and which finishes will remain. The surveying professional should have access to both internal and external sides and be able to document deviations immediately. Clarify who approves dimensions, who plans the junctions and who coordinates follow-on work such as plastering, sills or painting. Verbal measurements from different phases of building work are not a safe basis for an order. Also ensure furniture, curtains and moveable covers do not obstruct access. If a measuring edge will only become visible during removal, agree beforehand who will assess that uncertainty and when final approval will be given. This keeps a provisional assumption clearly identified rather than accidentally turning it into a manufacturing size.
Take your measurement sheets, photographs, product preferences and a list of open questions to the final discussion. Ask specifically: from which plane will measurements be taken? Which dimensions will be released for manufacture? How will side, top and bottom junctions be allowed for? Which existing components must be removed first? What happens if concealed damage or a different opening is found after removal? Keep changes in writing against the relevant unit references. Bloomcabin windows and doors have a five-year guarantee. Delivery usually takes four to six weeks, subject to order confirmation. Schedule removal and follow-on work only after the order is confirmed and the date agreed.
Frequently asked questions
Should I measure the old window or the wall opening?
For replacement planning, the existing opening matters, not only the old frame’s external size. Record both where visible and identify the measurement type clearly. The binding size follows only from the opening, planned installation position and required perimeter allowance. The professional responsible for fitting should therefore confirm the final survey.
Which measurement counts when the opening has different widths?
Record all measurements at the top, middle and bottom, and at the left, centre and right for height. The smallest clear value is an important indication of the tightest point. However, it is not automatically the order size. The professional must also assess plaster, structural soundness, frame position and planned junctions.
Can I measure internally if there is no access outside?
Yes, internal measurement provides useful values for an initial enquiry. Clearly note that the outside has not yet been checked, and photograph the external view where possible. The reveal, external sill, shading and junction position may look different outside. Both sides should be inspected before final approval.
Must I measure every identical-looking window separately?
Yes. Windows in the same façade can have different opening sizes because of plaster, masonry below the opening, alterations or settlement. Measure every opening separately and give it a reference. Only after comparing complete measurement sheets can matching units sensibly be grouped and planned as one configuration.
When should I order after the survey?
Order only once product configuration, final dimensions, opening direction, junctions and responsibilities have been agreed. Check the order confirmation carefully against your unit list. Allow for Bloomcabin windows and doors to take four to six weeks, subject to order confirmation, before scheduling removal and follow-on trades.
Next step
Good measuring means documenting the existing opening clearly and understanding the limits of a self-survey. Record width, height and depth several times, keep measuring edges, opening preferences and junctions separate, and assign photographs clearly. With special shapes, floor-level doors and visible divisions, no single value decides the result; the interaction of existing conditions, desired function and installation planning does. A complete measurement sheet lets you compare products more purposefully and raise open points precisely. Final dimensional approval should then be given by the professional sharing responsibility for installation and junctions.
