
How to Spot a Quality Aluminium Pergola: 12 Key Features
An aluminium pergola is a defining feature between house and garden. Since it remains visible for years, it deserves comparison beyond brochure images. Quality workmanship shows where loads are carried, water is directed and moving components are used day to day. This guide helps you assess the relevant details systematically.
Start with your intended setting: will the pergola cover a dining area, organise a lounge or create a transition beside the house? This sets requirements for footprint, access routes, light and rainwater management. Only then can you judge whether the frame, roof type and equipment options suit your project rather than simply looking attractive.
Quality is not one characteristic. It comes from the interaction of profiles, connections, foundation planning, roof construction and clear product documentation. Use the following features when discussing quotations and advice. For site issues, building requirements or insurance implications, also consult the relevant authorities and your insurer.
Stage one: check the structure
The frame does more than look good
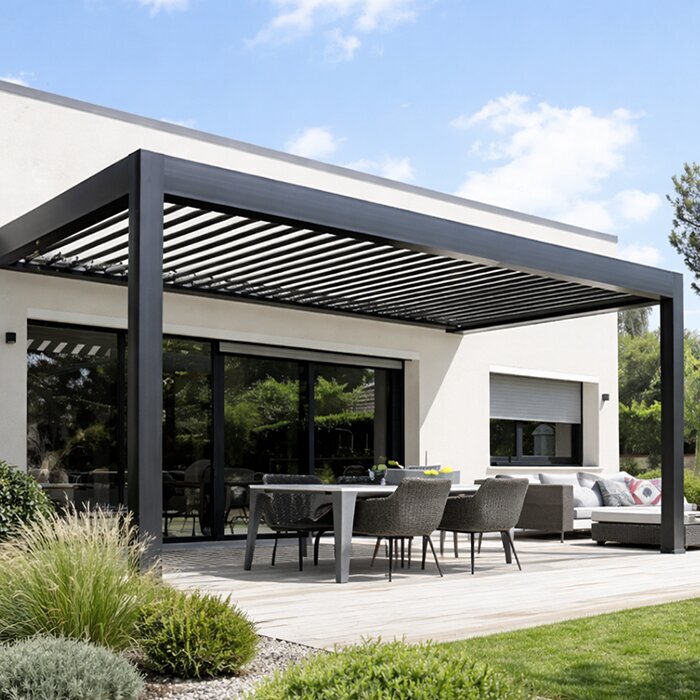
The frame is the foundation of every aluminium pergola. Do not judge crossbeams, posts and frame positions only by broad visible faces. Ask to see how elements join at corners and where covers sit. Visible joints should run evenly; request a drawing or detail view for concealed areas.
Aluminium provides a durable basis for outdoor structures, but profile execution still matters. Ask which components carry loads and how frame sections align with one another. A clear drawing showing post positions helps you check walkways, furniture and garden access in advance. It turns an appealing view into a sound basis for a decision.
Feature 1: Ask to see profile geometry and load-bearing components in a drawing. It should show which beams carry loads and where they meet the posts. Feature 2: Check corner connections separately: ask about the connection beneath covers and consider whether fixing points, covers and joints are arranged clearly.
Compare post locations with doors, windows, terrace edges and planned circulation areas, not only with the roof footprint.
Ask to see corner areas and establish which connection lies under covers, where fixing points sit and how visible joints are finished.
If you are considering a roof with adjustable louvres, compare bioclimatic aluminium pergolas with louvred roofs for frame construction, corner connections and detailing.
Stage one: material and finish
Surfaces must suit outdoor living
An even finish creates the first impression, but cannot replace careful construction. Look for consistent colour across posts, beams and accessories, as well as neatly finished cut and connection areas. Ask for suitable care guidance, because dust, pollen, leaves and splash water are part of pergola life. A realistic care routine supports a lasting outdoor setting.
Your chosen colour also deserves practical consideration. Dark tones can accent architecture, while lighter versions appear more airy; most important is the relationship with façade, window frames and terrace flooring. View samples in daylight where possible. You can then see whether gloss and colour suit house and garden, and whether accessories integrate calmly.
Feature 3 concerns the coating: compare colour and gloss across several components and accessories in daylight. Feature 4 is cut and connection edges. Ask how these areas are finished and should be maintained. Edges, drill holes and transitions are especially useful for judging whether the surface solution has been fully explained.
Inspect surfaces at edges, transitions and less obvious spots; these often reveal workmanship particularly clearly.
Plan regular, material-appropriate cleaning and avoid aggressive products unless their suitability is expressly recommended.
For open terrace settings, you can also compare classic aluminium pergolas without louvred roofs by colour, profile appearance and suitable accessories.
Stage two: understand the roof
Louvres need precise guidance
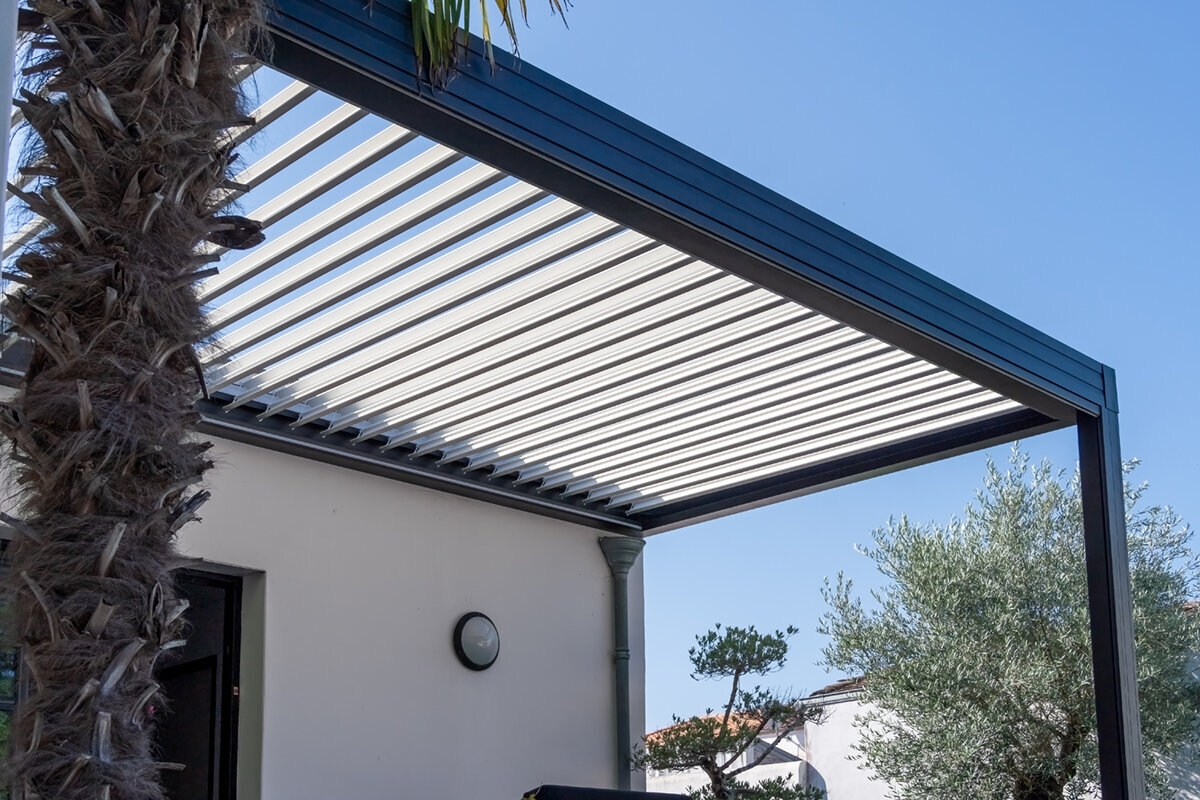
For a pergola with a louvred roof, louvre movement is a central quality feature. It should be even, understandable and free from distracting friction noise. Look at the guidance, side transitions and the calm overall appearance when closed. Before choosing a configuration, also ask how everyday operation, cleaning and checks of moving parts are intended.
The roof influences light, views upward and the atmosphere below the pergola. A viewing, or at least a detailed presentation of different louvre positions, is therefore worthwhile. Clarify which areas are directly open to the sky when the roof is open and how furniture beneath it will be used. Good planning connects the room you want with a roof solution whose operation you understand and accept.
Feature 5 is louvre guidance. Ask to see movement across the full travel and check whether it is even. Feature 6 covers end positions and side transitions: ask how louvres sit when open and closed, which areas remain accessible and how intended care work is carried out there.
Ask for an explanation of louvre movement, including transitions, end positions and planned care of accessible areas.
Assess the roof type around your daily routine: shade needs, evening light, sightlines and furniture matter more than one equipment feature.
For seating areas used in flexible ways, it is worth viewing bioclimatic aluminium pergolas for flexible shading with roof operation and light effect in mind.
Stage two: control water
Drainage cannot be an afterthought
Where rain meets a roof surface, water needs a clear route. On quality aluminium pergolas, gutters, transitions and outlets should form part of the construction, not an add-on. Ask where water will be directed and which areas remain accessible. Particularly along terrace edges, paths and house connections, include its route in the overall plan early.
A clean-looking roof edge is convincing only when its water management matches. Check whether downpipes, gutters or outlets could affect use of the area. Leaves and dirt can influence water routes, so accessibility and care are practical concerns. Discuss local drainage conditions and any requirements with the relevant authorities or professionals for your property.
Feature 7 is integrated water management. Request a view of gutter, transition and outlet rather than only the roof edge. Feature 8 is maintenance access: establish where gutters and outlets can be checked or cleaned. Both should be considered when planning the terrace, paths and planting.
Ask for the entire water route from roof surface to the intended outlet or connection to be explained clearly.
Allow for leaf fall, neighbouring beds and terrace slope so maintenance access and water routes remain practical every day.
Even with an open roof design, it is worth considering classic aluminium pergolas for the terrace and how they integrate with existing paths and surfaces.
Stage three: assess connections
Plan posts and fixings
Even the finest structure works only with a suitably prepared base. Posts transfer loads to the ground, so their location, fixings and existing terrace build-up must be considered together. Establish early what lies beneath pavers, decking or screed and which areas are genuinely load-bearing. Anchorage should follow local conditions, not simply an installation idea.
Near a wall, further issues arise: façade build-up, window openings, roof overhangs and service routes can affect the position. Take measurements carefully and record obstacles on the plan. Where uncertainty remains, professional assessment is sensible. There is no universal answer for building-control questions or approvals; consult your relevant local municipality.
Feature 9 concerns the base: record its construction, levels and load-bearing areas before planning fixings. Feature 10 is fixing points. Ask which points are planned and how their position is checked against the terrace edge, house wall and possible services. A location-specific sketch makes these decisions easier to follow.
Document the base, build-up heights, falls and possible services before finalising foundation or fixing details.
Check whether post positions could restrict doors, access hatches, outdoor sockets or the furniture clearance you want.
With an adjustable roof solution, you should always assess bioclimatic pergolas with precise post planning together with the base and drainage.
Stage three: use details well
Accessories should improve use
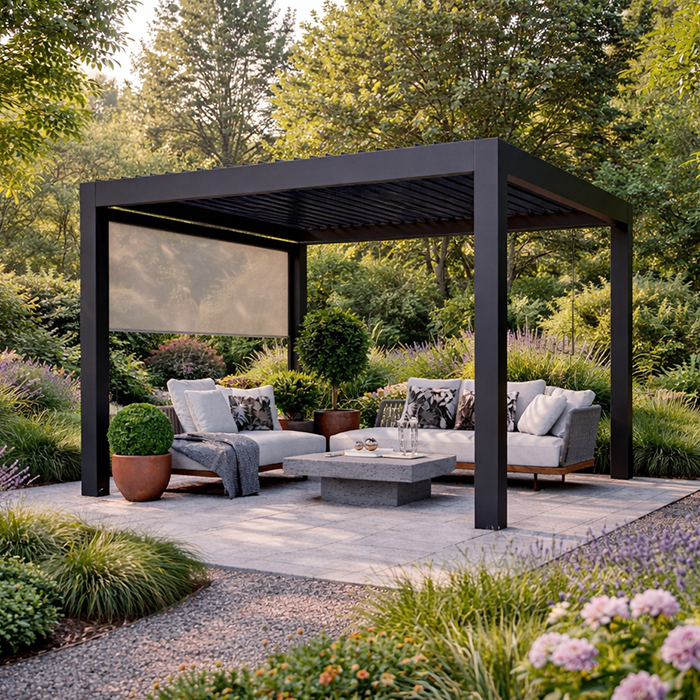
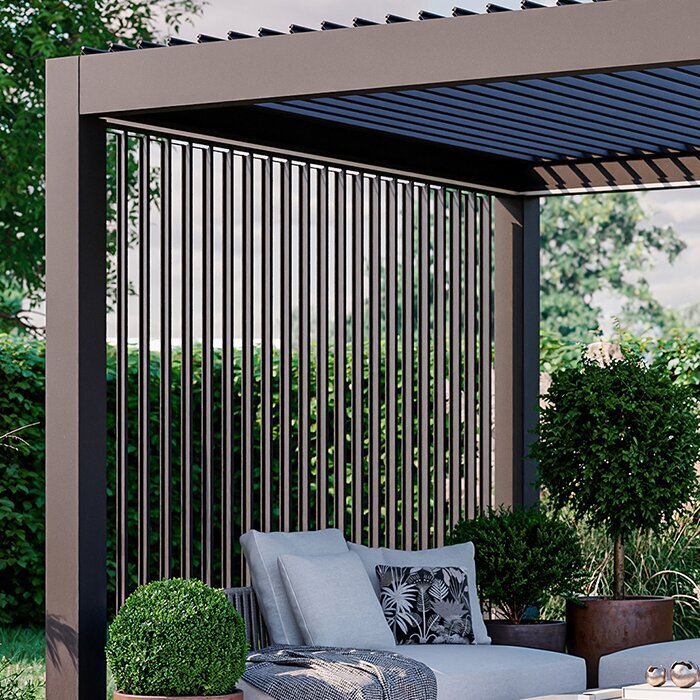
Side elements, lighting or additional equipment can tailor a pergola more closely to your habits. Quality is evident in integration: accessories should not unnecessarily interrupt clean lines, and their operation should remain straightforward. First decide which situations you want to improve, such as low sun, overlooking or evening use. Only then does the right element become clear.
Avoid treating every option as essential. Extra components change appearance, installation effort and care needs. Consider whether they will remain accessible and how they work with existing wall lights, plants or furniture. A coherent concept usually comes from a few well-founded choices. Ask for written clarification that your chosen configuration is compatible before ordering.
Feature 11 is accessory integration. For every addition you want, ask which components it attaches to, whether operating and care routes stay clear, and whether it is intended for the selected configuration. Written compatibility confirmation helps distinguish aesthetic wishes from practical requirements.
Match accessories to a specific use issue rather than choosing equipment solely because a product presentation looks comprehensive.
Check operating routes and maintenance access, especially where side areas sit close to hedges, walls or fixed furniture.
If an open frame is sufficient as your base, discover classic aluminium pergolas with open roofs with equipment that suits everyday life.
Stage four: read quotations
Documentation makes quality comparable
A meaningful quotation describes more than an overall image and final amount. It should clearly list the selected design, dimensions, colour, roof type, relevant equipment and installation and preparation points. This shows whether two options are truly comparable. Ask about unclear items before deciding on size or accessories. Missing detail often creates different expectations later.
Product documentation also deserves time. Look for information on care, operation, installation requirements and the limits of the relevant configuration. Keep sketches and written agreements so connections and equipment wishes remain clear. Assess statements about warranties or additional guarantees only against the applicable written conditions, scope and any requirements. This creates transparency for both sides.
Feature 12 is complete documentation. A comparable configuration clearly identifies dimensions, roof type, colour, post positions, accessories, installation requirements and care guidance. Compare drawing and quotation point by point. Anything neither shown nor stated in writing should be clarified as a specific question before deciding.
Compare quotations item by item: construction, roof, accessories, preparation and installation notes should be clearly distinct.
Note open questions directly on the drawing; visual reference points prevent misunderstandings about posts, outlets and side options.
For a transparent quotation comparison, you can compare bioclimatic aluminium pergolas in a suitable configuration using the same questions about dimensions and equipment.
Stage five: decide for the long term
Care and daily use complete quality
A quality pergola remains most convincing when it suits your daily life. Plan cleaning routes, access to gutters and seasonal checks of visible components. Remove loose leaves or dirt in line with the stated care instructions, and regularly check moving parts for unobtrusive operation. If anything seems unusual, consult the manual and seek qualified support where appropriate.
Also think about changes in the garden. Growing plants, new sightlines or different furniture can influence use. A well-planned structure leaves enough room for this development without blocking routes. Decide not only around today’s ideal image, but around recurring use through several seasons. Quality then becomes tangible as a combination of construction, planning and care.
Create a simple seasonal routine for cleaning, visual checks and keeping intended water routes clear.
Choose clearances from planting and furniture so care, operation and desired terrace use remain possible long term.
For an outdoor seating area that can change over time, choose classic aluminium pergolas for outdoor spaces with care, location and future use in mind.
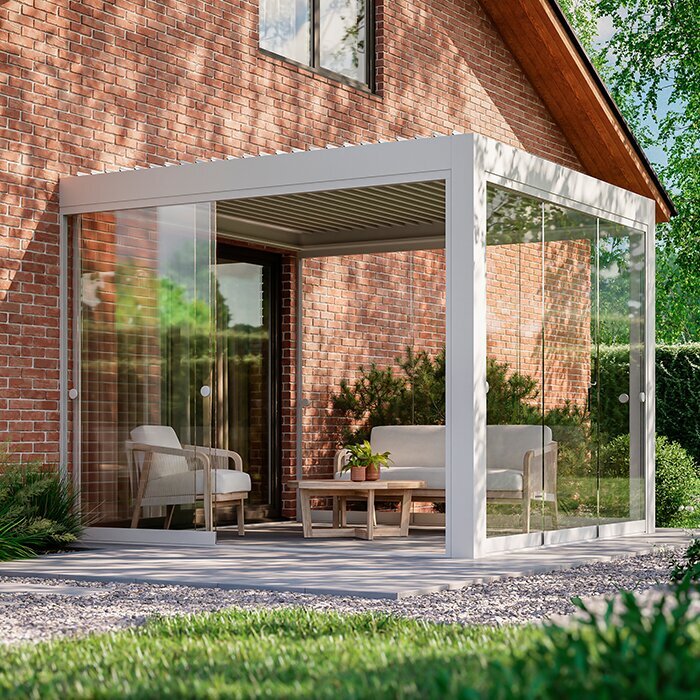
Comparison
Quality features at a glance
This matrix does not replace a site-specific assessment, but helps you read quotation documents with purpose. Evaluate every feature in relation to your space, base and intended use. Where information is missing, ask specifically before making a decision.
| Assessment area | How to recognise quality | Planning question |
|---|---|---|
| Frame | Load-bearing profiles and corner connections are clearly shown in a drawing or detail view. | How are beams, posts and corners structurally connected? |
| Roof | Operation and transitions are clearly presented. | How does the roof change light and usability? |
| Drainage | Water route, gutters and outlets are explained clearly. | Where will water be directed on your property? |
| Fixing | The base and connection points are considered early. | What construction lies beneath your terrace finish? |
| Finish | Colour and visible details appear consistently finished. | How will you care for surfaces through the year? |
A sound choice in five steps
A clear sequence prevents accessories or visual impact from overshadowing vital construction questions. Work from the site through the technical details to written clarification.
01
Measure the space
Measure the terrace, house openings, heights and relevant obstacles. Also mark paths, seating areas and the direction you want to face.
02
Prioritise use
Decide which situations matter most: dining, relaxing, sun protection, evening use or calm architectural definition.
03
Choose the roof concept
Compare open and adjustable designs by light, sky views, care needs and the atmosphere you want beneath the roof.
04
Check the technical details
Clarify the frame, posts, fixings and water management together. Seek professional advice if the base or connections are unclear.
05
Finalise documentation
Have the configuration, dimensions, accessories and outstanding requirements recorded clearly in writing. Review applicable conditions carefully too.
Checklist: features to tick off
Take this list to a consultation, showroom appointment or quotation comparison. It reflects this guide’s twelve quality features and helps you raise missing details directly.
01. Profile geometry and load-bearing components are visible in a drawing or detail view.
02. Corner connections, covers and visible joints are clearly explained.
03. Colour and gloss are consistent across posts, beams and accessories.
04. Cut, drilled and connection edges are finished, with care guidance available.
05. Louvre guidance and movement have been demonstrated across the full travel.
06. End positions, side transitions and care access for the louvred roof are clear.
07. Gutters, transitions and the water route from roof surface to outlet are shown.
08. Gutters and outlets remain accessible for checking and cleaning.
09. The base, build-up heights and load-bearing areas are documented before planning.
10. Fixing points are coordinated with terrace construction, house wall and possible services.
11. Chosen accessories suit the configuration and remain operable and accessible.
12. Quotation and drawing clearly identify dimensions, configuration, requirements and components.
Frequently asked questions about aluminium pergola quality
Is a thicker visible beam automatically better quality?
No. A broad visible face alone says little about structural quality. What matters is the interaction of profile geometry, connections, post positions and fixings. Ask for a clear presentation of load-bearing components and assess them for your pergola’s size, location and intended use.
Why is drainage so important for a pergola?
It affects how rainwater is led away from the roof and which terrace areas may be affected. A clear solution considers gutters, outlets, care access and surroundings. Establish the intended water route early, especially near façades, paths or property boundaries.
How can I recognise a well-planned louvred roof?
Look for an understandable explanation of movement and ask to see louvres across their full travel. Also check end positions, side transitions, operation and care access. A good roof concept suits your daily life rather than merely appearing attractive as a technical extra.
Should the terrace base be checked before buying?
Yes, because the type of base can affect planning for fixings and posts. Document construction, heights and possible services as early as possible. If uncertain, obtain a professional assessment. This helps coordinate intended connection points with the terrace and house surroundings.
What role do accessories play in assessing quality?
Accessories are useful when they serve a specific purpose and integrate neatly into the overall construction. Check operating routes, visual impact and care needs. The key is not the number of options, but whether selected elements work with the site, furniture and your everyday use.
Do I always need approval for a pergola?
There is no universal answer. Requirements can depend on location, dimensions, construction, property and local rules. Before proceeding, ask the relevant municipality or building-control authority. Your insurer is also the right contact for questions about effects on existing cover.
Compare configurations
Quality is decided in the details
You cannot recognise a quality aluminium pergola from one feature alone, but from a coherent overall picture. Frame, roof, drainage, fixings and finish should work together technically and visually. Checking these points systematically makes models and documentation far easier to compare.
Take time over dimensions, the base and future daily life on your terrace. With clear questions and a documented configuration, choosing from Bloomcabin or elsewhere in the market becomes easier to follow. The result is an outdoor space suited to your home and way of living.
Use the checklist for your selection and clarify outstanding construction and site questions before finalising the configuration.
