
Install windows yourself or hire a professional installer?
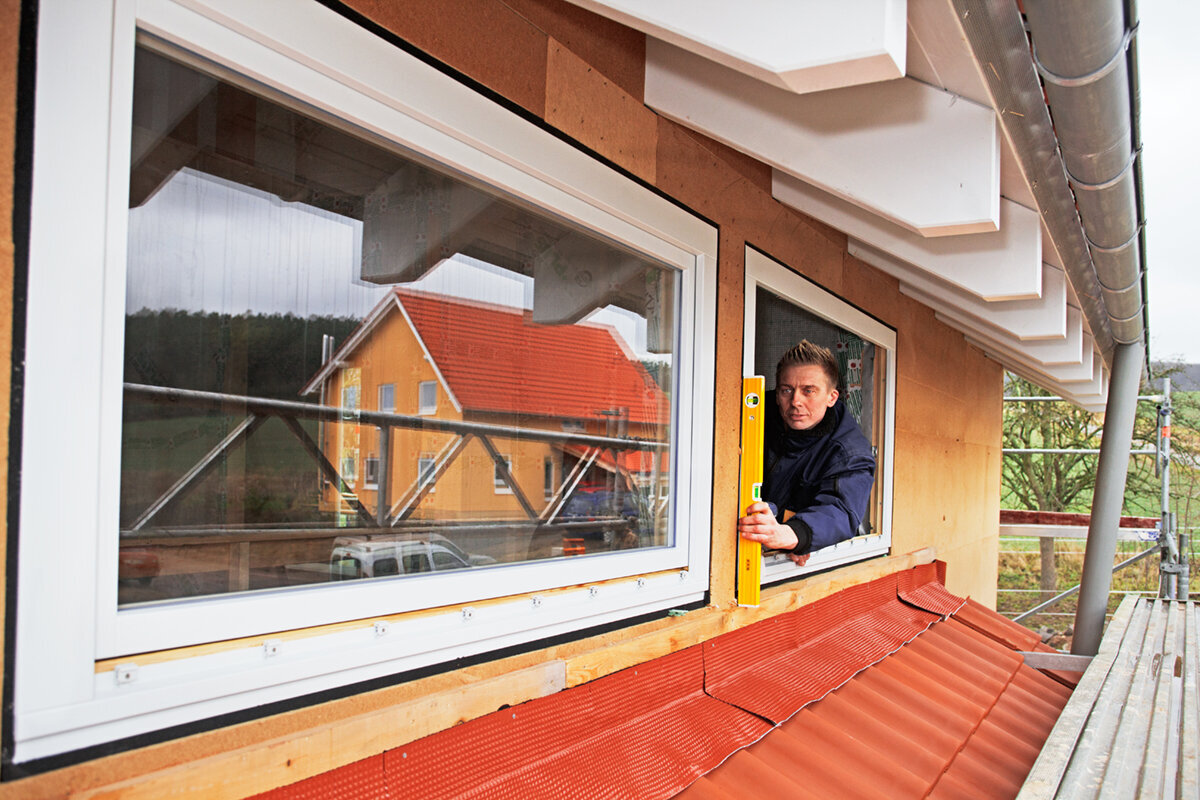
Window planning in South Africa
Replacing windows does not begin with deciding who lifts the frame into the opening. The key question is whether measuring, wall connections, sealing, fixing, sash adjustment, façade work and internal reveals are planned as one coordinated project. If you have fitted comparable components before, can assess openings safely and have enough time for finishing work, you may undertake clearly defined tasks yourself. With several windows, heavy units, uncertain reveals or alterations in an occupied home, a professional installer is often the better choice. This guide compares more than labour costs: it considers the risks and interfaces that determine whether the result performs reliably over time. It helps you define realistic DIY tasks, assess quotations properly and ask the right questions before ordering.
Make the decision for the whole project
A window is not a single item of furniture that only needs fixing after unpacking. It forms the interface between the external wall, indoor space, weather protection, insulation, sill, plaster or cladding. The first question should therefore not be “DIY or contractor?”, but which tasks must work together and who accepts responsibility for each one. Replacing a window in a sound, square opening is very different from renovating crumbling reveals, adding external insulation or changing sill height. Access matters too: a ground-floor window with clear working space is handled differently from a unit reached by stairs, scaffolding or through a garden structure. Map the process from removal through to reinstatement. Only then can you see whether DIY work genuinely saves effort or simply transfers risk to later stages.
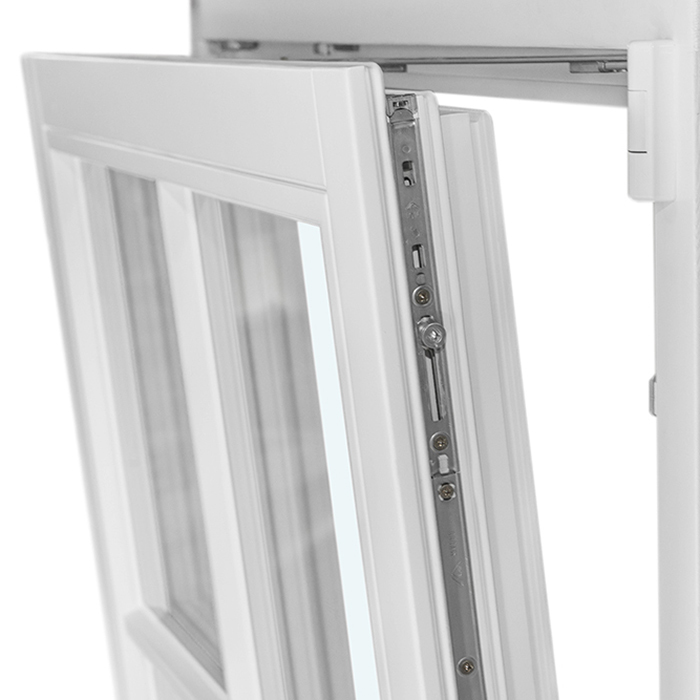
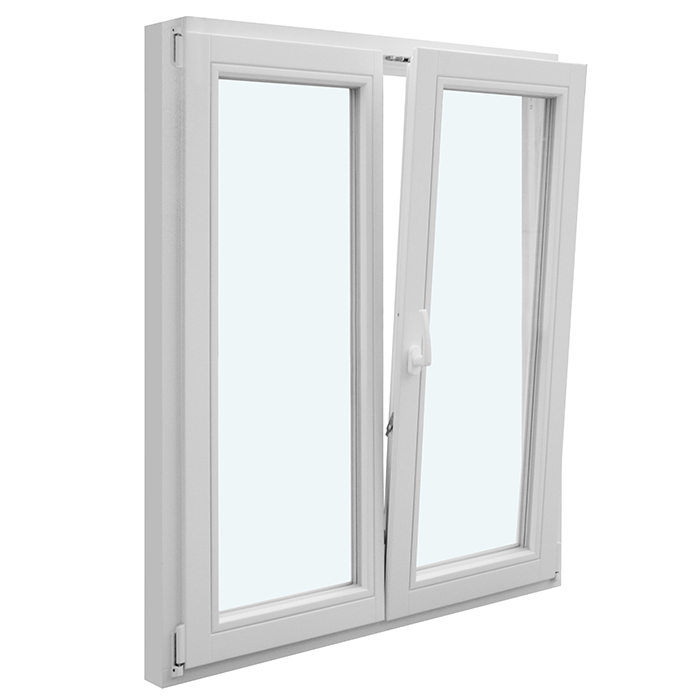
The configuration also affects how demanding installation will be. A compact, simple window has different requirements from a wide, multi-leaf or difficult-to-handle unit. With a two-leaf inward-opening window the opening clearance, safe transport, frame position and subsequent adjustment of the sashes must all work together. The product describes a construction type, not its suitability for your particular wall. Before appointing an installer or fitting it yourself, compare the existing opening, intended opening direction, furniture layout and future accessibility. Also plan for the period while the opening is exposed: weather protection, dust, security and continued use of the room are all part of site planning. If you cannot coordinate these points reliably, appointing a professional provides more than installation help.
Measuring is the foundation, not a final check
Many installation problems start before delivery. A clear opening measurement at one point is not enough, because reveals may taper, be uneven or be hidden by old finishes. Measure width and height at several points, check diagonals and record where each measurement was taken. Wall build-up, the position of the existing frame, rebates, sill, shutter guides and possible services are equally important. In older homes, removal may reveal the actual substrate only afterwards. Anyone ordering before such uncertainty is resolved takes the risk that the unit cannot be positioned or connected as planned. A professional installer can include measuring in the scope; ask explicitly which dimensions they accept responsibility for and what conditions are required at the opening.
Not only width and height but also the installation plane must be set in advance. It affects how internal and external connections, insulation and the sill fit together. When replacing windows without façade work, the existing condition may severely limit the options. If a façade upgrade is planned later, avoid choosing a connection now that will need costly reopening later. Keep photographs, sketches and measurements with the order. With unusual shapes, such as a triangular and sloping fixed-glazed window, standard assumptions are especially rarely sufficient: the real geometry of the opening, bearing points and transition to adjoining components must be checked before ordering. Have uncertain existing details assessed by a suitable professional rather than deriving dependable dimensions from a photograph.
What professional installation really includes
Placing the frame is only one stage. Components must first be protected, old fixings released and the opening prepared so that the new frame can be installed level, securely supported and without distortion. During fitting, the frame is aligned and fixed. The perimeter joints must then be closed to suit the selected connection system, and transitions to the reveal, sill and façade reinstated. Finally, operation is tested and moving parts adjusted where required. A neat visible joint says little about whether the concealed connection behind cladding has been completed correctly. If you install the window yourself, plan each step, including materials, tools and sequence, before the building opening is exposed rather than improvising on site.
When obtaining a professional quotation, ask for the work to be broken down into these exact stages. Check whether removal and disposal are included, who prepares the substrate, how damage to adjoining finishes will be handled, and who completes internal and external connections. Also establish whether sills, sealing and replastering are included or belong to other trades. This makes quotations comparable even when their final totals differ. Installing a fixed-glazed unit may require less sash adjustment, for example, but alignment, secure fixing and careful wall transitions remain full installation tasks. “Fixed” does not automatically mean “easy to install yourself”. Agree a documented handover inspection where operation, visible finishes and agreed connections are checked together.
Assess experience, tools and helpers honestly
General DIY ability is a good starting point, but it does not replace experience of precise measuring and building connections. The task requires heavy, fragile components to be moved in a controlled way, the frame to remain permanently in the correct position, and operation not to be affected after joints are closed. Depending on the project, you need suitable measuring equipment, lifting and transport aids, fixing tools, safe working platforms, and materials for protection and connections. It is also essential that this equipment is reliably available on installation day. Borrowed specialist tools without practice can slow the work down rather than help. Allow for more than fitting time: unpacking, sorting, protective measures, cleaning and reinstating the surrounding area all take time.
The number of people is not just a logistical detail. A helper without a clear task or experience does not make an awkward frame safer. Plan who receives the unit, who measures, who aligns it and who protects the surroundings. A Patio Life lift-and-slide doorunit, with its large moving component, shows why the transport route, resting area and controlled handling must be clarified beforehand. Product-page information does not replace checking the actual weight or delivery conditions. If you cannot confidently explain how the unit will travel from the vehicle to the opening and remain stable there, this work belongs in professional hands. DIY input can still include clearing areas, covering surfaces or agreed finishing work, but not improvised lifting.
The wall connection determines future costs
The joint between frame and building fabric must perform several tasks at once: it accommodates construction tolerances, holds the component in its intended position and joins different materials at a weather-exposed location. Different requirements can therefore meet internally, within the joint and externally. Suitable materials and details depend on the wall build-up, installation situation and adjoining layers. Specifying one sealant for every case is not planning. Hard-to-reach transitions behind external cladding, sills or internal linings are particularly problematic. They may look tidy when finished, yet later investigation can require disturbing completed surfaces.
A professional installer should be able to explain the intended connection system for your situation clearly. This does not mean you must assess every product yourself. You should, however, know where responsibility lies if façade contractors, drywall installers and window fitters work in sequence. Ask for clarity at each handover: What condition must the opening be in? What preliminary work is expected? Who connects to an existing external sill or new insulation? With a single outward-opening patio door the threshold is an additional transition between the interior and outside surface. Its heights, finishes and drainage cannot be decided separately from the door frame. The more such interfaces are involved, the stronger the case for continuous planning and one responsible installation lead.
Moving elements require adjustment and functional testing
A frame can look straight while still creating stresses that only become apparent when it is opened. With windows and doors, sashes must run smoothly, close properly and remain in the intended position. Checks are needed not only immediately after hanging the sash, but also after fixings and connections are complete. If components are placed under pressure by installation or insufficient clearances, operation can change. Test every opening position, the handle, even seating and contact with adjacent surfaces. Record any issues immediately, before reveals, linings or paint make corrections harder. Anyone installing themselves needs a clear plan for adjustment and the relevant specifications; simply trying settings can conceal the cause.
This also applies to unusually opening windows. An top-hung outward-opening awning window requires a different assessment of opening travel, operation and access to the exterior than an inward-opening sash. Check the position of handles, hardware and later fittings during planning. Curtains, insect screens, furniture or external components can interfere with use even when the unit itself has been installed correctly. With a professional installer, record the intended opening direction and special use in writing in advance. With DIY work, never assume later adjustment will correct a fundamental planning error. Only when position, clearance and connections are right does fine adjustment become what it should be: the final stage of careful installation.
Plan for the existing home, removal and protection
Removing old windows is often less predictable than installing new ones. Linings, plaster edges, wallpaper, sills or fixings can be damaged during removal. Decide which finishes you want to retain and what level of reinstatement is acceptable. Cover walking routes, create a low-dust resting place for removed sashes and clear the work zone generously. In an occupied room, sequence matters too: not exposing every opening at once can make daily life and weather protection much easier. With several windows, a trial window is useful. Its sequence, connection details and actual effort can be assessed before the same mistake is repeated throughout the house.
Historic or visually sensitive buildings need additional care. A historic-style outward-opening “Kombi” casement window names a particular design and opening type, but it does not answer how the existing façade, reveal or internal lining should be treated. Document elevations, details and dimensions before starting. Decide which existing elements will be retained, repaired or replaced. This is often where a divided scope works well: professionals undertake removal, installation and critical connections, while you arrange clearing, protection or clearly defined cosmetic work only after approval. Where the existing condition is uncertain, the installer should state assumptions and possible additional work transparently in the quotation. This helps prevent apparently inexpensive DIY work from becoming a series of unplanned repairs.
Divide DIY work sensibly instead of doing everything
The choice need not be entirely one or the other. A split scope can combine cost awareness and professional certainty if interfaces are defined in writing. Suitable DIY tasks often include emptying rooms, covering furniture, removal only by agreement, disposal of agreed materials or later painting. Critical items such as confirmed measuring, frame installation, perimeter joints and functional handover remain with a professional installer. This works only when the sequence is clear: DIY work must not alter the prepared opening or restrict access for installation. Ask the contractor in advance which preliminary tasks they accept, what condition the site must be in on arrival and which activities you must not carry out beforehand.
Another option is to have one manageable unit professionally installed first and use the process as a learning basis. This does not automatically mean later openings are the same. Different wall areas, window formats and external connections can change the work fundamentally. With a pivot roof window its position, access and connection to the roof surface create their own project conditions; comparison with a window in a vertical external wall is therefore limited. Define separately for every unit who handles measuring, installation, connections and finishes. A table with these four columns prevents gaps better than a verbal promise that “we will do the rest ourselves”. It also gives the installer a sound basis for an appropriate quotation.

Compare quotations by depth of scope
Do not compare quotations solely by an item called “installation”. A reliable quotation describes the units, quantities, proposed work, preconditions and exclusions precisely enough for you to identify differences. Look for measuring, protection, removal, on-site transport, fixing, connection work, adjustment, disposal and surface reinstatement. Ask about unclear wording before ordering: Is a particular connection only prepared or fully completed? Is a sill included? What happens to exposed damaged areas? Who coordinates the work if plastering, window installation and façade details occur in sequence? A lower amount may reflect a different scope, not the same work at a better price.
Do not ask for a general assurance of “professional installation”; ask for a project-specific explanation of the proposed solution. Share photographs, dimensions, known wall build-up and your wishes for removal. With an outward-opening entrance door with a panel, clarify in particular how the frame, access, threshold, external surface and any existing side panel or canopy relate to each other. The product name alone does not determine the details for your entrance situation. Also record who addresses defects at the boundaries between trades. Sound planning is not shown by promising away every uncertainty, but by setting out assumptions, checks and possible additional steps clearly. This is what makes DIY and contracted work fairly comparable.
Secure the order, schedule and handover
Order only once dimensions, opening direction, quantities, design and responsibilities have been agreed. Check the order confirmation line by line against your room schedule: which unit belongs in which room, how does it open, and which side is inside or outside? Mark openings on a floor plan rather than relying on memory. Prepare vehicle access, interim storage and a dry, protected resting area for delivery. Delivery takes 4–6 weeks, subject to order confirmation. Use this time to prepare the site carefully, not to start irreversible removal work too early. Coordinate timing and sequence with every trade involved so new units do not wait at openings that are still unsuitable.
Handover involves more than a first look through the glass. Check the quantity, visible specification and opening directions against the order. Test every moving sash in practice and inspect frames, glazing, handles and accessible connection areas in good light. Photograph concerns, describe their location and function, and report them promptly to the responsible contractual party. Keep the order confirmation, delivery note, installation documents and records together. Windows and doors from Bloomcabin have a 5-year guarantee. This does not replace careful handover inspection or clarify who is responsible for installation work. A well-documented project close-out makes it easier later to distinguish between a product question, adjustment need and connection work rather than merely guessing at causes.
Frequently asked questions
When is DIY window installation realistic?
It is realistic with clear, accessible openings and where you can competently plan measuring, safe handling, alignment and connections. You need time for removal and reinstatement as well as dependable helpers. Once wall condition, connection details or transport are uncertain, professional installation is usually the more sensible choice.
Can I order the window myself and only appoint an installer?
This is possible, but should be agreed with the installer before ordering. Establish who is responsible for measuring, which product information the installer needs and what conditions apply at the opening. Transport, inspection on delivery, the installation scope and responsibility for connections should also be recorded in writing.
Which tasks are suitable for DIY work?
Preparation and follow-up tasks are often suitable: emptying rooms, protecting furniture, covering walking routes or completing agreed painting after installation. Whether removal, disposal or reveal work also fits depends on the condition and agreement. Frame fixing and perimeter joints should not be undertaken without clear specialist knowledge.
What should I tell a professional installer before requesting a quotation?
Send photographs inside and outside, measurements from several points, information about the wall and sill where known, and your preferences for opening direction and finishes. Mention access obstacles, storeys, planned façade work and the required scope from removal through to finishing. The more complete the starting information, the better the work can be defined.
What signs after installation should prompt questions?
Ask if sashes scrape, do not close evenly, handles are stiff or visible transitions remain unexplained. Damage to adjacent surfaces, missing agreed work or differences in opening direction and order should also be documented. Report observations to the responsible contractual party before follow-on work conceals the details.
Next steps
Whether you install windows yourself or appoint a professional depends on manageable responsibility, not the desire to do as much as possible yourself. First assess measuring, wall connections, transport, access and coordination with removal, façade work and internal finishes. Even experienced DIY homeowners benefit from a clear division of tasks when critical installation and connection work is professionally completed. If you appoint a contractor, compare scope and interfaces specifically rather than generally. If you contribute yourself, use a written task list and begin only after the sequence has been agreed. This turns the installation decision into a manageable part of the wider window project.
