
How to Mark Out a Garden Shed Before You Order
Garden shed planning
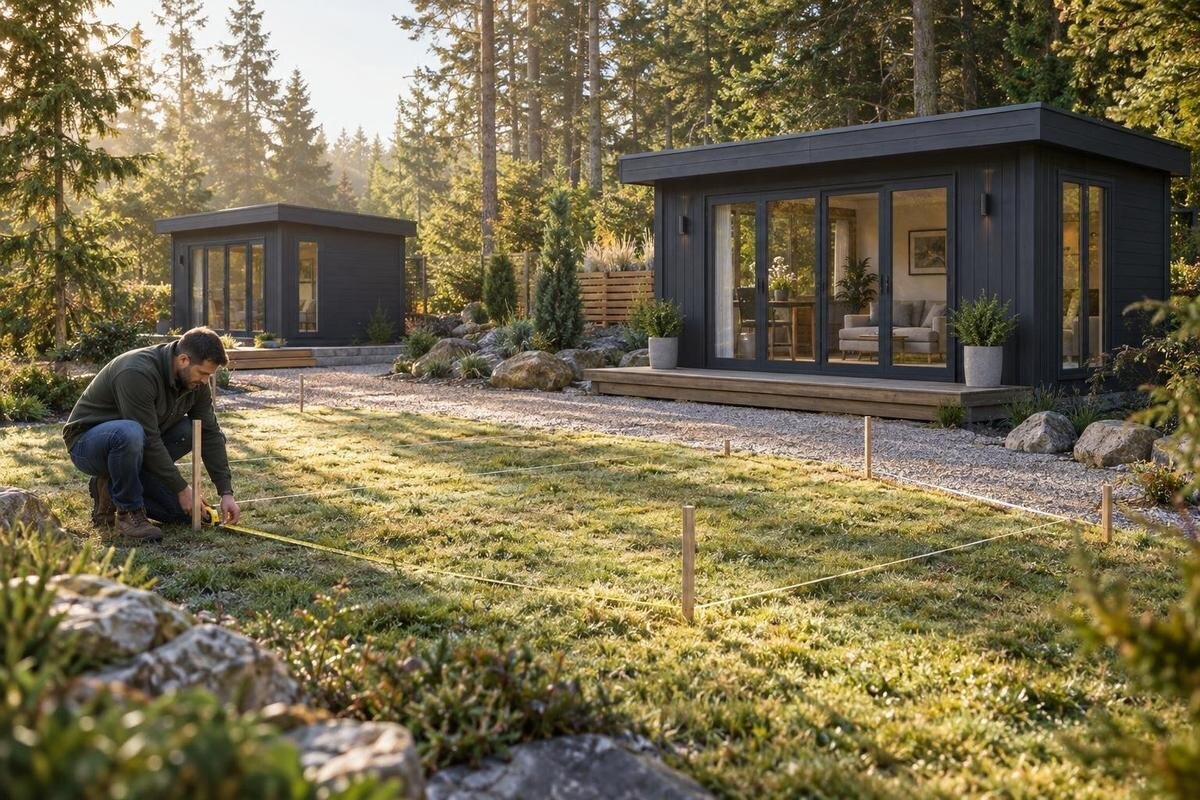
Marking out a garden shed before ordering gives you a full-size way to test whether its proposed position works in the actual garden. A line on a plan cannot show how the structure affects a path, planting bed, view or routine. Once the outline is on the ground, you can walk around it, mark the entrance and compare alternative positions without committing to one. Start with the dimensions for the exact model you are considering, then judge the space from several viewpoints. The exercise helps you assess placement; product details and site-preparation requirements still need their own checks.
What a full-size garden shed outline can show
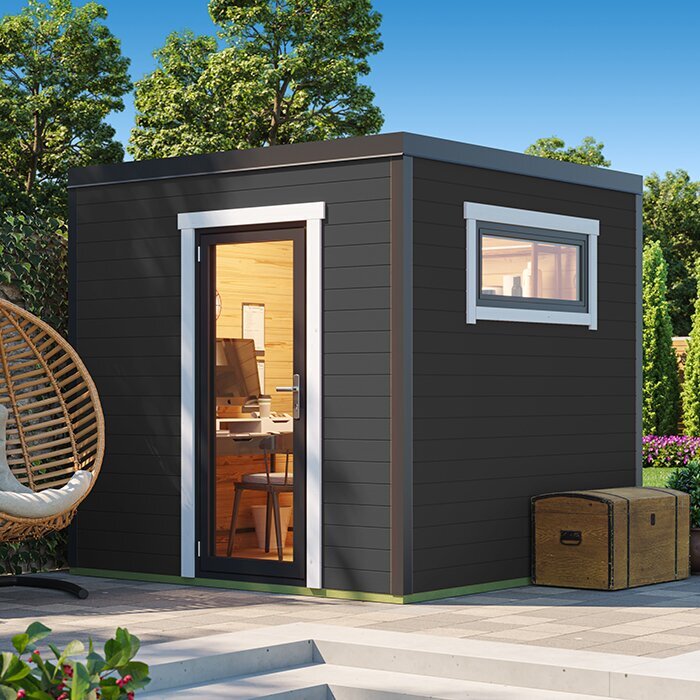
A full-size outline answers a simple but important question: how will this particular building occupy this particular patch? A product photograph or floor-area figure can make a shed seem smaller than it feels on the ground, because neither places its edges beside your path, boundary, tap or seating area. At garden scale, even a modest shift can change a route or the amount of usable lawn left. Mark the position you have in mind, then move or rotate the outline to test one or two realistic alternatives. You can compare these while the choice is still open, instead of relying on a mental picture of an empty rectangle.
Treat the mark as a planning aid, not proof that the site is ready. It helps you judge size and position; it cannot confirm ground conditions, base requirements, assembly access or other product-specific needs. Keep those questions separate and check them against the relevant product information or with a suitably qualified professional where necessary. At this stage, note the conflicts the outline exposes: a blocked gate, a squeezed path, a door facing an awkward direction or a garden feature that would become harder to reach. These are useful reasons to reposition before ordering.
Use the dimensions for the exact model
Build the outline from the dimensions for the exact model and version you may order. A product photograph is not a reliable scale drawing, and a name or interior floor-area figure is not the outside footprint. If you are considering the Verdana 1 garden shed, use a dimensioned plan or the product measurements supplied for that exact listing. Check which edges the figures describe; if the reference points or wording are unclear, ask the retailer to clarify them before marking the ground. Do not estimate a shed’s length or width from its picture or from another model’s details.
Copy the principal outside dimensions beside a quick sketch and label which side is the front. Confirm whether the figures refer to the wall perimeter or the widest exterior points, and keep any roof projection or other extension as a separate measurement if it is listed. If the shape is not a plain rectangle, trace it as shown rather than forcing it into one. Keep interior dimensions separate: they help with storage planning, but they do not tell you how much garden the outside occupies. Note which product information you used so you can check that you mark the same version later.
Mark every corner and make the outline easy to move
Choose markings that are easy to see, remove and adjust: string, small cones, removable markers or tape on a suitable hard surface. Mark every corner and connect the edges; four dots alone do not show the space the walls would occupy, and a single line gives only one side. Transfer the confirmed dimensions rather than shaping the outline by eye. When you are testing the Verdana 2 garden shed, write that model name beside its line; a label prevents its outline being mistaken for another candidate after you move the markers.
Use loose surface markers rather than driving stakes into ground you have not checked for buried services or other hazards. Make the corners visible without creating a trip risk, especially if the outline crosses a route other people use. Mark the intended front with an arrow and identify the entrance side; this prevents you rotating the drawing by accident when you take a break. If the shape is difficult to read, take a photograph from a normal garden viewpoint and note which edge is the front. A clear record is easier to compare than a half-remembered string line.
Show the entrance and its opening space
Do not stop at the wall outline. Mark which edge faces the entrance, using the exact product drawing or written information rather than assuming every model opens the same way. Then show the space needed to approach and operate that door. A hinged door may need a clear swing area if the plan shows one; a sliding or folding arrangement interacts differently with the space in front. If you are considering the Durano garden shed, check its own information for the entrance position and opening arrangement before drawing that second area. Mark the door’s travel space distinctly so it is not confused with the building itself.
Stand where a person would stand to open it, then walk through the likely approach carrying something you expect to store. Could you stop at the entrance without standing in a bed? Would a bulky item have room to turn? Is a path, boundary or another opening in the way? These questions can reveal that the building fits while its entrance would be awkward. Do not invent a standard clearance from the sketch: the space needed depends on the product and the task. If the opening arrangement or required space is unclear in the product information, confirm it before finalising the position.
Keep roof projections separate from the footprint
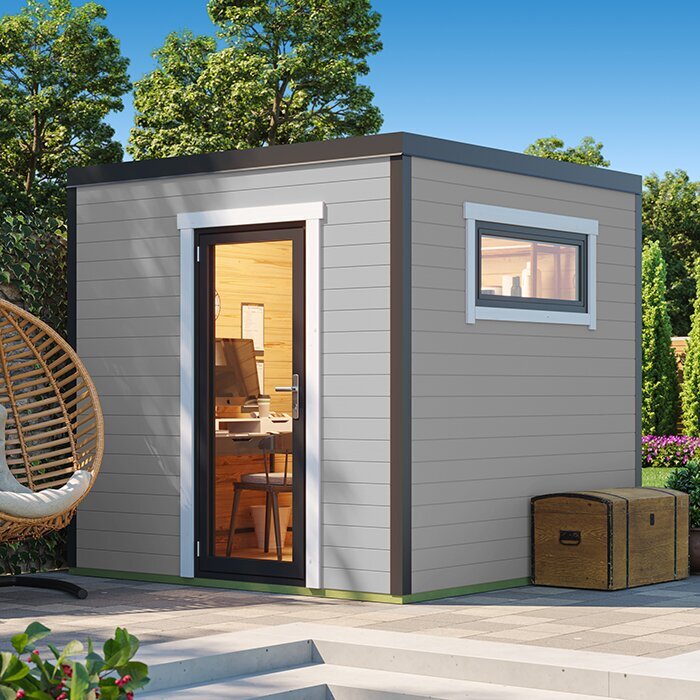
Mark any part that extends beyond the wall footprint separately, and only when its dimensions are shown in the product information. Eaves, roof edges or other projections may affect how the shed sits beside a fence, branch, path or planted area; their size cannot be read accurately from a photograph. For a candidate such as the Veltor 1 garden shed, check the plan for dimensions describing the outer reach, then use a second colour for that line. This lets you see both the wall perimeter and any documented projection without confusing one with the other. If the figures are unclear and the edge matters, ask for clarification rather than guessing.
Keep product dimensions separate from the space you want around the shed. A strip for access, cleaning or tending plants is not part of the measured outline, but it may still influence whether the location works. Draw that working area as a separate band or note, and state what it is for. This avoids shrinking the footprint to make it seem to fit, or treating every personal preference as a product requirement. If a specific installation clearance is involved, use the instructions or ask a qualified installer rather than choosing a figure from guesswork. You can then see what is measured and what is your own practical allowance.
Compare candidate outlines in the same position
Compare layouts on the same patch rather than judging candidates one at a time from separate pictures. Mark one model’s outline, record it, then lift the lines and test the next. If you are comparing the Orello 1 garden shed with another option, make a fresh outline from its own confirmed dimensions; do not assume that two names or styles mean similar proportions. Use different removable colours if both outlines can be shown without overlapping, and label each with its model and orientation. This makes differences in length, width and entrance position easier to compare without asking you to judge scale from a catalogue image.
Keep reference points consistent. For example, place the front edge against the same imaginary line or use the same corner of a patio as a starting point, then compare how much path, lawn or planting space remains. Try both orientations if the product information allows the entrance to face either direction, and record what changes. A position can look comfortable from one angle but narrow a route at the other end, so check all sides. If you test layouts one after another, note what each would displace and what still needs checking. That is more useful than a vague memory that one model seemed smaller.
Check the view and the garden around the mark
Judge the outline from places where you actually spend time: the house, patio, garden gate and main sitting area. A line on the ground does not show the full height of a shed, so it cannot tell you on its own how much of a view or sky would remain visible. Check the exact product information for height and overall form if these matter to the position. For instance, assess the Modano 1 garden shed using information for that specific item, not by scaling its photograph against the garden. Sitting or standing at a usual viewing point can help you judge the proposed location more realistically.
Look at the surrounding garden too. Would the outline cover a planting bed, narrow a play space or make a well-used corner feel cramped? Notice whether nearby branches or existing features might conflict with the structure above ground, then check the product height and any relevant projection on the plan. If sunlight or shade matters to how you use the remaining garden, revisit the location at more than one time of day; the ground outline cannot show a building’s shadow. The aim is not to predict every seasonal change, but to catch an obvious visual or practical drawback before settling on the site.
Test the footprint against what you will store
Test the footprint against the things you intend to store, not only against an empty floor on a sketch. Bring the largest items to the garden and rehearse the route from their current storage point to the proposed entrance; a wheelbarrow, bicycle, mower or ladder can be awkward to turn even where the outline looks generous. The name garden tool shed M does not tell you what will fit or how its door is arranged, so check the exact product’s usable-space and opening information as well. The marker lines show the outside position, not the room inside.
Make a short list of items that need frequent access and those used only occasionally. Use boxes or cardboard shapes to represent bulky objects where a full trial is impractical, and place them relative to the marked door and paths. Check whether you would have to move one item to reach another, or whether the intended arrangement leaves room to get in and out. Do not translate the outside footprint directly into an assumed interior layout; wall thickness and the product’s shape affect usable space. If the information does not give the internal measurements you need, treat that as an unanswered product question rather than redrawing the external outline smaller.
Revisit the marked spot during ordinary garden use
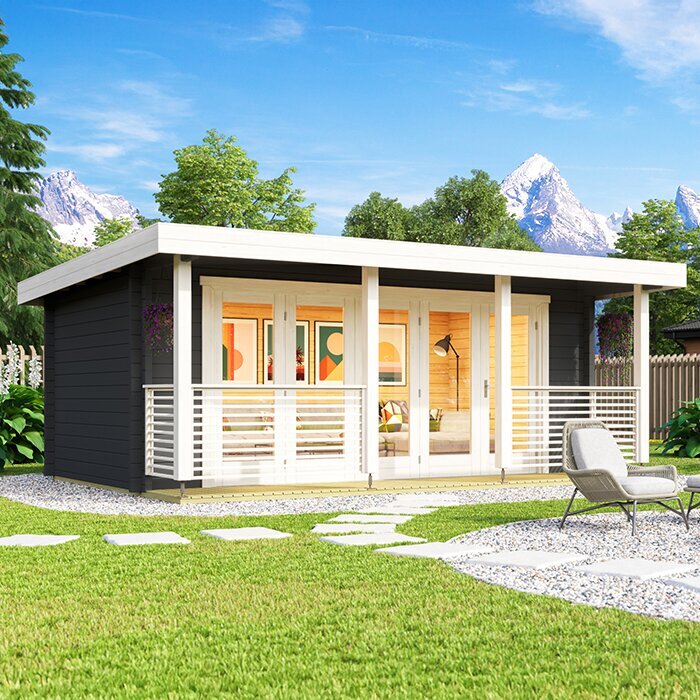
Spend time with the proposed position in ordinary garden conditions rather than making the decision during a quick measuring session. Use the route you normally take, open the gate, water nearby plants or move bins as you usually would. If the outline occupies a place used for hanging washing, tending beds or moving garden equipment, test that routine while the lines are still down. After rain, notice whether water collects there; this is a prompt to ask about site preparation, not proof that the location is or is not suitable. The aim is to connect the marked footprint to the way the garden behaves.
Check the site from a few directions and at times when you normally use it. The morning view from a kitchen window may differ from the evening view from the patio, and a path that seems clear when empty may feel tight when someone is carrying a watering can or opening a gate. If a concern appears, adjust the outline and repeat the same routine. This helps distinguish a fixable positioning issue from a conflict with the garden’s layout. A temporary ground mark is useful for that comparison, but it does not replace a separate assessment of ground conditions or installation needs.
Record the chosen position before ordering
When the test is complete, keep a simple record so you can recreate the position after removing the string or tape. Note the exact product and version, the dimensions used, which edge is the front, the door position, any separate projection line and the garden features that set the location. Take photographs from a familiar viewpoint and, if practical, from above; include a label or arrow so the front is clear later. If you change the product or choose a different version, do not assume the same outline still applies. Repeat the check using information for that item.
Before ordering, compare your notes with the exact item and options in the product information. If you are considering the garden tool shed S, for example, verify that your plan refers to that exact listing rather than a similarly named option, and confirm any details that affect the position. Ask the retailer about unclear dimensions or door layout; ask a qualified installer about site or base questions beyond the outline. Keep confirmed facts separate from open questions. If the mark exposes a conflict, move it or test another position first instead of treating a tight fit as something to resolve after the order.
Frequently asked questions
Is a rough rectangle enough to mark out a garden shed?
Only if the chosen model has a simple rectangular footprint. Use the exact outside dimensions and follow the product plan if it shows a different shape or any projections. Mark the entrance separately so the outline helps you judge both the building’s position and how you would reach it.
Which dimensions should I use?
Use the external dimensions for the exact model and version you are considering. Check what the figures describe: wall edges, the widest outside points or another reference. Keep interior measurements separate, and ask the retailer to clarify any unclear figures before you use them to mark the ground.
Should I mark the roof edge as well as the walls?
If the product information gives separate dimensions for the roof or another projection, mark that reach with a different colour. It may affect nearby paths, branches or planting. Do not estimate it from a photograph; if the edge matters to your position and the information is unclear, ask for confirmation.
How long should I leave the outline in place?
There is no set period. Leave it long enough to walk your usual routes and check the position at the times you normally use the garden. Use visible, removable markers and make sure they do not create a trip hazard. If something feels awkward, adjust the layout and try again.
What if the footprint fits but the route to it is awkward?
Test the route from the gate or current storage point, including any turns and access through gates. Try carrying or moving the largest items you plan to store. A different orientation or position may work better. If delivery or assembly access is still uncertain, confirm the requirements before ordering.
A marked outline turns a possible garden shed position into something you can assess in everyday use. When the exact product dimensions, entrance and documented projections are reflected on the ground, you can see whether the space and routes around it still work. If the test reveals a blocked path, awkward door access or a conflict with the garden, revise the position or compare another candidate before ordering.
