
How to Prepare a Sloped Site for a Garden Shed
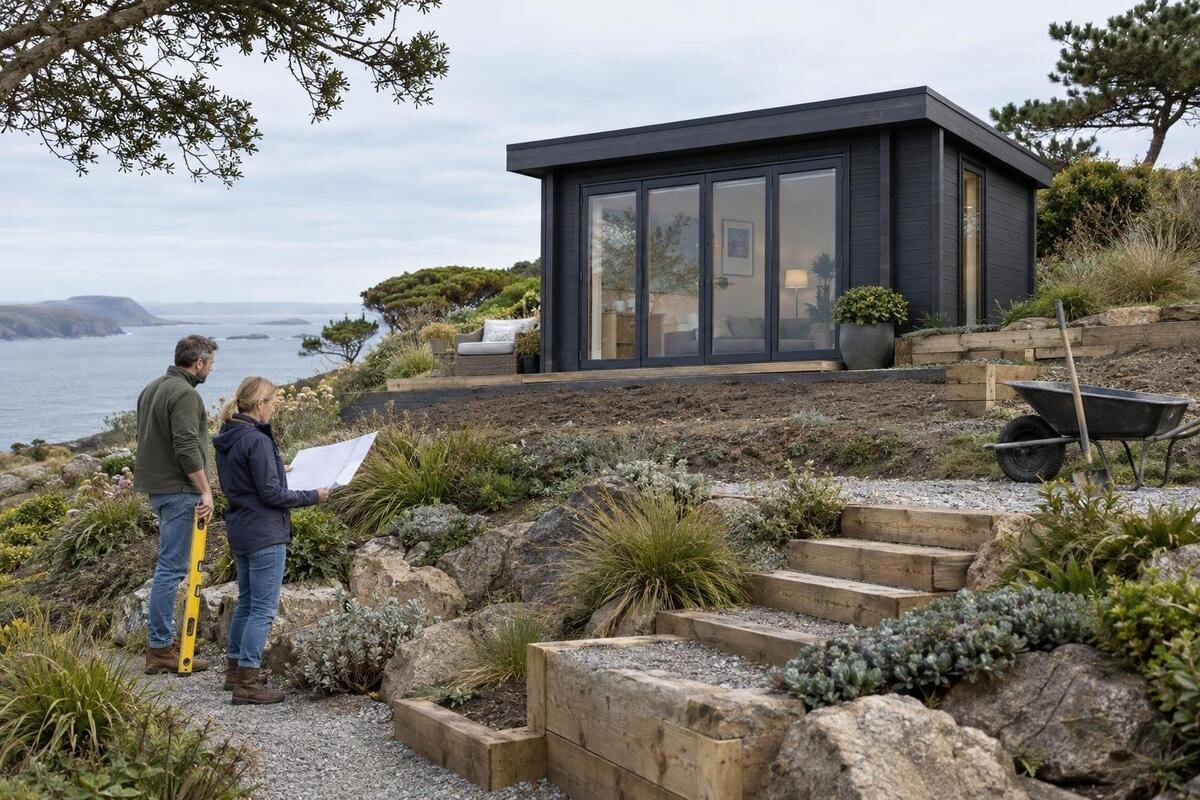
Garden shed site planning
A garden shed can be installed on a sloping garden, but the slope changes more than how much soil may need to move. It affects where a level platform can go, how rain travels across the ground, whether an approach is practical and what kind of base a professional may recommend. Assess the site before ordering: mark the intended footprint, note how the ground falls, look for runoff and access constraints, and find out whether levelling could involve excavation, fill or retaining work. This guide explains how to prepare the area and compare a shed purchase without assuming that one foundation solution suits every slope.
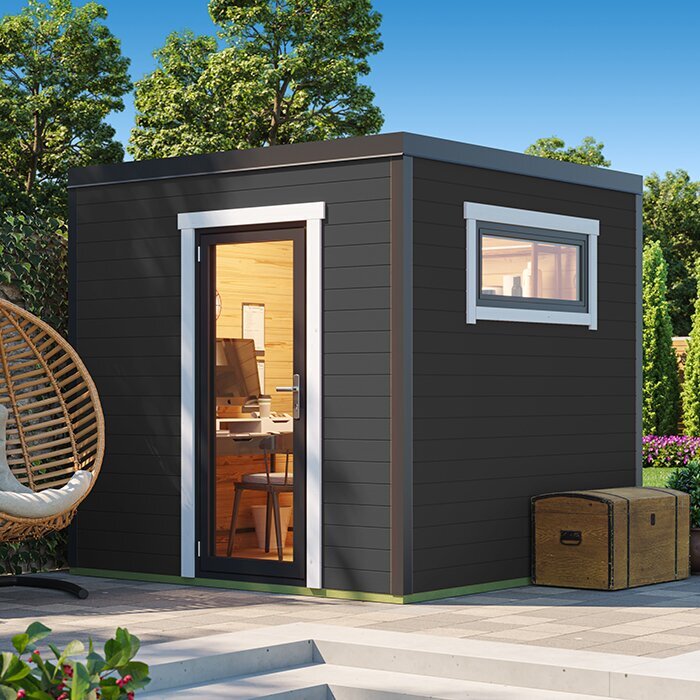
Survey the slope across the full shed footprint
Walk the proposed area in both directions rather than judging the gradient from one standing point. A slope may rise from the entrance towards the back, fall across the width, or change direction over the planned footprint. Mark the four outer corners of the intended shed position and note which corners sit higher or lower; include the proposed doorway and the approach to it. A sketch with those observations is enough for an initial conversation, even if you do not calculate a slope. The aim is not to design the base yourself but to describe the terrain honestly, so a professional can see whether it is a straightforward levelling job or a more involved platform.
Look beyond the outline as well. A bank, path, wall, tree roots or existing retaining structure may restrict where soil can be removed and how people reach the shed later. Note visible washouts, cracks, soft patches and places where soil seems to have shifted; do not cover them up and assume the ground is sound. If possible, inspect the area after rain from a safe position and record where water arrives, runs or remains, without entering an unstable bank. Photos from the same angles can show a groundworker how the levels and surface conditions relate to the proposed footprint. If the ground appears to be moving, pause and seek an assessment before digging.
Choose a position that limits earthworks
Compare a few possible positions if space allows. A naturally gentler patch may reduce earthmoving, but it still has to fit the whole shed and leave a usable route to the entrance. Mark the intended footprint with pegs and string or removable markers; include the area that the base must support, not just the shed’s walls. Check how close the outline comes to a slope edge, fence, path, tree or service route. If the only seemingly flat patch is narrow, do not assume the base can simply extend over the bank. The position that needs the least alteration is not automatically right if it creates poor access or leaves no room to carry out the base work.
Use confirmed dimensions rather than a model name or photograph to compare positions. If the product page for the Verdana 1 garden shed gives an external footprint, set it against your site sketch and check separately how the entrance will be approached. Ask for a dimensioned drawing if a key measurement is not provided, and clarify whether dimensions describe the shed or the space needed for its base. Allow working and maintenance clearance only in line with the manufacturer’s guidance and the site professional’s advice. A close fit against a fence or bank may leave too little room for construction or future access, even when the shed itself appears to fit.
Know when to get a site assessment
A visual survey is useful for planning, but it cannot establish how the ground will behave under a base. Soil can be loose, filled, eroded or affected by water below the surface even when it looks firm. The need for cut-and-fill, a retaining structure, or a platform near the edge of a bank makes a site-specific assessment particularly important. Ask a suitably qualified local building or groundworks professional to assess the location and explain whether the planned work is within their scope. If you notice movement, fresh cracks or a retaining wall whose condition is uncertain, do not start excavating alongside it before receiving appropriate advice.
Share the product’s installation and base requirements with whoever assesses the site; request them if they are not supplied. Ask what information they need about the ground, who will confirm the finished levels, and who is responsible for any retaining or support design. A quote that simply says “level the ground” may leave open how the lower side is supported, what happens to excavated soil and who signs off the platform. When evaluating a model such as the Verdana 2 garden shed, confirm the exact version, dimensions and manufacturer’s base guidance rather than inferring details from its name. Keep the written answers with the quote and order information so the groundworker and installer are working from the same plan.
Plan a level platform that suits the slope
The finished base must give the shed stable, level support in the way its manufacturer specifies. On a slope, that means creating a suitable platform; it does not mean letting the shed follow the hillside or compensating for uneven ground with improvised packing. A twisted or partly unsupported base can make assembly difficult and may prevent components from meeting as intended. The method for forming a level area depends on how the land falls and what the ground is like underneath. The site professional should explain how the platform relates to the slope, not just confirm that its surface looks flat. Avoid selecting a foundation from a generic picture or assuming a solution used elsewhere will suit this site.
Discuss how the platform will meet the existing ground around its edges. On the high side, excavation may be needed; on the low side, the design may need support and protection from soil washing back. Ask how the edge will remain stable and how the work will preserve a practical route for assembly. These are design questions for the relevant professional, not a reason to build a small retaining wall from loose materials. The Durano garden shed page can identify the product being considered, but its name or appearance does not show which base is suitable for this plot. Compare the actual manufacturer instructions with the site assessment before agreeing on a method.
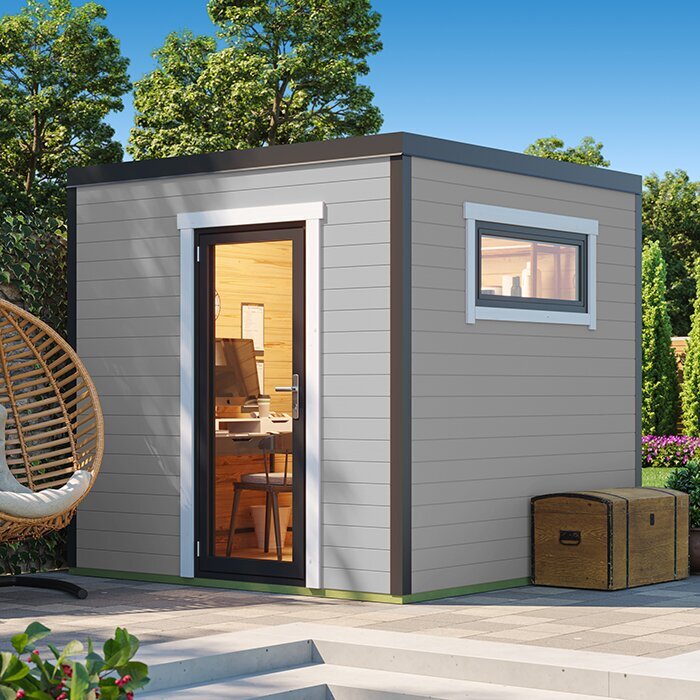
Set out cut, fill and retaining work
Preparing a slope may involve removing soil from the high side, adding material at the low side, or combining both. The material and sequence matter: newly placed or unsuitable fill can settle, while excessive excavation can expose a bank or affect nearby support. Do not assume that soil removed from one part of the site is suitable to support the base elsewhere. Ask the groundworks professional which material is appropriate, how it will be placed and compacted, and how finished levels will be confirmed. The answer should be based on your actual ground and the shed’s requirements, not a generic quantity or a quick estimate from a photograph. Also ask where surplus soil will go, since spoil beside the platform can block access or change how water runs.
Set the limits of the work before machinery arrives. Confirm the planned footprint, the finished platform position, where excavated soil will be moved, and whether retaining work is included or needs a separate design. Check where boundaries and buried services lie through appropriate site checks before digging; do not guess their routes from visible fittings. The Veltor 1 garden shed listing can identify the model on your plan, but its name is not evidence of the foundation or earthworks the site needs. Include excavation, spoil removal and any professional assessment in the project budget before committing to the shed, so the base is not left half-prepared because a separate task was overlooked.
Plan for runoff on sloping ground
On a sloped site, rain can run from higher ground towards the shed or be redirected by the platform, an excavated bank, paths or neighbouring surfaces. Look for small channels, deposited silt, damp patches and puddles, and note whether water from a nearby roof reaches the intended position. The goal is to understand where water currently enters and leaves the area, not just to spot a wet patch on one particular day. Consider those routes before earthmoving, because a new level platform may change how runoff travels. This survey helps define questions for a drainage professional; it is not itself a drainage design.
Ask how the prepared area will avoid collecting water against the base and where runoff from the upper ground will go after the work is complete. A solution should fit the wider site rather than simply sending water towards another structure or a boundary. Do not assume that a shallow channel or a layer of loose stone is appropriate everywhere; placement and outlet matter, especially where ground is steep or easily eroded. When comparing a product such as the Orello garden shed, put its confirmed footprint on the site plan alongside the proposed water route. A product image cannot establish either the required clearance or an effective runoff plan.
Check delivery and assembly access
An open patch beside the house does not necessarily mean the shed can be assembled there. Trace the route from the road or driveway to the base, including gates, turns, steps, changes in level, soft grass and narrow passages. Measure the tight points rather than describing the path as “wide enough”, and ask the installer what access is needed for both materials and equipment. Also decide where excavated soil and base materials can be moved or stored. A difficult route may affect the method and cost of the work, or make a seemingly convenient position impractical, so raise it before agreeing on the shed location. Confirm access needs with the installer rather than guessing from a product photograph.
Consider everyday access once the shed is in place as well. The route to its entrance should be usable without crossing a steep or slippery bank, and you need room to carry items in and out and maintain the area around the base. Use confirmed product information to check the opening position and dimensions; a photograph alone cannot show whether the doorway will line up with your path. For example, look for the stated dimensions and entrance position in the product information for the Modano 1 garden shed. If either is unclear, ask before planning the route. The path, turning space and assembly access still need to be assessed at your property.
Compare product dimensions with the site plan
Make a buying checklist from measurements taken on the ground: the shed’s external length and width, the area the base must support, doorway position and clearance for construction. Check how the supplier defines each measurement and whether an overhang or projection is included; do not guess from photographs. Verify that the complete footprint fits on the planned platform without pushing an edge too close to a bank, retaining work or boundary. If space is tight, ask the supplier or installer to compare a dimensioned drawing with your site sketch. Choosing by nominal floor area alone can miss the space needed for support and safe access, so keep the base area and approach on the plan too.
Read the product page and supplied documents together. Confirm the exact model and version, what is included, any preparation and base requirements, and the clearance needed for assembly. If a drawing or specification is missing, request it instead of inferring details from a model number or image. The wooden garden tool shed M listing is one product page to compare, not proof that its footprint will suit a sloped site. Keep answers in writing and share them with the installer; resolve differences between the listing, manual and quote before ordering. This helps prevent a mismatch between the space prepared on the ground and the product eventually selected.
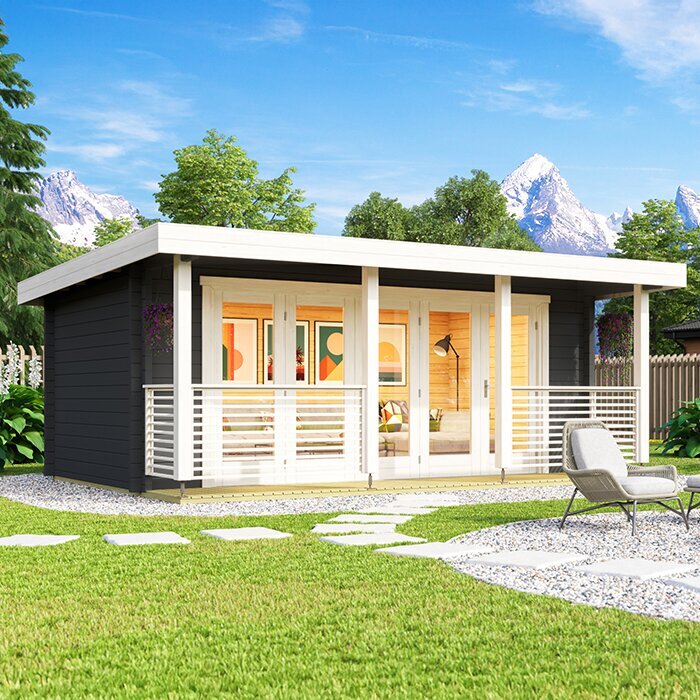
Coordinate the order with site preparation
Agree on the sequence with the people responsible for site preparation and assembly. Settle the shed position, confirmed dimensions and base requirements before grading starts; a later footprint change can leave an awkward platform or require extra earthworks. Ask what “ready for installation” means for this project, who checks the finished base, and which tasks belong to the groundworker, installer or owner. Confirm that the route will still be open when materials arrive and assembly begins, not only while the ground is being prepared. A simple site plan showing the footprint, entrance and access route helps everyone refer to the same arrangement.
Before placing the order, make sure the model identification and quoted dimensions match that plan. Ask the seller or installer whether the proposed site meets the product’s stated installation conditions, and what to do if the assessment identifies further work. The wooden garden tool shed S listing can be checked against the plan in the same way: confirm its exact footprint and requirements instead of treating its name as evidence of fit. Also confirm what the purchase includes and what must be organised separately, using the actual offer and product documents rather than assumptions. This reduces the chance that the base, access or timing has to be reconsidered after the shed is on order.
Inspect the prepared base before assembly
Before assembly, walk the prepared area against the agreed plan. Check that the position and dimensions match, the base is level and stable to the responsible professional’s criteria, and its construction follows the manufacturer’s requirements. Look at the edges and transitions for loose or washed-out soil, and check that water is not collecting where it could undermine the work. Do not proceed just because the outline looks right if the surface is visibly soft, uneven or incomplete. Ask the person responsible for the base to review any difference from the agreed plan before the shed is assembled.
Take clear photographs and keep the final measurements, product documents and the installer’s confirmation together. These records give you a reference if an assembly question or a later change to the site arises. Keep the access route clear and avoid other garden work that could disturb newly prepared ground. There is no universal slope figure that gives every site an automatic yes or no: gradient, soil, drainage, footprint and construction method all affect the decision. A measured site and a base plan agreed with the relevant professional are a sounder basis for ordering than a guess based on how steep the garden looks.
Frequently asked questions
How do I check the slope across a planned garden-shed site?
Mark the full footprint and compare the ground at all four corners and along both directions. Note where the slope changes, where the entrance will be and whether there are dips. A sketch and photos help describe the site, but a professional should assess difficult or unstable ground.
Can I put a garden shed directly on sloping ground?
The shed needs stable, level support that meets the manufacturer’s requirements. The slope itself does not provide that. Have a suitable base planned for the actual ground; do not try to level the shed with loose blocks or makeshift packing.
Which base is best for a garden shed on a slope?
There is no single base type for every sloping plot. The gradient, soil, changes in ground level, runoff and shed requirements all affect the choice. Ask a qualified site professional to assess the ground and explain the proposed support method.
Should I plan drainage before preparing the base?
Yes. Note where water comes from, where it flows and where it collects before earthworks begin. Ask how the platform and any changes to ground levels will affect runoff, and where water will go afterwards. Do not leave this to assumption.
Should I order the shed before preparing the site?
Confirm the exact footprint, base instructions and access needs before groundworks. A site assessment may identify further preparation. If you need to order earlier, coordinate with the installer and make sure unresolved site questions are not mistaken for an approved base plan.
Preparing a garden shed site on a slope is about matching a confirmed footprint to the real shape and condition of the land. A careful survey can reveal where the fall changes, whether water crosses the area and how materials will reach it; it cannot replace professional assessment where excavation, fill or retaining work is involved. Once the base requirements and access route are clear, the product choice and groundworks can be planned together. That sequence helps avoid preparing a platform that does not suit the shed or the garden.
