
What comes with a pergola kit – and what may cost extra?
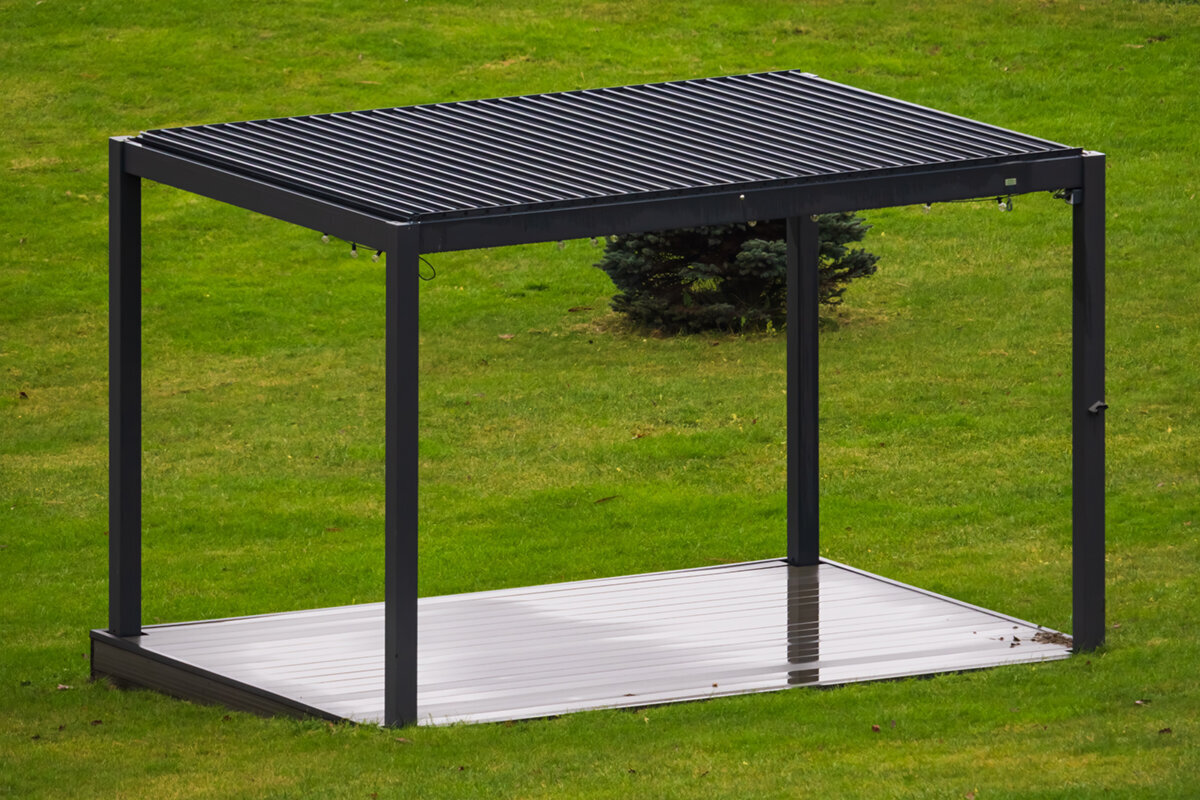
Outdoor buying checklist
Understanding pergola kits: what is really included – and what to check separately.
A pergola kit may look straightforward at first glance. Yet important differences often sit between the supporting structure, roof design, drainage, controls and installation accessories. Checking the scope item by item helps you compare offers objectively and plan suitable equipment for your patio, garden and everyday use.
Short answer: a kit needs a clear scope of supply
A complete pergola kit should clearly state which load-bearing parts, roof components, connectors and fixing elements are included. It is equally important to identify what is required for the selected installation type and which items are optional, supplied by the customer or available as an installation service.
Side elements, lighting, electric controls, sensors, foundation work and installation are often not automatically part of the basic package. That is not necessarily a disadvantage. What matters is that these items are shown separately, so you can assess the real planning scope and possible additions reliably.
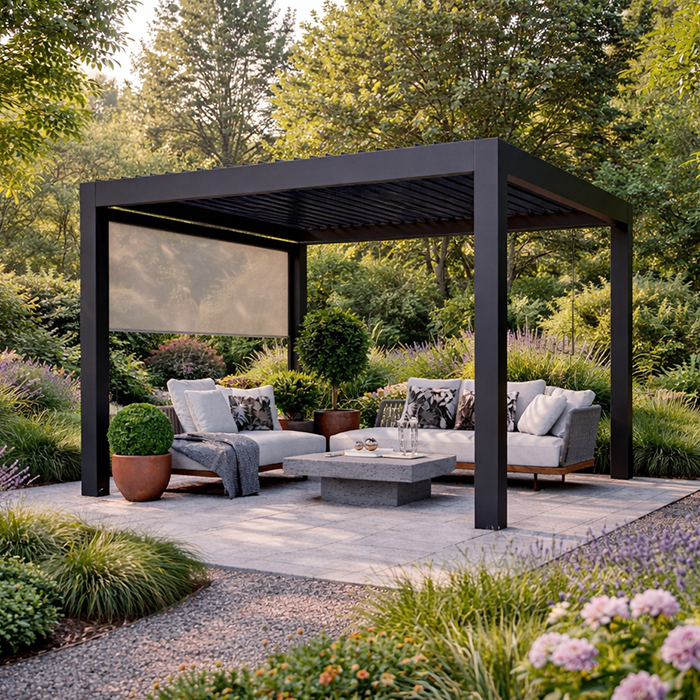
01
Check the essentials
Check posts, beams, roof system, connectors, drainage details and the expressly listed fixings for your particular installation situation.
02
Assign the options
List screens, louvre accessories, glazing, lighting, heating and controls as specific product items rather than under a general specification.
03
Define services
Ask separately about site measurement, ground preparation, installation, electrical connection, sign-off and disposal, as these tasks are not automatically kit components.
A structured overview for planning an aluminium pergola.
The question “What comes with a pergola kit?” cannot be answered by frame and roof alone. A useful comparison starts by separating the structure from comfort options and services. This reveals whether an offer covers the basic construction or whether important elements are only available as additions.
With an aluminium pergola, the location, intended use and building situation influence the sensible scope. An open seating area has different requirements from a dining space used regularly in the evening. Proximity to the house, available fixing surfaces, ground build-up and the need for side protection can substantially change planning priorities.
This guide is a contents and planning checklist, not a price comparison. It shows which questions about components, accessories and installation should be resolved before ordering. It helps you read product descriptions, technical documents and a current quotation purposefully instead of relying only on images or broad product labels.
Inspection 01 · Check sheet 01
Identify the supporting structure clearly
The core of every kit is its supporting structure. This normally includes posts, crossbeams, the roof frame and the connectors intended for the system. Check not only that these terms appear, but that the quantity, size option and layout suit the planned area. An illustration using an example size does not replace a clear allocation to your chosen configuration.
The interface with the ground also deserves attention. A kit may include fixings without covering every ground condition. A concrete slab, pad foundations, timber deck or paving with a substructure each require different conditions. Establish in advance which fixings are supplied, what condition the base must meet and which preparatory work remains your responsibility.
Also check whether the details apply to a freestanding or wall-mounted installation. These versions can require different parts and connection details. A component list that assigns every structural part to the selected design is helpful. It can reveal missing components before you plan the base, fixings or assembly order. Details about visible covers and end caps also merit attention, as they can contribute to the finished appearance.
A short photographic record of the fixing zones is also useful. It shows edges, joints and special features in the paving, supporting discussion before individual components are selected or ordered.
- Always compare posts, beams and connectors with the selected size, not merely with a general product photograph.
- Record the ground, slope and services before fixing details or individual post positions are decided.
For a roof solution with adjustable features, consider bioclimatic aluminium pergolas and their clearly described basic construction.
Inspection 02 · Check sheet 02
Read the roof design as a separate supply item
The roof largely determines how a pergola can be used, and should not appear in a kit merely as a keyword. Ask which roof parts are included, how they integrate with the frame and whether finishing profiles form part of the scope. With fixed or fabric solutions, the covering, rails, tensioning system and covers can all be separate components.
Also consider operation. Manual control, prepared guides and electrically assisted functions are different specification levels. An image does not show whether a motor, controller or connection materials are included. Ask for the roof version, operating elements and any required electrical planning for your configuration to be stated explicitly.
Where several roof variants are available, ask for the selected design to be named unambiguously. Terms such as canopy or roof system are too broad for comparison on their own. It also matters which elements belong together for operation, guiding and finishing. Note separately how you wish to use the space in sun, light rain or during the evening. This makes it easier to see which roof function suits the project and which equipment appears only in an example image.
- Read the roof, guides, finishing profiles and operation as separate items so that no essential component remains unclear.
- Check whether the chosen roof design supports the planned location and your preferred times of use.
If you want a straightforward, clearly defined cover, compare classic aluminium pergolas with a suitable roof design.
Inspection 03 · Check sheet 03
Do not overlook drainage and connections
Rainwater management is a planning detail that can easily disappear in compact product lists. In a system with integrated drainage, gutters, downpipes, outlets and matching connectors need to be considered together. The key question is not only whether a gutter is present, but where water will run and whether this works with the patio, house wall, paths and planting.
Planning at transitions requires particular care. If the pergola stands close to the house, consider the wall, roof overhang, windows, doors and existing drainage. A suitable connection detail may depend on the building situation and is not automatically resolved by the kit. Include dimensions, levels and the desired water route in your enquiry.
When preparing a sketch, include the slope of existing surfaces and the position of beds, paths or seating areas. Water should not become a planning issue only after installation. A clear drawing of the intended outlet side makes coordination easier for everyone involved. Also ask whether visible pipes, covers or supplementary elements are intended for your configuration. This prevents technical water routing and the desired appearance from being decided separately.
Mark areas where water should not discharge on the plan. This lets you assess the outlet side, paths and neighbouring usable spaces together at an early stage.
- Draw the proposed water route on your layout, including the downpipe side and possible connection points.
- Check door openings, façade details and drainage routes early to avoid later alterations to the patio.
For versions with movable roof elements, bioclimatic louvred-roof pergolas help structure the drainage review.
Inspection 04 · Check sheet 04
Plan side protection clearly as an option
Side elements turn an open pergola into a more enclosed outdoor room, but they are often optional equipment. Possible choices include screens, fixed panels, louvre walls or glass elements. Their selection affects views, air movement, privacy and access. Define not only the type of side protection, but also its position, quantity and method of operation.
Check the fixing points and compatibility between components. A side element may need additional rails, post solutions or electrical feeds. It should also be clear whether the fitting position can be added later or must be allowed for when ordering. Plan access routes, furniture and sightlines before permanently closing one side.
Depending on its design, side protection fulfils different roles and should not be chosen on appearance alone. Consider whether you want flexible privacy screening, a clearly defined zone or permanently open access. Also note which side has the greatest effect on how the space is used. Its exact location can affect furniture, circulation routes and ease of operation. An early sketch prevents a later element from restricting doors, views or movement space unfavourably.
- First identify which side is particularly exposed to wind, overlooking or low sun.
- For every side element, ask about guides, fixings, operation and required supplementary parts in the selected build.
For open patio areas, standard aluminium pergolas provide a calm base for deliberately chosen side protection.
Inspection 05 · Check sheet 05
Assess lighting and electrics separately
Lighting improves comfort after dark, but is rarely a detail to add casually. Clarify whether lights, LED profiles, switches, remote controls or controllers are included. The position of the light sources also shapes the result: a dining area generally needs different light from a lounge or a route along the patio.
Electrical infrastructure is a separate matter. Cable routes, connection to the home installation and work by suitable professionals are distinct planning topics. A prepared recess in a profile does not necessarily mean that every electrical component is supplied or connected. Discuss the desired lighting early with the person who will assess and carry out electrical work on site.
Add when individual areas will be used to your lighting plan. Orientation lighting at an entrance serves a different purpose from comfortable illumination above a dining table. Switches, remote controls and other operating methods should also be recorded as specific items. If other electrical equipment is planned, a single overview of all desired connections is helpful. Cable routes and installation points can then align with the structure rather than creating conspicuous or awkward solutions later.
A coordinated overview also prevents lighting, controls and other electrical wishes from being planned separately. It keeps responsibilities and necessary preparation clear to everyone involved.
- Set lighting zones for the table, seating area and path rather than treating one light as a universal solution.
- Record which cable routes should remain concealed and which work must be arranged outside the kit.
For evening patio use, bioclimatic pergolas for outdoor living can be coordinated with a lighting plan early.
Inspection 06 · Check sheet 06
Define the installation scope realistically
A kit may be intended for self-assembly or combined with an installation service offered separately. Both need clear definition. Check whether documents, a parts list and assembly materials are included, and which tools, lifting aids or additional people may be needed. Delivery of components alone is not the same as a fully installed structure.
Tasks often arise on site that do not belong to the product itself: measuring the area, checking the base, building foundations, opening paving or preparing services. Define interfaces in writing, especially where several trades are involved. This allows installation to proceed in a sensible order and shows early which preliminary work must be complete before the agreed date.
Good installation preparation begins by comparing the plan with the actual site. Check whether wall projections, steps, downpipes, planting or fixed elements affect assembly. Allow enough room to sort components and maintain safe working routes. Keep outstanding points in a short list and agree them before work begins. This clarifies which tasks belong to the structure and which must be prepared by the customer.
A joint site visit before assembly can also be practical. Access, working space and possible obstacles can then be compared with the real installation conditions.
- Create a responsibility list for the base, electricity, assembly, sealing and acceptance of completed work.
- Check access routes, storage space and possible lifting aids before deciding between self-installation and a service.
With an easy-to-follow structure, a traditional aluminium pergola can make installation planning especially straightforward.
Inspection 07 · Check sheet 07
Plan dimensions, accessories and daily use together
Accessories are worthwhile when they improve a specific use. Start with your daily routine: will the space mainly be used for dining, working, relaxing or entertaining? This informs requirements for circulation widths, table size, seating, a braai area and storage. A pergola feels generous when its post positions and equipment do not unnecessarily restrict these routes.
Even small additions should be checked for compatibility. These include extra trims, brackets or solutions for curtains and privacy screening. Do not buy from a general accessory label; refer to the model, size and desired position. Keep configuration documents, as they make later additions easier and prevent confusion over suitable parts.
Do not plan accessories in isolation, but as part of a coherent outdoor room. Check, for example, whether curtains, screens or additional brackets work with the intended furniture and circulation routes. A scale sketch need not be elaborate, but it can reveal pinch points. Consider seasonal changes too: furniture may be moved, doors used more often or areas arranged differently. A documented starting plan makes later additions easier to select appropriately and understand.
- Measure furniture with pulled-out chairs and circulation space, not only the dimensions of the table or sofa.
- Note every desired accessory with its position and purpose, so it can be assigned clearly in the quotation.
For flexible outdoor rooms, bioclimatic pergolas with suitable extras offer a sound basis for individual specification.
Inspection 08 · Check sheet 08
Finalise quotation documents systematically
In the end, you need a document that clearly lists every agreed item. Compare the product name, dimensions, colour, roof design, side elements, operation and installation scope with your plan. Wording such as “as selected” is useful only when that selection is clearly documented in an attachment. Ask for an itemised schedule where anything remains unclear before deciding.
Conditions outside the kit are equally important. Depending on the property and project, municipal requirements, building lines or structural requirements may be relevant; the appropriate local authority can advise. For Cape Town projects, check the building-plan route and District Planning Office. For a powered pergola, use a registered local electrical contractor to assess the installation, inspection and any applicable Certificate of Compliance. Discuss any possible effects on building insurance directly with your insurer.
Read the final schedule line by line against your own checklist. It is particularly useful to mark whether each component is supplied, added as an option or arranged by the customer. Ask for a fuller explanation of collective terms when the parts and work behind them are unclear. Keep the agreed version with sketches and messages. This ensures the planned configuration and outstanding questions remain traceable after ordering.
For every open question, note when you want it resolved. This makes clear which decisions are needed before ordering and which can wait until implementation.
- File the sketch, configuration and quotation version together so later questions can be answered from the same planning basis.
- Clarify municipal requirements and insurance matters with the relevant contacts before work begins.
For the final scope comparison, assess standard aluminium pergola kits only against the precise configuration.
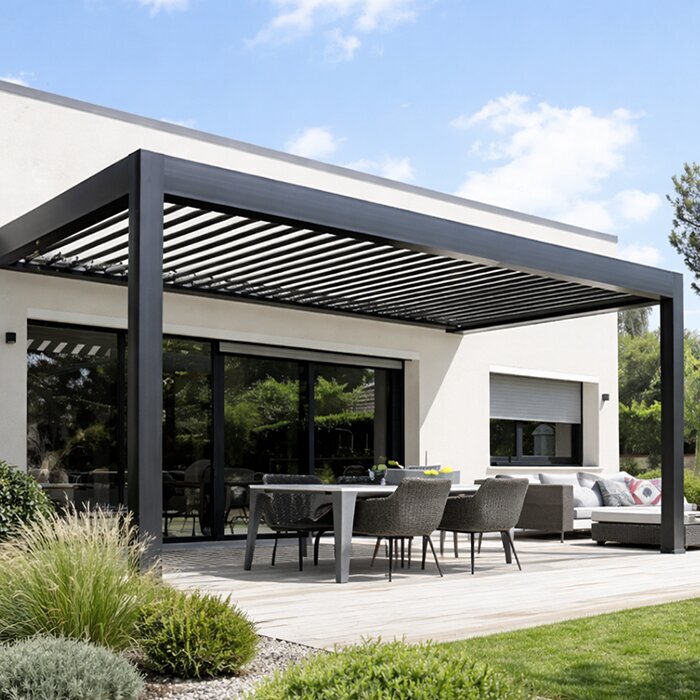
Comparison
Included, optional or customer-provided work?
The following classification does not replace product documentation, but helps when reading a specific quotation. The selected version is always decisive. Ask for every line in your configuration to be marked as included, optional or customer-provided.
| Review area | Common core item | Often checked separately |
|---|---|---|
| Structure | Posts, frame and system-specific connectors | Ground, foundations and special fixing situation |
| Roof | Selected roof components and matching profiles | Motor, controls or alternative roof options |
| Water management | System elements for the selected roof solution | Drainage route, connection and work to existing structures |
| Side protection | Only when expressly listed as an item | Screens, panels, glazing and additional guides |
| Lighting | Integrated lights where specified in the configuration | Electrical connection, cable routes and installation |
Five steps to a reviewable kit
A brief site review turns a general product idea into a robust enquiry. Start with your property and how you will use it, then consider individual comfort options.
01
Record the area
Measure the patio, levels, door zones and fixed obstacles. Add photos and a sketch showing views and planned drainage routes.
02
Prioritise use
Define when and how you want to use the area. Seating, access, privacy and evening use determine the specification.
03
Choose the base system
Choose the structure and roof design to suit your plan. Record the size, colour and intended installation position clearly in a list.
04
Add options individually
Add side protection, lighting and controls only with an exact position. This shows which parts differ from the basic specification.
05
Confirm interfaces
Clarify the base, electrical work, installation and local requirements in advance. Then ask for a complete configuration-specific schedule.
Checklist before ordering or installation
Work through these points using the product description, your sketch and the current quotation. Every answer should relate to your exact size and version.
01. Are posts, beams, roof frame and connectors clearly listed for the chosen configuration?
02. Does the description clearly state which roof parts, controls and finishing profiles are included?
03. Has drainage, including the proposed outlet side and pergola surroundings, been considered?
04. Are side elements shown separately by type, quantity, position and, where relevant, operation?
05. Is lighting clearly separated from electrical connection, cable route and installation work?
06. Are base preparation, fixing and any foundation work allocated to a responsible party?
07. Do post positions, access routes and furniture areas suit everyday patio use?
08. Is there a final schedule distinguishing options, installation services and customer-provided work?
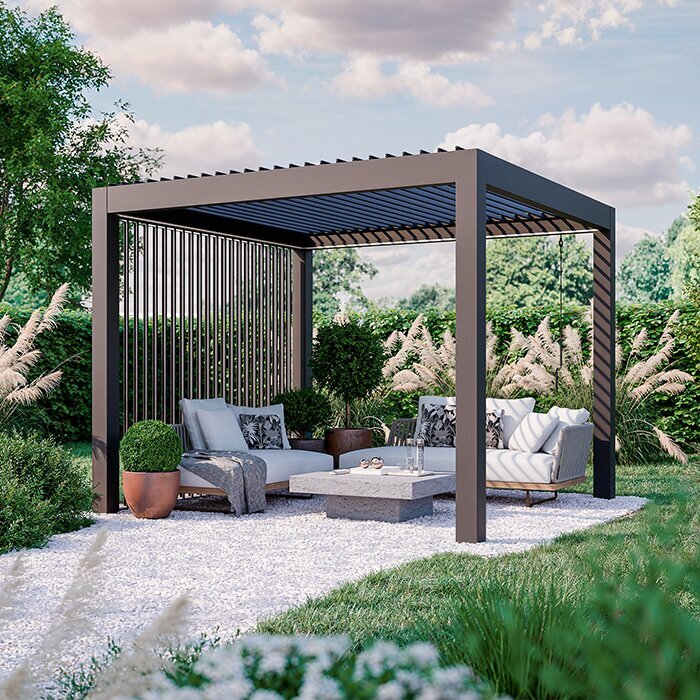
Frequently asked questions about pergola kits
Is installation automatically included with a pergola kit?
No, that cannot be assumed. A kit initially describes the supplied components. Installation may be agreed separately or planned as self-assembly. Check explicitly whether assembly, anchoring, alignment, preliminary work and any electrical work are included in one service or handled by different parties.
Are side screens normally included in the basic package?
Treat side screens as a separate specification item unless they are expressly stated in the scope of supply. Besides the screen itself, guide rails, fixings and, depending on the version, operating elements may be relevant. Decide in advance which side needs protection and whether the intended access must remain open.
Must I decide on lighting when I order?
Deciding early is often useful because positions, cable routes and possible mounting points fit more readily into the overall plan. Whether a later addition is possible depends on the specific structure and design. Ask specifically about available options and have electrical work assessed by a registered local electrical contractor.
What matters when fixing to an existing patio?
The construction, load-bearing capacity and condition of the existing base, as well as any services beneath it, are decisive. Surface appearance alone does not answer these questions. Record the patio material, levels and special features, then consult a suitably qualified person about the preparation and fixing required for your situation.
Why are product photographs insufficient for the scope of supply?
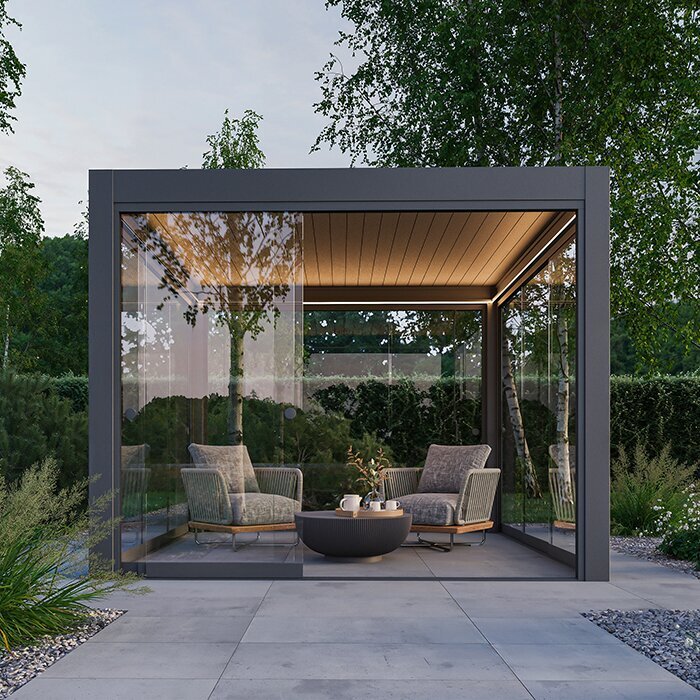
Product images often show a styled example configuration. Side protection, lighting, furniture or other extras may be visible without belonging to the basic scope. A written schedule of the selected components is what matters for your planning. Always compare the image, configuration and quotation together.
Should I check local requirements before ordering?
Yes, that is sensible for a building project on your property. Requirements can vary by municipality, property and design. Ask the relevant local authority about the approval route, planning scheme and project classification; a minor-work tariff category does not itself confirm approval. If insurance may be affected, discuss the plan directly with your insurer as well.
Review the configuration systematically
A good kit is above all clearly described
The best basis for your decision is not the longest possible list, but a clear division: what supports the pergola, what belongs to the chosen roof solution, which comfort options are added and which work happens on site? This sequence quickly shows whether an offer suits your project.
Use your area measurements, ideas for use and site photographs as a starting point. The Bloomcabin range can then be considered from a clear configuration, without confusing visible extras with the actual scope of supply. Ask for an understandable itemised schedule before finalising details.
Set out your planned scope of structure, roof, side protection and comfort options clearly.
