
Choosing window and door colours: RAL, inside/outside colours and samples
Planning guide for windows and doors
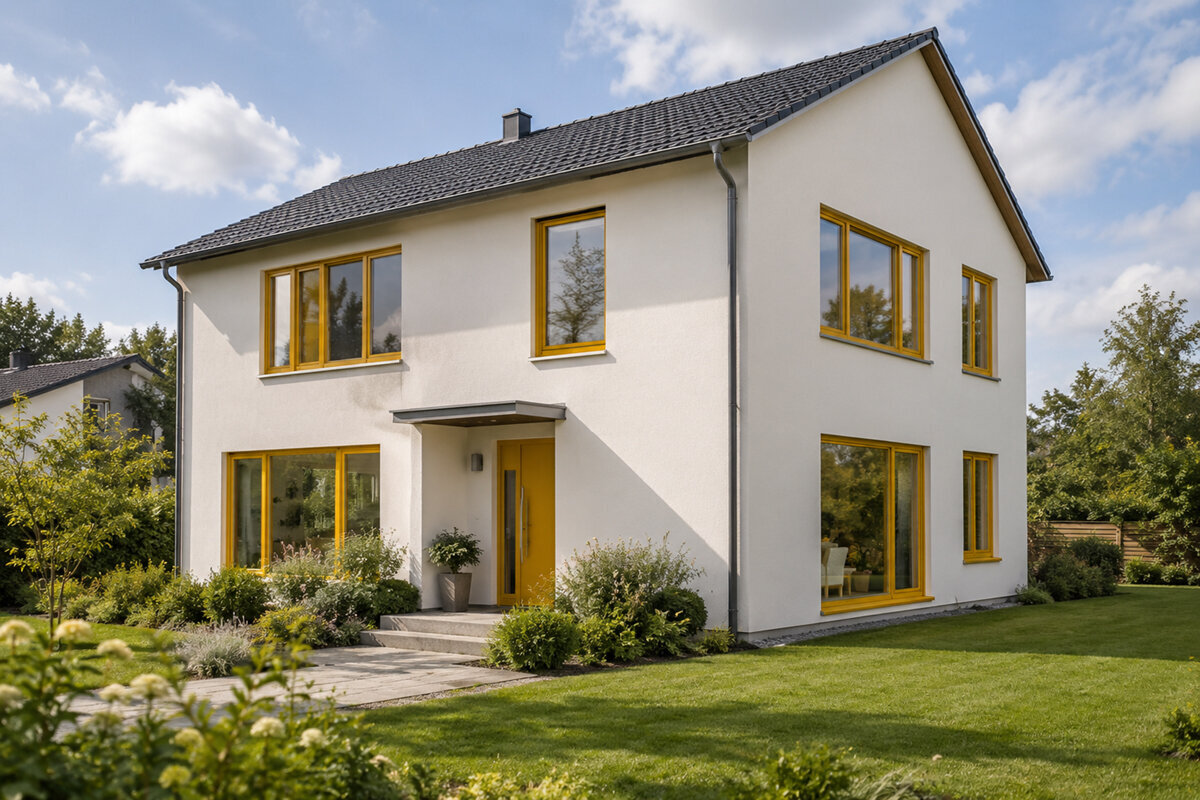
The windows have been measured, the door style is confirmed – and suddenly a small colour sample decides whether the façade, roof, downpipes, flooring and interior belong together. That is why colour selection should not be the final click when ordering. With windows and doors, colour, sheen, texture, glazing bars and glass area always work together; the same surface also looks different in shade, low sun and warm indoor light. A robust colour scheme starts with an overview of every opening, the components already chosen and real samples at the property. Only then can you sensibly decide whether one consistent shade creates calm or different interior and exterior finishes are the better answer.
Start with the building elevation, not the individual product
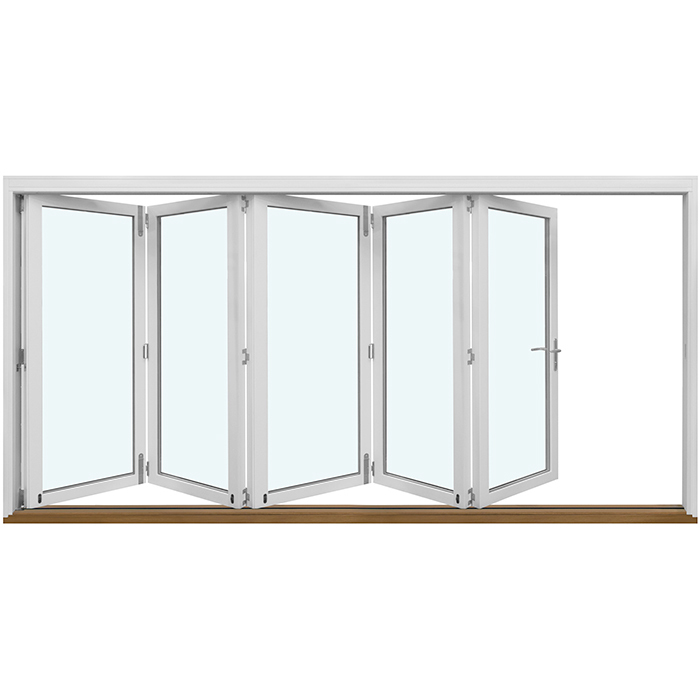
First consider every side of the home: street façade, garden side, gable, roof windows and entrance. A dark frame can define a pale rendered façade precisely; on a façade that is already highly detailed, the same contrast may look restless. Viewing distance matters too: from several metres away, the rhythm of openings and frame lines stands out, while close up you notice handles, seals, profile edges and surface texture. Create an elevation sketch or photo montage and mark every window, external door and large glazed opening. Note the roof colour, façade material, plinth, metalwork and sun protection alongside them. This reveals which colour should lead and which components may deliberately recede.
A consistent exterior colour does not mean every element must look identical. A wide Patio Life lift-and-slide door has far more visible frame area than a small window and therefore has a stronger influence on the garden elevation. Check its colour against fixed façade joints, terrace paving and any railings. At the entrance, the door may serve as an accent while windows create a restrained line. Conversely, a door in the same colour can calm the architecture when brickwork, a canopy or lights already attract attention. Before reviewing samples, formulate one design rule, such as: “Openings sit quietly within the façade” or “The entrance creates a clear accent.” This rule makes every later individual choice easier.
Use RAL as a shared language for colour
RAL references are primarily a coordination tool. They give a colour an unambiguous reference when windows, doors, shading, post boxes or metalwork are being planned. Do not record only a colour name such as grey or green; include the complete agreed designation from the chosen colour system. This prevents several parties working with similar-sounding but different shades. During a consultation, ask explicitly which visible component the reference covers: the interior face of the frame, the exterior face, door leaf, panel, fixed frame or accessories. For a two-colour design, both references belong in the order and approval.
A colour designation is not, however, a guarantee of an identical visual result on every substrate. Texture, gloss level, geometry, incoming light and surface size change perception. A sample beside a rough façade appears different from a slim frame against glass. Compare the intended RAL shade not only with a digital image, but with adjoining original materials: an offcut of façade material, brick, paving sample or coated metal part. If a partner product is not designated in the same system, request a real side-by-side comparison rather than relying on a similar name. The RAL code provides clarity in communication; sampling determines the design effect.
View the complete opening
Assess inside and outside separately
The exterior responds to architecture, neighbouring buildings and changing daylight; indoors, the connection to wall colours, furniture, flooring and the mood of the room matters. This may lead to a two-colour design: an exterior shade that brings the façade together, with a lighter or warmer interior shade that does not weigh rooms down visually. This is especially relevant for large glazed areas whose frames remain permanently visible in living spaces. A consistently dark outer frame can look striking outside, yet create a strong grid indoors in low rooms or rooms with many small windows. Equally, a light inner frame does not mean the façade must also be framed in a light colour.
Plan the interior side room by room, but without creating endless variations. Look at flooring, skirtings, internal doors, kitchen fronts and radiator recesses together. With single-leaf inward-opening windows the interior colour becomes particularly noticeable when opened, because sash edge and frame are visible beside each other. Also check which side of an open element dominates when viewed from the room. A useful rule is that recurring rooms can share one base colour, while only clearly justified areas should differ. Write down the reason, for example a deliberately dark study or a historic colour scheme. This keeps the choice traceable when dimensions, hardware or later additions are coordinated months afterwards.
Treat surface, sheen and texture as separate choices
Colour alone does not fully describe a surface. Matt, satin or glossier finishes reflect light differently; smooth and textured surfaces create different shadows and feel different too. A textured dark surface may appear less reflective, yet reveal its texture more clearly in side light. A smooth finish can look graphic and calm, but makes reflections more prominent. Do not inspect samples only laid flat on a table. Hold them vertically, tilt them towards the light and view them from the distance at which windows are normally seen. Pay attention to edges, rebates and transitions to seals, because shadow lines are concentrated there.
Compare samples in several lighting conditions: outdoors under cloud cover, on the sunny side and indoors under the usual artificial lighting. Place them beside both a light and a dark reference material. Photographs can document options, but cannot replace viewing with your own eyes, because screens, exposure and white balance alter the result. Ask for samples of the actual intended finish, not merely a generic colour chip. If the window and door are to have different finishes, place both directly next to one another. Then decide not from each sample alone, but from their combined effect: does the pair look deliberately coordinated or accidentally different? That question matters more than finding an abstractly “correct” finish.
Include large glazed areas and moving doors early
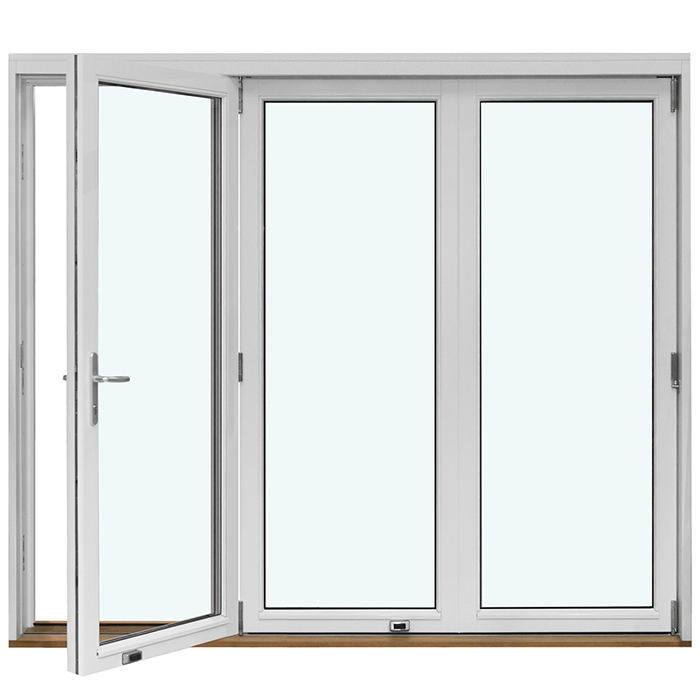
For patio doors, sliding systems and folding doors, colour forms part of the room experience because frame area often divides entire wall elevations. A light finish can visually extend the glass area; a dark frame can enclose it like a deliberate picture. Check this alongside furniture positions, curtains and the view towards the garden. With outward-opening folding doors the appearance also changes when leaves are open and folded to the side. Do not ask only for a closed elevation; consider the lines in the use position that is often common during summer.
Colour must also be considered together with the visible parts of the system. Clarify which fittings, handles, covers and threshold areas remain visible inside and outside, and which finish is intended for them. A carefully coordinated frame colour loses impact when several visible details differ from it without planning. That does not mean everything must match: a restrained contrast can make operation intentionally legible. What matters is setting it as a design decision. Keep one view for each large opening closed and another open. Add notes on flooring, curtains and walls to the sample photographs. This turns a sample comparison into a decision for everyday life.
Read glazing bars, divisions and colour together
Glazing bars significantly change the amount of visible colour. The finer and more numerous the divisions, the more strongly the frame reads as a pattern in front of the glass area. A dark colour emphasises this rhythm, while a light or façade-related tone can soften it. Distinguish decorative glazing bars from bars that divide the glass: both affect the appearance, but their construction may differ. For choosing colour, what first matters is which lines become visible from the intended distance. In an elevation with glazing bars, draw not only the outer frame but every horizontal and vertical line in the intended colour.
With a historic-style outward-opening “Kombi” casement window the choice of shade and division is particularly closely linked. A historic character is not created by dark or light colour alone, but by the relationship between frame width, sashes, glazing bars and façade. Therefore, compare not only a small colour sample, but also a scaled elevation or reference photograph with similar divisions. Consider whether door and window should speak the same design language. A modern smooth entrance beside strongly divided windows can be an intentional contrast, but then needs a connecting feature, such as a related shade or recurring hardware colour.
View the complete opening
Do not sample special shapes like standard windows
Round, semi-circular, triangular and angled windows distribute colour differently from rectangular formats. Their frame can become a prominent graphic feature because the outline itself draws attention. For fixed triangular and angled windows you should therefore assess the planned exterior colour in a complete view of the gable. A strong contrast can deliberately emphasise the roof form; a façade-related shade can integrate the special shape more quietly. The suitable solution does not depend on the rarity of the window, but on whether it should organise the architecture or act as an accent. Also consider the view from greater distance, for example from the garden or across the street.
Pivot roof windows are another special case: their exterior appearance is seen from changing viewpoints and under varying sky light, while internally the reveal and room surfaces also influence the result. Do not automatically assign them the same colour as vertical façade windows without considering the roof as a separate field. Clarify which visible inner frame areas meet wall or ceiling colours. For special forms, a sample photograph at the installation location is especially useful if you mark the approximate outline on it. The image does not replace technical planning, but helps assess colour contrast in relation to form. Record the decision separately from glazing, opening and size questions so that design and technical configuration are not confused.
Define the entrance door as an accent or part of the window line
Many materials meet in a tight space at the entrance: render or brick, canopy, house number, light fitting, handle, sidelight and flooring. The front-door colour should therefore not be selected only after the windows. Decide whether the door creates a clear address or follows the window line. An accent door needs sufficiently calm neighbouring surfaces; a door in the same colour can still have its own presence through its format, panel or handle. With an outward-opening panelled front door the door-leaf colour, visible frame parts and panel appearance should be sampled together. A single sample does not reveal the arrangement of the areas.
A glazed sidelight extends the colour and line effect of the entrance. With a single glazed door sidelight, check whether frame colour, door proportion and glass area form a cohesive unit or whether the door should appear as a compact body. Place samples at the real façade position and view them with the door open as well as closed. The entrance is experienced from close range, so handles, visible edges and transitions matter more than at an upper-floor window. Also record which inner side suits the hall. A quiet, light effect may be appropriate there even when a stronger exterior shade is chosen. The decision remains consistent when it considers both arrival situations.
Organise sample comparison as a traceable test
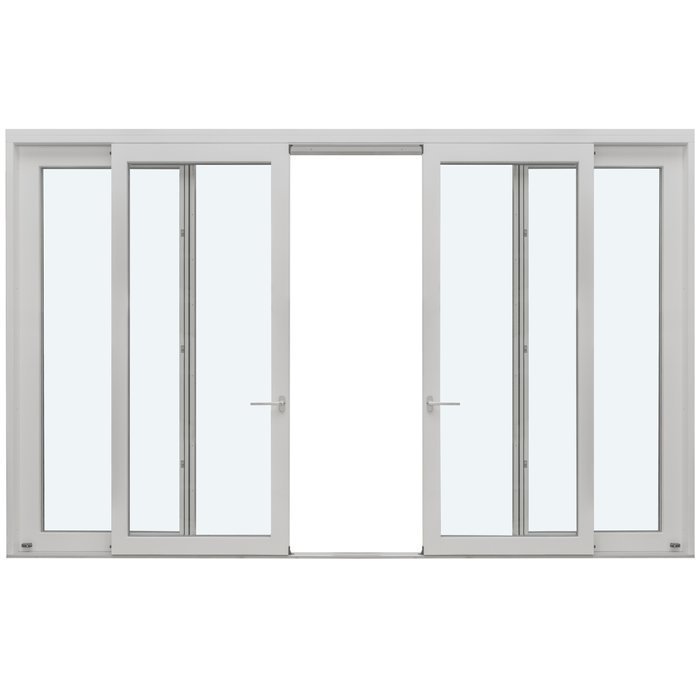
Order or borrow samples early enough that the decision is not made under ordering pressure. Label every sample with the full colour and surface designation, plus its interior or exterior side. Never compare more than a few alternatives at once; when too many similar shades are present, differences become harder rather than easier to see. First establish a preferred direction, such as warm dark grey, neutral light grey or muted green. Then choose two or three candidates within that direction. View samples against the façade in their intended orientation and return to them again after several hours. This prevents decisions based only on a brief first impression.
Keep a small checklist: what happens in sun, how does the sample look beside the façade, does it suit the roof, how does it appear indoors next to the floor, and which hardware colour is intended? Do not only mark “like it”; record the reason. If uncertain, a larger sample section or visualisation can help, but approval should still be based on a real surface. Include everyone who will make a binding decision before the configuration is confirmed. Later changes often affect more than colour because interior and exterior sides, accessories and several elements may need coordination. Clear sample approval is therefore not a decorative extra, but part of the complete order specification.
Document the order securely by colour
Before ordering, create an element list with room, façade side, product type, opening direction, exterior colour, interior colour, surface finish and visible accessories. Add a reference to the approved sample. This lets you see immediately whether, for example, an upstairs window has unintentionally received a different interior side or a patio door differs from the garden façade. For single-leaf outward-opening patio doors the list should also state clearly which view is inside and which is outside; terms such as left and right can be ambiguous without a defined viewing position. Always describe the colour together with its respective side.
Check the order confirmation not only for dimensions and quantities, but line by line for colour details. For every uncertainty, ask: is this the full colour designation? Does it apply inside or outside? Is the intended surface finish named? Does the finish cover frame and door leaf or sash equally? Keep the sample designation, elevation sketches and confirmed list together. Windows and doors from Bloomcabin have a five-year warranty; delivery takes four to six weeks after order confirmation. Neither replaces careful configuration checking before approval. Fully documenting the colour decision gives a better basis for questions, later additions and coordination with everyone involved in the project.
Frequently asked questions
Is a RAL number enough to coordinate window and front-door colour?
It is an important, unambiguous reference, but it is not enough by itself. Surface texture, sheen, area size and light change the impression. Compare real samples of the intended finish directly beside each other and with the façade, roof or other adjoining materials. Document the complete designation for both the interior and exterior sides.
When do different colours inside and outside make sense?
When the façade and interior have different design tasks. Outside, the frame can organise the architecture; inside, it should suit flooring, walls and furnishings. Separate assessment is especially worthwhile for large glazed areas. Identify the sides clearly so that the two-colour design is not reversed in the order.
Should all windows in the house have the same interior colour?
A shared interior colour usually creates calm and makes later additions easier. Variations can make sense if a room has a deliberately distinct colour scheme. Do not decide from individual rooms alone; check sightlines and transitions. Every exception should be justified and clearly assigned in an element list.
How many colour samples should I compare?
Start with two or three options within a clear colour direction. More samples often lead to unclear comparisons. Test them outdoors in daylight and indoors under the usual lighting. Also assess their effect beside original materials and from different distances before approving one option in writing.
What details belong in colour approval for windows and doors?
For each element, record exterior colour, interior colour, surface finish, sample reference, visible fittings or accessories, and the inside and outside view. Add the product type and opening direction. Check these details line by line in the order confirmation. This turns a design intention into a clearly verifiable configuration.
Next step
A convincing window and door colour does not come from an image on a screen, but from a coordinated sequence of decisions: begin with the building elevation, use the RAL designation as a shared reference, assess interior and exterior sides separately, sample the actual finish and document every element clearly. Large glazed areas, glazing bars, special shapes and the entrance each deserve their own consideration because colour appears differently on them. Limit the selection, view samples at the property and decide only after comparing several lighting conditions. When the confirmed element list contains the same details as the sample approval, the concept remains traceable from the first window to the final door.
