
Install your pergola yourself or use a professional?
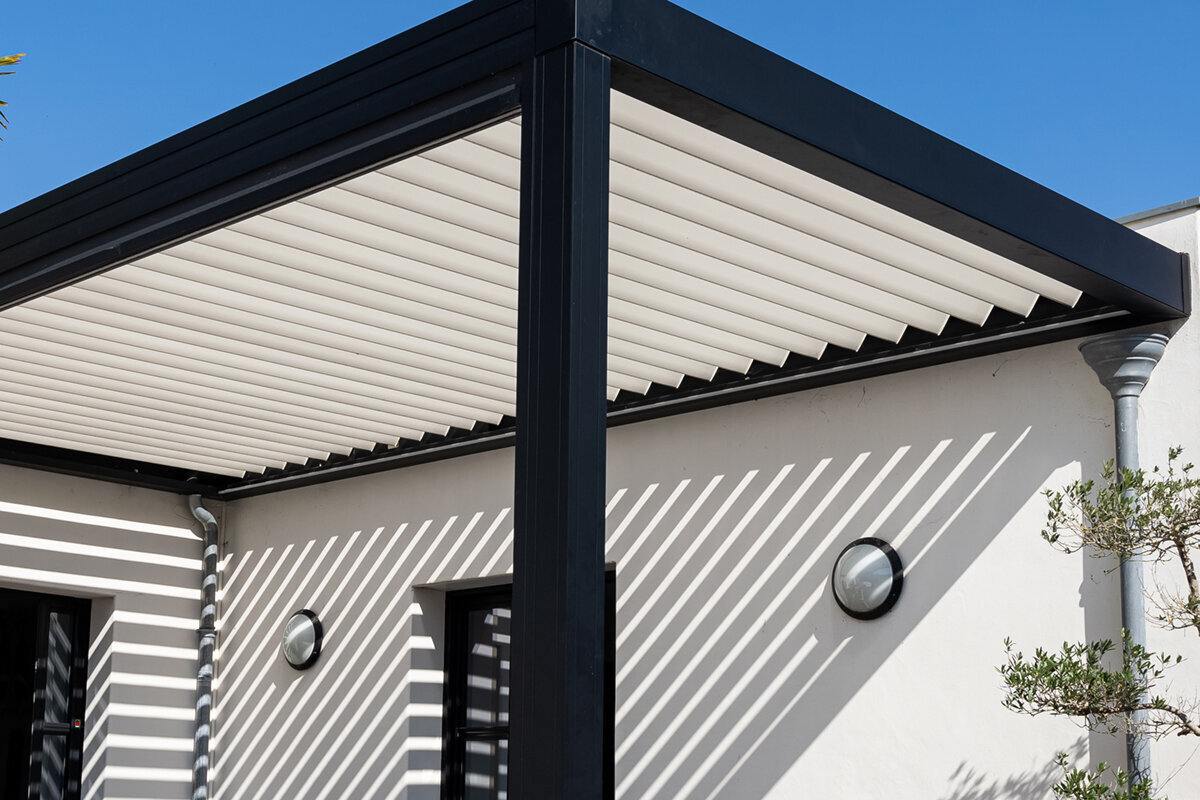
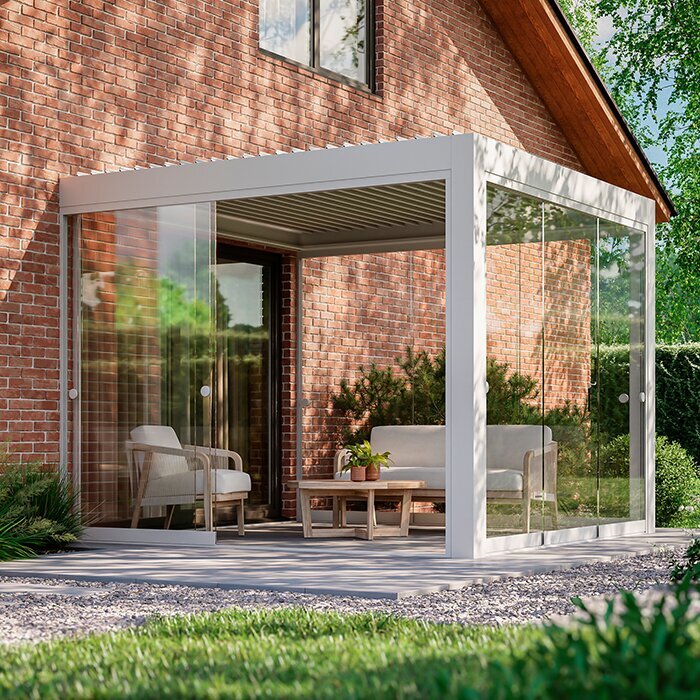
An aluminium pergola makes a lasting change to an outdoor area. The better choice between DIY and professional installation depends not only on practical skills, but also on foundations, alignment, component weight, helpers and possible electrical work.
Taking the DIY route means managing both the preparation and the build. Although the manual establishes the sequence, you still need to assess the supporting surface carefully. Accurate post locations, sound footings and methodical set-out affect the eventual strength and visual balance of the structure.
A trade installation may be preferable on an uneven site, where access is awkward or when different trades need coordinating. Existing terrace finishes, drainage issues and proposed electrical equipment are typical considerations. The installer may organise the sequence, but the site's construction requirements still need attention before work begins.
Compare tasks rather than relying on instinct. Consider what you can safely complete, what assistance is available and where outside expertise is appropriate. This turns a pergola idea into a manageable project with clear responsibilities.
Decision · 01
Assess the installation scope realistically
Every part of a bioclimatic aluminium pergola must come together accurately. Begin by reviewing the complete manual, reconciling the supplied parts with its inventory and planning the order of work. Practical ability with screws is only one consideration: you must also reproduce the set-out correctly, store parts without damage and maintain an orderly, safe build process.
Think through movement and storage across the property before assembly begins. Posts, roof pieces and lengthy profiles need unobstructed space on the ground and enough people to lift them safely. Build checking time into the schedule. Draw the sequence or mark it on the site, including storage zones and clear carrying routes. Keep small fittings, wrapping and protective pieces dry and organised. Searching for parts mid-build or manoeuvring them around obstacles raises the chance of damage, confusion and inaccurate work. Seek trade advice if any handling method, site condition or installation stage remains unclear.
Map out the job before choosing DIY, either with a drawing or by setting it out on the site. Identify protected storage, clear carrying paths and safe places for helpers to stand. Provide dry, orderly storage for fittings, packaging and surface-protection materials. This preparation limits interruptions and reduces the chance of parts being confused, scratched or positioned inaccurately while they are moved around obstacles.
Decide in advance who checks measurements during assembly and who secures components. Clear task allocation prevents essential checks being missed between carrying, aligning and fastening.
- Review the complete manual first, noting every dimension, fixing location and inspection stage.
- Arrange helpers for lifting and alignment; improvised solo work increases damage and misalignment risks.
For an adjustable-roof project, review bioclimatic aluminium pergolas and their installation requirements.
DIY installation · 02
When DIY installation can work well
DIY may be practical for a standard aluminium pergola when the site presents no unusual complications. Look for level, unobstructed access, a settled post layout and a fixing method prepared in advance. Familiarity with levels, measuring equipment and correctly tensioned fasteners is valuable, but the model's instructions must still govern the work.
Give the assembly its own uninterrupted work period rather than fitting it around other commitments. Accurate work requires good light, room to move and sustained attention. Organise fittings, cover exposed finishes and record key stages. Check whether joints, boundaries, steps or edges conflict with a post location, and work out where water from nearby surfaces will drain. Resolving such details before drilling is easier than revising installed anchors. Obtain specialist input for anything that remains uncertain.
A rigid-feeling surface does not by itself confirm that it is suitable. The important questions are whether durable fixing points can be formed and whether the set-out can be transferred accurately. Inspect boundaries, joints, steps and edges for conflicts with the posts, then trace drainage from adjoining surfaces. Deal with any difficulty while planning rather than after installing anchors, and obtain a specialist assessment when the answer is unclear.
Set the proposed post layout against the real site before work begins, noting any drain, edge or surface change that alters the sequence.
- Confirm unobstructed access to each work zone and a stable position for ladders and other access equipment.
- Schedule unhurried checking and adjustment before any fastener receives its final tightening.
For a clear, straightforward layout, standard aluminium pergolas offer an understandable starting point for DIY assembly.
Ground conditions · 03
Clarify foundations and fixings first
Treat the footing as the starting point for the entire installation plan. A paved terrace could be appropriate, but suitability depends on its structure, condition and available anchoring method. Pavers alone do not show what supports them. Before any hole is drilled, investigate drainage, falls, boundary clearances and hidden services as well.
Do not confirm post locations until the footing dimensions and centre lines make sense. Use a documented set-out and compare diagonal measurements to establish a square frame. If the slab, supporting layers or fasteners cannot be identified confidently, ask a suitably experienced person to inspect them. Check access equipment and tools, preserve working room around the frame, and pause whenever light, weather or staffing makes accurate work difficult.
Use the manual to prepare a brief inventory of tools and materials. Include supplies for marking and cleaning, plus padding on which parts can be placed without damage. Inspect steps and ladders and preserve enough room to move safely around the frame. Avoid makeshift methods if a component cannot be supported securely or a position cannot be reached from stable access equipment. Pause the job whenever poor weather, fading light or reduced help compromises concentration.
Add each site constraint to a working sketch. Showing centre lines, clearances and obstacles gives helpers or specialists a common reference and makes the next decisions easier to trace.
- Establish the construction and condition of the existing surface before choosing fixings or marking drill points.
- Check axis dimensions and diagonals repeatedly; small deviations can become obvious when the roof is assembled.
For a carefully planned outdoor cover, bioclimatic pergola solutions depend on precisely prepared ground conditions.
Equipment · 04
Organise equipment, helpers and safe work
More than a basic toolbox is usually required for pergola assembly. Match the equipment to the system: accurate measuring tools, suitable drills and drivers, stable access gear, and protection for eyes and hands. Charge cordless tools beforehand, then verify that every drill, driver bit and spanner fits the proposed anchoring hardware and substrate. The wrong equipment can deform fasteners or leave poorly positioned holes.
Assigning roles is equally important. Nominate one person to verify and approve measurements while the others support or fasten the parts. Agree on lifting instructions and ensure no component is left without support. At each stage, check floor references, posts, beams and diagonals in a consistent order. Write down readings instead of judging by sight. Before final tightening, have someone else inspect each connection for displaced centre lines or twisted profiles.
Repeat one documented checking sequence throughout the build. Verify the ground references first, followed by posts, beams and diagonal dimensions. Written readings are more dependable than an initial visual impression. Before fasteners are fully tightened, ask another person to inspect the work from a separate viewpoint. This can expose rotated profiles and displaced centre lines while correction is straightforward, preserving dependable geometry for the components installed later.
Separate carrying routes from measuring and assembly zones. Helpers can move long profiles without disturbing reference marks or the organised fittings beside the work area.
- Have measuring tools, appropriate drilling equipment, safe steps and personal protective equipment ready before assembly.
- Give each person a defined role so supporting, checking and fastening remain coordinated rather than improvised.
When organising installation yourself, check the documents for classic aluminium pergolas with particular attention to the specified equipment and crew.
Alignment · 05
Precision shapes the finished result
Straight posts and clean beam lines give a pergola its composed, well-finished appearance. Keep every fixing adjustable until the main geometry has been verified. Work section by section, repeat the measurements and inspect the frame from several viewpoints. On a broad structure this matters especially, because a minor discrepancy can carry through subsequent components and remain visibly apparent.
Trade installation is valuable when the site requires close adjustment. Limited working room, irregular transitions and junctions with an existing outdoor area all affect the order of work. A DIY build also benefits from a formal hold point: continue only after the dimensions, vertical set-out and junctions have been verified, then tighten as directed. Decide early where lighting, controls and related equipment will sit, and review those choices with the electrical professional before mechanical details and cable paths are closed in.
Plan the electrical layout around how the pergola will be used. Identify practical locations for lights, controls and other equipment while preserving access for servicing. Give this information to the electrical professional before assembly so wiring routes and mechanical details can be resolved together. Leaving those decisions until the visible structure is complete may put penetrations, covers or fixings in awkward places and create unnecessary corrective work.
Before final tightening, check the appearance again from typical garden or patio viewpoints.
- Check in several ways: verticality, straight lines, centre-line dimensions and diagonals each reveal something different.
- Where the manual permits, complete every interim check before applying final tension to the connections.
For precise roof and post geometry, bioclimatic aluminium pergola models require accuracy from the outset.
Electrical planning · 06
Consider electrical connections separately
Adding controls, lights or other powered equipment introduces coordination between the structural and electrical work. Select positions and cable paths early so temporary visible workarounds are not needed later. You might undertake permitted mechanical preparation, but engage an appropriately licensed local electrician to assess the installation and complete electrical connection work.
Ask the relevant professionals what information and preparatory work they require. Useful details may include the proposed equipment, available supply, operating preferences and exact location. Make these decisions even when one contractor manages the overall installation so structural and electrical planning proceed together. Supply photographs and clear notes about access and existing finishes. Record where responsibility passes between footing, assembly and electrical work so every party understands its scope.
A concise site brief makes the trade work easier to organise. Include photographs, surface details and any access limitations so questions can be raised before arrival. Ask what must be finished ahead of the agreed installation date and where delivered parts should be stored. Write down each handover between footing, frame assembly and electrical work. This keeps responsibilities visible without requiring you to direct specialist technical decisions.
Support the discussion with a simple plan showing access and preferred equipment positions.
- Resolve connection points and cable paths ahead of assembly to avoid reopening or routing around finished components.
- Have electrical connections assessed and completed by a qualified electrical professional; agree the scope early.
Where the outdoor layout is straightforward, standard aluminium pergolas provide a good basis for considering electrical requirements early.
Professional installation · 07
What a professional installer can cover
Assembly is only one part of a trade installation. The agreed service might include sequencing the work, setting the frame accurately and erecting it on a prepared base. Before engaging anyone, ask who will set out the structure, prepare footings, manage site access, remove packaging and liaise with other trades. Compare quotations against the same written scope.
Professional assistance does not remove the choices you need to make about location, use and equipment. Give the installer dependable details, including slopes, services and access restrictions. Ask the responsible local authority about site requirements instead of treating a neighbouring project as a precedent. Divide the project into work you can undertake, matters still needing answers and specialist tasks. An unresolved critical step is a sound reason to obtain help.
Sort the project into three groups: work you can perform safely, issues that still require an answer and specialist responsibilities. Cover site preparation, handling materials, checking dimensions and potential remedial work as well as assembly. Then verify that the available crew and equipment suit that split. If no safe method exists for an important step, seek assistance. A combined approach lets you manage preparation while specialists handle difficult interfaces.
For a combined approach, define each handover with the professionals before work starts.
- Request a written description of included work, interfaces and requirements for a smooth installation appointment.
- Share site features early, including access, finishes, slope, services and restricted work areas.
On demanding sites, professional installation for bioclimatic aluminium pergolas can provide structured support for assembly.
Decision · 08
Choose the right approach for your project
Choose the method that matches both the site and your available resources. DIY is an option rather than an obligation, while using trades does not diminish your practical ability. A well-defined location, suitable equipment, experience and reliable help can make self-assembly manageable. Bring in targeted assistance wherever reducing risk or conserving your own capacity is more important.
Settle the installation approach before ordering rather than when the packages arrive. List unresolved matters involving footings, working room, helpers, equipment, electrical coordination and responsibility. If significant questions remain, an on-site professional assessment is generally more useful than correcting the build later. Keep manuals, part information and notes about unusual site conditions in one place. Before first use, verify that the intended work is finished and remove every tool, loose item and protective film. Those records will also assist future modifications or discussions with specialists.
Continue the checks after assembly. File the manual, component records and notes about unusual site conditions together. Before the pergola is used, confirm that the planned work is complete and remove tools, loose items and protective film. Write down any question left unresolved during construction. An orderly record supports later alterations and discussions with the participating specialists, and documents how responsibilities were divided between DIY and trade work.
Just before work begins, review the task list together with everyone involved.
- Assess your choice by site and tasks, not only by past DIY experience or apparent time savings.
- For unclear interfaces, choose a mixed approach where professionals handle critical work and you assist with preparation.
For clearly planned outdoor areas, traditional aluminium pergolas can provide a practical starting point for a project-specific assembly plan.
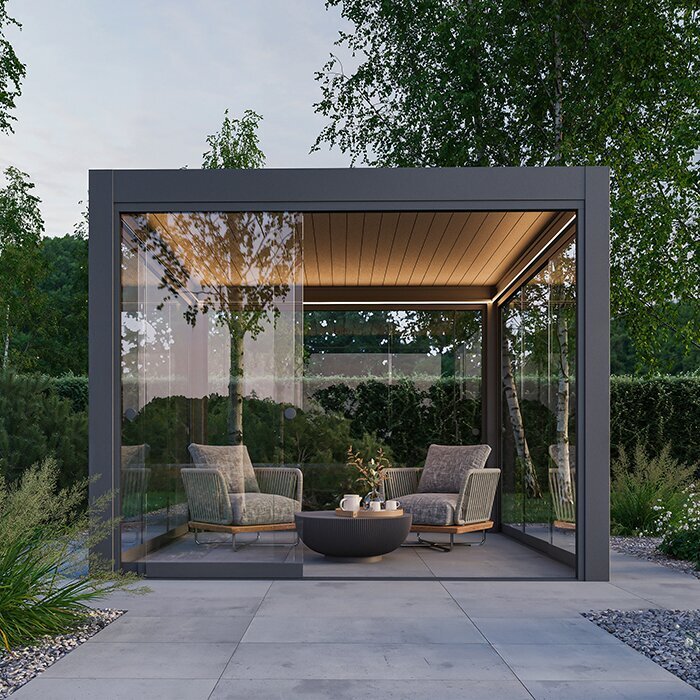
Comparison
DIY and professional installation compared
Either method may suit when site conditions and responsibilities have been settled. Use the table to work through common project decisions; it cannot determine whether your particular base or location is suitable.
| Criterion | DIY installation | Professional installation |
|---|---|---|
| Requirements | Practical experience, helpers and prepared site | Agreed scope and accessible installation site |
| Foundation | Assess independently and prepare to plan | Clarify responsibility and assessment in writing first |
| Alignment | Measure, check and adjust carefully several times | Established processes for assembly and alignment |
| Tools | Provide and competently use suitable equipment | Equipment usually organised by the installer |
| Electrical work | Prepare mechanics; have connections professionally completed | Coordinate the electrical-professional interface early |
Install it yourself
Consider DIY where access is open, the surface is level, the footing method is settled and you have experience with accurate set-out, alignment and fastening.
Choose professional installation
Useful for demanding anchoring, uncertain load capacity, difficult access or coordination between multiple connections and trades.
Consider a mixed approach
You may assign footing and electrical tasks to specialists while retaining agreed preparation and assembly work yourself.

Work through five steps before choosing
Brief advance planning reveals whether DIY is realistic and where professional support may help. Record findings in writing and resolve open points before committing to a date.
01
Record the site
Record the available area, approach route and clearances, including slopes, changes of finish, known services and anything visible that obstructs work.
02
Assess the base
Clarify construction, load capacity and fixing options. Seek knowledgeable assessment before installation if uncertain.
03
Read the assembly sequence
Study the complete manual, then place each task, component, tool and required helper into a workable sequence.
04
Define interfaces
Allocate responsibility for the footings, frame assembly and any electrical tasks, documenting where each person's work finishes and the next begins.
05
Start safely
Choose a suitable workday with clear space, enough daylight and time for measurements, breaks and final checks.
Pre-installation checklist
Use these checks to assess DIY and trade installation against the real site. An unanswered item does not rule out the project, but it does require further planning.
01. The site, dimensions, approach route and unobstructed storage space have all been recorded.
02. The supporting surface and proposed anchoring zones have received an appropriate technical assessment.
03. Centre lines, post locations and required clearances are marked carefully before any drilling.
04. The complete manual has been reviewed and the supplied parts reconciled with its inventory.
05. Enough helpers are available for safe lifting, holding and alignment.
06. The correct tools, personal protection and stable access equipment are ready for use.
07. Powered features and cable paths are planned, with connection work referred to the appropriate professional.
08. Responsibilities for foundations, assembly, checking and any remedial work are clearly agreed.
Frequently asked questions about pergola installation
Can I install an aluminium pergola myself?
DIY may be workable when the location is properly prepared, the instructions are within your capability and reliable assistance is available. The supporting base must be suitable, and the frame requires accurate set-out and safe handling. Ask a suitably experienced person to assess any uncertainty involving structural conditions or the selected fixings.
What matters most for the foundation?
Both the fixing method and the site's conditions must suit the footing or other supporting base. Investigate more than its visible finish: construction, condition, falls and service routes also matter. If you cannot establish those details with confidence, arrange a knowledgeable assessment before installation.
Do I need several helpers for installation?
Usually, yes. Beams, posts and other parts need controlled lifting, secure support and accurate positioning. The required crew depends on the model, the order of assembly and conditions at the site. Allow for people to secure and verify the work as well as carry components.
May I connect the electrical equipment myself?
You can include mechanical preparation and proposed cable routes in the project plan. Engage an appropriately licensed local electrician to assess the actual installation and complete connection work. Agree on equipment positions and technical requirements early so the structural and electrical stages can be coordinated.
How do I check whether my pergola needs approval?
Before work begins, describe the site, dimensions and design to the relevant state or territory planning service and your council, then ask which checks or approvals apply. Do not treat another property as a precedent. Renters and strata owners should also seek project-specific permission from the landlord or owners corporation.
What should I clarify before professional installation?
Obtain a written scope showing both the included work and your required preparation. Cover footings, set-out, access, working space, electrical coordination and any unusual site feature. Clearly documented boundaries between those tasks make the installation easier to organise.
Plan your pergola
Plan safely, install suitably
Whether you install your aluminium pergola yourself or use a professional depends on project conditions. A prepared base, clear measurements, safe processes and early resolution of interfaces matter more than a quick decision. A realistic assessment of your resources creates a sound basis for assembly.
Use the planning stage to separate work you can control safely from tasks needing experience or specialist knowledge. Bloomcabin helps you assess different pergola styles against your outdoor area and proposed installation approach.
Explore suitable aluminium pergolas and compare installation requirements for your project.
