
Planning a Pergola for a Small or Narrow Terrace
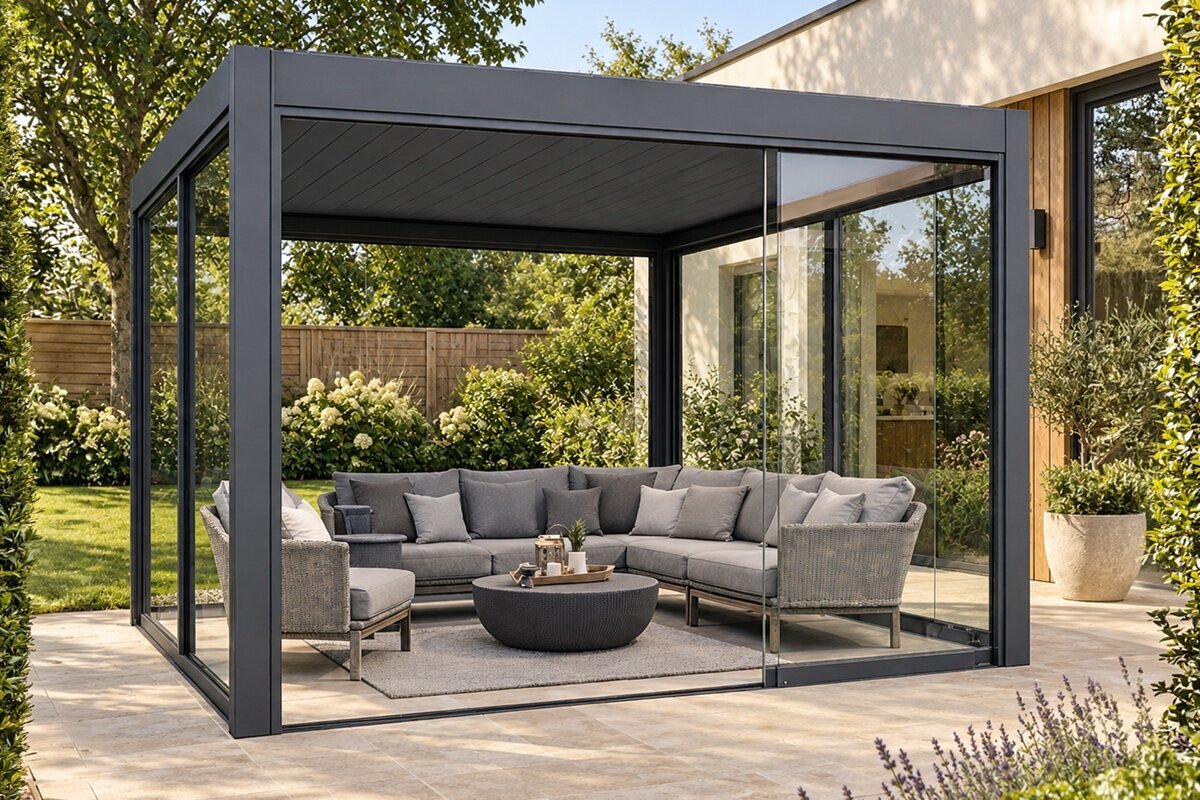
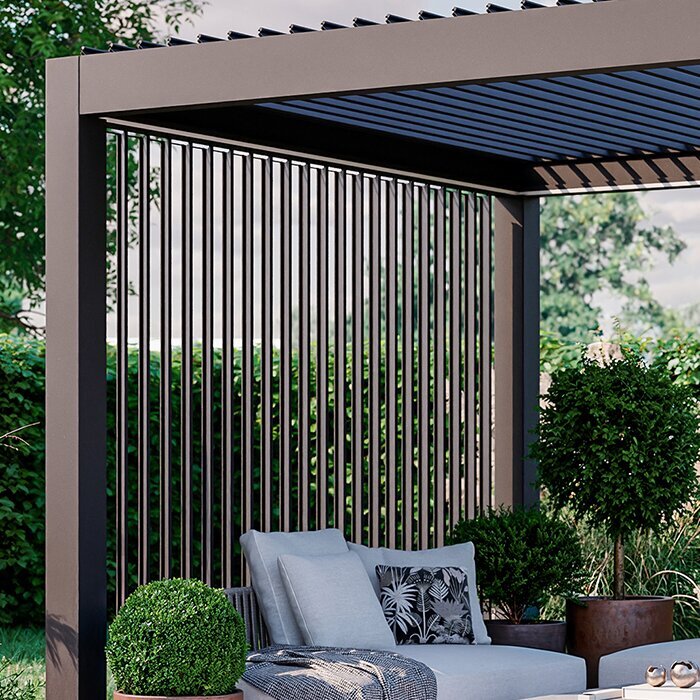
Floor area is only one constraint on a narrow terrace. Record doors, opening windows, steps, balustrades, downpipes and the direction of daily approach. The pergola should make those routines easier, not introduce a pinch point. Draw the zone people genuinely use before considering the paving that happens to be empty.
A restrained arrangement helps a small terrace feel calm: limit the furniture, preserve long views and leave edges open. An oversized frame may divide the outlook and make everything seem wedged into place. Balance the covered zone with the façade, garden boundary and the way you move through the area.
The guide moves from recording existing conditions to choosing a design and arranging furniture. It explains how to test support locations, retain circulation space and prepare enquiries that can be compared. For authoritative advice about footings, boundaries or building controls, contact the relevant state, territory or council authority and engage qualified professionals where appropriate.
Stage 1
Read the terrace as a floor plan
Make a scale plan, even on graph paper. Include the wall, doors, window swings, steps, balustrades, planters and permanent fittings. Take measurements at several points because narrow terraces may not be square. Mark every door swing and the clearance required by open windows.
Study the terrace at the hours you expect to use it. The route into the garden, indoor outlook and preferred seating direction reveal where the cover should finish. Even a thin strip beside the façade can be needed for tending plants, carrying cushions or passing through a doorway.
Mark the possible perimeter with painter’s tape. You can then judge whether its depth frames the terrace comfortably or makes it feel cramped.
Take photographs from the living area, garden and seated eye level to judge future views and the frame’s visual effect.
When adjustable shade is important within a tight footprint, assess bioclimatic aluminium pergolas by both their operating method and required clearance.
Stage 2
Set width and depth from intended use
Begin with the furniture arrangement, then add the space needed to move. A dining layout must allow chairs to slide back when someone stands, not merely fit the tabletop and seats. Lounges also require legroom and a passage. Without an easy route beside the setting, daily use will feel constrained even when the outside dimensions appear adequate.
A shallower structure often suits a long, narrow terrace better than one projecting deep into the garden. The uncovered strip can serve as a direct path or lightly planted edge. Width may instead be used to organise the façade. Choose according to the resulting spatial balance, not a desire to roof every corner.
Use blankets or cardboard to reproduce each table, chair and lounger at full size, then practise sitting, standing and walking past.
Protect the approaches to the terrace door, garden gate and steps. These transitions may determine sensible dimensions more strongly than the chosen furniture.
For a crisp terrace outline with fixed visual boundaries, review classic aluminium pergolas across suitable footprint layouts.
Stage 3
Treat posts as furniture-layout elements
Supports directly influence where furniture fits and how people move on a small terrace. Place each one on the furniture drawing, paying particular attention to outer chair positions, house access and narrow garden-side passages. Shifting a post by only a few centimetres on the plan can turn an awkward arrangement into a comfortable one, or do the reverse.
Review the visual composition too. Supports can define the sitting zone when aligned with lines already present, such as façade edges, balustrades or planting areas. Unrelated posts in the centre of a view can fragment the terrace. Assess them from inside the home as well, since that may be where the structure is seen most often.
Keep supports away from the space where dining chairs pull back, as that is where sitting down and standing commonly cause conflicts.
Use stools to represent support points, then walk through doors and rehearse carrying a tray or watering can along the usual routes.
Where space is tight and light preferences vary, bioclimatic terrace pergolas may offer a suitable planning direction.
Stage 4
Protect access and circulation areas
Movement should remain intuitive on a narrow terrace. Do not force the route between the house and garden around chair legs, pots or supports. One generous circulation side usually works better than several unusable slivers. It also simplifies carrying dishes, cleaning and reaching neighbouring garden beds.
Map every opening beside the terrace because a swung door, open window or external blind changes the available space. Keep access to drainage, services and the façade available for maintenance. For a rental, strata property or boundary-adjacent site, confirm the relevant permissions and site requirements with the appropriate owner, scheme and authority early.
Choose a principal route and leave it permanently clear, rather than relying on chairs or decorations being moved whenever someone passes.
Let planters define the perimeter instead of blocking circulation. Moveable pots offer flexibility but still require stable, safe positions.
For a streamlined arrangement beside an uninterrupted path, traditional aluminium pergolas offer a readily understood starting point.
Stage 5
Balance light, outlook and roofing
A roofed frame can noticeably alter an adjoining room when the terrace is compact. Identify the windows overlooking it and where daylight enters the interior. Framing may organise the view, but should avoid unnecessarily cutting across important outlooks. Relate the structure’s position and height to window lines, the façade and the degree of openness you want.
Daily timing should also shape the choice. Breakfast in morning light, shade around midday and a sheltered evening atmosphere create different priorities. Rank those needs rather than treating every preference equally. A clearer hierarchy makes it easier during consultation to identify an appropriate roof treatment and decide which optional features are genuinely useful.
Plot the sun for the hours when you normally use the terrace, noting glare, overlooking and any garden view worth preserving.
Relate frame colours to the windows, paving and furniture. Numerous strong contrasts can make a confined setting appear visually busy.
To explore more flexible control of daylight, consider bioclimatic pergolas with louvred roofs during the next planning stage.
Stage 6
Keep comfort while simplifying furniture
A compact arrangement can still feel comfortable when every item has a purpose and breathing room. Depending on your routine, an extendable table, stackable seating or a narrow wall-side bench may help. Allocate space from the beginning for storage, serving surfaces and planters so these items do not later occupy the walkway.
Set the dominant use first: dining, relaxing, or a combination with one clear priority. Adding a large lounge does not necessarily improve a small dining setting. A single coordinated group can be calmer and more comfortable. Test the exact dimensions of furniture you already own before selecting replacements or fixing the pergola footprint.
Prefer slender, easily moved furniture. Wide bases and generous armrests can consume considerably more room than the seat dimensions imply.
Assign cushions, trays and care equipment a permanent storage spot. Keeping these items organised preserves usable space and a generous appearance.
For a simple frame over one coherent furniture group, examine standard aluminium pergolas for the proposed outdoor setting.
Stage 7
Check the base and surroundings early
Investigate the supporting surface before confirming dimensions. The paving, build-up depth, drainage fall and concealed services may affect design and installation. Do not wait until assembly to discover a loose slab or uncertain sub-base. If conditions are unclear, seek professional advice about the preparation needed for that site and structure.
Also inspect roof overhangs, downpipes, boundary planting, awnings and exterior lights beyond the terrace. They may reduce the workable area, while future access to the garden and façade must remain possible. Planning controls, setbacks and approval pathways vary with the site and proposal, so obtain project-specific guidance from the responsible authority.
Photograph the surface, height changes and visible connections so preliminary technical checks and quotations can respond to actual conditions.
Identify who can supply service drawings or construction details for the terrace. Guesswork about hidden layers or utilities is not dependable evidence.
For a structure intended for a carefully assessed location, review bioclimatic aluminium pergolas for small terraces as one part of the complete project.
Stage 8
Prepare an enquiry with a clear brief
Frame your enquiry around the site, not only a preferred pergola size. Supply dimensions, photographs, a sketch of door movements, the intended furniture and details of the base. Explain the principal use and anything that must stay unobstructed, so advice responds to your terrace rather than a generic example.
Judge each proposal by how well it answers the plan. Review support positions, the relationship with the house and whether controls remain practical within the confined area. Ask about the assembly sequence, site preparation and written product information. The current quotation should clearly identify the configuration being offered.
Provide one photograph facing the façade and another from a garden corner, then place the relevant measurements on a straightforward drawing.
List three priorities and three non-negotiable exclusions, keeping appealing optional additions from distracting from the central space constraints.
For an initial shortlist before requesting a particular configuration, consider classic aluminium pergolas among the available directions.
Comparison
Choosing an approach for a narrow terrace
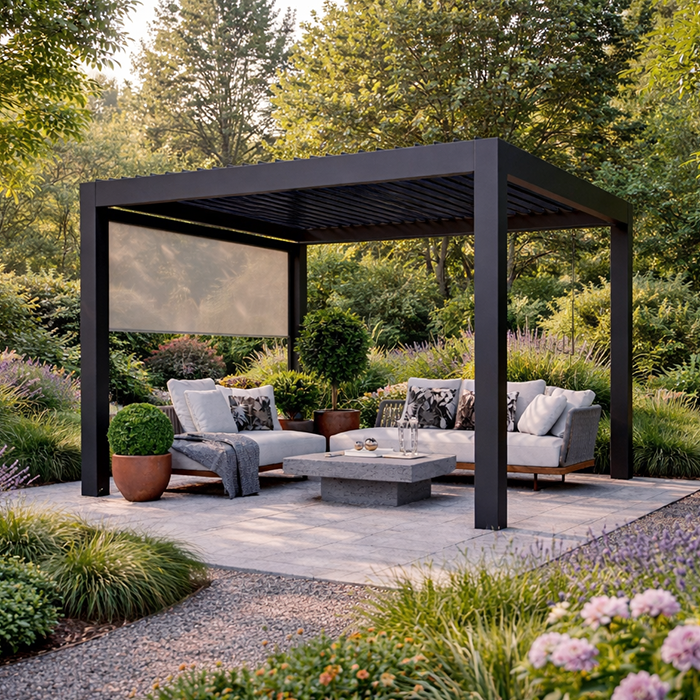
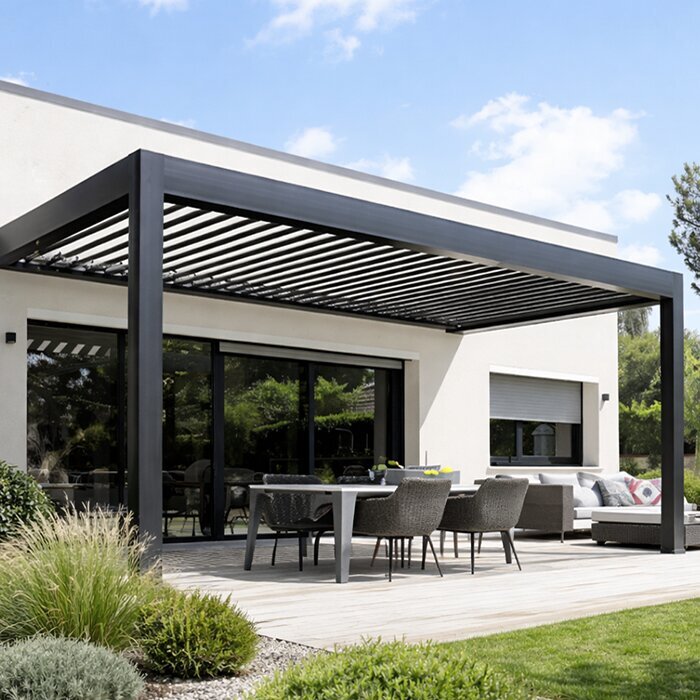
This overview is not a substitute for assessing the individual site. Instead, it groups the decisions most relevant to limited terrace space: the intended atmosphere, management of light, furniture placement, and clear zones beside boundaries and along circulation routes.
| Planning aspect | Bioclimatic design | Classic design |
|---|---|---|
| Spatial effect | Technical, adaptable roof character | Calm, clearly defined frame |
| Light planning | Coordinate carefully for changing light preferences | Assess roof effect early in the overall scheme |
| Furniture | Allow for the operating area in the layout | Align the seating group with fixed spatial edges |
| Narrow routes | Draw posts and access routes precisely | Keep the straight circulation zone particularly clear |
| Consultation | Describe use times and operating preferences | Show the desired frame effect and furniture |
Five steps to the right size
Work through this order. Each decision builds on the last and prevents a preferred size from determining the actual usability of a compact terrace.
01
Survey the site
Check width and depth in several places, recording doors, windows, steps, downpipes, balustrades, services and immovable planters.
02
Define use
Choose whether dining, lounging or flexible multi-purpose use comes first, then record expected numbers and common routines.
03
Lay out furniture
Mark the table, chairs or lounge with cardboard. Practically test pulling chairs back, opening doors and the route to the garden.
04
Simulate posts
Represent each support with a stool, then inspect circulation and views from the seats, inside the home and the garden.
05
Refine the enquiry
Combine drawings, photos, base details and priorities, then ask specifically about site preparation, assembly and applicable local requirements.
Checklist before deciding
Check this list before deciding whether the plan is developed enough for advice or a quotation.
01. Measurements taken in several places, with unusual angles and falls recorded.
02. All door and window swing zones shown on the drawing.
03. Main route between house, seating area and garden defined as a clear circulation zone.
04. Actual furniture dimensions plus chair and passage space allowed for.
05. Possible post locations tested against seating and access.
06. Surface construction, base and visible services photographed for initial assessment.
07. Indoor and garden sightlines reviewed using photographs or drawings.
08. Relevant local controls, boundaries and approval questions investigated early where necessary.
Common questions about pergolas on small terraces
What size pergola works on a compact terrace?
No single dimension suits every small terrace. Work out the footprint from the furniture, required circulation and fixed parts of the building. Tape the proposed outline on the ground, then operate doors, pull out chairs and walk the principal route. The size is credible only when those everyday actions remain comfortable.
How should supports be positioned on a narrow terrace?
Use existing edges as reference points while keeping daily movement unobstructed. Door swings, steps, chair clearances and tight garden passages need particular attention. Draw every support onto the furniture layout, reproduce its position on site and inspect the result from indoors as well as from the terrace.
Could a pergola make a compact terrace appear larger?
It can, provided the frame gives the sitting area definition without sacrificing open margins or long views. Excessive depth or poorly related supports may instead make the terrace feel smaller. Limit the furniture, use a restrained palette and establish one unmistakable route. The result depends on how every element works together, not solely on the roof.
What needs consideration around terrace doors?
Keep both the complete door swing and a comfortable approach unobstructed. Think through carrying dishes, wind acting on the door and any threshold underfoot. Neither supports nor furniture should intrude into that operating zone. Rather than relying on the opening width alone, rehearse the actual sequence of movement.
Is approval required for a terrace pergola?
There is no Australia-wide answer because controls depend on the jurisdiction, site and proposed structure. In New South Wales, exempt development avoids planning and building approval only when every applicable standard is satisfied. Check the current pathway with the responsible state, territory or council authority before ordering. Rental or strata arrangements may also require separate consent.
Which documents help with a quotation enquiry?
Prepare a measured drawing, photographs looking from both the house and garden, and notes about the paving and supporting base. Show doors, windows, services and the intended furniture. Add practical priorities such as unobstructed circulation or protected views. Detailed site information allows the available configuration to be discussed with much greater precision.
Prepare your planning
Small terrace, clear plan
An aluminium pergola can structure a narrow terrace very effectively when planned around everyday use. Begin with routes, doors and furniture, then derive dimensions and post positions from them. This keeps the outdoor area appealing as well as naturally usable for dining, relaxing and walking through.
Take time to make a near-to-scale sketch and test critical points directly on site. With well-documented measurements, photographs and clear priorities, Bloomcabin can help you select a pergola solution suited to your outdoor space and intended use.
Gather dimensions, photos and your priorities, then begin a considered pergola selection.
