
How to Spot a Quality Aluminium Pergola: 12 Key Features
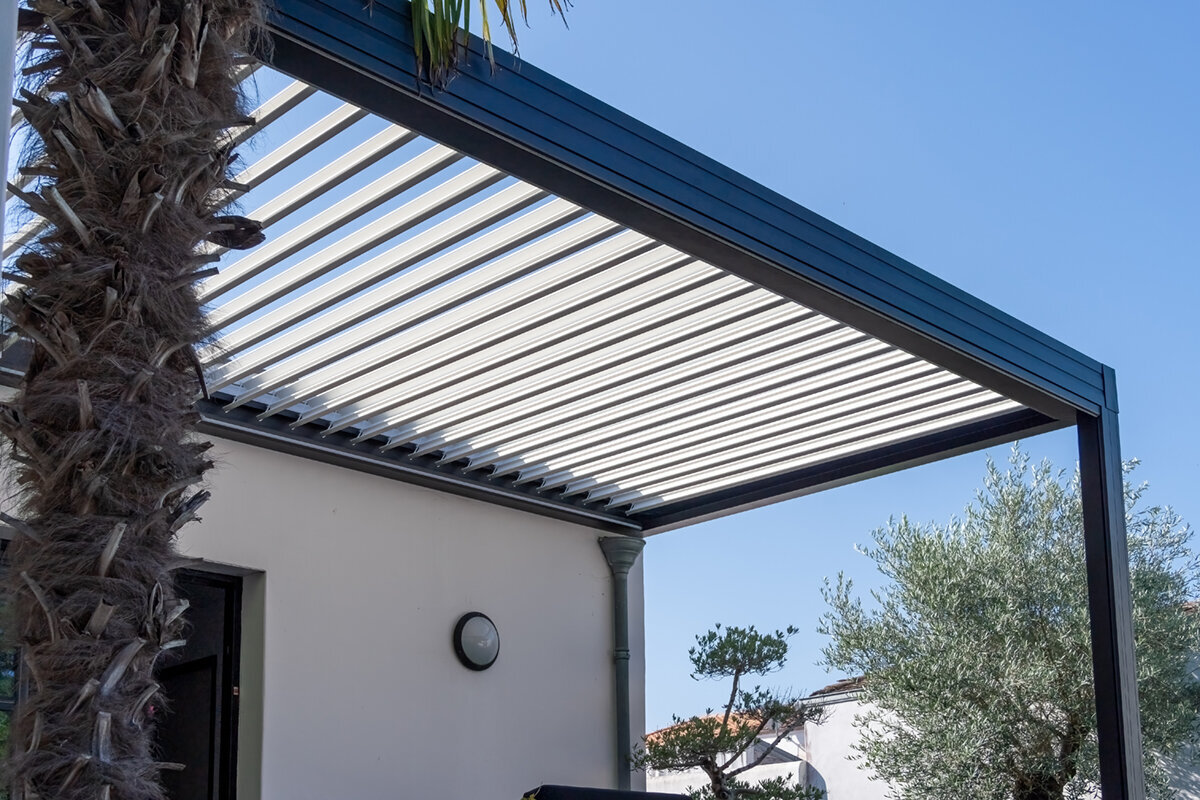
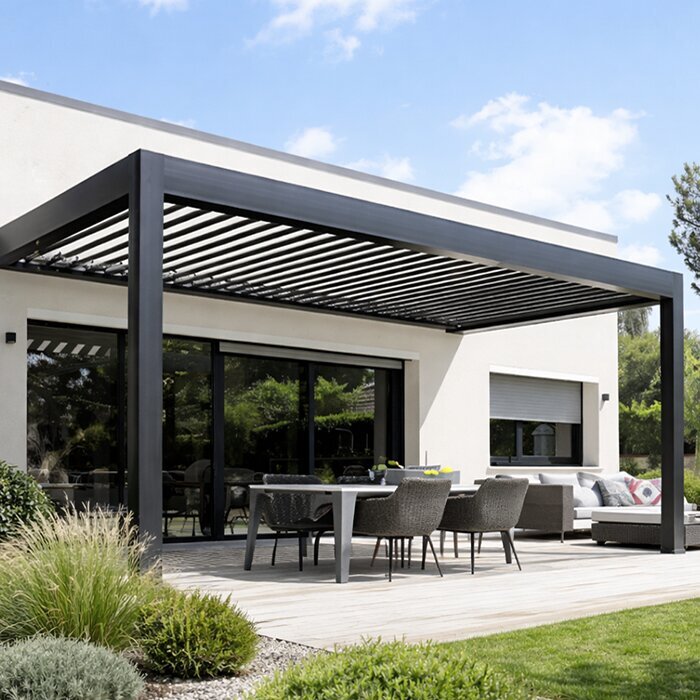
Placed between the house and garden, an aluminium pergola becomes a prominent part of the architecture. Its enduring presence warrants closer scrutiny than catalogue photography offers. Examine how the structure transfers loads, channels water and allows moving components to function in normal use. The sections below provide an orderly way to review those details.
Define the setting before considering models. Is the structure intended for dining, a lounge zone or the transition alongside your home? Your answer shapes the required footprint, circulation, daylight and handling of rainfall. You can then decide whether a particular frame, roofing approach and selection of options genuinely serve the project.
No single detail establishes quality. Profiles, joints, footing design, roofing and intelligible documentation must work as a system. Bring these criteria to supplier discussions and quotation reviews. Ask the appropriate authority about site or building matters, and consult your insurer about insurance implications.
Stage one: check the substance
The frame does more than look good
Every aluminium pergola depends on its supporting structure. Wide, visible faces tell you little by themselves, so review the relative positions of the frame, crossbeams and posts. Find out what joins each corner and where trim conceals connections. Exposed joint lines should be even; request diagrams or close-up views for hidden details.
Aluminium is a durable starting material outdoors, yet the way each profile is used remains important. Identify the members that support loads and learn how neighbouring frame sections are aligned. A legible plan of the post layout lets you test furniture placement, circulation and access to the garden before committing. It turns visual appeal into practical evidence.
Feature 1 is structural clarity. The drawings should identify profile shapes, the beams doing the supporting work and their junctions with the posts. For Feature 2, investigate each corner in its own right. Establish what is hidden by the covers, then review the logic and finish of fasteners, cover pieces and exposed joint lines.
Check every proposed post against doors, windows, terrace boundaries and circulation space, rather than relying only on the roof outline.
Inspect each corner closely: establish what the covers conceal, where fasteners are placed and how the exposed joint lines have been completed.
If you want a roof with controllable louvres, compare bioclimatic aluminium louvred pergolas for frame construction, corner joints and detailing.
Stage one: material and finish
Finishes must suit outdoor life
A uniform surface is attractive, although it cannot compensate for weak detailing. Compare the colour on beams, posts and optional components, then inspect joins and cut ends for a tidy finish. Request care instructions suited to the material. Pergolas inevitably collect pollen, dust, leaves and splashes, so maintenance should be realistic for the setting.
Colour also has a practical role. Dark finishes may emphasise the building, while paler ones can feel lighter; either should relate well to the façade, glazing frames and terrace material. Examine samples in natural daylight if you can. This reveals the true sheen and tone and shows whether accessories will sit comfortably within the scheme.
For Feature 3, inspect the coating across multiple parts and accessories under daylight, noting any variation in tone or gloss. Feature 4 focuses on cut ends, drilled areas and junctions. Ask what finishing process applies there and how those spots should be maintained; the answer should account for every exposed transition.
Inspect transitions, edges and inconspicuous surfaces, where the standard of finishing is often easiest to see.
Use a regular cleaning routine appropriate to the material, avoiding harsh products unless the care instructions specifically approve them.
For open patio settings, you can also compare classic aluminium pergolas without louvres according to their colours, profile design and compatible extras.
Stage two: understand the roof
Louvres need precise guidance
The way louvres travel is a key quality consideration on a louvred pergola. Their action should remain smooth, comprehensible and without intrusive rubbing sounds. Examine guides and side transitions, then view the roof when shut for its overall appearance. Confirm how moving parts will be operated, cleaned and inspected before settling on a configuration.
Roof design determines daylight, the overhead outlook and how the sheltered area feels. If a demonstration is unavailable, study clear depictions of several louvre angles. Note what remains open to the sky and consider the consequences for furniture below. Choose a system whose operation is clear and supports the way you intend to use the space.
Feature 5 concerns controlled travel: watch the louvres move from one limit to the other and check that the action stays consistent. Feature 6 covers their final positions and side junctions. Determine how the blades rest when shut or open, what remains reachable and how those locations are meant to be maintained.
Ask for the full louvre cycle to be demonstrated, with its limits, side junctions and reachable maintenance points identified.
Base the roof choice on daily patterns—required shade, late-day light, views and furniture—not one enticing extra.
For flexibly used seating areas, it is worth viewing bioclimatic aluminium pergolas for flexible shade while considering both the changing light and method of roof control.
Stage two: control water
Drainage is not a side issue
Rainfall landing on the roof must have a deliberate route away. In a well-resolved aluminium pergola, channels, junctions and discharge points belong to the original structure instead of being improvised later. Have the destination of the water identified, along with every part requiring access. Map this early where the pergola meets paving, paths or the house.
A crisp roof edge only succeeds when the drainage behind it works. Consider whether channels, outlets or downpipes intrude on movement or furniture. Debris and fallen leaves may restrict flow, making cleaning access a design issue rather than an afterthought. Seek property-specific advice about discharge arrangements and local requirements from the relevant authority or an appropriately qualified professional.
Feature 7 requires the entire drainage sequence to be documented, including the channel, each junction and the outlet—not merely the outside edge of the roof. Feature 8 concerns access after installation. Identify the positions from which outlets and channels can be inspected and cleared, then account for them when arranging paving, paths and garden beds.
Have the complete water route explained clearly, from roof surface to the intended exit or connection.
Factor in nearby beds, fallen foliage and the terrace fall so that drainage and cleaning points remain workable.
Even with an open roof design, consider classic aluminium pergolas for patios alongside the way they meet existing paving and circulation routes.
Stage three: assess connections
Plan posts and fixings
A visually appealing pergola still needs an adequately prepared base. Because its posts carry forces into the ground, their positions, anchors and the existing terrace layers must be resolved as one design. Establish what is below tiles, decking or screed and identify the genuinely supportive zones. Let those site findings determine the anchoring approach, rather than choosing fixings around a preferred installation concept.
Positioning beside the house introduces the façade build-up, openings, eaves and concealed services as further considerations. Measure carefully and add every obstruction to the plan. Arrange a suitably qualified assessment where conditions are uncertain. Before work begins, ask the relevant state, territory or council authority which planning or building pathway applies to the particular property and design.
Feature 9 is an accurate record of the base, including its layers, levels and supportive zones, prepared before anchors are designed. Feature 10 covers the proposed attachment locations. Confirm how each will be checked against terrace edges, the wall and any services. Plotting these relationships on a site drawing makes the reasoning visible.
Document the substrate, build-up heights, falls and possible services before finalising footing or fixing details.
Make sure posts will not obstruct doors, service panels, exterior power points or the clearance needed around furniture.
For an adjustable roof solution, assess bioclimatic pergolas with precise post planning together with the substrate and drainage.
Stage three: make additions count
Accessories should improve use
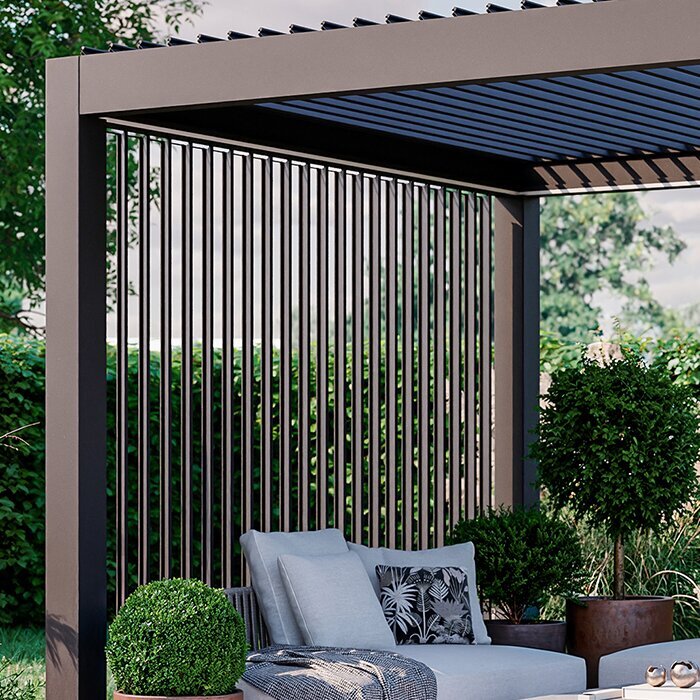
Lighting, side panels and other additions can adapt a pergola to how you use the terrace. Judge them by how naturally they become part of the structure: controls should be straightforward and the clean outline should remain intact. Begin with the problem to solve—perhaps low afternoon sun, privacy or light after dusk—then select only the component that answers it.
An option is not essential simply because it is available. Each extra affects the appearance, installation work and upkeep, so consider future access as well as its relationship with plants, furniture and lights already on the façade. A restrained group of purposeful choices often produces the clearest scheme. Obtain written confirmation that all selected parts work with the proposed configuration before ordering.
Feature 11 asks whether accessories form a workable part of the design. For each item, identify its attachment location and confirm that controls and maintenance areas stay reachable. It must also be approved for the chosen configuration. Written compatibility details keep practical needs separate from preferences about appearance.
Choose each accessory to resolve a defined need, not merely to imitate the fullest product display.
Allow room to operate and maintain additions, particularly beside established hedges, walls or built-in seating.
If an open frame is all you need, explore classic aluminium pergolas with open roofs with equipment suited to your everyday life.
Stage four: read quotations
Documents make quality comparable
A useful quotation goes well beyond a picture and total. It should itemise the selected model, measurements, finish, roofing, accessories and the work or preparation required for installation. Only with that information can competing proposals be assessed on equal terms. Resolve ambiguous entries before changing dimensions or options, because undocumented assumptions commonly lead to conflicting expectations.
Read the supporting documents carefully as well. They should address operation, care, prerequisites for installation and any limits applying to the selected arrangement. Retain plans and correspondence so equipment choices and junction details remain recorded. Consider warranty or guarantee statements only in light of their current written coverage, conditions and scope.
Feature 12 is a complete written record. For meaningful comparison, the roof, dimensions, finish, post layout, extras, care guidance and installation prerequisites should all be specified. Cross-check the drawing against the quotation. Turn anything absent from both documents into a direct question and settle it before making your choice.
Review quotations line by line, separating the structure, roof, optional equipment, site preparation and installation information.
Annotate the drawing with unresolved matters so posts, drainage points and side additions have an unmistakable visual reference.
For a transparent quotation comparison, you can assess suitably configured bioclimatic aluminium pergolas using the same questions on dimensions and equipment.
Stage five: decide for the long term
Care and everyday use complete quality
Long-term satisfaction depends on how readily the pergola fits normal routines. Include safe cleaning routes, access to drainage channels and seasonal visual inspections in the plan. Clear loose debris and leaves in accordance with the care instructions, and observe moving parts regularly for smooth operation. If their behaviour changes, consult the manual and seek appropriately qualified help when necessary.
Gardens change, too. Plant growth, altered sightlines and new furniture may reshape how the area is used. Allow enough room for those changes without obstructing movement. Rather than selecting only for the picture you want today, consider repeated use through changing seasons. In this way, construction, planning and care together define lasting quality.
Create a straightforward seasonal schedule for cleaning, inspection and clearing the designed drainage routes.
Set clearances from planting and furniture so care, operation and your intended patio use remain possible over time.
For an outdoor sitting area that can evolve over time, choose classic aluminium pergolas for outdoor areas with care, site and future use in mind.
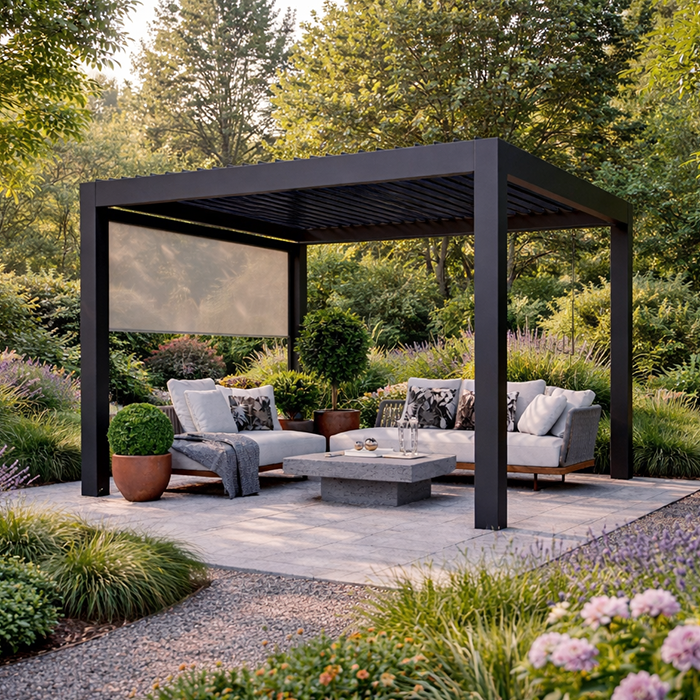
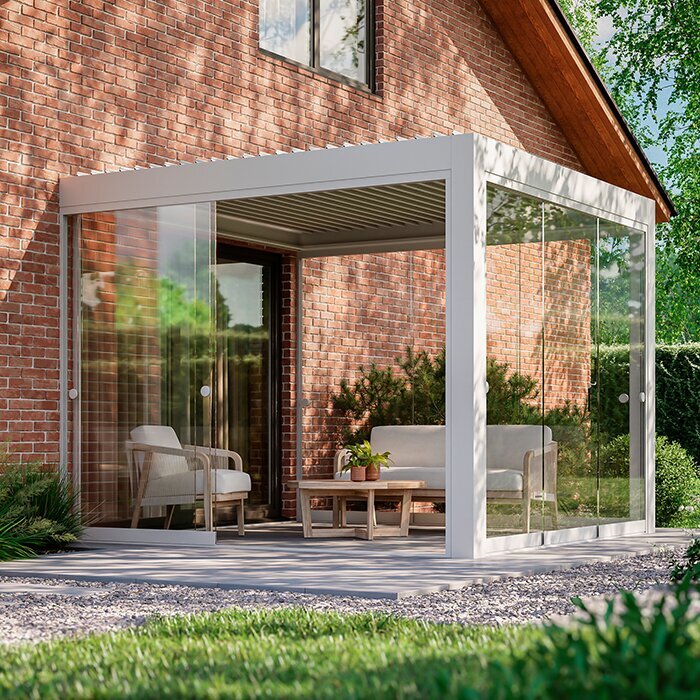
Comparison
Quality features compared directly
Use this matrix to interrogate quotations, not as a substitute for an assessment of the actual site. Relate each criterion to the available area, supporting base and planned activity. Any gap in the supplied information warrants a direct question before you commit.
| Area to check | How quality shows | Planning question |
|---|---|---|
| Frame | Load-bearing profiles and corner joints are clear in a drawing or detail view. | How do beams, posts and corners connect structurally? |
| Roof | Operation and transitions are clearly illustrated. | How does the roof change light and usability? |
| Drainage | Water routes, gutters and outlets are clearly explained. | Where will water be directed on your property? |
| Fixing | The substrate and connection points are considered early. | What construction is beneath your patio surface? |
| Finish | Colour and visible details appear consistently finished. | How will you care for surfaces throughout the year? |
Five steps to an informed choice
Following a set order keeps imagery and optional extras from distracting you from structural matters. Begin with the site, proceed through the technical choices and finish by recording the agreed details.
01
Measure the space
Measure the patio, house openings, heights and relevant obstacles. Also mark paths, seating areas and the preferred outlook.
02
Prioritise use
Set your priorities: meals, relaxation, shade, after-dark use or a restrained architectural division of the garden.
03
Choose the roof concept
Weigh open and adjustable designs by their daylight, overhead outlook, maintenance and the ambience they create below.
04
Check the technical details
Review posts, frame, anchors and drainage as one system. Obtain expert input if the base or junction details remain uncertain.
05
Finalise the documents
Record the final dimensions, configuration, accessories and unresolved prerequisites unambiguously. Read the applicable conditions as well.
Checklist: points to tick off
Bring this list to a consultation, display visit or quotation review. Its twelve criteria help expose details that have not yet been supplied.
01. Drawings or detailed views identify the profile shapes and structural members.
02. Covers, corner construction and exposed joint lines have been explained.
03. Posts, beams and accessories share a consistent tone and level of sheen.
04. Cut, drilled and connection edges are finished, with care advice available.
05. Louvre guidance and movement have been shown through the full range.
06. Louvre limits, side junctions and maintenance access have all been resolved.
07. The route from the roof through channels and junctions to the outlet is illustrated.
08. Inspection and cleaning points for channels and outlets remain reachable.
09. Supporting zones, levels and base layers are recorded before design begins.
10. Proposed anchors account for terrace layers, the wall and concealed services.
11. Desired accessories suit the configuration and remain operable and accessible.
12. Drawings and quotations consistently identify components, dimensions, configuration and prerequisites.
Common questions about aluminium pergola quality
Is a thicker visible beam automatically better quality?
No. Visual bulk does not establish structural merit. Instead, investigate the profile shape, corner and post junctions, attachment method and proposed post layout as a complete system. Ask the supplier to identify every supporting member, then consider whether that arrangement is appropriate for the pergola’s dimensions, location and intended purpose.
Why is drainage so important for a pergola?
Drainage determines where roof runoff travels and whether it disrupts parts of the terrace. The design should account for channels, discharge points, cleaning access and nearby surfaces. Resolve the route before installation, paying particular attention to boundaries, pathways and areas beside the façade.
How can I recognise a well-planned louvred roof?
Have the complete opening and closing cycle demonstrated and explained. Observe how the blades reach each limit, meet the sides and leave access for operation and maintenance. The most appropriate arrangement is one that serves your normal use, not simply one that appears impressive as an added mechanism.
Should the patio substrate be checked before buying?
Yes. Base construction affects where posts and anchors can be designed. Record the layers, levels and any likely services at an early stage, and obtain a qualified opinion wherever the conditions are unclear. This evidence helps coordinate the proposed attachment locations with both the terrace and the adjoining house.
What part do accessories play in assessing quality?
Accessories contribute when they solve a real use requirement and belong naturally within the structure. Consider how each one operates, looks and will be maintained. Quantity is not a measure of quality; what matters is whether the chosen additions work with the site, furniture arrangement and normal routine.
Do I always need approval for a pergola?
Ask the relevant authority about your specific proposal before proceeding. The appropriate planning or building pathway must be checked for the actual property, location and design rather than assumed from general advice. Discuss any possible effect on existing cover separately with your insurer.
Compare configurations
Quality is decided in the detail
One isolated feature cannot establish pergola quality. Instead, look for a resolved relationship between the supporting frame, roofing, drainage, anchors and surface treatment. Reviewing that complete system in an orderly way makes both models and their documentation easier to assess.
Allow time to verify measurements, base conditions and how the terrace will function in regular use. A written configuration and focused questions make discussions with Bloomcabin—or comparisons elsewhere in the market—more transparent. Your final outdoor setting should respond to both the home and your preferred way of living.
Take the checklist into your comparison, resolving site and structural uncertainties before confirming the configuration.
