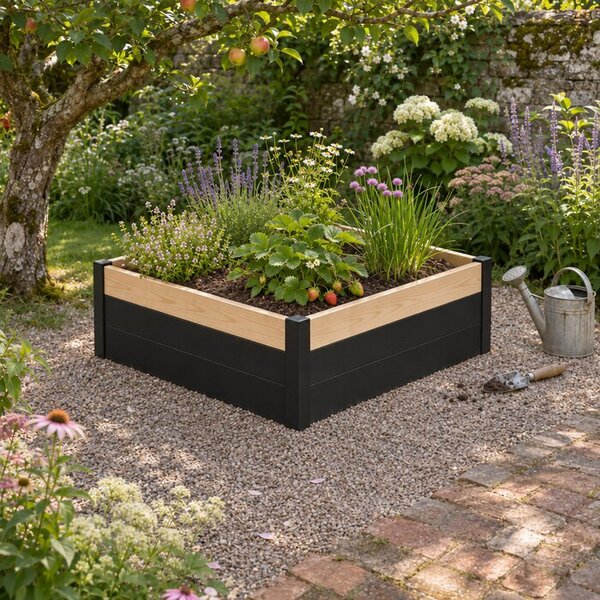
Raised Garden Beds
Price from
624.89 AUD
343.69 AUD

Raised garden bed buying guide
Start with what you want to grow and how you’ll tend it, then choose a bed that fits the way you use your garden.
Individual beds, modular combinations and garden kits
3 bed groups
Nominal outer footprint of a compact single bed
100 × 50 cm
Available in selected modular combinations
2 or 3 bays
Nominal overall footprint of the largest courtyard kit
500 × 500 cm
One bed might be enough for herbs you pick most days. If you’re planning several crops, you might want separate bays or a kit that brings several beds together. Think about your usual jobs, from picking a handful of leaves to clearing a bay for the next planting. A layout that suits those jobs is more useful than one that simply fills the available space.
Before you choose, make a quick sketch of the site. Mark the spots where you’d stand to plant and harvest, and any fixed features you’ll need to work around. That sketch gives you something practical to compare with the layout drawings.
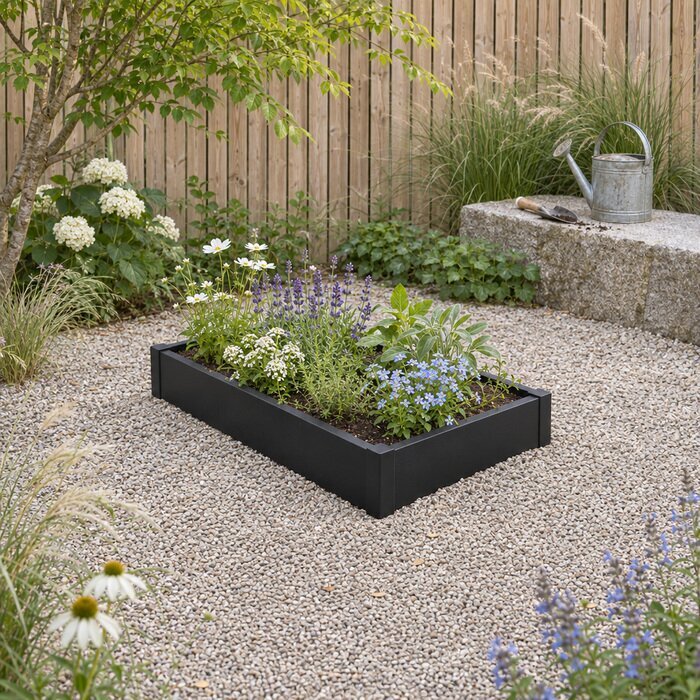
Start with the number of planting spaces you’ll use. The individual raised garden beds come in narrow, square and rectangular shapes. A narrow bed makes sense along a garden edge where you’ll mainly work from one side. A square or wider rectangular bed can give you one continuous area for planting, provided you can reach the middle.
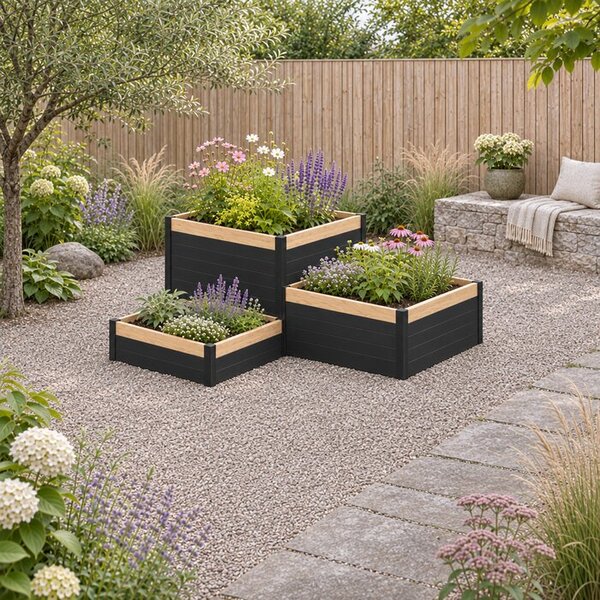
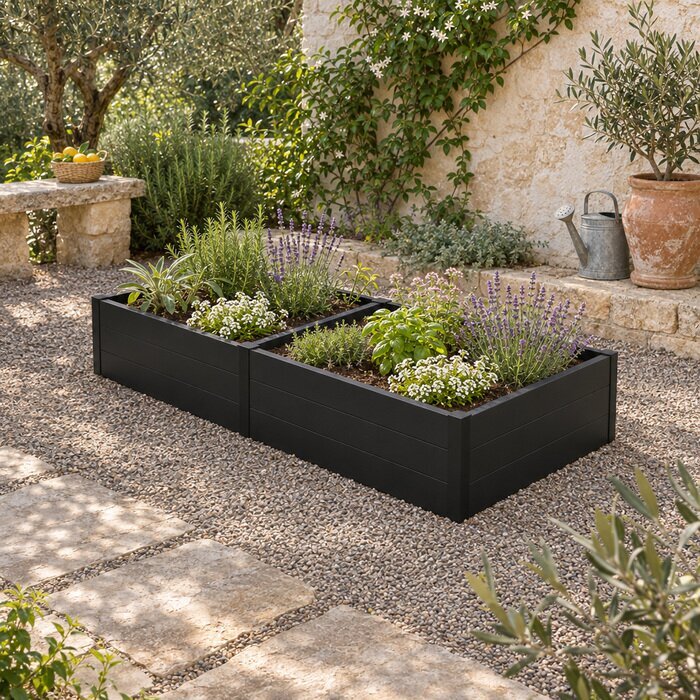
Choose a modular raised garden bed combination if you want distinct bays in one connected layout. The range includes two- and three-compartment beds and L shapes, with level and stepped options. The double Classic aluminium bed shows how a central divider separates two bays in a straight run. That’s useful if you want an obvious boundary between plant groups without leaving a path between them.
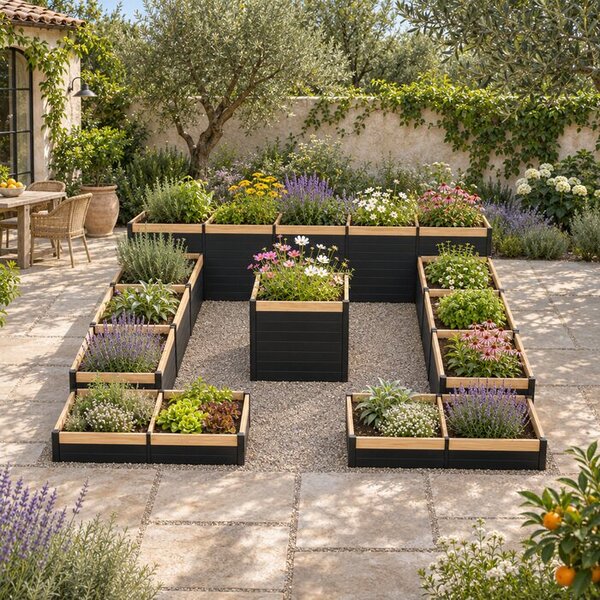
Look at the raised garden bed kits when the way you move between planting areas matters as much as the shape of any one bed. U-, E- and T-shaped layouts, paired L-shaped beds and a courtyard arrangement with a central planting island give you different ways to organise a larger growing area.
Classic aluminium gives the bed a consistent metal finish. Accoya Fusion combines aluminium with an Accoya timber course at the top of the walls. It isn’t an all-timber bed. When comparing the two versions of a layout, decide whether you want aluminium at the rim or a band of timber there.
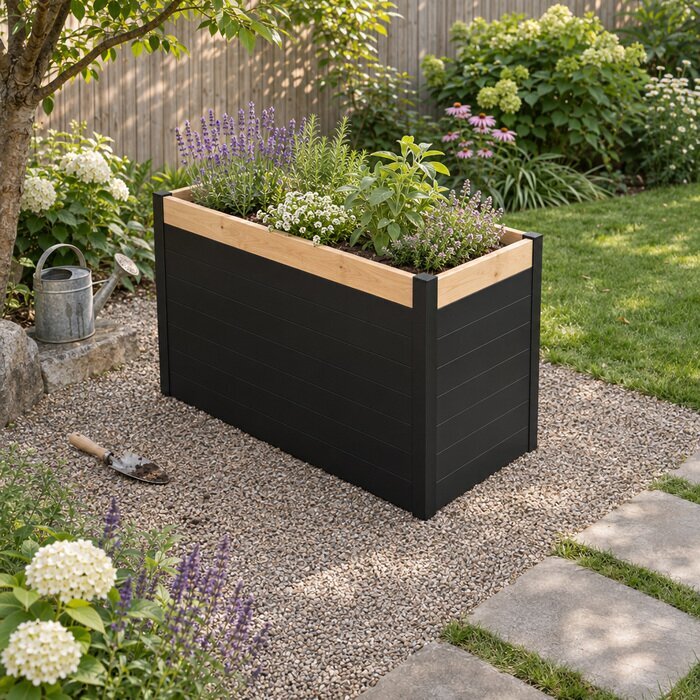
The narrow Accoya Fusion bed with 80 cm walls shows how the materials are arranged on that model. Its lower 70 cm of wall is aluminium, the upper 10 cm is Accoya and the corner posts are aluminium. Those measurements describe that bed, not a standard split to apply to every Fusion model.
The parts also depend on the shape of the bed. The narrow Classic aluminium example uses aluminium wall panels and corner posts. The double Classic aluminium bed also uses aluminium T connectors at its divider, while the U-shaped Classic aluminium kit lists both T connectors and cross connectors. On a divided layout, look at where the walls meet as well as what the rim is made of: the joints are part of the construction, not extra planting space.
Use the nominal outer footprint to see where a bed will fit, and the stated planting area to compare how much space it gives you to grow. The narrow Classic aluminium bed with 10 cm walls, for example, has a nominal footprint of 100 × 50 cm and a nominal planting area of 0.5 m². Those figures don’t include the path beside it.
The distinction is easier to see in the U-shaped Classic aluminium kit. Its nominal 300 × 200 cm overall footprint includes a nominal 100 × 100 cm access notch. Five bays make up its stated nominal planting area of 5 m². A recess on a drawing isn’t necessarily a usable aisle: the small notch in the compact L-shaped combination isn’t designed as one.
Measure clear access separately. Allow for knees, elbows and any gear you’ll carry, not just room to stand. Then compare wall heights from the sides you’ll work from. A higher rim can mean less bending, but it doesn’t shorten the reach across a wide bay. For a stepped layout, match each labelled height to the bay it belongs to.
Choose a spot with light suited to the plants you want to grow and ground that drains freely. The narrow, double and U-shaped models described here are open to prepared ground, with no floor panel. If water regularly collects on the proposed site, address the site drainage or choose another spot rather than assuming a taller bed will solve it.
Clear the area where the walls will sit and check the ground along the full run of the layout. On a slope, check both ends before assembly: a corner that looks level on its own tells you little about the rest of the bed. Sort out uneven ground before filling rather than trying to correct the position once the bed is full.
Choose a growing mix for what you intend to plant. Suitable topsoil and organic matter can form part of that mix, but there’s no single recipe for every bed. Wall height tells you where the rim sits, not how much soil the roots can use. For an open-base bed, consider the condition of the ground underneath as well as the depth of the mix you add.
The four example models are supplied unassembled. Read the instructions for your selected bed and make room to lay out the parts before you start. For a combination or kit, group the wall sections by bay and position using the layout drawing. With a stepped arrangement, identify the taller sections early so you don’t have to undo a finished corner to move one.
Before adding growing mix, check the assembled layout against the drawing, including the position of dividers and any changes in wall height. If something doesn’t line up, review the assembly instructions while the bed is still empty and easier to adjust. Use the care guidance for your model rather than assuming the timber and aluminium need the same treatment.
After filling, let the mix settle and recheck the level before topping it up. Raised beds can dry out faster than the surrounding ground. Check the mix in more than one bay before watering: a sheltered compartment and an exposed one may not need water at the same time.
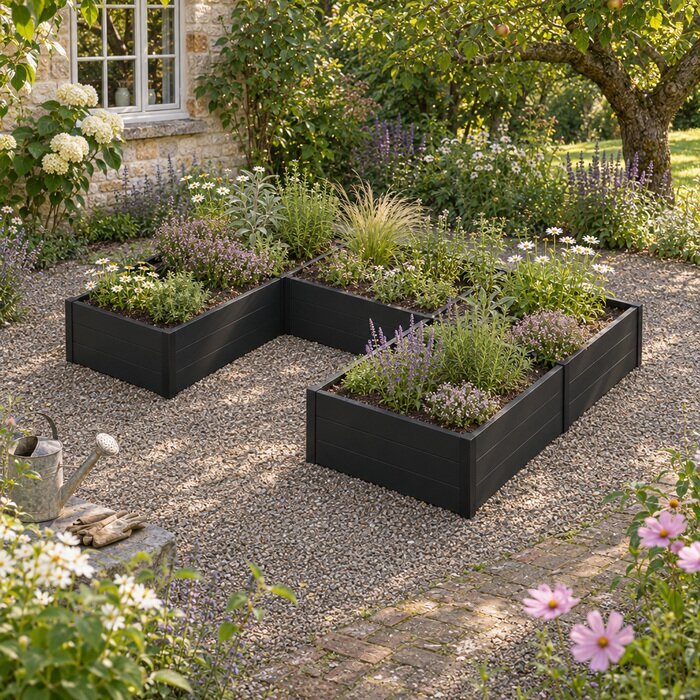
Don’t assume that ‘modular’ means you can extend any layout after assembly. The listed combinations are sold as selected layouts. If adding a bay later matters to you, confirm that the parts are available and compatible with your chosen model. A separate bed is another option if you leave space for it.
Check whether the specific model is suitable for that surface before buying. The narrow beds, double bed and U-shaped kit described here are open at the base and have no floor panel. On paving, you’d need to account for how water would escape and how the growing mix would be contained.
Estimate the volume using each bay’s internal length and width and the depth you actually intend to fill. Use metres for all three measurements to get cubic metres, then add the bay volumes together. Don’t use a kit’s overall footprint for this calculation: it may include unplanted space.
Don’t count on being able to mirror it. Compare the dimensioned drawing with your garden plan and note which way the short arm points. Rotating the whole bed is different from reversing the order of its bays. If the layout only works as a mirror image, confirm that option before choosing it.
Think about the shade the plants will cast when they reach full size, not just the shade from the bed walls. If you’re growing climbing beans alongside shorter crops, for example, put them where the mature plants won’t shade neighbouring bays that need more sun.
Mark the existing lines and connection points when you sketch the bed. Check whether the new walls or dividers would interrupt the route to any bay, and keep connections you may need to adjust within reach. For a kit, work this out before assembling the walls and adding the growing mix.
If one planting area is enough, compare narrow, square and rectangular beds to find a shape that suits your space.
