
Caring for wood windows: cleaning, recoating and inspection
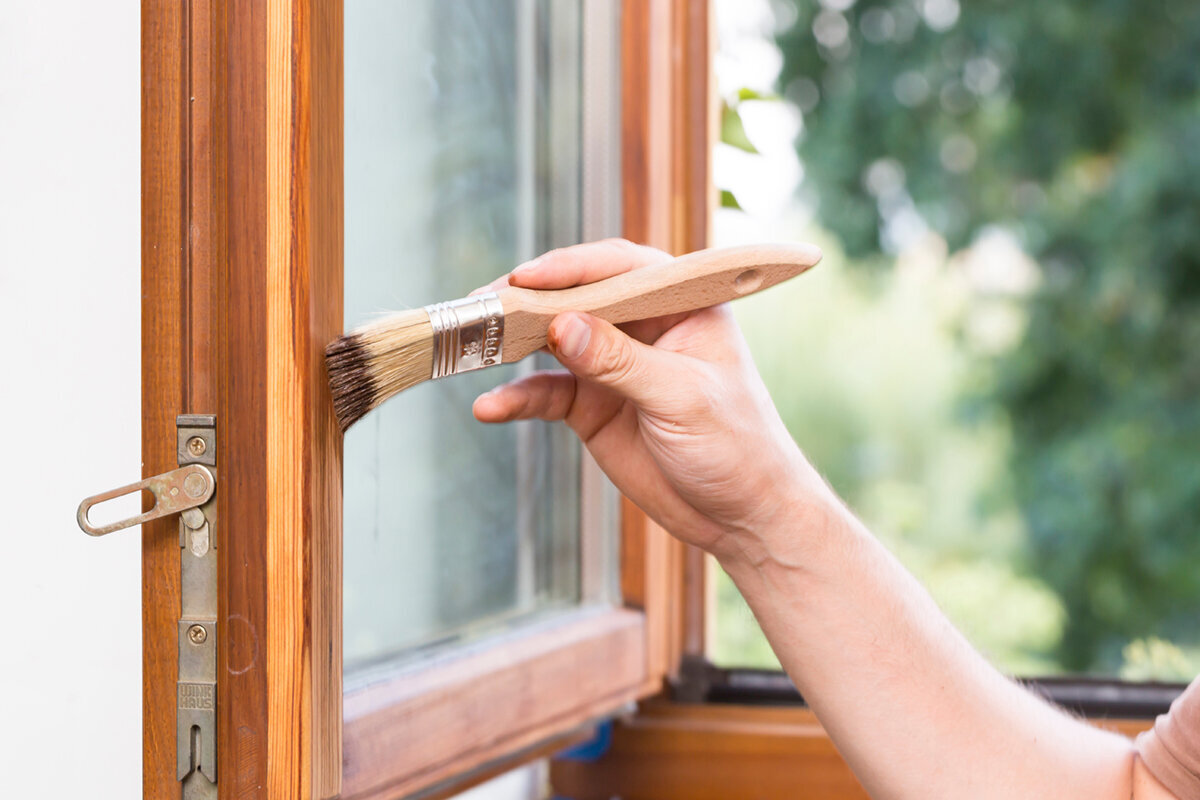
A guide to wood-window care
Wood windows do not age at the same pace on every side of a home. A weather-exposed elevation may develop a dull, chalky finish while windows on a sheltered wall still look even. Rather than following a rigid calendar, plan cleaning, condition checks and any refinishing as one connected task. Looking only at the most visible frame face can miss sash and frame recesses, lower edges, glazing junctions and drainage paths. Applying a coating too soon can conceal moisture, dirt or an unresolved cause of damage. This guide explains how to assess maintenance needs methodically, separate the appropriate types of work and coordinate recoating with other building projects. The aim is not frequent treatment, but a reasoned decision for each window unit.
Start with an assessment, not a paintbrush
The first question is whether dirt is sitting on a sound protective layer or whether the layer itself has weakened. Inspect windows in diffuse daylight and operate every movable sash. Look for colour changes, rough areas, fine cracks, chipped edges, dark staining and places where water could collect. Pay close attention to the lower frame area, the sash-to-frame transition and areas below weather bars. A dated photograph labelled with the room and elevation makes later comparisons more useful. Sort each observation into cleaning, monitoring or damage requiring professional review. This creates a practical task list based on actual condition rather than one blanket assessment for the whole house.
Separate cosmetic marks from signs of a deeper cause. A scratch from a planter or cleaning tool calls for a different response from recurring damage at the same lower corner. On an 1-sash inward-opening window , inspect the sash and frame recesses, seals and accessible hardware as well as the outside face. Does the sash close without rubbing? Are any intended covers in place? Does water remain in a corner after rain? Compare the affected area with a similarly oriented window. This can show whether the issue is isolated damage, particular use or shared exposure on that elevation. A coating can protect the surface, but it cannot replace correct adjustment or repair a problematic drainage path or junction.
Clean gently so the surface can be judged accurately
Cleaning is not merely preparation for painting. Only a clean surface can reveal whether dullness comes from dust, deposits or genuine coating wear. First remove loose dirt with a soft cloth or soft brush. Lukewarm water and a mild cleaner suitable for the coated surface will often be enough. Work from top to bottom in manageable sections, without soaking the surface for long, then wipe with clean water. Use a damp, not dripping, cloth. Change the water before dissolved dirt is spread again. Dry edges, frame recesses and transitions carefully instead of leaving moisture behind. Reassess the surface once it has dried.
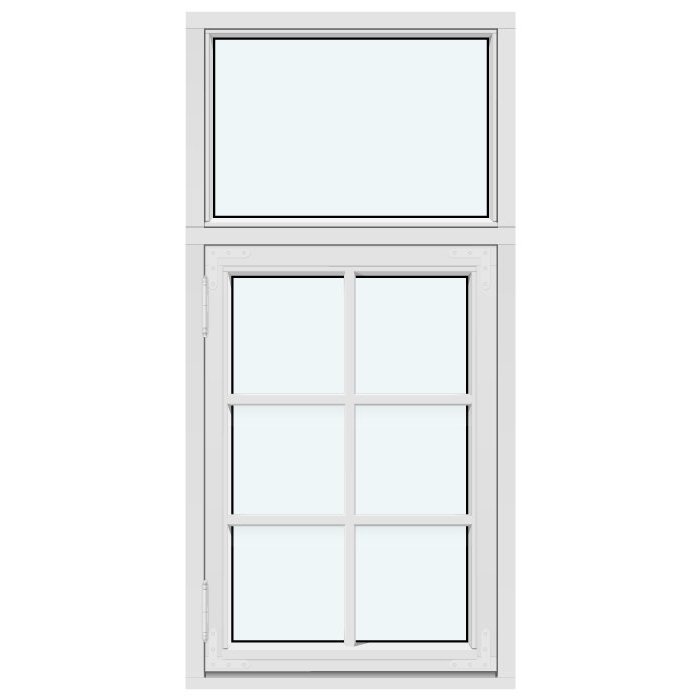
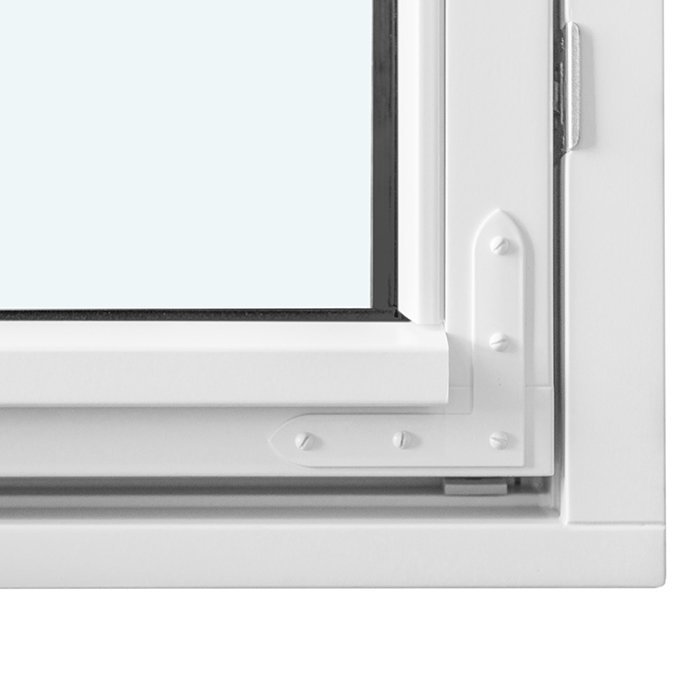
Avoid abrasive cleaners, hard brushes, scratchy pads and aggressive solvents unless their suitability for the existing finish is known. Pressure washing can force water into joints, frame recesses and connections, so it is not part of normal window care. Clean glass separately from the wood, using different cloths so fine grit is not dragged across the coating. On detailed designs, such as a historic-style outward-opening Kombi casement window, glazing bars, corners and narrow transitions need particular care. Use little liquid in these areas and inspect them from several angles afterward. Cleaner residue or remaining moisture can distort the visual assessment and should not be mistaken for damaged coating.
Inspect the complete window unit
Assess weather exposure and construction separately
During an inspection, note the orientation, position below roof overhangs and proximity to plants, patios, downspouts or splashback. These details help explain differences without automatically indicating a defect. A rain-exposed wall may need care sooner than a protected elevation. Leaves, pollen, dust and persistently damp surroundings also influence how often a window should be cleaned and checked. Group comparable windows and set priorities according to exposure and visible condition. Sheltered windows still need inspection: dirt, mechanical marks or a stiff sash can appear even where the coating remains visually even for longer. One fixed maintenance date for every window would hide these differences.
Construction details deserve their own visual check. Ensure accessible drainage openings are clear and not blocked by soil, insect debris or old paint. Look for lifting at lower edges and check whether flexible junction areas appear clean and undamaged. With an 1-leaf outward-opening patio door , the area near the floor and threshold deserves extra attention: footwear, wet items and frequent use leave different marks than on an upper-floor window. Remove dirt from accessible frame recesses only as the unit’s care instructions allow. If water repeatedly remains in the same place, establish its path and cause professionally rather than simply repainting more often.
Interpret the coating condition correctly
An evenly closed coating that looks uniform again after cleaning does not need renewal solely because of its age. Continue regular, gentle care and keep it under observation. The situation differs where the finish is rough, chalky, cracked or open in places. Peeling, exposed wood and staining in repeatedly damp areas are reasons to investigate the cause and repair scope more closely. Do not probe suspect areas with a pointed tool or paint over them as a test. Instead, compare the edge, centre and lower portion of the same surface. Local repair is appropriate only where the substrate, transition to the existing layer and moisture condition suit the chosen system.
Before recoating, establish which system is already on the window and which products are intended for it. Clear, semi-transparent and opaque finishes differ in appearance and in how they can later be renewed. Colour choice alone is therefore not enough. Ask the manufacturer or contractor about preparatory cleaning, necessary sanding, primer and compatibility of the new finish. If earlier product information cannot be found, assessment of the unknown existing coating should be explicitly included in the quote. A change of system should be planned as a deliberate whole-system decision. Incompatible layers can compromise adhesion even when the freshly painted surface initially looks tidy. A small discreet test area may be agreed, but it does not replace assessment of the complete substrate.
Plan recoating as a complete work sequence
Long-lasting refinishing follows a clear order: assess condition, identify the cause of unusual areas, clean the surface, determine suitable preparation and only then apply a coating. Loose or unsound material must be removed correctly; sound areas may need different preparation depending on the system. Sanding dust must not remain in frame recesses, on seals or at the glazing junction. Protect glass and adjacent building elements so edges can be treated cleanly without blocking drainage openings or moving parts. Record whether work covers only local defects, complete exterior faces or the whole unit. This distinction avoids misunderstandings in quotations and handover. Careful preparation has more influence on the result than a particularly quick coat of paint.
Schedule the work for dry, suitable weather and follow the application instructions for the selected coating system. Rain during application is not the only concern: a damp substrate, strong direct sun or unsuitable temperatures can also make finishing difficult. Work through a window in clearly defined areas rather than leaving partly completed sections across many units. Confirm how long sashes must remain open and how rooms can be protected and used during that time. A fixed window has no opening-sash hardware to maintain, but exterior frame edges, glazing junctions and upper areas remain important. Before work starts, establish how all surfaces can be reached safely and who will remove protective coverings without residue once the work is complete.
Do not paint over seals, hardware or glazing junctions
A wood window functions through the interaction of its frame, sash, coating, seals, hardware and glazing. Wipe seals with a soft, damp cloth and check for deposits, visible damage or distortion. Do not coat seals or apply arbitrary care products that could attack the material or hold dirt. Any maintenance product or lubricant used on the hardware must follow the guidance for that specific unit; applying a general film of oil is not a suitable default. A sash that moves poorly does not automatically mean the wood surface is responsible. Note when and where the issue occurs instead of adjusting hardware without instructions. The manufacturer’s operating and care guidance takes priority.
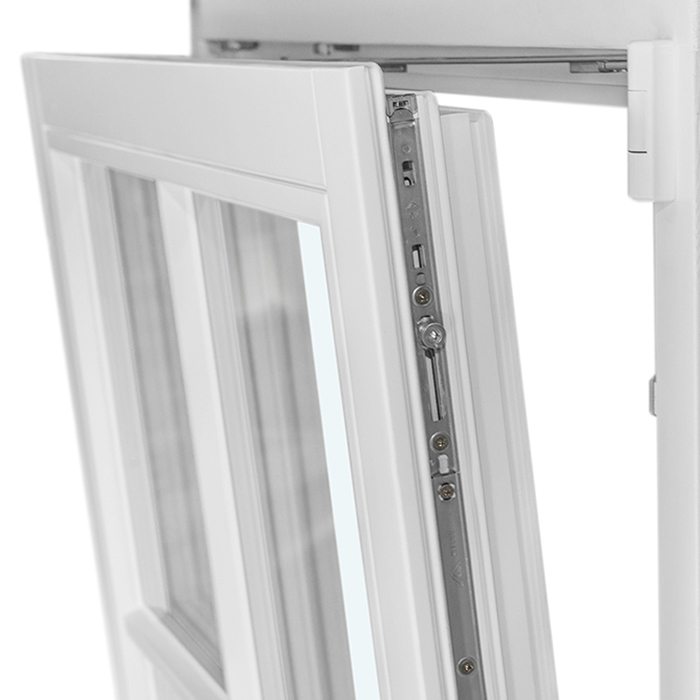
At the glass edge, a careful inspection is more valuable than a quick paint application. Watch for open, brittle or dirty transitions and recurring signs of moisture. Work on glazing junctions or hardware belongs with experienced professionals when the cause and correct method are unclear. On an 2-sash inward-opening window , inspect each sash individually. Do they close evenly, do the seals sit cleanly and visibly, and does the centre section remain free of deposits? Also check the operating sequence and do not arbitrarily relabel a primary and secondary sash where these exist. A difference between sashes may indicate use, orientation or adjustment. Good documentation helps ensure that visible effects are not treated while the source remains unnoticed.
Inspect the complete window unit
Include access and window shape in the plan
The harder a surface is to reach, the more important suitable equipment, safe working methods and a realistic schedule become. This applies to high gables, windows above additions, roof areas and large door systems. Do not work out of an unsecured window or improvise access with furniture or unsuitable ladders. Before comprehensive maintenance, determine which surfaces are accessible from indoors, which require professionally planned exterior access and where a qualified contractor is sensible. Include access and protection measures as separate items when comparing quotations. Otherwise, a coating quote may look inexpensive while necessary platforms, coverings or work-area cleaning are missing. Access is part of deciding scope and sequence, not something to consider only on the work day.
Window shapes change the number of edges and transitions, not the principles of care. On triangular and sloped fixed windows , angled areas may collect dirt differently from rectangular frames. Inspect every side of the outline, not only the easiest face to see. Large panes reflect light and can conceal fine changes in the adjacent frame, so view the surface from more than one angle. Ensure a quote clearly states whether difficult-to-reach exterior edges are included. Where access is consistently demanding, inspection may be coordinated with planned façade, roof or eavestrough work. This can combine access and protective measures, but should not unnecessarily delay attention to exposed timber or recurring moisture.
Coordinate care with façade work and replacement
Before arranging recoating for several windows, consider the building’s wider work plan. Are façade cleaning, scaffolding, eavestrough work, exterior painting or changes to window sills planned? A coordinated sequence can prevent recently finished frames from being soiled or damaged by later trades. Clarify who will mask surfaces, keep junctions clear, avoid scaffold contact and inspect finishes at the end. Leave room in the planning process for some units to need only care, others repair, and others separate assessment for more extensive damage. Use a unit-by-unit list instead of one broad allowance. A uniform colour across every frame is no substitute for a technical decision about each component.
Refinishing the wood surface is not the same as replacing a window. A replacement project must specify opening style, dimensions, glazing, installation conditions and junctions as a complete scope. Anyone considering an outward-opening Passive House Window Super Low Uw should not take the product name as proof of suitability for their building. Have project requirements established professionally, then compare documented quotes on the same basis. Also consider how new and retained windows will look together and what care documentation is available for both groups. Bloomcabin windows and doors carry a 5-year warranty, and delivery takes 4–6 weeks after order confirmation. Neither replaces site measurement, project-specific technical review or scheduling.
Prepare a clear inquiry and handover plan
A useful inquiry begins with specific details, not simply “paint windows.” Provide the number and approximate dimensions of the units, opening styles, elevations, height, access conditions and visible damage. Add wide and close-up photographs, preferably after cleaning. Describe whether the finish appears opaque or semi-transparent, and include any known previous work or coating-system documents. Request separate assessments for cleaning, local repair, complete recoating and investigation of causes. Ask which items can be confirmed only after opening up or closer examination. This is more likely to produce a quotation with understandable work, assumptions and exclusions than a difficult-to-compare lump sum without a condition basis.
Ask specifically how soundness and suspected moisture will be assessed, what preparation is planned, and how seals, hardware, glass and adjacent components will be protected. It is also important to establish whether damage to wood, junction seals or glazing will be dealt with separately before painting. For a large opening such as Patio Life lift-and-slide doors , record the frame, running area and accessible drainage zones separately in the inquiry. Arrange a visual inspection in good light and an operational test of all moving parts at handover. Check that protective films and tape are removed, drainage paths are clear and treated areas are documented. A coating project must not impair operation. Have it recorded in writing what was maintained, repaired or intentionally excluded.
Establish a recurring inspection routine
Long-term care becomes easier when linked to recurring occasions, such as after a particularly dirty season, notable weather events or the home’s general exterior inspection. Begin with a brief visual check; complete cleaning and professional assessment are necessary only when the condition or level of dirt warrants them. Keep a simple record of room, elevation, observation, photo and completed action. After recoating, add the system used, the contractor and available care information. Over time, this shows whether a concern was isolated or is changing. The record also helps with ownership changes, future service requests and coordination with other work on the building envelope.
Respond promptly if a coating peels, wood looks visibly damaged, drainage paths are blocked, a sash will not close properly or moisture returns. Delay can increase the scale of later repair, while early professional assessment can distinguish surface care from a deeper issue. For routine checks, use a fixed order: view exterior faces, inspect frame edges, clean accessible frame recesses, examine seals, test operation and note observations. After completed work, check at the next suitable opportunity whether the previously affected area remains dry, closed and functional. This routine is also useful for a pivot roof window, where accessible interior areas and exterior weather exposure require different inspection approaches. The particular manufacturer’s care instructions remain decisive.
Frequently asked questions
How often should wood windows be cleaned?
The right interval depends on dirt accumulation, weather exposure, nearby vegetation and coating condition. Clean when deposits begin to affect the surface or obscure a reliable visual inspection. Brief, regular checks are more useful than infrequent deep cleaning with unsuitable products. Also follow the care guidance for the particular window and coating system.
Can I simply paint over dull areas?
Not without checking first. Dullness may disappear after gentle cleaning or may indicate a coating that is losing protection. The work scope can be determined only once the substrate, adhesion, dryness and existing system are understood. Peeling, exposed or repeatedly stained areas should be professionally assessed before a new coating is applied.
Is a pressure washer suitable for wood windows?
It is not a suitable standard method for routine care. Pressure can stress coatings, seals, joints and connections or drive water into sensitive areas. Use a soft cloth, little water and an appropriate mild cleaner instead. A qualified professional should determine the right method for stubborn deposits.
What should I do if a window sash is hard to operate?
Carefully clean accessible frame recesses and document when and where the sash rubs or closes with difficulty. Do not adjust or lubricate hardware without appropriate instructions. The cause may be dirt, adjustment, distortion or another defect. Use the manufacturer’s guidance or arrange a professional inspection.
When is care no longer enough?
Routine care may no longer be enough if wood looks damaged, coating is peeling across a broad area, moisture returns, junctions show signs of trouble or the unit no longer operates properly. First have the cause and repair approach assessed. Only then can you make a sound decision between local repair, full refinishing and possible replacement.
A practical next step
Wood windows benefit from attentive, gentle care rather than blanket measures. Clean first, then inspect frames, edges, recesses, seals, hardware and junctions in a consistent order. Assess each elevation according to its actual exposure and document observations by unit. Where recoating is needed, establish the existing system, substrate, work scope and possible causes of damage before applying a new finish. Professional assessment is a sensible next step when access is difficult, wood is exposed, moisture keeps returning or operation is impaired. This turns occasional painting into a manageable preservation plan for the whole window.
