
Should Windows Be Replaced Before or After Insulation, Stucco and Cladding?
Planning a Window and Exterior Renovation
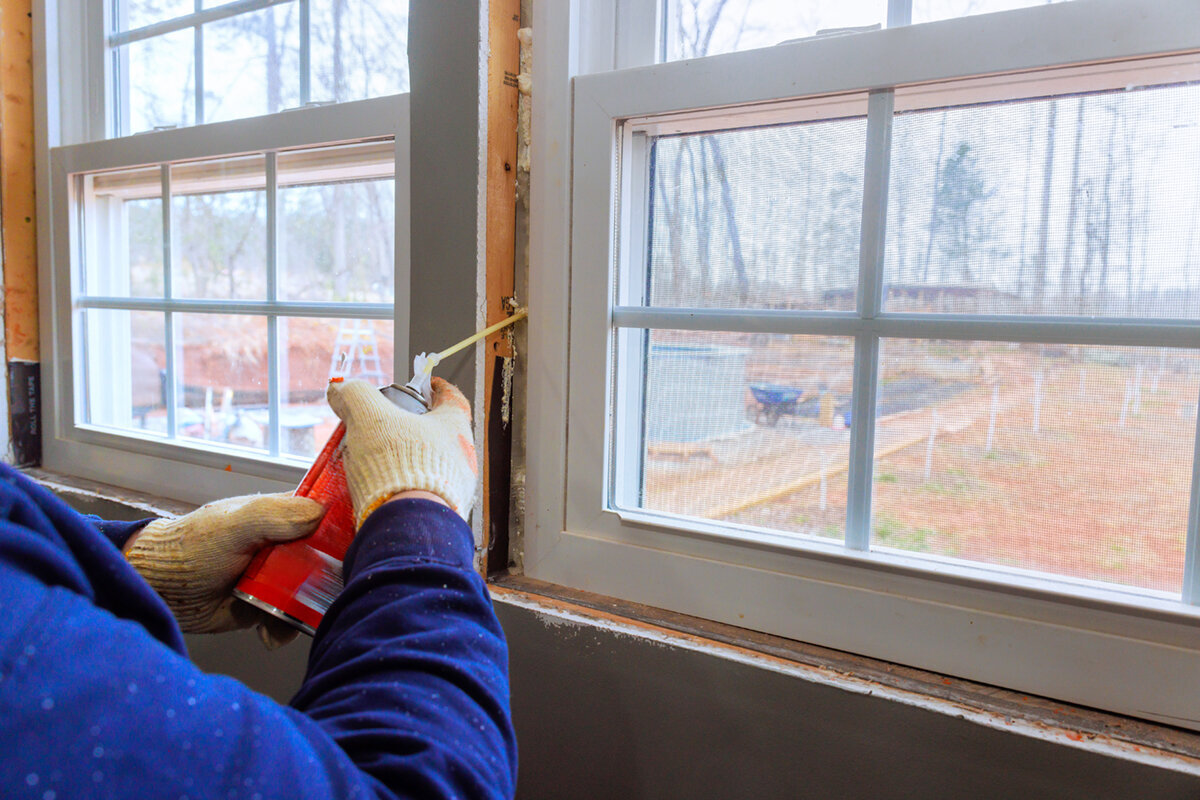
When an exterior wall is being insulated, refinished with stucco or covered with cladding, window replacement should not be treated as an isolated task. The important question is not only how well a new window insulates, but where it will sit within the finished wall and how the frame, insulation, sill, sealing and exterior finish will meet. Installing a window early can simplify later facade work when its position and perimeter details are agreed first. Replacing it after stucco or cladding is complete may instead involve removal work, visible repairs and difficult-to-reach connections. This guide explains how to plan the sequence for different renovation scopes and what the owner, window contractor, exterior designer and stucco or cladding trades should settle before ordering.
01 / Define the wall assembly
Start with the wall assembly, not the window model
“Windows first or insulation first?” is usually too narrow a question. Begin with a section through the exterior wall showing the existing masonry or wood construction, proposed insulation, any ventilated cavity, stucco system, sill and interior finish. That drawing establishes the intended outside edge of the new frame and how far it will sit back from the finished facade. It affects reveal depth, daylight, hardware reach, exterior appearance and the way the perimeter is built. Without a shared drawing, a window may fit the rough opening yet sit awkwardly within the completed wall assembly.
On a full renovation, replacing windows before the new exterior layer is closed is generally the more dependable approach. The window contractor can work to a prepared opening, then the exterior trade can bring insulation or cladding accurately to the frame. This is especially relevant for an outward-opening Passive House Window Super Low Uw . Its name identifies a configuration, but frame location, fastening and perimeter design still belong to the specific project. Ask for a project-specific section detail rather than comparing only an elevation drawing or dimension sheet. It should address the head, jambs and sill.
Windows before exterior insulation: a common facade-renovation sequence
Where continuous exterior insulation is planned, replacement windows are often installed after the old units have been removed and openings inspected or repaired, but before insulation boards, reveal insulation and the finish coat are applied. This gives the team room to set the frame relative to the intended insulation plane and bring the insulation layer to it. Exterior sills, drip edges and the lower connection can also be designed together. Every site will not follow exactly the same sequence: scaffolding, weather, occupied rooms and the condition of individual openings can require phases. At each opening, however, the same planned perimeter logic should be followed.
A trial opening is worthwhile before work proceeds across the whole facade. It allows everyone involved to inspect the actual reveal, existing irregularities, proposed insulation thickness and future sill. The detail can then be approved for comparable openings. With an inward-opening single-sash window , furniture, radiators and interior sills also matter: the sash movement is determined indoors while the exterior insulation influences the reveal appearance. Ask specifically who prepares the load-bearing substrate, fastens the window, applies connection membranes or sealants, and brings insulation and finish to the frame. A schedule without these assignments has a gap.
02 / Agree a trial opening
Why finished stucco can make later replacement more demanding
A window can certainly be replaced after exterior stucco has been completed. The challenge is the edge where the existing finish meets the new frame. Removal may damage stucco, reveals, sills or adjoining coatings. A larger frame, or one placed differently, can also alter visible proportions. The team must then decide whether to patch only locally or renew connected areas to achieve a consistent texture and colour. This is not a reason to rule out later replacement; it is a reason to define the expected repair area, protection measures and desired finish quality in advance.
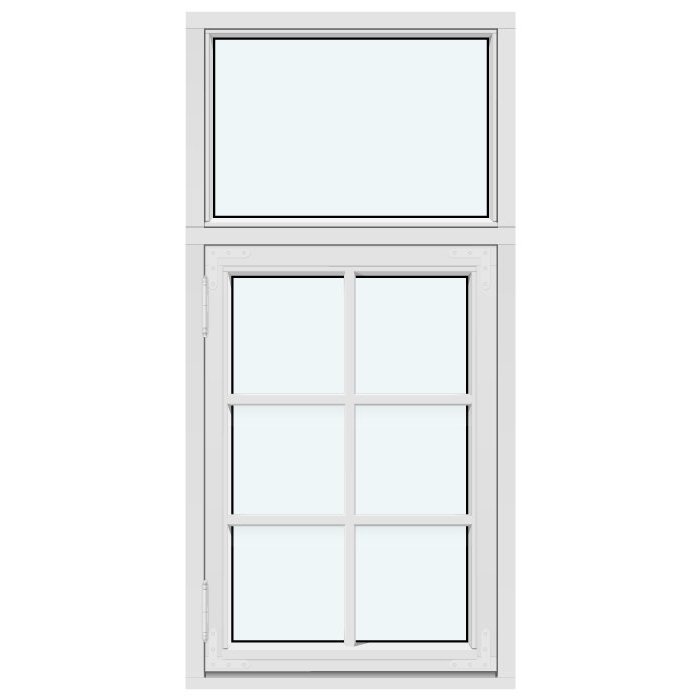
If an exterior was recently stuccoed, a later replacement may still be sensible, for example where only a few windows need urgent renewal. The window contractor should document existing conditions and involve the stucco trade early. Photograph reveals before work begins, protect completed surfaces and decide on the sill before a unit is removed. With a divided design such as an outward-opening historic-style Kombi casement window, opening size is not the only consideration. Check that frame width, divisions and visible setback suit the existing facade. Timing can influence restoration of the elevation as much as the chosen window style.
Treat the cladding substructure as a key interface
Rainscreen cladding follows a different construction sequence than stucco. Insulation, a substructure and a ventilated cavity may sit between the wall and the visible finish. The window, its fastening and the cladding must therefore be coordinated before panels are cut and installed. Reveal depth, side returns, head weather protection and the detail below the window all need to work together. If a window is changed after cladding is complete, sections of the finish often need to be opened or altered. That can affect fitted edges, covers and repeated facade lines.
Request vertical and horizontal detail sections for each window type. At larger openings, the drawings should also identify which components carry loads and how installation access and later maintenance will be accommodated. A Patio Life lift-and-slide door illustrates why this coordination matters: the threshold, finished interior floor level, exterior terrace build-up and facade plane cannot be set independently. A door quotation is not a perimeter detail. Also record when cladding may be permanently closed; that should happen only after window fastening, perimeter work and adjacent components have been checked.
03 / Measure the openings
Frame position is a project decision
A window may sit deeper in the structural wall, closer to the exterior face or aligned with the transition to new insulation. No one position is right for every existing building. It changes exterior and interior reveal widths, fastening conditions, solar access in deep reveals and the protection offered by the facade. Rather than saying only “flush” or “centred,” the project team should name a reference plane and show dimensions through the wall. On irregular older walls, they must also choose the surface used for alignment and the reveal tolerances that are acceptable.
Frame position also depends on how the window operates. An outward-opening top-hung window needs enough space for its movement and for any exterior components. An inward-opening unit positioned far inside can conflict with deep sills, curtains or interior details. For each elevation, discuss use as well as thermal design: how will the unit be opened, cleaned, shaded and furnished around? This is especially important for unusual shapes or opening directions. The elevation, wall section and operation sketch should use the same axes and reference levels so conflicts are identified in time.
Review jambs, heads and sills separately
The perimeter of a window is not one uniform edge. Side reveals, the head and the sill perform different jobs and may be affected by different site activities. At the sides, insulation or cladding must be brought to the frame. At the head, protection from water arriving from above and the visible edge require attention. At the bottom, the sill, slope, end caps and facade transition meet. A drawing of one side reveal therefore does not automatically answer questions at the head and sill.
This detail work remains important with fixed glazing. A fixed window has no opening sash, but its frame perimeter, drainage within the complete assembly, glass appearance and position relative to the facade must still be decided. Ask the design team three direct questions: How will the head connection be protected before the facade is finished? Which sill is specified, and when will it be fitted? How will side connections be prepared so later stucco or cladding work does not damage the frame? Leaving these decisions until the crew is on scaffolding invites improvisation. A clear approved detail before work starts is more useful than a general promise to “finish the connection properly.”
04 / Connect the facade
Decide on altered and new openings early
If an opening is to become wider, taller or relocated, the project is no longer a straightforward window replacement. The load-bearing wall, lintel, wall below the opening, interior finishes, shading, exterior walls and future window dimensions all become interdependent. Have these changes reviewed by the appropriate qualified professionals before selecting the unit. Reliable measurements can be taken only once the rough opening, reference levels and wall assembly are settled. Ordering from the existing clear opening alone is not a sound basis where an opening will change. Set a point after which geometry and heights cannot change without renewed approval. A simple change log should identify the opening, who reviewed the adjustment and whether it affects dimensions, facade layout or interior work. This prevents the window supplier from working from an older drawing revision than the structural or exterior contractor. In Canada, the National Research Council publishes model codes and directs users to provincial or territorial officials to identify the codes and regulations that apply locally. Before altering an opening, confirm the permit, zoning and structural requirements for the exact address and scope with the municipality and the responsible project professional.
Sequence is particularly important for asymmetric, round or angled forms because facade lines and perimeter pieces cannot usually be moved freely. A triangular and angled fixed window requires a clear relationship between actual opening geometry, the frame line and adjoining exterior surfaces. For such details, also decide how templates, covers or cuts will be checked on site. Once cladding or final stucco is complete, corrections are usually more visible and harder to manage. The right time to order is therefore after technical approval of the opening, not after an initial concept sketch.
Plan windows, doors and finished floor levels as one detail
The sequence becomes more critical at low door openings because paving, a terrace or drainage details meet the facade outside. Finished interior floor height, exterior build-up and threshold height should appear on one shared drawing. If a terrace is completed before a door is replaced, it may become clear that intended connection or movement space is inaccessible. A later thicker exterior wall can likewise change a door’s visible reveal. Site management should establish clear elevation benchmarks before substrates, windows and exterior surfaces progress independently. In an occupied renovation, site access also belongs in the plan: an opening used daily may require protection, a temporary threshold and a different work order from an unused side door. The final condition must still govern the detail. A convenient temporary solution should not leave paving or a facade edge at an unverified height.
This applies to more than large openings. An outward-opening single-leaf patio door must also be coordinated with the intended facade finish and terrace use. The product name confirms the opening direction, not whether a particular connection suits your site or floor build-up. Ask when the door will be installed, when the exterior surface reaches its final height and how the perimeter will be protected in the meantime. If a temporary arrangement is needed, include it explicitly in the work sequence. This helps avoid one trade working correctly to an old height while another is already following a later level.
05 / Check the finished surface
Measure and order only after detail approval
An early budget estimate supports decision-making, but it is not a final survey. Before placing a binding order, confirm the actual rough opening, reveal condition, required levelling work, intended frame plane, finished exterior dimensions and interior connections. Record opening direction, sash divisions, operating side, handle height and special elevation requirements room by room. Where several windows are involved, a schedule with position numbers prevents similar-looking units with different functions from being confused. It should also identify openings to be fitted in the first and later phases. Add a short approval table with position number, measured opening, order size, reference edge, sill, facade build-up and responsible person. Resolve differences between drawings and site conditions before signing off. In phased work, make clear whether a dimension relates to today’s construction or the later facade assembly.
When considering an outward-opening double casement window, compare more than width and height. Establish which sash will be used most, how the leaves move in front of the planned facade and whether scaffolding, shutters, railings or planting will affect access later. Do not order from an assumed finished reveal when stucco is to be removed, masonry repaired or a new cladding plane is still being designed. Bloomcabin delivery is 4–6 weeks, subject to order confirmation. That time can assist coordination, but it does not replace confirmed measurements and approved details.
Organize responsibilities, protection stages and handover
Many perimeter problems arise not from one incorrect component but from handovers. The window contractor installs the unit, insulation follows, then stucco or cladding; meanwhile weather, scaffolding access and contacts can change. Before construction starts, create a simple interface list. For each opening, identify preparation, installation, interior connection, exterior connection, sill or cover, facade completion and protection until the next task. Add inspection points after opening preparation, after window installation and before the exterior is permanently closed. Photos labelled with position number and date help later identification. Also establish who can stop work where the substrate is unresolved and who authorizes continuation. This prevents a following trade from concealing a detail before dimensions, fastening or connections have been checked. For longer pauses, identify who will inspect temporary covers and report damage or movement before work resumes.
Handover should cover more than the appearance of the finished surface. Check that ordered opening directions and divisions are correct, sashes operate, protective films and site coverings are removed at the right time, and visible facade edges match the approved details. Record outstanding tasks and their completion dates. Bloomcabin windows and doors have a 5-year warranty, so keep order documents, measurements, product identification and photo records together. A well-coordinated sequence does not automatically improve an exterior wall, but it helps every trade work to the same planned building envelope instead of reacting to surprises left by the previous one.
Frequently asked questions
Should old windows always be removed before new exterior insulation?
For a coordinated exterior renovation, this is often the practical sequence because new windows and the insulation plane can be positioned together. “Always” is too absolute: windows worth retaining or recently renewed units may be planned differently. Wall build-up, perimeter details, condition and project phases determine the right approach.
Can a window be replaced after stuccoing?
Yes. Before work begins, however, establish how completed surfaces will be protected, what damage removal may cause, how the reveal and finish will be restored, and what happens to the sill. The more closely colour, texture and edge appearance must be matched, the more important early coordination with the stucco trade becomes.
When should final measurements be taken?
Take the final survey only after the opening has been inspected and the frame position, wall assembly and perimeter connections are defined. Existing dimensions remain preliminary if masonry still needs repair, reveals will change or facade layers are planned. The contractor responsible for the work should confirm the binding basis.
Must exterior cladding be finished before windows are installed?
Usually, permanent cladding should not be closed before the frame position and perimeter connections are agreed. The substructure may form part of the preparation. What matters is one shared detail that brings together the window, insulation, ventilated cavity and cladding on every side of the opening.
What information helps when speaking with window and exterior contractors?
Useful information includes photos of every elevation, opening dimensions, a floor plan showing opening directions, details of planned insulation or cladding, interior floor and exterior surface heights, and preferred glazing bars. Add a section or reveal sketch. It makes dependencies visible before an order is placed.
Next step
Installing new windows before insulation, final stucco or permanent cladding is often the clearer route for a coordinated renovation. The objective is not a rigid construction order, but a properly designed connection: frame position, wall assembly, reveals, sill, door thresholds and exterior finish must work as one detail. Where replacement is delayed, plan deliberately for the added removal and reinstatement work. Before ordering, allow time for a trial opening, a complete wall section and a written interface list. Window selection, measurement and scheduling can then proceed with far fewer unresolved questions.
