
Site Survey Planning for Patio Doors, Sliders and Bifold Systems

Build a dependable patio-door survey
The most useful starting point is not a preferred frame size, but a record of the entire doorway junction. The rough opening, finished flooring, wall layers, panel travel and adjacent deck or terrace can all change the viable configuration. A lone width or height is therefore inadequate for a slider or bifold system. Before choosing a size, note possible conflicts with floor finishes, window coverings, furniture and drainage. Keep site observations separate from planning dimensions and manufacturer-ready order dimensions. That organized record gives the designer, installer and supplier a common basis for resolving the opening.
Survey checkpoint 1
Start with movement, not the tape measure
Start by deciding how the opening needs to work. A single-leaf patio door needs a swing area; a sliding door moves one panel parallel to the wall; a bifold gathers several panels into a stack. This affects more than overall width: it changes clear passage, furniture placement and the operating side. Rather than comparing frame sizes alone, sketch the terrace, seating, kitchen island or radiators and mark the routes people actually use. Broad glazing can bring in daylight while a narrower moving panel may be sufficient for daily access. A route used often to carry items outdoors may call for a different layout than an occasional balcony entrance.
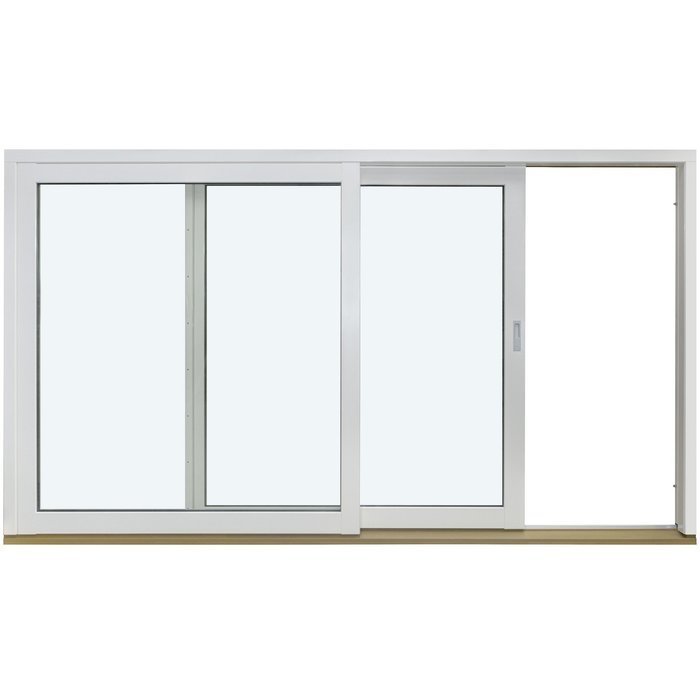
For an initial comparison, consider a Patio Life lift-and-slide door as an example of a large sliding solution alongside a conventional hinged door. Its name alone does not confirm dimensions, performance or equipment; ask for those details separately. The key item is the sketch: which panel remains fixed, which one moves, and where will it sit when open? Note whether full-height glazing should visually continue an adjacent window. For renovation work, establish whether the present wall opening stays unchanged or will be redesigned. Measurements become meaningful only after the intended use, viewpoints and movement pattern are clear.
Label the opening you are actually measuring
The rough opening is the construction opening before installation; the clear opening is the free passage or visible opening within an existing assembly. Both are useful, but they are not interchangeable. For new construction, measure width at the bottom, middle and top between the side reveals, and height at the left, centre and right from the stated reference point. In an existing building, trims, old frames, plaster edges and thresholds can hide the real construction opening. Always state exactly which surfaces the measurement runs between. A photograph marked with the measuring points can prevent later misunderstandings.
Use a sturdy tape measure or suitable laser distance meter, then check unusual differences manually. Record every reading in millimetres, not only the largest one. The smallest dimension may govern the planning, but the reason for variation matters too: an uneven reveal, sloping floor or uncertain plaster build-up requires a different response from a consistent opening. Measure both diagonals as well. Unequal diagonals indicate that the opening is not square. This survey does not replace measurement verification by a qualified professional, but it provides a precise basis for discussion and option selection.
Survey checkpoint 2
Anchor every height to the finished floor
For patio doors, a height without a clear reference point says little. Use the top of the finished floor as the reference and mark it on the wall and drawing. In new construction, include every layer still to be installed, such as the floor build-up, screed and finish. In an existing room, confirm whether the floor finish will remain, be renewed or be replaced with one of a different thickness. Measure from that proposed level to the underside of the lintel. If the floor build-up is unresolved, also record the present height to the structural slab. This shows whether a figure describes an interim condition or the future usable level.
Outside, record a second level sequence from the same reference level through the threshold zone to the top of the future terrace finish. Include slope, finish thickness and the facade connection on the drawing, even where decisions remain open. A door may appear to fit indoors while exterior connection details are still unresolved. A sliding door should therefore be assessed against the planned floor and terrace arrangement, not simply the rough edge visible today. Ask the designer or installer what information is needed for the intended installation and who is responsible for coordinating levels. In a renovation, that person should also know whether adjoining rooms are intended to finish at the same height.
Map the frame’s position within the wall
Wall depth affects how the frame, reveals and interior connections come together. Measure the wall in several places and note its build-up where known: structural layer, insulation, lining, plaster or service cavity. A photograph of the visible reveal alone is not enough. With a multi-layer exterior wall, the installation position must be coordinated with the whole assembly. Show the intended door position within the wall depth if it is already decided. Without that information, it is difficult to coordinate the exterior appearance with interior reveals, blinds or sills. Mark unknown layers clearly as unverified. Also check whether visible wall depth is consistent at the top, bottom and both sides; variation may indicate changing finishes or concealed junctions. A small section sketch showing inside and outside is often more useful than several unlabelled detail photos.
Measure available wall areas to the left and right, including distances to corners, downpipes, posts, outlets, radiators and other openings. In a side-sliding arrangement, a fixed panel may shape the elevation while the moving panel needs no swing area. A Siegenia side-sliding door cannot therefore be assessed by total width alone: record which side the moving panel should occupy and which view is being considered inside and outside. If curtains, solar shading or built-in furniture are planned, mark their space too. This helps identify early whether the controls, handle and cleaning access will remain usable.
Survey checkpoint 3
Remove left-and-right ambiguity
Left and right can easily cause errors if the viewing direction is not stated. Document every door with two simple views: inside and outside. For hinged doors, draw the hinges on the relevant side and add the swing arc. State clearly whether the door opens inward or outward. For sliders, use arrows to show travel and distinguish fixed from moving panels. For bifolds, show fold points and the stacking side. A photograph of the existing condition is helpful, but it cannot reliably communicate the desired new movement direction without these marks.
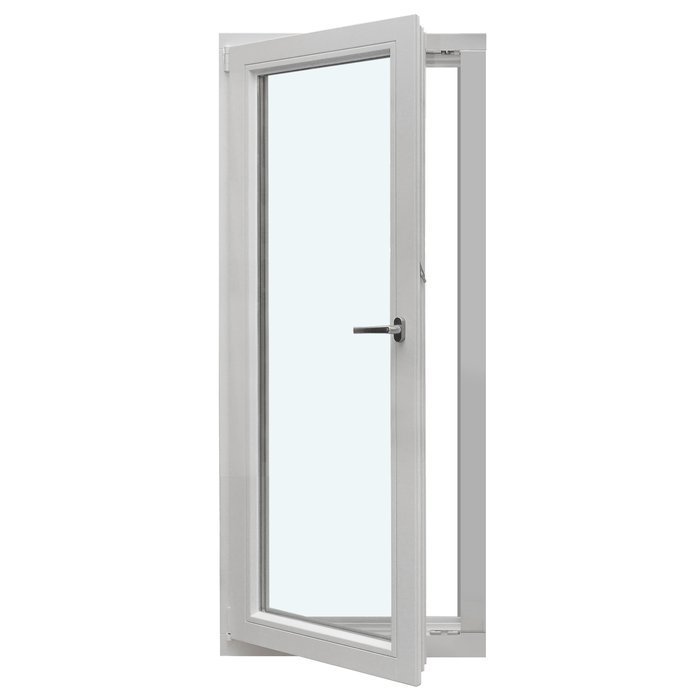
An outward-opening leaf can save indoor space but needs an unobstructed outdoor zone. A single-leaf outward-opening patio door should therefore be checked against planting, railings, steps and furniture. An inward-opening leaf instead takes up room inside, perhaps beside a dining table or bench. Do not ask only, “Which side is left?” Ask: from which viewpoint is the side named, where does the leaf move, and can it open fully? Those three details make an order far clearer. For future use with a stroller, tray or garden furniture, also check whether the intended route works without detours.
Treat a bifold as moving parts, not a rectangle
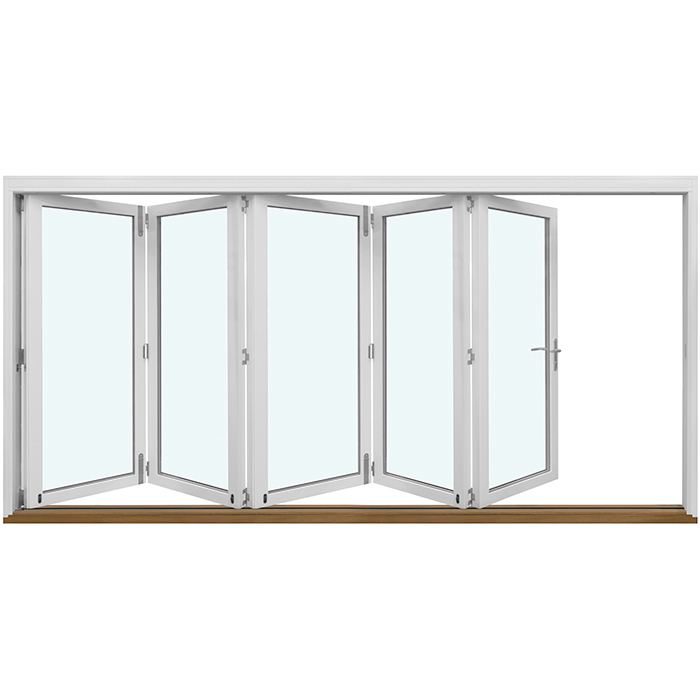
For a bifold door, the number and arrangement of panels determine how much of the opening is available in everyday use. Measure the complete opening first, then allow space for the folded panel stack. Where will it park: indoors or outdoors, left or right? Can it sit there without blocking a corner, light, privacy screen or terrace access? Mark any panel intended for routine entry so the full assembly need not be opened for a short trip. A scale paper sketch can make the movement space easier to assess on wide openings.
An outward-opening bifold door is one configuration where outdoor space and the stacking direction deserve particular attention. Before final selection, confirm the actual panel split, operation and required clearances against product information and the proposed installation. Where a terrace exists, measure distances to railings, level changes and canopy posts. A panel stack that fits on a plan can still narrow the main route in normal use. During a renovation, note whether existing fittings, trims or a canopy affect the desired operation. Test movement before deciding on visual matters such as equal panel widths or glazing bars.
Survey checkpoint 4
Define the usable passage
The overall width of a door set does not automatically equal the available route outside. Frames and an open leaf affect hinged doors differently from sliders and bifolds. In multi-panel systems, one panel may remain fixed or part of the width may be affected by the parked panel stack. Define an everyday-use test: should someone pass comfortably carrying a tray, will garden furniture move through regularly, does the route lead to dining, or is the door mainly for ventilation and views? This description is more useful than asking for the largest possible opening. It directs the selection toward a suitable operating type and panel arrangement.
A single-leaf inward-opening patio door can be a straightforward answer where wall width is limited, provided the room has space for the swing. A larger arrangement may broaden both the view and access, but it needs more coordination with the structure, wall junction and exterior area. Draw furniture at its real depth, including curtains and leaf-opening space. Test the route with two people moving in opposite directions when the terrace and kitchen are closely linked. Record the resulting passage requirement as a use objective, not as a self-determined order size. The clear dimensions ultimately available depend on the selected construction and confirmed site measurement.
Record what the head and reveals conceal
Give the head of the opening the same scrutiny as the floor. Take heights at the left, centre and right, and map visible cracks, services, shutter housings or unusual junctions with photographs. On replacement work, parts of the reveal may remain hidden behind the old frame; do not disturb finishes or weatherproofing simply to obtain an early measurement. Record what can be seen and identify every unknown. Making the opening wider or taller is a change to the wall, not merely a door selection. Canada’s National Model Codes do not by themselves establish the requirements in every province or territory. Before enlarging the opening, ask the building authority for the property which adopted rules and approvals apply, and have the proposed wall changes assessed by an appropriately qualified professional.
Check the flatness of side surfaces with a long straightedge and note bulges or recessed areas. A neat measurement alone does not establish the condition of the connection surface. Record whether an interior sill, radiator, lining or electrical installation sits immediately beside the opening. Outside, brick, render, cladding or existing waterproofing may affect detail planning. Separating the survey into rough opening, interior connection and exterior connection gives the installer a stronger basis for decisions. The final solution should not be based on the assumption that an old door leaf happened to fit the current opening.
Survey checkpoint 5
Extend the sketch beyond the door frame
A door does not end at its frame. Draw the first few metres outside the facade: terrace finish, slope, steps, drainage components, canopy, railing, planters and paths. If the terrace is being renewed, add the proposed design as well as the existing one. In wet conditions, exterior planning cannot be left as an afterthought; the connection details need to work with the door project. This guide does not replace technical waterproofing or drainage design, but it helps raise the relevant questions early: where will the finished terrace level sit, where will water travel, and who will coordinate the door, facade and terrace?
For a double-leaf outward-opening patio door both swing areas should appear on the exterior view. Check whether open leaves obstruct paths, seating or a step. The answer does not always have to be a different door model: furniture, barbecue position or route layout may sometimes be changed. The important point is to decide deliberately. Note any awning, external solar shading or insect screen so its installation area and operation can be discussed early. In a narrow townhouse garden, even a slim side route can matter; on a spacious terrace, furniture in front of the glazing may be the greater concern.
Carry one traceable record from survey to order
A useful measurement sheet identifies the project address, room, date, contact and a unique reference for each opening. Add interior and exterior photographs, a plan, an elevation and every individual dimension in millimetres. State what exists and what is proposed: new flooring, altered terrace, interior work, shading or lining. Do not put dimensions from different construction stages into one column. An “open” field is better than an assumption. An enquiry should include more than width by height: give the intended operation, viewing side, panel movement, and whether the size describes a rough or finished opening. The supplier can then ask focused follow-up questions. Date each revision clearly and visibly withdraw superseded sheets. Before approval, establish which drawing governs, who recorded changes, and whether interior finishes, facade planning and terrace planning use the same height reference. This prevents correct individual facts from being combined accidentally from different design stages.
A double-leaf inward-opening patio door is only clearly specified when the overall opening, hinge sides, traffic leaf, room arrangement and reference level are all known. Before ordering, ask for the positions to be checked against your drawing and establish who is responsible for final site measurement and connection coordination. Bloomcabin states a 5-year warranty for windows and doors; delivery takes 4–6 weeks, subject to order confirmation. These details do not replace technical approval or review of all project-specific matters. Keep approved drawings, dimensions and revision records together. Where several facade openings are involved, a clear position list helps prevent a correctly measured door from being planned in the wrong location.
Questions homeowners often ask
Should I provide the smallest or largest opening measurement?
Record every measured value with its location, rather than selecting one figure. The smallest available space is often relevant to further planning, but variation must be understood. An irregular reveal, slope or unfinished floor build-up can prompt different questions. A professional should confirm the final order dimension.
How do I determine left and right for a patio door?
Always state the viewpoint, for example “viewed from inside”. For hinged leaves, add the hinge side and a swing arc. For sliders, mark moving and fixed panels and the direction of travel. A labelled inside and outside view is far more reliable than stating “DIN left” without a drawing.
Can I use the dimensions of an existing door for a replacement?
They are a helpful starting point, but not a safe order dimension. The old frame can hide the real construction opening, while new flooring, wall connections or a different operation can change the planning. Record the visible condition, possible removal limits and intended finishes. A qualified professional should assess the final installation situation.
Must the terrace be fully planned already?
Not completely, but levels and major elements should be known or marked as open. Important information includes the proposed finish level, slope, steps, paths and nearby obstacles. This allows connection details to be coordinated. If exterior planning is still missing, do not base the door decision on an assumed terrace level.
What should an enquiry include besides width and height?
State the operating type, inside and outside views, panel movement, rough or finished dimension, wall depth and relationship to the finished floor. Include photographs, a sketch, and details of the terrace, shading and adjacent furniture or building elements. For existing buildings, notes on uneven reveals, trims and planned alterations are valuable.
Prepare the project brief
An effective patio-door survey explains how the whole junction will function: who uses the route, where each panel travels, how the interior floor meets the terrace, and which nearby elements may interfere. Document the opening, wall, room and outdoor area as one connected condition. Attach a reference point to every measurement rather than turning a single reading into an order size. A labelled sketch, useful photographs and a list of unresolved questions create a stronger basis for comparing configurations. The final arrangement, verified dimensions and installation details should then be coordinated by the responsible qualified professionals.
