
Visible Glass First: Planning Replacement Windows
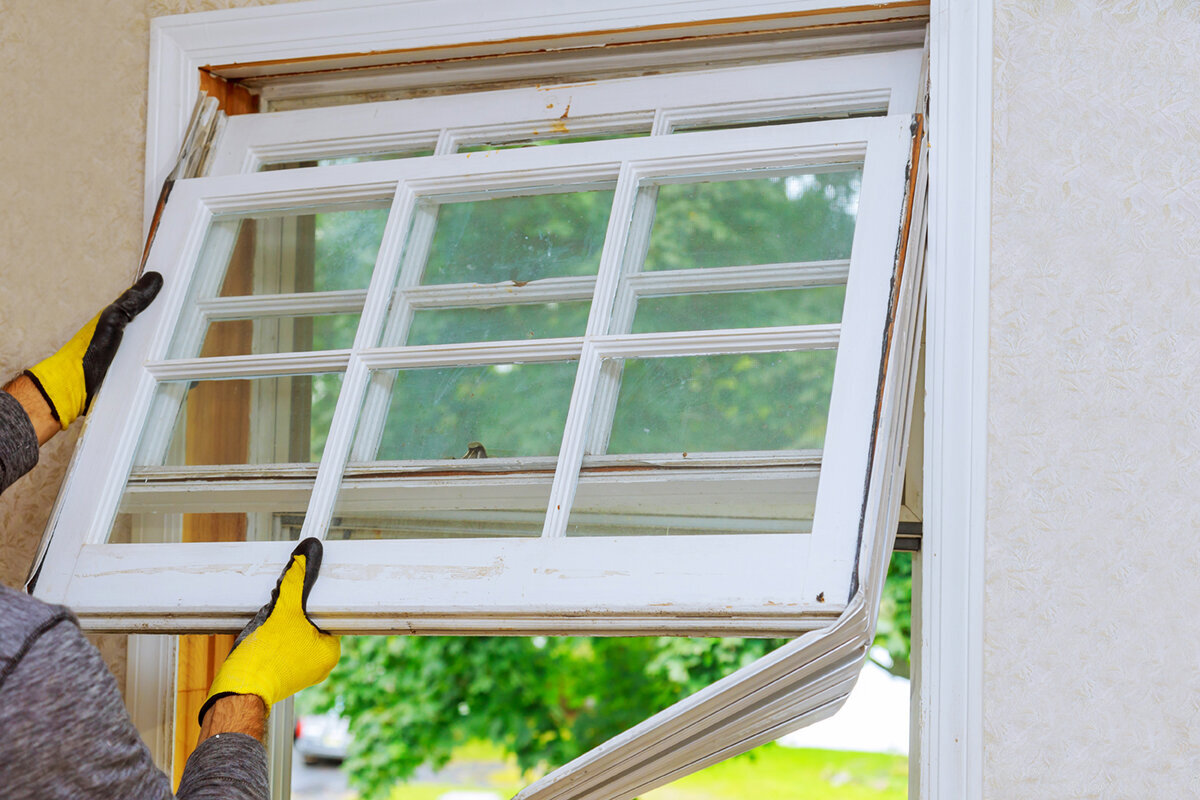
A sightline-first approach to replacement windows
Width and height are often the first figures recorded for a replacement window, but they do not describe the result you will see from the room. A broader frame, a new centre mullion, different sash proportions or a shift within the wall can all change the visible glass and the outlook. Instead of matching one size label to another, study the entire window from both sides of the wall. This is especially important for large living-room openings, window bands, traditionally divided façades and connections to a deck or patio. The sections below show how to build a useful measurement set, spot choices that consume glass area and coordinate the window with its junctions and daily operation.
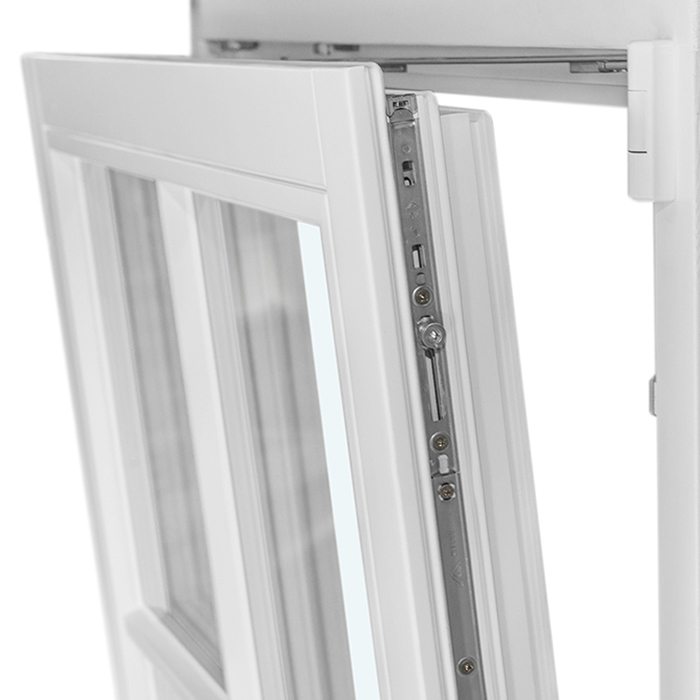
Judge the finished sightline, not the nominal size
An outside frame dimension marks the perimeter of the manufactured unit; it does not tell you how much unobstructed glass will remain. Moving inward from that perimeter, the outer frame, sash frame, mullions and transoms may all occupy part of the opening. Broader visible profiles can therefore reduce the glazed field even when the replacement has the same overall width and height. The difference may be modest at a small bathroom window but prominent across a living-room wall. Ask for the clear glass width and height of every field, as well as the frame lines visible when operable sashes are closed.
Place the existing and proposed units on matching interior elevations. Each drawing should identify overall dimensions, visible frame widths, glass fields and every division. You can then see, for example, whether two narrow sashes introduce more material at the centre than one broad fixed pane. A fixed-glazed window may work where the opening does not need to ventilate and preserving an open view takes priority. It is not a default solution: exterior cleaning, ventilation and the operation of other windows in the room must still be planned. Aim for a purposeful balance of fixed and operable fields rather than the largest possible pane at any cost.
Build a measurement set that can be compared
A single rough-opening measurement is not enough. Record the unit’s outside dimensions, its total visible width from indoors, the exposed frame width at the top, bottom and both sides, and the width and height of each visible glass field. Add centre mullions, transoms and glazing bars wherever the window is divided. Note any portion hidden by curtains, interior blinds or deep reveals. Pair a simple sketch with photographs so a quote based on frame size is not mistaken for a comparison of unobstructed glass. Label every existing unit separately; in an older home, a description such as “three identical windows” may conceal meaningful differences.
Area alone cannot explain how a window will feel. Two units may contain the same amount of glass while presenting entirely different proportions—one broad and low, the other narrow and tall. Check the view from both seated and standing positions, and note where a centre mullion falls against the garden, balcony or neighbouring buildings. Add likely furniture to the drawing before approving the divisions. With a two-sash inward-opening window, include the swing path of both sashes as well as their appearance when closed.
Separate visible frame width from profile design
A frame described as “slim” is not meaningfully comparable until its installed face width is shown. Profile sketches and small samples may omit how much material remains visible from the room. The exterior portion might be concealed behind cladding while the interior face stays prominent, or the reverse may occur; sash profiles may also be broader than adjacent fixed frames. Request an elevation of the exact configuration with dimensions at corners, mullions and fixed-to-operable junctions. That drawing reveals whether the intended open appearance continues around the whole unit.
Broader faces are not automatically a defect, nor are narrower ones automatically better. Structural requirements, hardware, size, opening method and selected glazing all influence the available design. The useful question is: which visible face is planned for this size and use, and how would an alternative change the glass dimensions? Also compare whether frames are intended to be concealed or exposed to different extents. A proposal with an attractive overall size can still provide less glass if its frame remains much more visible. Keep the approved elevation with the final site measurements so the desired design is clear at ordering and installation.
Make every glazing bar and mullion intentional
Both glazing bars and mullions interrupt a continuous outlook, although they do different jobs. Glass-dividing bars create separate panes; applied bars chiefly alter the visual pattern. Select them in relation to the existing building, the façade composition and any historic character worth retaining. Specify the count, orientation and exact position rather than writing only “with glazing bars.” A horizontal line across eye level affects a room differently from one placed above the main view. Across several openings, relate divisions to neighbouring sills, door heads and window lines so the exterior reads as a deliberate composition.
On an existing building, smaller panes may be an important part of the character. A traditional two-sash outward-opening casement window can be a useful configuration to consider when traditional division and opening direction need to work together. Its name does not replace project-specific agreement on the actual elevation, glazing bars and dimensions. Consider the interior effect as well: many small panes may suit a bright stairwell but distract from a broad view. If divisions are mainly wanted for the exterior, compare glass-dividing and applied-bar options on the same façade elevation rather than deciding from a detail photograph.
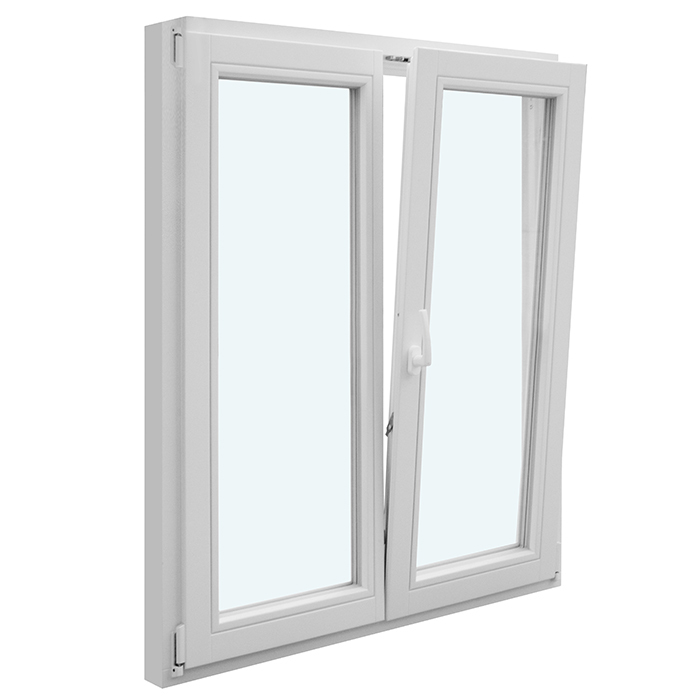
Choose operation before chasing more glass
An opening window requires sash profiles, hardware and usable operating space, so it will not present the same glass proportion as a fixed pane of equal size. First identify which openings must provide routine ventilation, exterior reach or passage. Then decide where fixed glazing and one-sash or two-sash units should be combined. A modest operable sash beside a larger fixed field may preserve the principal view, provided the arrangement also suits cleaning and ventilation. Do not maximize the glass first and try to add the necessary opening action afterwards.
Opening direction is also a room-planning decision. Inward-opening sashes can conflict with curtains, plants, faucets or furniture. Outward-opening designs need clear exterior swing space and must suit the façade setting. A one-sash outward-opening casement window illustrates how opening action can be linked to a simple, lightly divided elevation. Check the handing, handle position and opening angle in the actual design; a product title establishes no further characteristics. Above a counter or deep window seat, a top-hung awning window may be an alternative. Assess separately whether it suits your ventilation habits and can be reached comfortably.
Wall position can change the view
Even a well-planned glass layout can look different after replacement if the window sits farther in or out within the wall. Its position changes interior reveal depth and therefore the side-angle view. Deep reveals can hide part of the sky or garden, especially from an oblique angle. Sill position also changes, while connections to shutters, exterior blinds, curtain tracks or interior shading must be coordinated again. Request a section through the wall, frame and sill as well as a front elevation. The section shows which edges will remain visible indoors and whether the sill will visually obscure the lower glass line. For a practical check, photograph the existing window from usual seated and standing positions. Mark the reveal edges that already limit the view, then overlay the proposed frame edge and glass line from the section. This is not a substitute for technical design, but it can reveal early when a small shift in installation plane matters more to an important sightline than the calculated glass-area change.
Removing the old frame may also change where the replacement can sit. Before ordering, review the installation plane and junctions with the person responsible for the survey and fitting. Establish whether the interior reveal stays, is built out or is remade; how exterior render, cladding and sills will be treated; and which dimensions become final after removal. If exterior insulation is part of the work, coordinate it with frame position, sealing and finish details rather than treating the window as a separate decision. Qualified project professionals should verify the technical requirements. For a Canadian project, identify the province or territory before assuming a code applies: NRC publishes national model codes but directs users to provincial or territorial authorities to determine the rules in force locally. Ask the municipality about the actual building, opening and proposed work.
Compose wide glazed openings as a whole
In wide living-space openings, the distribution of fixed glass, sashes and doors is especially visible. Several narrow operable sashes can make an otherwise broad outdoor view feel busy; conversely, an overly minimal division may compromise furniture placement or ventilation. Start with sightlines: where will people sit, where will the dining table stand, and which areas should remain free of vertical interruptions? Then establish the required passages and opening fields. On the exterior elevation, vertical lines should relate where possible to nearby windows or façade elements. This creates an ordered composition without requiring every opening to be identical.
For a transition to a deck or garden, a Patio Life lift-and-slide door is one product category to consider where a sliding entrance is part of the concept. Compare it with a window using more than glass area: review visible frames, fixed and moving sections, and the intended daily use. A sliding door can provide a broad view, while a hinged door requires different circulation space. Also judge the indoor view with the door closed: a central overlap or frame junction may sit on a key sightline. Request a complete elevation including adjacent windows, not only an image of the door module.
Survey unusual shapes on their own terms
Round, semicircular, triangular and angled windows are often defining architectural details. For that reason, replacement should not be based solely on maximum width and height. In a round window, the visible curve at the glass edge defines much of its character; in a triangle, angles, reference lines and wall position shape the result. A fixed round window can be a starting point for a circular, non-operable design. Confirm whether the existing opening is truly circular, how the reveal will be formed and what interior elevation you want. Scaled photographs, a template or precise survey information can help avoid misunderstandings with unusual shapes.
Special shapes need a clear distinction between appearance and function. If the shaped field is intended only to bring in light, a fixed element may be appropriate. If it must ventilate or be accessible, the considerations change fundamentally. In a high gable, for example, an operable standard window below may provide ventilation while the special shape emphasizes the architecture. Fixed triangular and angled windows can be alternatives where the geometry should continue without its own operable sash. The actual planned angles and glass lines matter more than the name of the shape. Review its junction with rectangular windows too: a diagonal beside a horizontal division can look harmonious or create an unintended offset. Transfer the reference heights of adjacent elements to the same drawing. Check whether the frame and reveal visually reduce a narrow point. A scaled façade elevation makes such differences visible. Finalize unusual geometry only after a reliable site measure, rather than drawing proportional conclusions from an approximate photograph.
Use one window schedule for every bid
Put every proposal against the same window schedule instead of comparing total prices first. For each opening, identify the room, reference, outside dimensions, opening action, handing, sash count, fixed and moving fields, divisions, and the interior and exterior elevations. Add the visible glass width and height—or the glass area of each field—where the view matters. Record finishes, handles, glazing bars, sill junctions and any work needed at reveals or shading. If suppliers measure from different points, their figures are not directly comparable. Resolve those differences before ordering and include every accepted revision in the final confirmation.
A one-sash inward-opening window and a two-sash option are comparable only when both address the same opening, ventilation requirement and intended visual divisions. Similar-looking products may still differ in handing or sash arrangement. Add a “non-negotiable” column for priorities such as a clear seated view, a particular sill junction or alignment with the neighbouring window. Use a second column for acceptable alternatives, such as fixed glazing in a secondary room. This turns a vague request for more glass into specific questions about sash proportions, mullion location and exposed frame width.
Lock down details before production and fitting
Take final measurements once the condition of the openings is sufficiently understood. Old frames, uneven reveals, planned floor build-ups and new sills can all affect order dimensions. Coordinate the sequence of removal, masonry work, shading, interior finishing and painting. For low-level units, planned finished-floor height must be known so sill, passage and lower sightline align. Keep the approved window schedule, elevations and sections as the shared reference. Changes after ordering can affect timing and installation. Delivery for Bloomcabin windows and doors is 4–6 weeks, subject to order confirmation; do not schedule dependent trades around it without a confirmed date.
At handover, use the approved planning documents rather than checking only the outside dimensions. Work room by room and compare the sash count, handing, divisions, visible glass fields and handle positions with the signed elevation. Open each unit to confirm that furniture, curtains and shading operate as planned. Concerns are easier to resolve when the required result and site measurements are documented. Bloomcabin windows and doors carry a 5-year product-family warranty; that warranty does not certify the installation or its wall connections. When choosing between two designs, settle the difficult-to-change decisions first: glass layout, wall position and opening style. Decorative details can usually be considered separately, but a blocked sightline is harder to recover.
Questions homeowners often ask
Can a replacement window have noticeably less glass at the same size?
Yes. The unit’s outside dimensions may remain the same while visible outer frames, sash frames, mullions or glazing bars take up more area. Compare not only the width and height of the whole unit, but also every visible glass field and the frame-face widths shown on a drawing.
Should I always choose fixed glazing for more light?
Not necessarily. Fixed glazing can reduce frame interruptions, but it provides neither ventilation nor opening access. First decide which windows need regular opening, exterior cleaning access or passage use. Then assess where a fixed field can usefully support the desired glass effect.
What is the difference between glazing bars and mullions?
Glazing bars divide a window within a field and may be glass-dividing or applied. Mullions generally separate larger fields or sashes structurally. Both affect the view, but a mullion is often a stronger vertical line across the sightline and should be positioned deliberately.
Why do I need both an elevation and a section?
An elevation shows divisions and visible glass fields straight on. A section shows the installation position in the wall, reveal depth, sill and connections. Together, they explain how wide the view feels from the side and which edges will remain visible in the room after installation.
When should final measurements be taken?
Final site measurement belongs at a coordinated stage of the project, once openings, planned floor heights and relevant finishing work are understood. Align the appointment with measuring and installation. Do not order solely from old drawing dimensions where removal conditions or reveals may differ.
Turn the design into an order-ready brief
Keeping the glass area you value requires more than repeating the former outside dimensions. The finished outlook comes from the combined effect of frames, sashes, mullions, glazing bars, proportions and position within the wall. Start by mapping important sightlines and deciding where ventilation or access is genuinely needed. Compare dimensioned interior elevations and wall sections rather than relying on catalogue images or unmeasured descriptions such as “slim.” Carry those decisions into a complete window schedule for the final survey, order and installation. The goal is a documented configuration that serves the room’s daylight, view and everyday use once the work is complete.
