
Window Installation Costs: Fitting, Removal and Finishing Work

Planning Your Window Purchase and Installation
The purchase price of a new window is only one part of the project. Installation becomes predictable when the surrounding work is defined: how the old unit will be removed, what happens if the reveal is damaged, who deals with shutter boxes, and whether plastering or painting is included. When several windows are being replaced, do not compare only the amount labelled “installation.” One quote may include careful removal, fastening, sealing and reinstatement of interior and exterior finishes, while another may not. A shared written scope reveals gaps before you order. This guide breaks down the usual cost areas, explains where trades meet and helps Canadian homeowners compare window-installation quotes on an equivalent basis.
Start with the Whole Project, Not a Single Installation Price
A useful comparison begins with a list of every opening and its site conditions. Record the room, approximate rough-opening or existing dimensions, storey, window type, opening direction, existing exterior shading and any obvious damage to plaster or reveals. Replacing an accessible ground-floor window is a different exercise from replacing one above a stairwell or a large opening with exterior shading. Include practical questions too: whether furniture must be moved, floors protected and rooms kept usable in sequence. This turns a seemingly simple replacement into a clear work plan rather than an unexplained lump sum.
Product selection affects the installation sequence, but does not by itself determine the work involved. A 1-sash inward-opening window is, for example, a clearly defined configuration; dimensions, weight, position in the wall and perimeter details still drive the estimate. Before seeking quotes, give the installer interior and exterior photos plus information about roller shutters, window sills and wall construction. Ask whether a final site measurement is included before the order is released, and which measurements become the manufacturing basis. Coordinating the full project early avoids discovering conflicts between the product, opening and perimeter detail on installation day.
Removing Existing Windows: Make the Work Visible
Removal starts with protecting the room and may involve much more than lifting out the old frame. Depending on the existing construction, sashes may need to be taken off, glass secured, frames cut apart or fixing points released. Nearby finishes may survive intact or be disturbed. Existing sills, wallpaper run up to the frame, tile in the reveal and delicate exterior finishes all affect the approach. Discuss which components the contractor will protect and which disruption may be unavoidable when working on an older building. That creates realistic expectations for later finishing work.
The quote should state separately whether removal, haul-away and disposal of the old window are included. Ask about leftover materials as well: will old sealants, fixings and loose plaster be removed, and where will construction waste go? Do not hide unusual conditions under a general label, such as difficult-to-reach windows, fixed interior sills or openings with damaged masonry. Photos are useful for an initial review but do not replace an on-site assessment. If concealed damage appears after opening up the work, establish who stops work, records the finding and obtains approval for additional measures before proceeding.
Prepare the Opening Before the New Unit Arrives
Once the old window is out, the condition of the opening determines whether installation can continue without interruption. The substrate needs assessment, loose material must be removed and the reveal geometry checked. Uneven surfaces, old levelling layers, moisture marks and broken edges are not minor details: they affect whether the new unit can be aligned and its perimeter joint completed properly. Ask which preparatory work the installation contractor includes and which repairs are quoted separately. An item called “installation” does not automatically include major levelling or repair work.
With fixed-glazed units, accurate positioning of the complete element is especially important because there is no operable sash to expose later adjustment issues. For a fixed-glazed window discuss the wall position, continuous perimeter joint and access for placing the unit early. In general, final measurement should capture more than width and height; it should record the conditions for fastening and perimeter connections. Request a short description of the condition in which the opening must be handed over. This helps separate the responsibilities of the window installer, masonry contractor and, where needed, plasterer.
Describe the Installation Scope Precisely, Not as a Lump Sum
Installing a window involves more than placing a frame in an opening. The unit must be aligned, secured and checked for proper operation. Suitable fixings and the number of fixing points are part of the technical design for the particular wall and window. For comparing quotes, the key is not demanding one universal method but obtaining a clear description: who places the unit, who levels it, who secures it, and whether operational testing is included? For multiple replacements, confirm whether each unit is checked individually or whether there is one final inspection. Ask how frames, sashes and glazing will be handled, and when smooth closing will first be tested. An interim check before connections are concealed makes it easier to correct size, position or operation. Where several openings are alike, the first completed window can serve as a reference, but different openings should still be assessed individually.
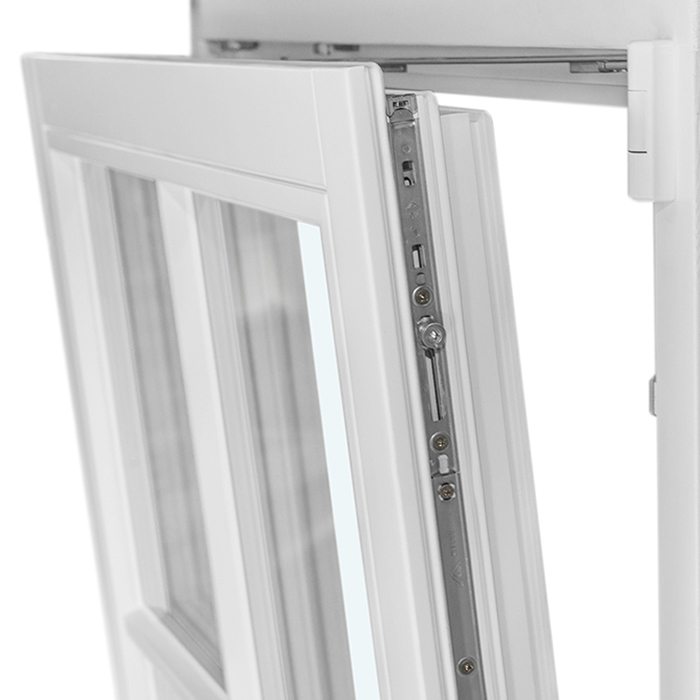
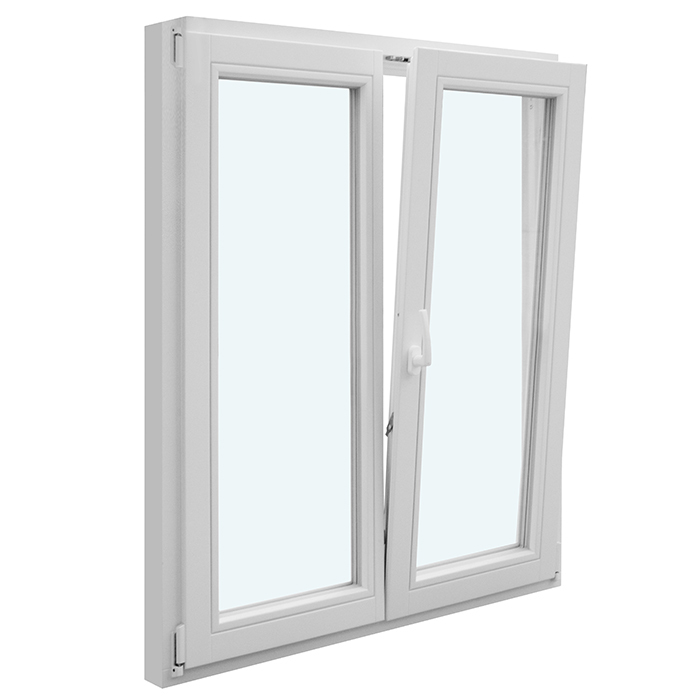
The number of sashes affects operation, weight and coordination. With a 2-sash inward-opening window confirm the selected sash arrangement, the available room clearance and when hardware will be adjusted. These are not necessarily separate price lines, but they can affect the work sequence and later adjustment. Ask the contractor to list the agreed installation in understandable stages. Terms such as “professional installation” are too broad without defined limits. A good scope also says whether protective film will be removed, operation demonstrated and visible installation debris cleared away.
Perimeter Joints: Connecting Inside and Outside
The joint between the window frame and building envelope links different components and must be planned as a connection, not treated as a simple gap. Interior, middle and exterior layers are often mentioned, but buyers need to know what work is actually being offered. Ask which materials are proposed, whether surfaces will be prepared and how transitions at sills, shutter guides or reveals will be handled. A seal performs only as well as its substrate and connection. Include photographs and details of difficult areas when clarifying the quote.
In an older building, the existing perimeter condition is often not fully visible. Set out a decision process in case the actual condition differs from the assumptions. After removal, the contractor can document the finding and propose an additional solution before it is covered. That is preferable to an improvised correction without clear approval. Compare whether exterior weather sealing and interior airtight connection are expressly included, or whether the quote only allows for foam at the joint. The purpose is not to prescribe particular products, but to understand the complete connection task and who is responsible for it.
Interior Finishing: Reveals, Sills and Surfaces
For occupants, installation is not complete until the area around the window is usable and visually satisfactory. Interior work may include repairing plaster, closing reveals, rebuilding drywall edges, adjusting sills and renewing wallpaper or paint. These tasks are not always part of the installation contractor’s scope. A lower quote may still be appropriate if you already plan to hire a painter; without that plan, the same omission can become an unwelcome surprise. Ask exactly how interior surfaces will be left: prepared but unfinished, filled, plastered, primed or fully painted.
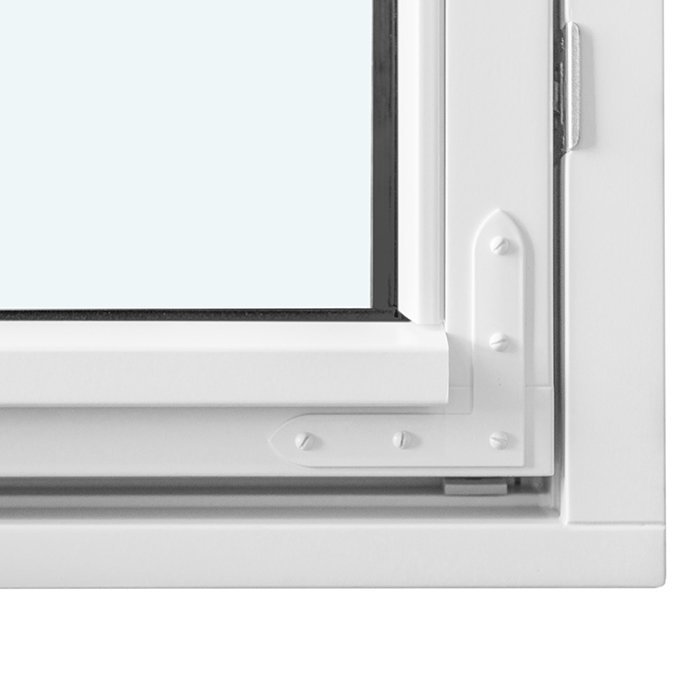
Historic-style elevations require careful coordination between the product appearance and restoration of the surrounding area. A traditional-style outward-opening “Kombi” casement window describes the chosen window configuration, not how existing reveal profiles, muntin patterns or paintwork will be retained on site. Provide reference photos and a description of the visible finish you want. Confirm whether existing interior sills will remain, be replaced or simply be connected to the new frame. Painting and plastering should begin only after the windows are adjusted and the perimeter work is complete, otherwise later corrections can disturb fresh finishes.
Coordinate the Exterior, Sill and Facade Connection
Outside, the frame meets the reveal, sill, facade and often exterior shading. Work to an exterior sill or facade finish should not be estimated in isolation. Ask whether the old exterior sill will be removed, who measures and installs a replacement, and how side connections will be handled. Insulated or decorative facades benefit from a joint site review with the relevant trades. The important question is not which contractor could theoretically do everything, but who will coordinate visible transitions and sequence the work. Also record whether scaffolding, lifting equipment or a safe exterior work area must already be available, and which trade supplies it. Where facade work is phased, the schedule should show when connections remain accessible and when they will be refinished or coated. Agree how a temporarily open or unfinished exterior area will be protected so window installers, facade contractors and exterior-shading contractors are not pricing from different assumptions.
Large moving units also require a clear exterior logistics plan. A Patio Life lift-and-slide door is not comparable with a standard window; the delivery route, temporary storage, access to the opening and installation date should be settled before ordering. Ask whether equipment for moving the unit, protection for pathways or unusual access conditions are included in the scope. Clarify the threshold as well: what adjacent floor heights are planned, and who coordinates the transition to the patio or interior floor? Without a coordinated plan, work to finishes, plaster or waterproofing may only become apparent after the door is already installed.
Allow Realistically for Access, Protection and Site Sequence
Labour time also depends on how easily each opening can be reached. Restricted access, upper-level windows, occupied rooms, delicate floors and limited staging areas all alter the sequence. Describe these conditions in the request instead of assuming they are self-evident. Include parking, routes from the vehicle to the building, elevator use, stair widths and permitted working times. The contractor can then assess whether extra protection or handling measures are needed. You can see whether those measures are included, optional or excluded. For occupied homes, create a room-by-room sequence: which room will be cleared when, how long will it have limited use, and where can tools or removed units be placed temporarily? Agree whether every opening will be secured at the end of each day and who checks temporary protection between workdays. If electrical, flooring or painting work is happening at the same time, allow for their work areas and drying periods. A realistic room sequence is usually more informative than a short overall duration with no allocation by room.
For a 1-sash outward-opening patio door use during construction matters as much as access. If it is the only direct route to the garden, agree how the area will be secured during removal and installation and when it will be usable again. Also decide who covers or moves furniture and who performs final room cleaning. Broad terms such as “broom clean” can mean different things; a specific handover description is more useful. Schedule follow-on trades only after allowing a realistic installation window. Bloomcabin delivery is typically 4–6 weeks, subject to order confirmation; the installation date requires separate coordination.
Assess Special Shapes and Roof Windows Separately
Not every opening can be priced in the same way. Roof windows involve the roof surface and working height as well as interior finishing; for a pivot roof window the quote should clearly separate work to the existing roof connection, interior lining and surrounding finishes. Ask whether removal of the existing unit, connection to the roof covering and restoration of interior surfaces are handled by one party. If several trades are involved, a schedule and clear handover are essential. Unlisted roof work should neither be assumed to be included nor automatically rolled into the window price. Before awarding the work, establish who assesses the adjacent roof condition and how deviations discovered after opening up will be handled. Weather-dependent work needs an agreed contingency date and a named party responsible for temporarily protecting the opening. Inside, the geometry of the lining may affect whether existing finishes can stay or need rebuilding. List exterior and interior work as separate but coordinated items.
Angled, triangular and round shapes need precise final measurement and deliberate planning of visible edges. With fixed-glazed triangular and angled windows the shape can have a greater effect on interior lining, exterior finish or sill work than a rectangular opening. Ask who is responsible for templates, final measurement and checking the existing geometry. The transport route should also be assessed early, as unusual formats can determine the installation method. For quote comparisons, list special-shape windows as their own group instead of spreading their work across an average installation amount for all windows.
Use a Checklist to Select Quotes and Secure the Scope
Set quotes side by side and mark the same categories for every opening: product delivery, final measurement, removal, disposal, substrate preparation, installation, interior and exterior perimeter work, sills, finishes, protective measures, access requirements, cleanup and handover. If an item is missing, ask not only for one added total but for the exact work and its interface with other trades. This reveals whether amounts are truly comparable. Review assumptions in the fine print too, such as a sound substrate, clear access or owner-arranged plaster repairs. Such assumptions can be reasonable, but they need to suit your property.
Before ordering, put dimensions, opening direction, visible design, scope and named responsibilities in writing. Record how additional work discovered after removal will be approved, when handover takes place and what will be documented before then. Arrange a brief functional check for every moving unit and a list of incomplete items if they cannot be finished that day. Bloomcabin windows and doors have a 5-year warranty. This commercial warranty does not replace a precise written description of installation and finishing work. The strongest comparison treats the product, fitting and restoration as one coordinated project with clearly assigned responsibilities.
Frequently Asked Questions
What should be specified clearly under “window installation”?
The scope should show whether final measurement, alignment, fastening, perimeter joints and operational testing are included. Also ask about removal, disposal, protective measures and treatment of window sills. “Installation” alone does not establish whether plastering, painting or facade work will follow.
Why do quotes for the same window type vary so much?
Often the window is not the difference; the assumed site conditions are. Access, reveal condition, removal work, perimeter details, sills and finish restoration may be included to different extents. Compare each line item and provide every bidder with the same photos, measurements and project information.
Can removal and finishing work be assigned separately?
That can be a workable way to organize a project, but it needs clear handovers. Define the condition in which the opening will be delivered to the window installer and who will complete the reveal, sill and surfaces afterward. Coordinate sequence, timing and responsibility for visible perimeter connections before work begins.
When should an on-site visit take place?
At the latest, before a binding scope is set for difficult existing openings. Photos help, but they do not always show concealed fixings, the condition behind linings or the strength of the substrate. A site visit makes it easier to document access, sun protection, sills and expected finishing work together.
What information helps an installer prepare a quote?
Provide interior and exterior photos, approximate dimensions for initial guidance, the storey and access details, information about roller shutters or shutters, and images of damage to reveals or the facade. Add the finish you expect after installation. The contractor can use this information to identify questions and necessary checks.
Next Steps
Window installation costs cannot be reduced reliably to one fitting figure. What matters is the work needed to the existing building and where the window contractor’s scope ends: at removal, at a sound substrate, at the perimeter joint or only after a finished reveal. Consider the whole opening, including interior and exterior work, rather than treating the product and installation as separate decisions. A consistent checklist, photographs and a clear allocation of follow-on trades let you compare quotes by scope instead of by heading. For Canadian projects, confirm applicable requirements with the municipality and the province or territory for the particular building and proposed changes; adopted code and permit requirements are not uniform across the country. This process makes agreed work, assumptions and separately coordinated finishing work visible early.
