Raised Beds
Price from
384.85 EUR
211.67 EUR

Raised-bed buying guide
Start with what you want to grow and where you’ll stand to tend it. A narrow raised bed along a border has a different job from a connected set of bays or a kitchen garden laid out around a central opening. The best layout for your space is one you can plant, water and harvest without awkward reaches or blocked paths.
Nominal footprint of a compact individual bed
100 × 50 cm
Height arrangements in the modular range
Level or stepped
Wood detail on Fusion walls
Accoya top course
Nominal overall footprint of the largest courtyard kit
500 × 500 cm
Decide how many planting areas you want before choosing the wall height or finish. If several beds are on your list, sketch the routes between them as well as the planting itself. That will help you see whether you need separate beds, a connected combination or a kit with access built into the layout.
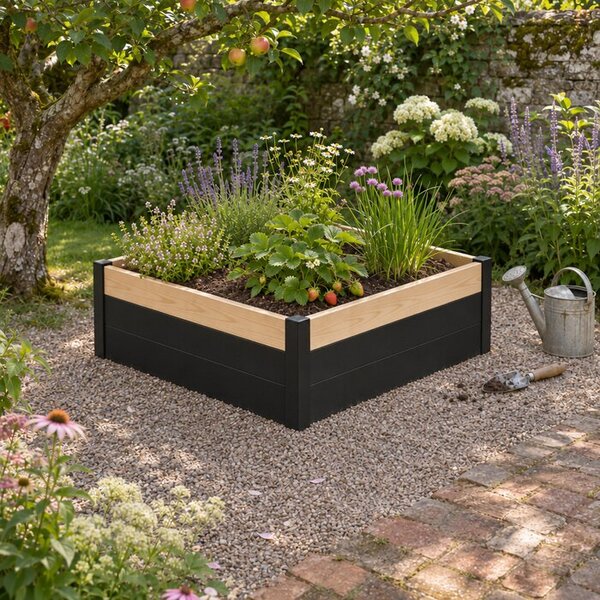
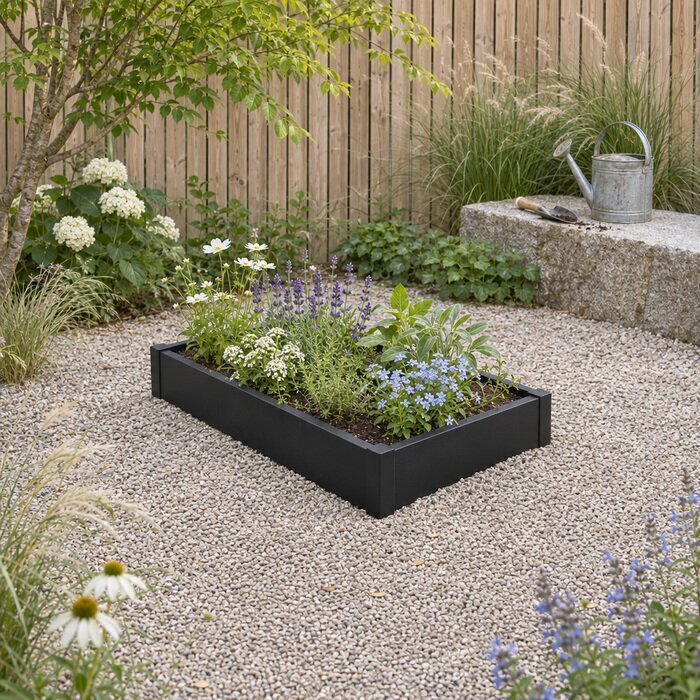
Choose from the individual raised beds if you want one defined planting space. A narrow bed can make use of a strip beside a garden border, while a square or rectangular bed gives you a broader area to lay out in rows or blocks. A single bed is also a practical starting point if you’d rather try one planting area before giving over more of the garden.
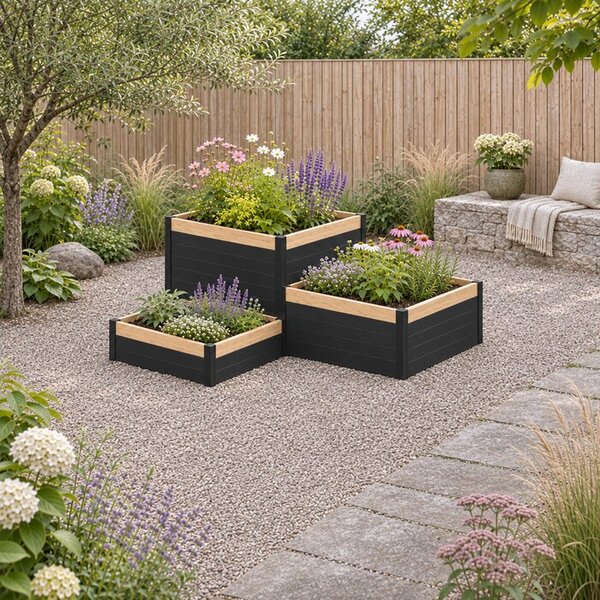
Look at modular raised-bed combinations if you want separate growing compartments within one connected layout. Two- and three-compartment designs give you a way to keep planting groups apart without leaving a path between the bays. An L-shaped combination can suit a corner, provided the position still lets you get to the planting on both arms.
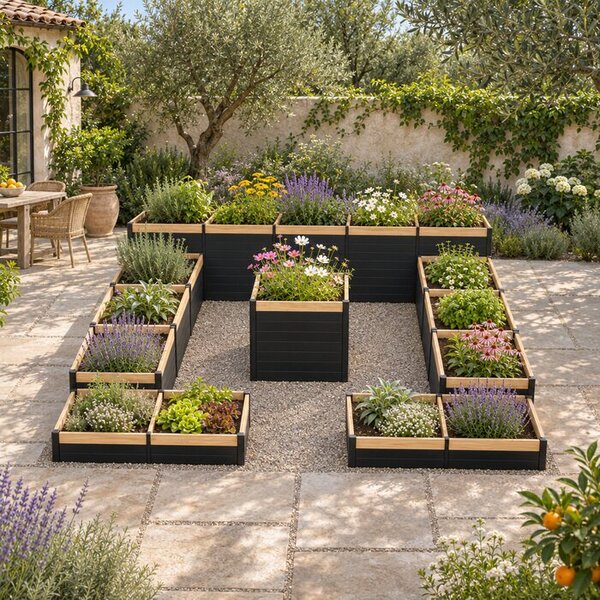
Choose from the raised-bed garden kits when you want to plan several growing areas together. The range includes U-, E- and T-shaped layouts, paired L-shaped beds and a courtyard design with a central planting island. A kit sets out how the bays relate to one another, so choose a layout that works with the way you enter and move around the garden.
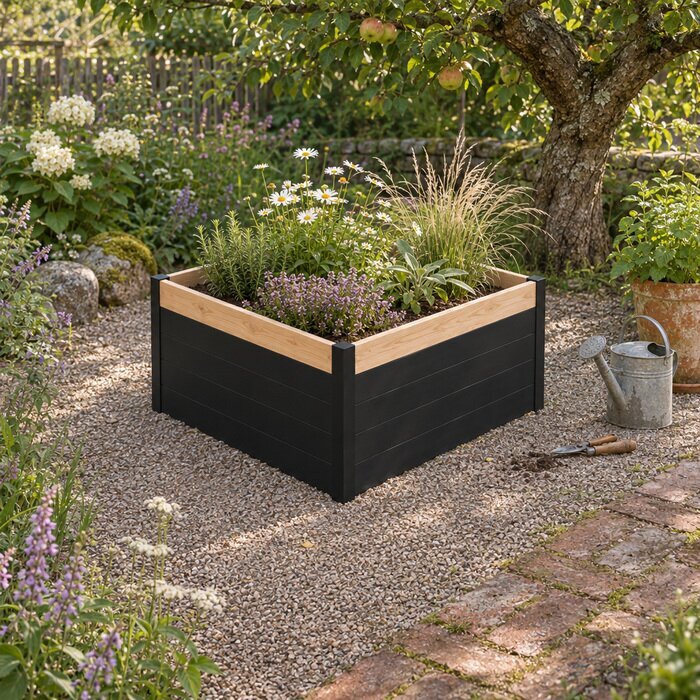
Where a design comes in both versions, the choice is between the consistent metal finish of Classic aluminium and the wood detail of Accoya Fusion. Classic aluminium uses aluminium wall panels with posts or connectors according to the layout. Accoya Fusion is not an all-wood bed: the wood forms the top wall course. On Fusion combinations, that top course runs around each bay, so the wood detail follows the steps where the compartment heights differ.
The square Accoya Fusion bed shows how the materials are arranged on one model. It has a nominal outside footprint of 100 × 100 cm and a stated nominal planting area of 1 m²; neither figure includes the clear working space you need around it. On this 50 cm-high model, the top 10 cm of each wall is Accoya and the lower 40 cm is aluminium, with aluminium corner posts. Those proportions describe this particular bed, not every Fusion version. When comparing finishes, think about which sides you’ll see most often: on a taller bed, the wall below the wood course is still a prominent part of the design.
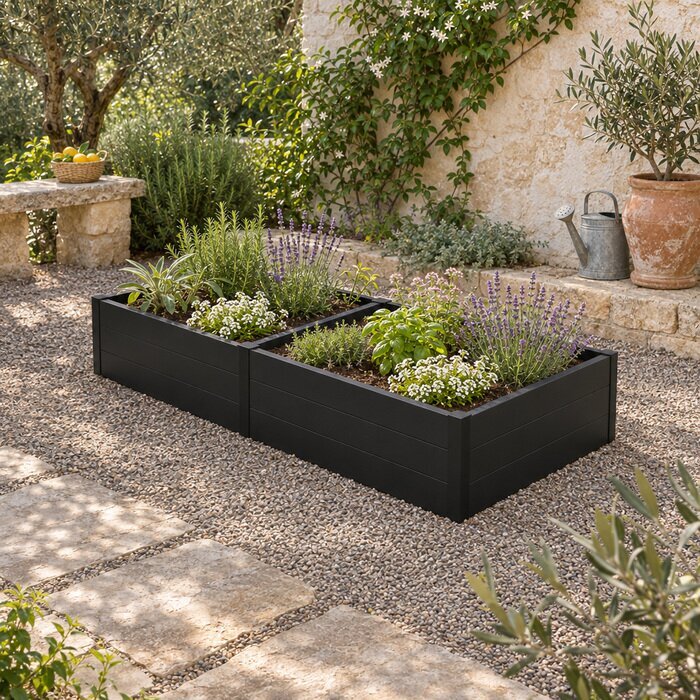
Read the nominal overall footprint, planting area and clear access as three separate measurements. The footprint tells you how much ground the layout spans. The planting area tells you how much of it is assigned to growing, and clear access is the usable space you leave for moving and working. For example, the double aluminium raised bed has a nominal footprint of 200 × 100 cm and a nominal planting area of 2 m² split between two bays. Neither figure tells you how much room to leave beside it.
Mark the outline on the ground and try approaching it with whatever you normally carry when gardening. See if you can reach the middle without stepping into the bed. A wider bed can be easier to tend from two sides, and the small notch in a compact L-shaped combination is not a walking aisle. Where bays step up or down, read the height marked for each one rather than relying on a single overall figure. A taller wall can bring planting closer to hand, but it won’t solve a long reach across a wide bay.
Choose a spot that gets the light your plants need and where the ground drains freely. The individual, modular and kit examples in this guide are open to prepared ground, with no floor panel. That makes the ground underneath part of the growing space, not just somewhere to put the frame. Remove turf or established weeds from the planting area and prepare a level bearing surface for the walls. On a sloping site, work out how you’ll prepare that surface before ordering rather than assuming a stepped layout is designed to compensate for the slope.
Choose a fill of suitable topsoil and organic matter to match what you intend to grow. If a kit will have several planting groups, decide what goes where before ordering the fill, so you can work out whether all the bays need the same mix. Plan where the soil can be set down while you work and leave a route to the furthest bay. With a larger layout, filling that bay first can save you from carrying soil past newly planted compartments.
The models featured here are supplied unassembled. Follow the instructions for the selected design and lay out the parts by bay before you start. On a multi-bay bed, sort the corner posts and any specified connectors separately so it’s easier to identify which pieces join the walls at a divider. With a stepped arrangement, keep the wall sections for each height together. Before filling, check the position and orientation of the assembled bed against your plan: a misplaced divider or an opening facing the wrong way is easier to deal with while the bed is empty.
After filling, expect the soil level to settle and top it up as needed. Raised beds can dry out faster than nearby ground, so check the soil itself rather than watering to a fixed schedule. In a combination or kit, check bays separately: one in the shade may not need water when a sunnier one does. As plants spread, keep growth from blocking the routes you use to tend the bed, particularly where you turn into a recessed opening.
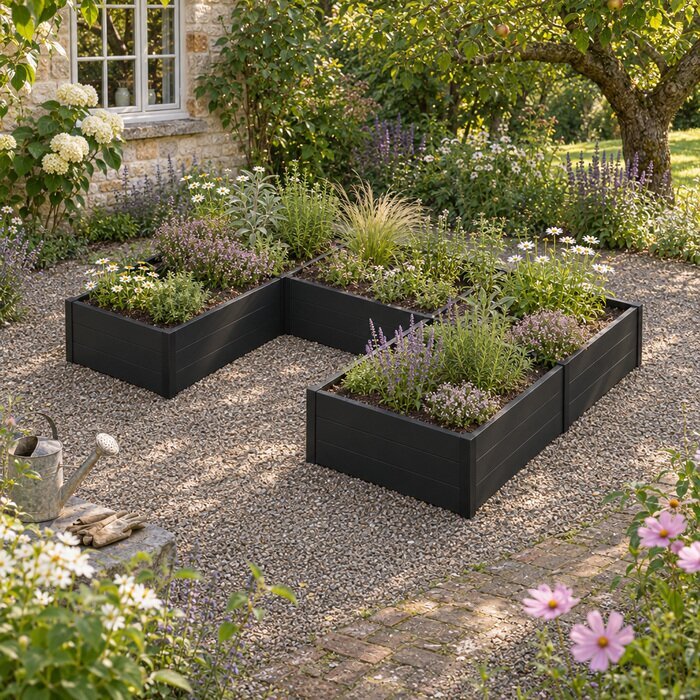
No. The five-bay aluminium U-shaped kit has a nominal overall footprint of 300 × 200 cm and a nominal planting area of 5 m². Its 100 × 100 cm access notch is also a nominal dimension, not a guaranteed clear opening. Keep the approach to the notch unobstructed.
Don’t assume an individual bed can be extended with parts from a modular combination. If you might want more growing space later, leave room for a second freestanding bed and a route between the two. If you want connected bays from the outset, choose a combination with the layout you need.
Yes. Plan for the space each plant will take up at maturity, not just the size it is when planted. If you’re growing flowers for cutting alongside vegetables, leave enough room to cut the stems and pick the crops without having to reach through the rest of the planting.
Multiply the internal length and width of each rectangular bay by your planned fill depth, using metres throughout to get cubic metres. Add the volumes for the planted bays only. Use the internal measurements and intended soil level rather than the overall footprint or the full wall height.
Don’t assume a bed specified as open to prepared ground is suitable for paving. With no floor panel, the surface underneath is part of the set-up. Before choosing that position, establish whether the model is suitable for it, where water would drain and how the growing medium would be retained.
No. A modular package contains the combination you select, not the parts for every alternative shown in the range. If you’re comparing level and stepped versions of the same layout, match the selected configuration to its height diagram so you know what you’re ordering.
If one planting area is enough, compare narrow, square and rectangular beds to find a shape that leaves room to work around it.
