
How to Check for Hidden Services Before Pergola Drilling
Pergola planning
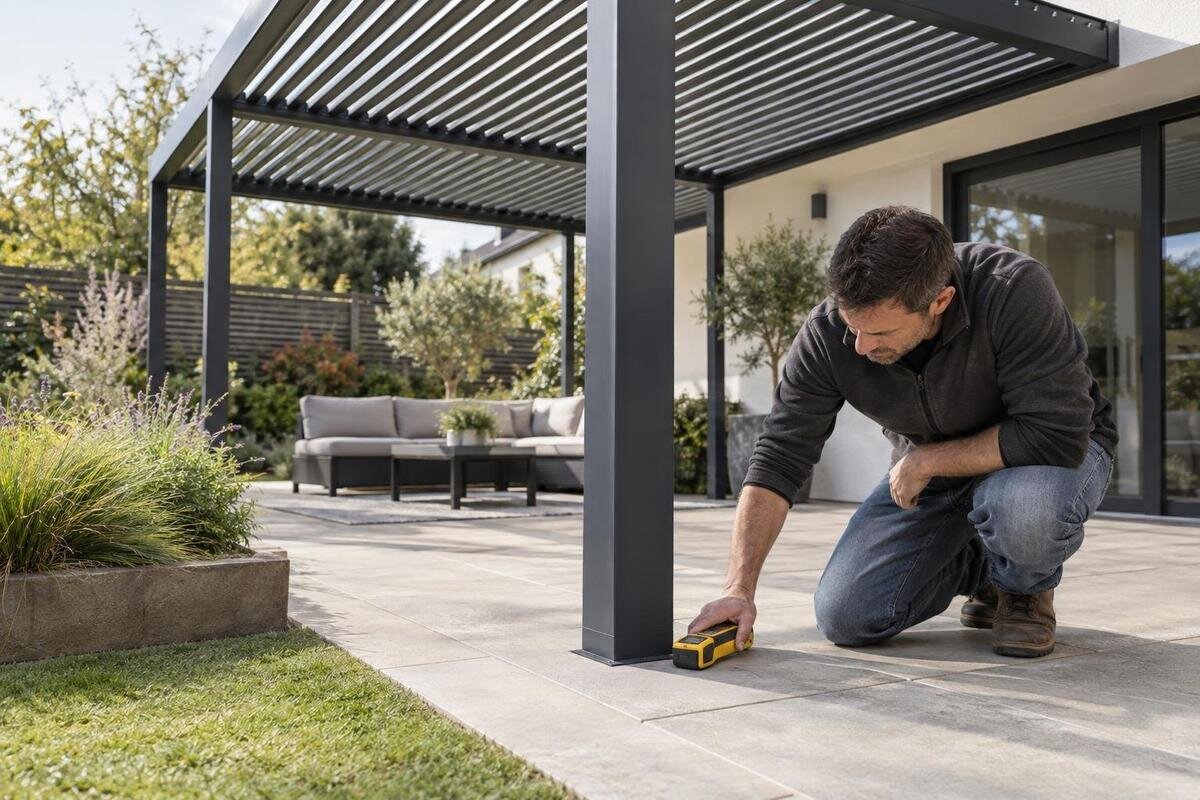
Before drilling into paving or excavating new pergola footings, check the planned post positions against what lies below. Pipes, cables and drains may not appear on the surface, while a wall fixing can meet hidden plumbing or wiring. Bring together existing records, competent service detection and the correct model-specific anchoring information before agreeing the final layout. The aim is to decide whether each proposed hole or excavation can proceed safely—or whether the design needs review.

Why the service survey comes before final anchor positions
Post positions are part of both the pergola layout and the groundworks. A post footing, base fixing or wall connection may occupy a small surface area, but drilling or excavation extends beneath or behind that surface. Water, electricity, communications, drainage, irrigation and any gas service present may be shallow, angled, altered or missing from older drawings. A line that does not cross the finished footprint can still be affected by access for digging or by the space needed to complete the work safely. Think in three dimensions: route, depth and working area, not just a line drawn on the surface. If a post moves during design, the area to check moves with it.
Keep product choice and service survey linked. First establish the footprint and intended anchor points from the specific model’s approved drawings; a photograph or general area figure is not a setting-out plan. If you are considering the Bloomcabin Bioclimatic Pergola, identify the exact configuration to be assessed and request the relevant anchoring information before fixing points are marked. Check which parts are intended to be fixed to the ground or a wall, and what drilling or excavation the approved method requires; do not infer this from a model name. If the layout still has alternatives, tell the locator which areas may be used. A survey of one point does not automatically cover another.
Which service records to gather
Start with property records, not only information about service-provider networks. Ask the owner or facilities contact for as-built drawings, service plans and records of later work; include renovations, paving, lighting, garden irrigation, pool equipment and other contractor work where relevant. Ask previous contractors whether they have marked-up plans or photographs taken before surfaces were covered. Contact service providers or maintenance contractors for details they hold about their own installations. On a shared or rented site, establish who can provide records and arrange access before a survey is booked. Check whether a plan includes private services on the property: a network drawing may not represent pipes or cables installed by a separate contractor.
Record each plan’s date, scale, source and stated scope. An older drawing may show the original route but not a later diversion; a provider’s plan may not include private lines within the property. Ask whether it depicts the installed route or only a design proposal, whether a depth is recorded and which areas were not surveyed. Keep the original, and mark uncertainty openly instead of tracing a precise line from an approximate sketch. Records are useful leads for a locator, not proof that the ground is clear. If a wall-mounted option such as Bloomcabin Wall Pergola is being considered, gather records for the wall and fixing area as well as for the paving or ground.
How to map services and proposed fixing points
Before a site visit, draw a measured plan showing the proposed pergola footprint, property walls, paving edges, garden beds, drains, inspection covers, external taps, sockets, lights and known service entry points. Use stable references such as building corners so another person can find the same place; a tree, loose planter or temporary mark can move. Add dimensions from those references to every proposed post, fixing or excavation area. State where each measurement starts, such as a wall face or fixed corner, and note changes in surface level or access that may affect the work. This is more useful than an instruction such as 'near the patio'.
Separate confirmed information from estimates. Use distinct labels for recorded services, locator-marked routes, inferred lines and unresolved areas; include any known depth with its source. Show the chosen pergola model and variant rather than a generic rectangle. The Bloomcabin Pergola listing gives an area range from 9 to 24 m², but an area figure is not a measured site layout or a setting-out plan. Use the exact selected version’s applicable drawing alongside the site measurements. Add a legend, date and revision number, then share the plan with the locator and installer before the visit. Update it if the footprint or any proposed point changes.
Services beneath paving and inside walls
Do not limit the search to open soil. Services can pass beneath a concrete slab or tiled terrace, run through a wall, or approach from the house before entering the garden. Existing drains, downpipes, outdoor taps, lights, sockets, air-conditioning equipment, irrigation controls and visible repairs offer clues, but a fitting’s surface position does not establish the hidden route. A service may have changed during an extension or refurbishment, so current outlets do not necessarily match an old plan. Check building and maintenance records around the proposed fixing area, not only the central part of the wall or patio.
For wall-mounted fixings, ask that records and detection cover the actual zones where drilling is proposed; checking only visible outlets is not enough. For a ground-supported design, consider the area beneath paving as well as exposed soil. Do not make exploratory holes or remove a surface in a way that could damage an unknown service. If you are assessing the Bloomcabin bioclimatic model, make sure the survey brief identifies every proposed fixing area, including any wall or slab to be drilled. Tell the locator if the surface will change between the survey and the work.

What a professional service-detection survey can show
A competent utility locator or suitably qualified survey provider can be briefed to examine the proposed post, anchor and footing areas. Share the measured plan, records, planned work and known gaps in advance. Define the scope by exact positions and type of work: a route survey for the garden may not include the wall or slab where holes are planned. Depending on the expected services and surface, a specialist may use electromagnetic locating equipment, ground-penetrating radar or other suitable techniques. Ask which methods are appropriate for the site and whether surface, reinforcement or access conditions could limit the result. The provider should explain what will be covered and what may remain unresolved.
Detection methods do not work equally well for every target. Non-metallic services, depth, nearby utilities, reinforcement and surface conditions can affect interpretation. A clear reading does not prove that the whole work area is free of every service; an absence of a mark may mean that something was not detected or fell outside the survey scope. Ask for limitations and unlocated zones in writing rather than treating markings as exact boundaries. If you are assessing Bloomcabin’s wall-mounted option, tell the locator if wall drilling is planned, so the survey includes those fixing areas as well as any groundworks.
Reading the detection report
Read the report as a record of findings and limits, not as blanket permission to drill. Check its date, methods, areas covered, symbol key and stated confidence. Clarify what a coloured line means, whether it represents an estimated route or an area of uncertainty, and which services could not be identified. Ask the provider to explain any mismatch between marks on the ground and the drawing before the installation team arrives. Keep the report with the original site plan; a photograph of painted marks on its own may not preserve the symbols, reference points or context needed later.
Overlay the findings on the confirmed pergola layout and compare every proposed hole or excavation with marked services and unresolved zones. Include access or working areas if these may disturb a route. When reviewing a layout for the regular Bloomcabin pergola, compare the selected version’s approved anchoring drawing with the marked routes and site dimensions. If the locator and installer use different reference points, reconcile them on one agreed drawing rather than transferring positions by eye. Have the responsible installer confirm the final points in writing.
When a service conflicts with a post
If a proposed post or footing lies near a detected service, do not shift it by an improvised amount or move one post on its own. A change may affect the relationship between supports, the overall arrangement or the substrate at the revised point. Ask the pergola installer and an appropriate structural professional to review alternatives against the model’s approved anchoring drawings and evidence about the substrate. They can confirm whether a different position, a revised layout or another approved approach is suitable. That decision depends on the actual model and site; there is no universal clearance or footing dimension that can be applied to every installation.
Mark each proposed revision on the site plan and ask the locator to check the new drilling or excavation areas. A route shown beside the original post does not clear a replacement point: it may intersect another service or fall in an area that was not surveyed. If considering Bloomcabin’s bioclimatic option, keep the model identity, drawing revision and proposed positions consistent in any site-assessment or installation enquiry. Do not address a conflict by changing the drill angle, hole depth or anchor unless the responsible designer approves the change. If no approved arrangement avoids the service, pause the work at that point.
What the pre-work plan should cover
Before the ground is opened or a drill is used, agree a written work plan with the responsible installer and relevant service professional. It should identify the exact model, approved anchoring information, marked positions, unresolved zones, intended excavation or drilling method and the person who will confirm each point at the work face. Set a hold point: work does not start until the current plan has been matched to the marks on site. State who can stop work if markings have moved, records conflict or the ground differs from expectations, and how the team will report that difference. The installer should also check that the anchoring design and substrate evidence relate to the actual site.
If Bloomcabin’s wall pergola is selected, include all intended wall penetrations and any groundworks in the plan. Resolve an unknown wall route before drilling. For excavations, agree the depth and extent with the competent contractor from the approved design; do not borrow a footing dimension from another pergola or a generic sketch. Make sure everyone doing the work receives the locating report, and keep marks legible until work in the relevant areas is complete. Pause if marks have faded or moved: the crew needs to be able to match each work point to the location covered by the survey.

If a service is unknown or unexpectedly exposed
If records disagree, the locator cannot trace a route, or a proposed hole falls in an unresolved zone, treat that point as not cleared. Ask the relevant service provider, property owner or survey professional to establish what is present and whether further investigation is needed. A pipe or conduit that looks old, unused or disconnected must not be assumed abandoned; its status needs confirmation by a responsible qualified person. Make any low-confidence or unlocated area clear on the plan, and do not assume that a nearby detected route settles the question. A project deadline is not a reason to turn missing information into approval.
If the team uncovers an unexpected pipe, cable, duct or warning marker, stop work in the affected area and keep people clear; do not touch, cut, move or expose it further. The site lead should contact the relevant service provider and follow a qualified professional’s direction before work resumes. Do not try to identify an item by appearance or assume it is inactive. If there is actual damage or immediate danger, use the appropriate emergency response for the situation. Record the discovery and update the site plan once the route and status have been established.
The final survey record
Before approving the final location, assemble one current pack: the chosen model and applicable approved anchoring drawings; a measured site plan; service records; the locator’s report and limitations; and each change agreed by the installer or structural professional. Distinguish confirmed routes from inferred or unknown areas, use a shared fixed reference for dimensions, and give every proposed hole an unambiguous position. Note the drawing revision and date, and identify who will brief the crew. Resolve any need for site access or approval with the responsible property contact before work is booked.
Keep the final survey and marked-up drawing with the pergola installation records, and hand them over if a different contractor takes over. Mark superseded plans clearly so old drawings or ground markings are not mistaken for current information. If paving is removed, a service is added, the layout changes or a post moves, tell the installer and survey provider: earlier markings may no longer describe the work. A documented survey cannot guarantee that nothing is hidden, but it gives the team a clear basis for resolving uncertainty before drilling.
Frequently asked questions
Are existing service plans enough to approve pergola drilling?
No. Plans can be incomplete, out of date or limited to a particular provider’s network. They are useful information for a locator, but may not show private services or confirm the precise route at a proposed hole. Compare the records with site-specific detection and resolve gaps before approving the work.
Can I use a handheld detector before drilling?
A handheld detector may identify only certain types of cable or service, and results can be affected by the surface and surroundings. It does not replace a survey of the proposed drilling or excavation area. Have a competent professional choose and interpret suitable locating methods for the actual site.
Will a locator find every buried pipe?
No method should be assumed to find every service in every situation. Results depend on factors such as the pipe material, depth, nearby services and ground conditions. Ask the locator which areas could not be checked or which services may be difficult to trace. Treat an unlocated route as unknown, not absent.
Can I move a post if a cable is in the way?
Pause at the conflict. Do not move one post, alter a hole or choose a different anchor without review. Ask the locator to check revised positions, then have the installer or an appropriate structural professional confirm the revised layout against the model’s approved anchoring information and the site evidence.
Should I check a wall or slab as well as the ground?
Yes, if fixings are planned there. Pipes and cables may run behind a wall or through a slab even when nothing is visible at the exact fixing point. Check available records and have the intended zones assessed. Visible outlets can provide clues, but do not establish the hidden route.
Deal with hidden services before the pergola footprint is fixed: gather what is known, locate what can be traced, mark what remains uncertain, and compare every proposed penetration with the chosen model’s approved anchoring plan. If the records, detection results and fixing layout do not agree, postpone drilling and resolve the conflict rather than improvising on site.
