
Reducing Pergola Light Glare with Shielding and Placement
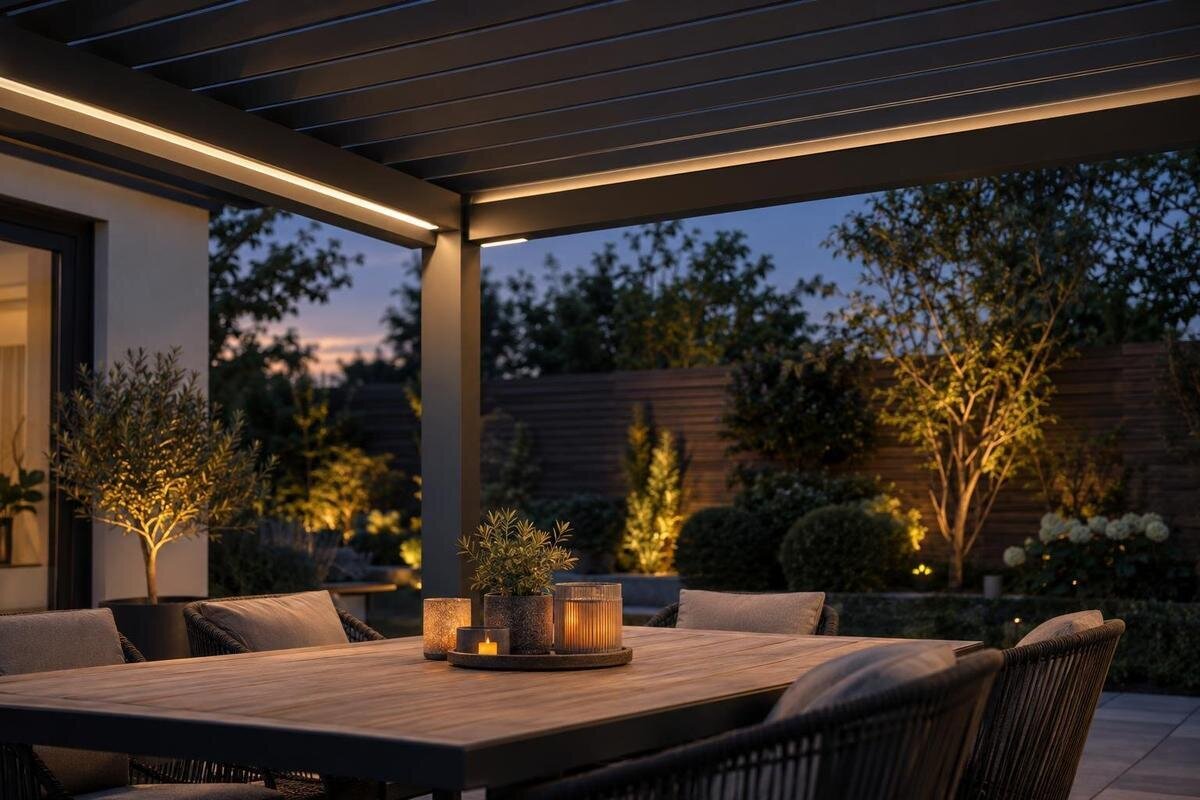
Pergola lighting
A pergola light can seem unobtrusive when viewed standing up and still feel harsh from a dining chair or sofa. The difference is often its position in a seated line of sight: the bright source is visible directly, or a reflection appears on a table or glazed surface. Before buying a shield or asking for a fitting to be moved, map where people sit, where they look and where each light is proposed. That turns a general complaint about brightness into a specific placement decision.

Why glare changes with your seating position
Glare is not simply another word for high light output. It often comes from the contrast between a bright source and a darker evening scene, or from seeing the emitting element directly. A fitting may seem discreet when you stand underneath it because you view it from one angle; from a chair, it can sit in the normal line of sight across the table. Someone leaning back or turning towards a doorway sees a different angle again. A standing-only impression can therefore miss the source of discomfort, even when the fitting has not changed.
First work out whether the discomfort comes from the light itself or from a reflection. Direct glare occurs when the luminous part is visible; reflected glare appears when its image shows on glass, a polished tabletop or another reflective surface. Moving or shielding may help with a direct view, while a reflection depends on the source, the surface and the viewer's position. Lowering output can make the scene less intense, but it does not necessarily remove either line of sight. Note the exact seat and direction, and whether changing other lights affects the complaint. That distinction helps avoid choosing a shield for a reflection problem.
Draw the seating layout and proposed lights
Make a rough plan view of the pergola and its surroundings, then add the furniture in its usual position. Mark the edges, known supports, table, chairs, sofa, doors and the routes people use. Include enough dimensions to distinguish a seat at the end of the table from one nearer the centre; a drawing that matches the actual arrangement is more useful than a polished illustration. A plan view alone cannot show whether a fitting sits in a seated person's line of sight, so add a simple side sketch or note the mounting height if known. If chairs may be moved, show the alternative arrangement too.
Mark each proposed fitting as a point rather than shading a vague area, and note its intended mounting surface if known. Draw arrows from each regular seat towards the views people use: across the table, towards the garden or towards an entrance. This makes direct sightlines easier to discuss, but the sketch is a visual aid, not confirmation of a permitted fixing. If you are considering the Bloomcabin Wall Pergola, ask for the confirmed configuration and approved fitting positions before treating any point on your plan as installable. Keep the seats, light locations and surfaces to be lit together on the same drawing.
Check each seated sightline
Assess the plan from the seated position, not from an imagined average. An upright dining chair and a low lounge seat place the eyes at different heights; posture changes when people lean back or turn to speak. Use the furniture you expect to keep and mark the usual sitting positions. A side elevation can help show whether a proposed fitting lies directly in view from each place. If people of different heights use the pergola, check more than one representative position instead of relying on a single eye line. The aim is to identify exposed views, not to calculate a universal seated height.
Include seats at each end of a dining table, corner spots and places people use while entering or sitting down; do not assess only the central chair. A fitting hidden from one seat may be visible from another, and a shield that works while sitting may leave the source in view on a route underneath it. For a Bloomcabin Pergola, use the intended furniture arrangement when reviewing the proposed lighting layout; a generic top view cannot show what each person sees from their seat. Mark normal movement routes on the same plan so that a change for one chair does not create a new exposed view elsewhere.
Move fittings away from direct views
Where a source falls in an important sightline, check whether it can move outside that view while still lighting the intended surface. A small shift may change what a seated person sees, but moving every fitting to the outer edge is not a rule: an edge fitting can remain visible from a side chair or reflect in nearby glazing. Mark the table, serving area or walkway that needs light before comparing alternative positions. Recheck all the marked seats after each proposed move, because a change that hides the source from one chair may expose it from another.
If a fitting is designed to be aimed, directing its light onto a table or floor rather than across faces may help; not every fitting is adjustable, and its instructions determine whether it can be oriented that way. Keep a suggested spot separate from an approved mounting point: pergola members are not automatically suitable for every fixture. When comparing the Bloomcabin Bioclimatic Pergola, ask which points are approved for the exact configuration instead of assuming any beam or panel can take a light. Request information for the selected fitting as well as for the structure.

Choose shielding that suits the fitting
Shielding can help when a source needs to stay near a practical position but its bright element should not be visible from a seat. Depending on the fitting, a manufacturer-designed baffle, cut-off design or recessed light source may restrict the view from certain angles; an appropriate diffuser may soften the appearance of the source. These are options to compare, not interchangeable fixes: a diffuser can still be bright in direct view, and a shield can block more useful light than intended. Look at any available light-distribution information alongside the seating plan. Note which angle the proposed shield is meant to cover and whether it might cast a shadow on the table or path.
Choose an accessory stated to suit the exact fitting and approved for the proposed outdoor use and mounting arrangement. Do not wrap a fixture or add an improvised opaque cover: it may change how the fitting handles heat or moisture and conflict with its instructions. For the Bloomcabin Wall Pergola model, establish which fitting and accessory combination is being proposed before judging its effect. Then use the seating sketch to identify the views the shield needs to block and the surfaces that should remain lit. A compatible accessory still needs to be assessed from the relevant chairs; compatibility and visual comfort are separate questions.
Compare relocation with shielding
Compare relocation and shielding against the same drawing. If the source is exposed from one or two seats and another approved position keeps it outside those views, relocation may address the cause more directly. If its position is constrained, a compatible shield may mask it from those angles while leaving light directed where it is needed. If moving the source merely exposes it to another chair, ask whether a different light distribution or supported position would be more suitable. Consider how many seats are affected: a shield that works for one narrow view may not help several people around a table.
Treat each version as a before-and-after drawing: retain the seat marks, move the fitting or add the proposed shield, then trace the new sightlines and note any surface that may be dimmer. This can reveal a trade-off: a shield may improve one seat and darken part of the table, while relocation may shift a reflection rather than remove it. When reviewing the regular pergola product page, keep your alternative layouts alongside the furniture plan so that the discussion remains tied to how you will use the space. Label each proposal with the seat it is intended to improve and any remaining concern, rather than describing the light simply as 'near the edge'.
Check reflections on tables and glazing
Reflected glare can be mistaken for a second lamp. A bright spot on a glass door or shiny table may line up with the fitting from certain chairs; shifting your seat slightly can make the reflection move or disappear. Include glazed doors, glossy tabletops, polished stone and other reflective surfaces that are actually present, but do not assume all pale surfaces behave alike. The useful question is whether a bright image enters a normal view at night, not whether a material looks shiny in daylight. Note which surface is involved, since a shield that blocks the lamp's direct view may not address its reflection.
Check reflections with the table and chairs in their usual arrangement; even small changes in position can alter what a viewer sees. If a nearby surface is responsible, possible design options include changing the light's position or direction, adjusting the furniture's orientation, or choosing a less reflective finish in a later furnishing decision. Do not treat a shield that hides the lamp itself as proof that the reflection has gone. If a Bloomcabin wall-mounted model is being considered, include any nearby glazing and furniture on the site sketch; a product listing cannot predict their reflections.
Use dimming as a supporting measure
Dimming can be a useful second layer, especially when one setting feels too intense for a quiet meal, but it is not a substitute for correcting a poor sightline. If the emitting surface remains directly visible, turning it down may reduce the contrast without making that view comfortable; if light reflects off glass, the image may remain apparent. A separate control can support a lower-output setting for different uses only when the selected fitting and controls are designed to work together. Check the exact instructions rather than assuming every LED is dimmable or that a compatible dimmer resolves a position problem.
Compare the light at levels people will actually use, not only at its maximum setting in a showroom or product image. Keep the furniture and viewing direction unchanged while comparing settings, so that you can distinguish a reduction in brightness from a change in sightline. If you are considering the bioclimatic pergola listing, ask which light and control combination is offered for the exact configuration rather than assuming that a feature shown elsewhere is included. Record whether a lower setting improves the view while leaving enough light on the intended surface. If dimming is not supported, concentrate the comparison on placement and approved shielding.

Test the layout after dark
Do the final glare check after dark, with the actual seats in place and, where possible, a sample or demonstration arranged by the supplier or installer. A daytime visit cannot show how conspicuous a source will be against the evening surroundings. Sit in each marked place, look in the usual directions, and note direct views, reflections and any important area that is now poorly lit. Check normal movement around the table too: people may glance up when entering, standing or carrying items. If the pergola is used in more than one usual arrangement, test the one most likely to expose the fitting.
Change one variable at a time so you can tell what helped: relocate the source, assess a compatible shield, then compare a lower setting if the fitting supports it. Repeat the check for every seat that matters; do not accept a result from one central position. Record which change removed the source from view and what it did to table or path lighting. A note or photograph from each seat can help explain the concern without relying on memory. If you have shortlisted Bloomcabin's regular pergola, take the annotated plan into the configuration discussion.
Give the installer a glare-focused brief
Give the supplier or electrician a glare-focused brief rather than asking only for more or softer light. Include a labelled plan, side view, actual seating positions, usual viewing directions, proposed fitting locations and the surface each light should serve. Identify the seat where the source is visible and whether the discomfort comes from a direct view or a reflection. Name the exact fitting and any proposed shield or control, then request the relevant instructions, outdoor-use rating and documented approval for its mounting position on the chosen pergola configuration. This keeps the discussion tied to the equipment being considered.
Keep responsibilities clear: the pergola or product supplier can identify which options and mounting positions are supported for the specified configuration, while a qualified electrician can assess the electrical requirements and installation. Neither a catalogue image nor a generic drawing settles those points. Before finalising the layout, make sure the actual fitting and shield have been reviewed together with the approved mounting arrangement, then check the revised position from the seats that exposed the glare. If compatibility remains unclear, leave that location unconfirmed rather than treating an attractive sketch as a specification.
Frequently asked questions
Will dimming always solve pergola light glare?
No. It may lower the contrast, but a visible light source can still sit in a seated line of sight, and a reflection may remain. First identify whether the glare is direct or reflected, then compare dimming with a placement change or a compatible shield. Confirm that the selected fitting and control support dimming.
Does a diffuser prevent direct glare?
Not necessarily. A diffuser may soften the appearance of a source, but its bright surface can still be visible from a chair. Check it from the seats you use and ask whether it is approved for the exact fitting. Also consider where the light will fall after the diffuser is fitted.
Are perimeter fittings always less glaring?
No. A fitting at the edge may still be visible from a side seat or reflect in nearby glazing. It could also leave a table or walkway less well lit. Plot the proposed position and check it from each relevant seat before treating the perimeter as the answer.
Can I add a homemade shield to a light fitting?
Do not assume an improvised cover is suitable. It can change how a fitting handles heat or moisture and may conflict with its instructions. Check whether the manufacturer approves a shield for that exact fitting and outdoor use, and have the proposed arrangement reviewed by a qualified professional.
What should I give the supplier or installer?
Share a plan showing the furniture, seated positions, usual viewing directions, proposed lights and surfaces to be lit. Identify where the glare occurs and whether it is direct or reflected. Include the exact fitting and any proposed shield or control, and ask for the relevant instructions and confirmation of approved mounting positions.
A comfortable layout begins with the views from the seats, not a guess from below the pergola roof. Trace each sightline, assess reflections separately, then compare an approved alternative fitting position with a compatible shield. Check the result after dark from every seat that matters, keeping useful light on the table and paths while moving the bright source out of the views that cause discomfort.
