
Shade a Pergola Seating Area While Keeping Garden Views
Pergola planning guide
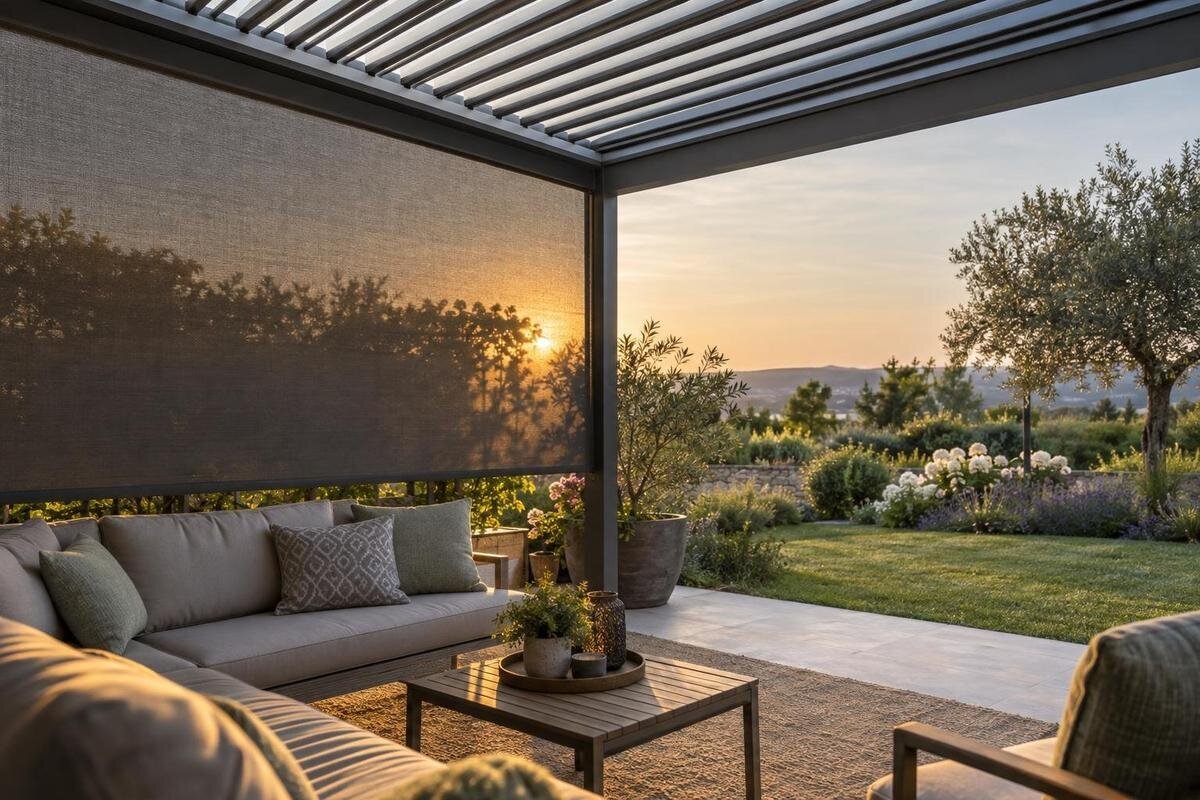
To shade a pergola seating area without losing the garden view, start with the view from the chair, not the one from the garden path. A screen that looks low while standing may hide a lawn edge, planting or distant outlook once you sit down; a roof that shades overhead can still let low sun reach your eyes from the side. The useful question is where the sun’s rays cross the pergola boundary at the times you use the seats, and whether a screen there would cut across the line of sight you want to keep. A plan view and a simple side view can reveal much of this before you choose a configuration. The aim is selective shade, not closing every side by default.

01
Start with the view from the seated position
Place the furniture in the arrangement you expect to keep, including cushions and the usual angle of any reclining chair. Sit in each main seat rather than estimating from the garden path. Mark the approximate eye position in a relaxed seated posture; if several people use the pergola, check people of different heights too. There is no standard seated eye height to apply blindly: chair depth, posture and floor level all change it. A person at a dining table sits differently from someone reading in a low lounge chair, so their useful sightlines may not match. If chairs move for meals or conversation, record each usual position rather than averaging them into one imaginary centre.
Choose the garden feature you most want to see from each seat, such as a planted border, lawn, tree, gate or distant outlook. Mark its approximate position and visible height, not just its name. A low border can disappear behind a rail or panel even if a standing person sees it clearly; a distant feature may remain visible above a screen while the near garden is hidden. If seats face several ways, rank the views instead of expecting one panel arrangement to preserve them all equally. That priority makes the next sketch practical: you can test one important target before considering secondary views.
Draw the garden sightline on a plan
Draw a simple plan showing the pergola outline, any adjoining wall, posts, table, chairs and garden boundary. Mark the normal route into the seating area and any door swing so a proposed panel is considered alongside movement, not in isolation. From each priority seat’s eye position, draw a line to the chosen target. Add a separate line in the direction from which glare arrives, if you have observed it. The sightline records what should remain visible; the sun direction shows where a screen may intercept light. Marking the two separately reveals where they cross the same opening and where they can be handled independently. Approximate proportions are enough for this first comparison.
For a wall-mounted layout, identify the model in your enquiry using the Bloomcabin Wall Pergola product page. Ask for a plan of the exact configuration showing the posts, side rails and any proposed accessories, then add your chair positions and garden targets. This gives you a common drawing on which to discuss the layout, rather than relying on a gallery photograph taken from another viewpoint. Mark the entry route and garden opening on the same drawing so you can see whether a proposed panel would crowd the approach or interrupt the view from a particular seat.
02
Observe the sun from the seats
Plan for the hours when people actually sit there, rather than relying on a single midday observation. Note the date or season, time, seat occupied and direction from which the sun reaches the eyes. Repeat this at several points in a typical period of use: the sun’s position changes as the day progresses and across the year. A roof may cast a strong shadow on the paving while low light still reaches faces from the side, so the floor alone is not a reliable measure of glare. Also note whether a nearby building or tree already shades the seats, and when that shade moves.
Take photographs from approximately seated eye level and annotate the time and direction; standing photos can make a side opening look clearer than it feels from a chair. Keep notes for each main seat, as one position may be shaded while another is exposed. If you are considering the regular model, refer to the Bloomcabin Pergola product page when explaining the shade you need. Include the seat location, time, sun direction and whether glare reaches the person or the table. Separate these observations by seat and time so the enquiry describes the actual problem rather than simply requesting more shade.
Match the shade to the sun angle
At each problem time, picture a straight ray from the sun to the seated eye. Trace it backwards from the eye until it reaches the pergola boundary. If it passes through an open side, that boundary is a candidate for shade; if it comes from above, the overhead arrangement is relevant instead. This is a planning sketch, not an engineering calculation, but it helps avoid adding shade to the wrong side. Low sun can pass beneath an overhead covering, while a vertical screen may not intercept rays arriving from above. If glare shifts across a wide opening during the time you use the area, trace more than one ray rather than relying on a single observation.
Now compare the sun-to-eye ray with the eye-to-target line. If a proposed side panel crosses the light path but sits outside the important view line, it may preserve both. If the paths overlap, an opaque fixed panel will interrupt part of the outlook as it blocks the light. A limited or adjustable option may be worth asking about if it is approved for the pergola. When enquiring about the Bloomcabin Bioclimatic Pergola, explain where the two paths overlap and ask how the proposed side arrangement would handle that area. Keep the discussion focused on the opening that needs shade and the view you want to retain.

03
Use an elevation to set panel height
The plan view identifies the side to consider; a side elevation helps you judge height. Draw the seated eye at its actual position, the top and bottom of the garden feature, the proposed screen and the pergola roof edge. Extend the sightline from eye to target. A panel intersecting that line hides part of the view; one ending below it may leave the main feature visible while obscuring lower planting. Compare near and distant targets separately, because one panel height can preserve one while cutting off another. Use the real chair and a relaxed posture for this sketch rather than choosing a height by looking at the screen from standing level.
Check the elevation from more than one seat and, where relevant, from more than one seated height. A screen above the central sightline may still cover the sky or the upper branches you want to see; a lower panel may interrupt a view across a lawn. Ask for a drawing showing the proposed panel relative to your seating position, not just a measurement of the panel itself. For the wall-mounted pergola, include the adjoining wall and roof edge in that comparison. The useful question is how much of the garden remains visible from your chair, not how tall the panel looks from outside.
Which sides need shade?
Once you know the direction of the troublesome rays, consider that boundary first rather than planning a wraparound enclosure. The side nearest the house or the side facing the largest open area is not automatically the one to screen. At one time, glare may arrive from one direction; at another, the affected seat may face a different part of the sky. Mark each issue separately, then see whether one panel position covers the main periods without crossing the priority view. The distance between the seat and panel matters to the sketch, so note both rather than treating the screen as if it were at the chair.
Leave other edges open where they contribute to the garden outlook, access or airflow. A single shaded zone may suit the observed sun path better than closing a full side, but only if the observations support it. When comparing side arrangements for the regular Bloomcabin Pergola, mark the area needing shade on your plan rather than requesting an enclosure by default. If two sides seem necessary, compare their effect from each chair, including the seats nearest the corner where the panels would meet. Moving a seat slightly may also change which boundary needs attention, so test that option on the plan before settling on the extent of the shading.
04
Keep a clear opening towards the garden
Use the seat-to-target line to locate the opening, not simply the centre of the pergola. An opening that looks generous from the lawn can fall behind a post when viewed from a chair; a narrower gap may frame a feature if it lines up well. Consider all regular seats, the table width and whether people sit upright or lean back. A dining arrangement can shift chairs during use, so allow for the normal range rather than planning a view that works from just one exact position. Think beyond a single pencil line: extend the sketch to the edges of the feature, so you can see whether the opening preserves the wider outlook you value.
Check what sits around the opening, too: posts, edge rails, neighbouring screens and nearby walls all shape the view. Transparent or perforated material is not automatically invisible; its frame and surface may still draw the eye or soften the scene. Ask for an illustration or sample in the intended side position if one is available, and consider it against the actual garden. For a proposed bioclimatic pergola layout, compare the opening with both the central sightline and the edges of the feature you want to see. Confirm where the posts and panel edges fall, especially if the view needs to work from several chairs.
Consider airflow as well as shade
Side shading changes how open the seating area feels. A continuous panel can close a route through which air would otherwise move; a more open material or a gap may feel less enclosed, but can still admit sun and may not provide the screening you expect. The effect depends on material, coverage, position and other openings, so a product photograph cannot establish how a particular layout will feel in your garden. Treat airflow and visibility as separate checks alongside shade, especially if you are considering closing more than one side. Check the view both from the chairs and from the route used to enter the space.
If a movable or partial side option is available for the exact model, compare it with a fixed panel. The ability to change a boundary can be useful when shade demand shifts, but the option must be an approved compatible accessory, and its open position must still suit the view. Ask for product details rather than assuming a third-party screen is included or supported. When considering the Bloomcabin Wall Pergola model, explain which side should stay open and when you want shade, so the proposed configuration can be checked against both needs.

05
Test the layout from seated eye height
Before ordering, transfer the sketch to a simple visual test. Mark the chair and table positions on the paving or on a scaled plan, then take photographs from seated eye level towards the priority garden view. On a printed image, draw the proposed panel edge and note which part of the target it would cover. Repeat this for each main chair and for the times when glare is a problem. A standing photograph can flatter a layout because the camera looks over a screen; keep the camera at the person’s seated eye level for a more useful comparison. If the furniture is often moved, test its usual alternative positions as well.
If it is safe and practical, a helper can hold a lightweight board at the proposed screen position while you sit in place, so you can judge the opening without attaching anything to the pergola. Keep it stable and clear of walkways; use a sketch instead if a physical mock-up would be awkward. Record the result on a marked plan rather than relying on memory, and repeat the check at the time when glare occurs. If the Bloomcabin Pergola listing is one of the models you are considering, share the annotated plan during an enquiry and ask about its approved side configurations. This connects the product question to the view you want to preserve.
Confirm the exact configuration before buying
Before placing an order, make sure the proposal identifies the exact pergola model and size, the side to be shaded, the panel or accessory type and its position relative to the posts. Ask how its height will affect the seated view, which items are included and which are separate, and whether the proposed accessory is approved for that exact model. A general image of a similar pergola cannot answer questions about compatibility or your sightline. Keep the final plan beside the product information or quotation so the requested arrangement is clear, including the seating positions and the opening you want to retain.
Set a practical acceptance test: from the priority chair, the chosen garden feature remains visible; at the times you recorded, the proposed shade intercepts the relevant sun path as far as the design allows; and the other sides remain open as intended. If the view and glare occupy exactly the same direction, decide whether partial sun, a narrower view or a different seating angle is the acceptable compromise. Make that choice on the drawing and confirm the exact configuration before committing, rather than assuming a standard panel layout will suit every garden.
Frequently asked questions
How can I keep a pergola screen from blocking the garden view?
Check the view from the usual seated positions. Mark each eye-to-target line on a plan, then compare it with the proposed screen position. A clear opening can preserve a priority view, but if the sun and target share the same direction, some compromise may be unavoidable.
Will a pergola roof stop low evening sun?
Not necessarily. Low sun can enter through an open side even when the roof shades the seating area. Note when glare reaches the seats and from which direction; a side treatment may be needed if the roof alone does not intercept those rays.
How high should a pergola side screen be?
There is no universal height. It depends on the seated eye position, screen location, sun angle and the part of the garden you want to see. Draw those points in a side elevation before choosing a panel height.
Can I add a side screen to any pergola?
Compatibility depends on the exact model and configuration. Ask which side options or accessories are approved for it, and whether they are included or separate. Do not assume a third-party screen will fit or be supported.
Will side shading reduce airflow?
A panel can change how open the seating area feels, but the effect depends on its material, coverage, position and other openings. Ask for details of the proposed option and consider airflow separately from shade and visibility.
Good shade starts with the seat and the light, not with a screen chosen in isolation. When the eye-to-garden line and sun-to-eye path are mapped separately, it becomes clearer which side needs attention and whether a fixed panel can provide shade without taking away the view. If both paths occupy the same opening, the design needs a considered compromise, such as a changed seat angle or a more limited area of side shading. A clear drawing of that decision is a practical basis for discussing the pergola configuration.
